


Fence Picket Pumpkin

by
DeeDee
10 Materials
$1
30 Minutes
Medium
I'm still using up the free fence pickets I told you about right HERE. What I've got to show you today is another one of those really fun and easy projects that I love to do. Guess what? The best part is, it was FREE for me to make because I just used scraps of wood we had on hand! I actually made this little cutie all by myself with no help from my honey, its that easy! :)
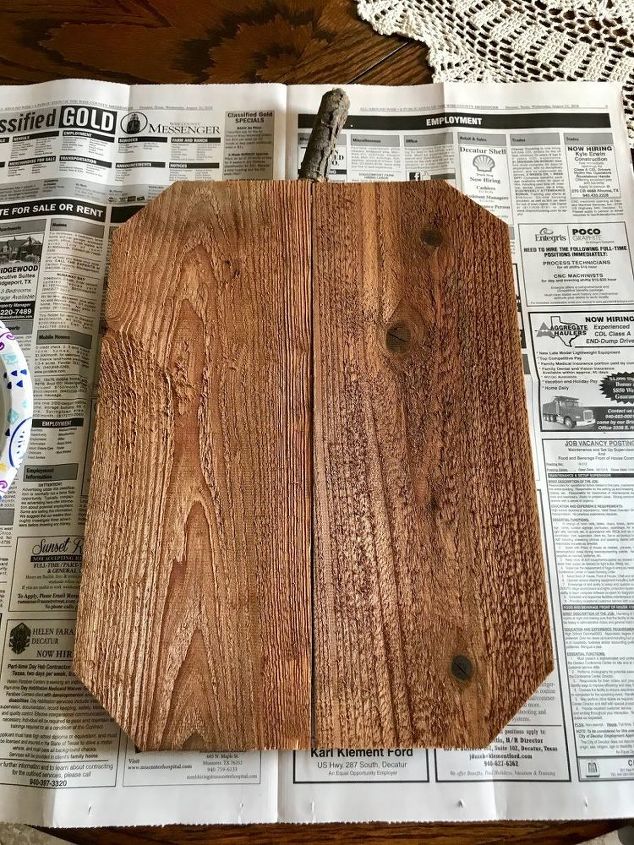
I used some left over pieces of fence pickets but you could also use pallet boards as well. My pumpkin only has two panels, but I think it would look cute with more, and smaller panels too.
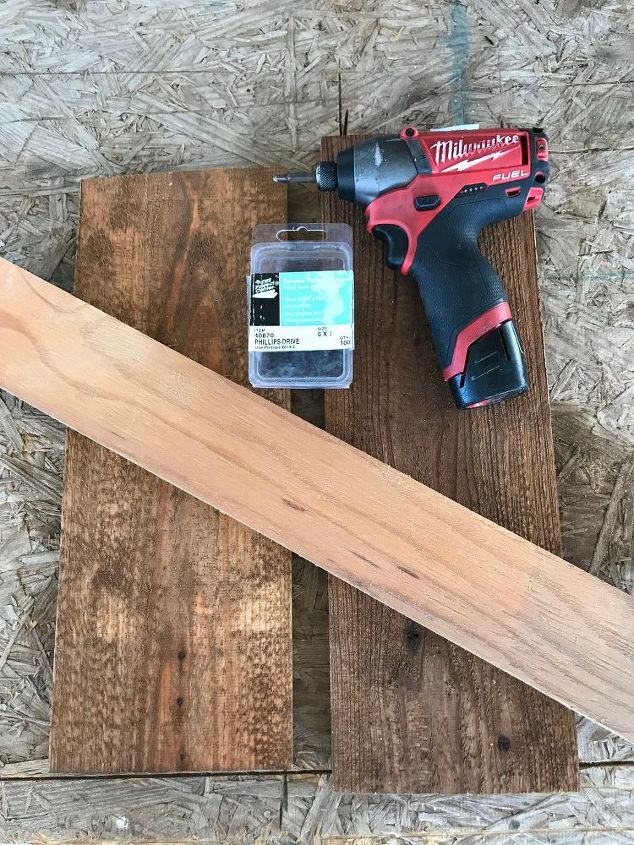
To re-create my pumpkin, you will need the following:
2 - Fence pickets cut at 16 inches long
2 - 1 x 3 boards cut at 10 inches long
4 - 1 inch long wood screws
Stick from the yard
Hot glue gun with glue sticks
Acrylic paint in orange
Paint brush
Raffia
Drill
Chop Saw
Sander and 220 grit sandpaper
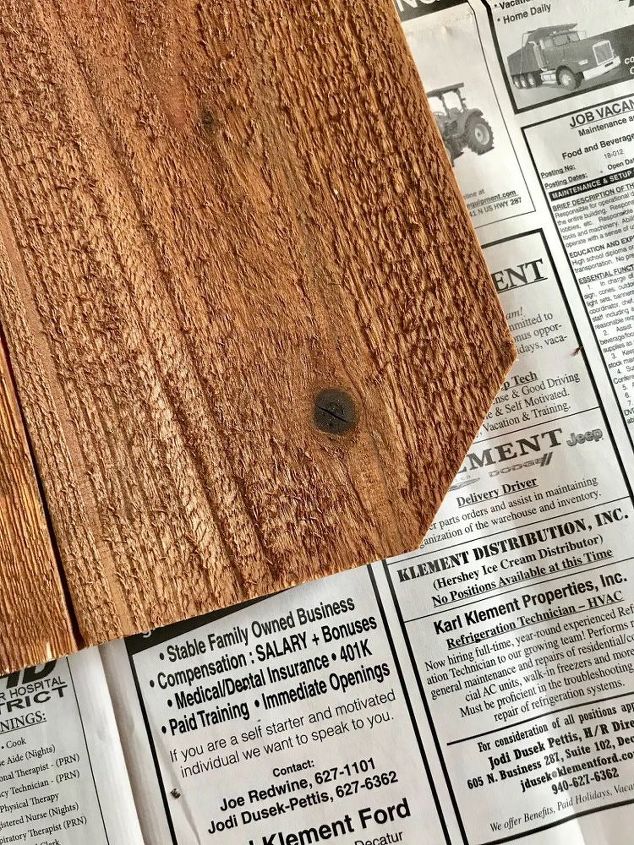
Using the chop saw, I cut my fence pickets and 1 x 3s to length. Then using the 45 degree setting, I took off the outside corners of each fence picket. Use next photo for reference.
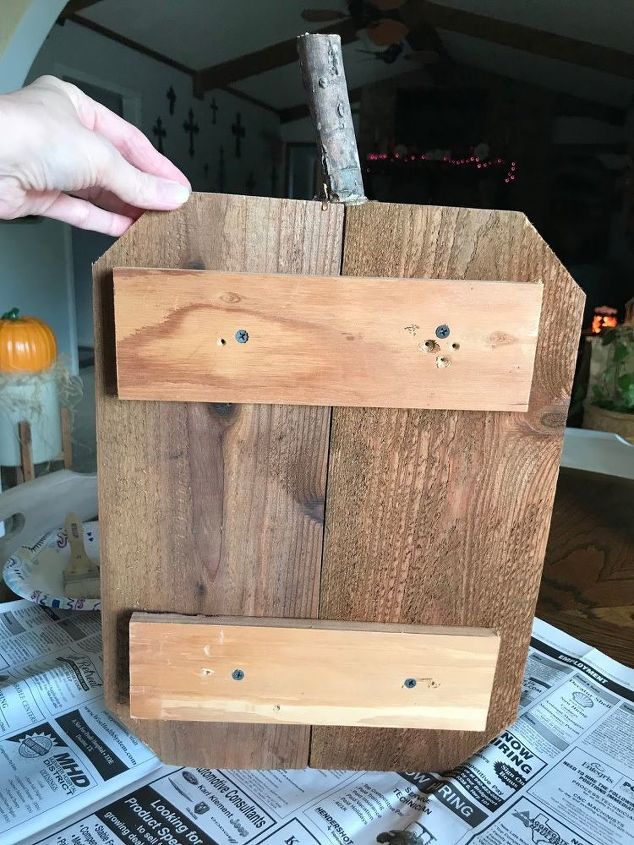
Decide which side is going to be the front of your pumpkin and then place the two pickets face down on your work surface. Attached your 1 x 3 boards using the drill and the 1" wood screws like you see above.
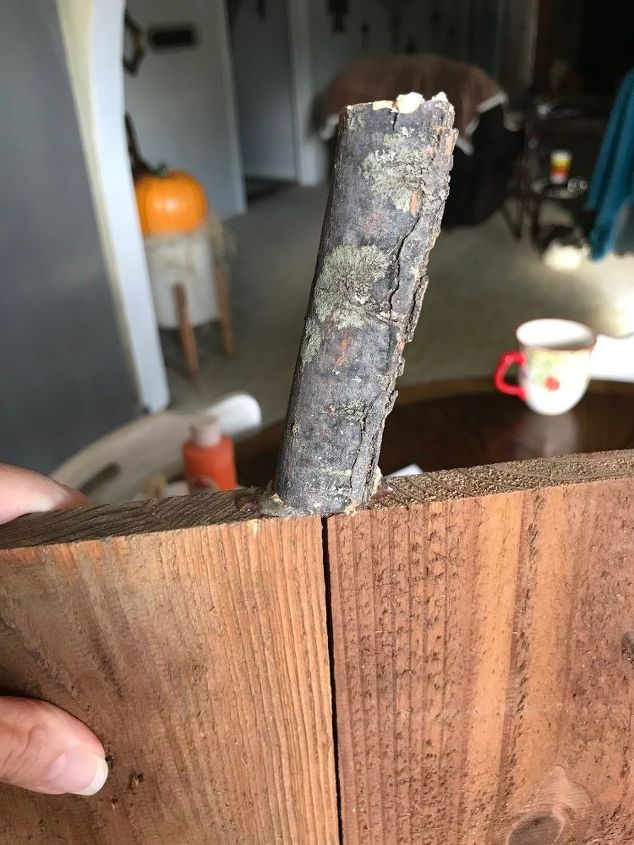
Now grab your hot glue gun and add the stick from your yard in the center of your pumpkin. This is your stem. Let it cool completely before proceeding.
You can stop here and be done or you can keep going like I did and add a few more details to it.
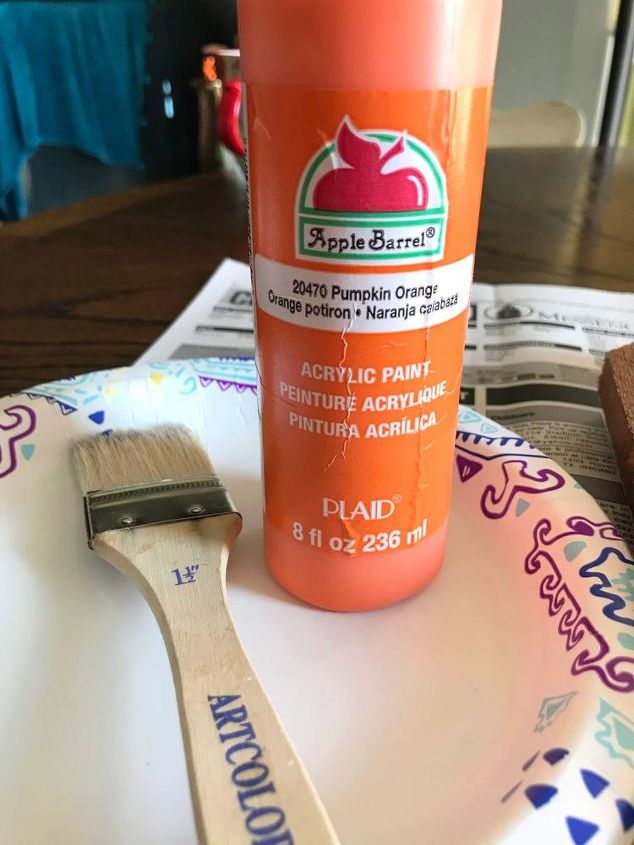
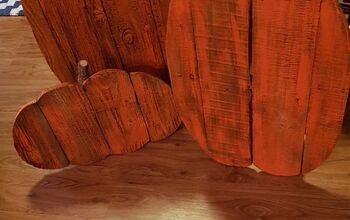
I just happened to find in my stash some Pumpkin Orange paint, how appropriate! :)
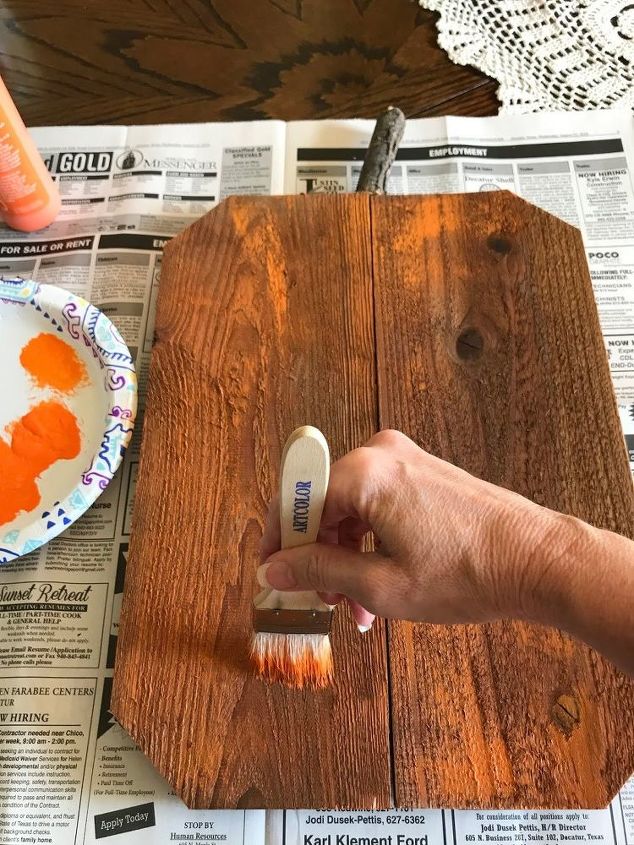
I grabbed my chip brush and then added the orange paint by using the dry brush method. This way you can still see the wood grain show through. Let that dry well, about 10 minutes will do.
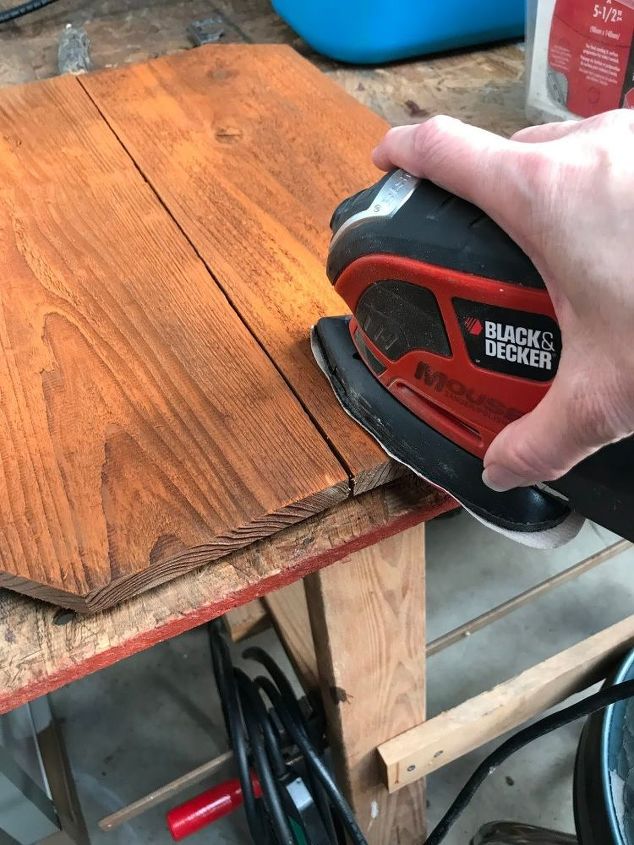
This step is optional, but I like to distress everything I make. I grabbed our Mouse Sander and some 220 grit paper and smoothed out all the edges as well as scuff up the top edges all the way around and then for a little more distress, I went over the entire front side a few times.
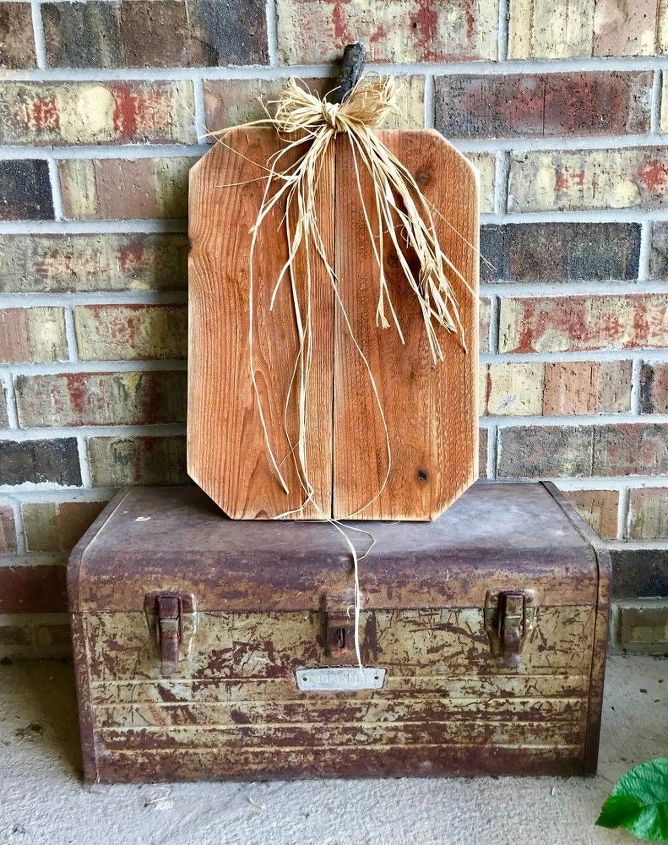
Here it is! Isn't it cute? I tied a little bit of raffia around the stem to finish it off. You could also add a few fall colored flowers with hot glue if you like.
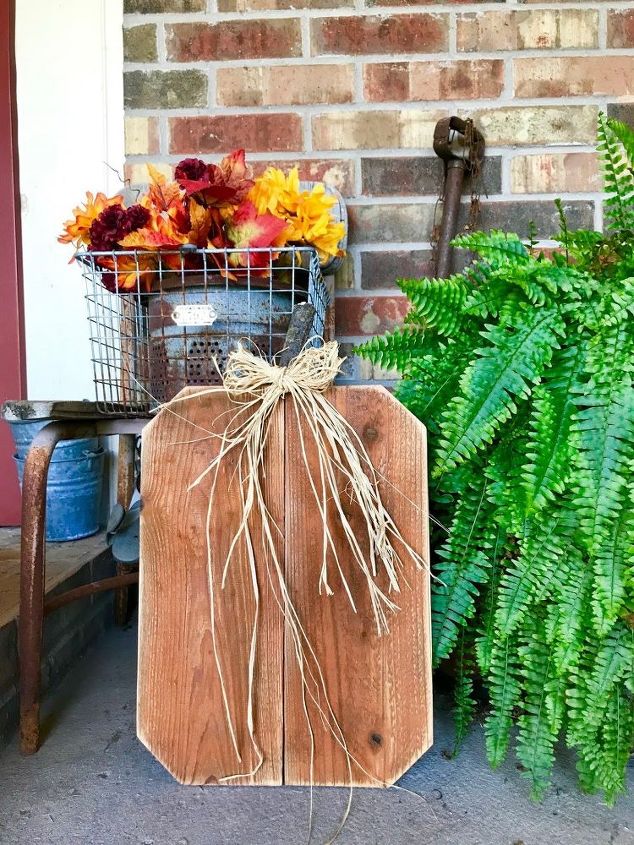
Now you have a new piece of Farmhouse decor to use year after year in your Fall decorating. Also, what a fun and easy gift to give to your "I decorate for every occasion" friend or family member! :)
If you'd like to see more of our fence picket projects, click right HERE.
Thanks for looking!
Want more details about this and other DIY projects? Check out my blog post!
Comments
Join the conversation
4 comments
-
tried it!
i just added a "kickstand" to the back so they'd sit up
-
Looks great!


Frequently asked questions
Have a question about this project?