


How to Make Painted Buffalo Check Pumpkin
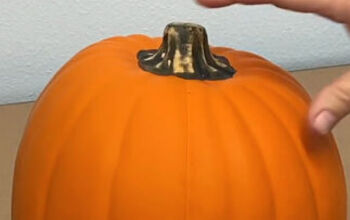
This is the easiest pumpkin craft I ever made and I think you will love it! Starting with a faux white pumpkin and painting stripes! Even the kids can make this craft!

Supplies you will need is a faux white pumpkin, black and white acrylic paint, paint brush, foam roller, soft sanding paper.
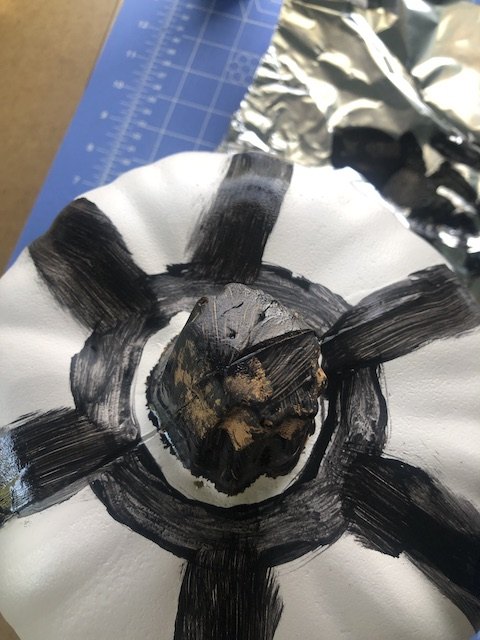
Starting at the top, paint a circle around the stem and eyeball 6 areas where you can paint a stripe from top of the pumpkin to the bottom. Paint the stem as well.
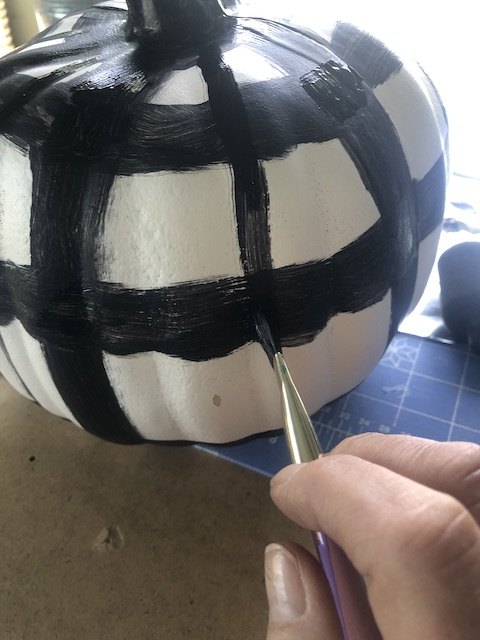
Add two more stripes going around the pumpkin to create more of the buffalo style. Once you have all six vertical stripes and two or three stripes horizontal add in 6 skinnier stripes in between the big stripes.
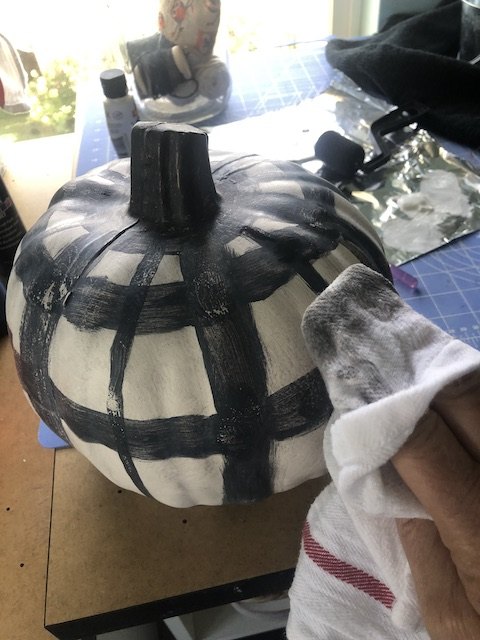
Once all the stripes are dry, you can use your sand paper and sand off just a little bit of the black paint to give it little patina. Then take a wet rag dipped in a little bit of white paint and white wash the entire pumpkin. It gives it an aged muted look. I have another super easy fun pumpkin craft you really need to see. It is yarn pumpkins and they are fluffy with lots of texture.
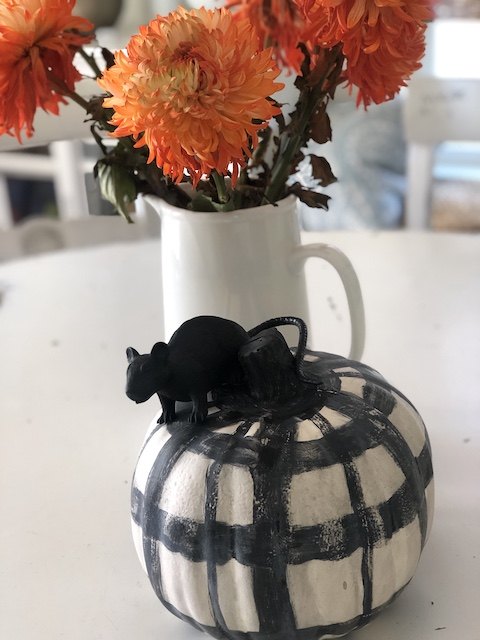
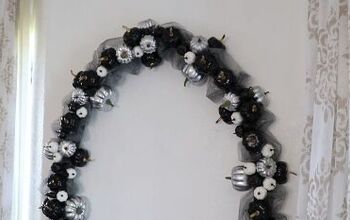
It looks so cute! I could even put a little spider on it to make it look like a spider web. To see more photos stop over to my blog Also If you are looking for a pretty fall wreath DIY make sure you take a look at my fall hydrangea wreath with pumpkins.
Resources for this project:
See all materials


Frequently asked questions
Have a question about this project?