


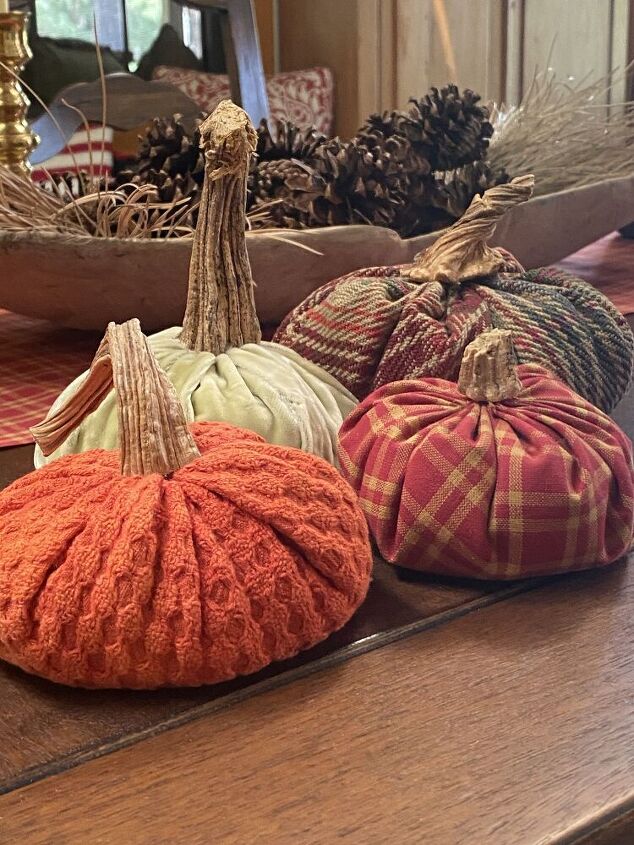
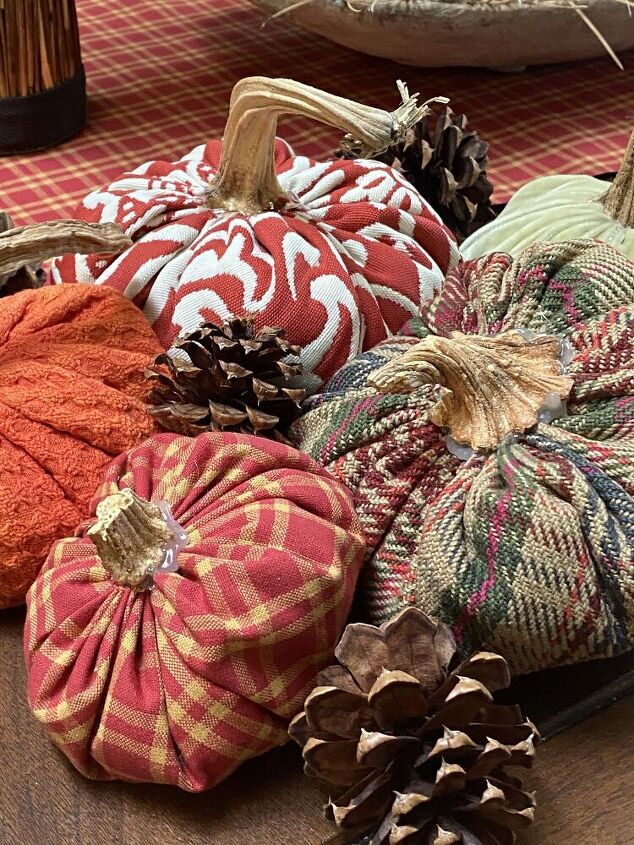
Making Fabric Pumpkins
Even though I was a bit forced into doing this project, overall it is a rather simple one to do. And the results are rewarding. My vast fabric pumpkin collection is stored in a plastic tub and pulled out during the fall months. Even though I have had these pumpkins for many years, apparently this year, they fell victim to a bug infestation.
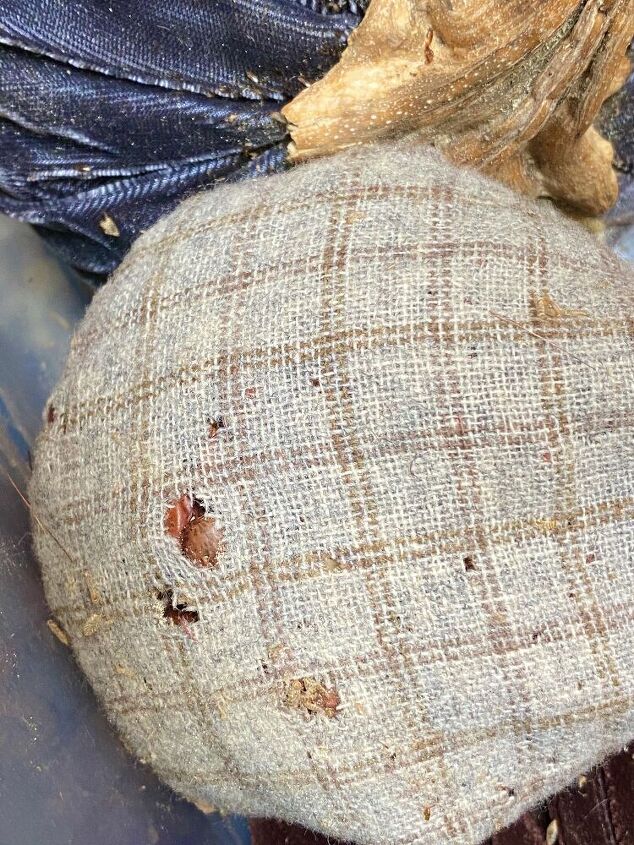
Since I purchased these fabric pumpkins I was unaware of what type of filling that was used. Naturally I had to discard the infested ones but I did keep the pumpkin stems. The pumpkins were filled with rice and kidney beans and had a weevil infestation.
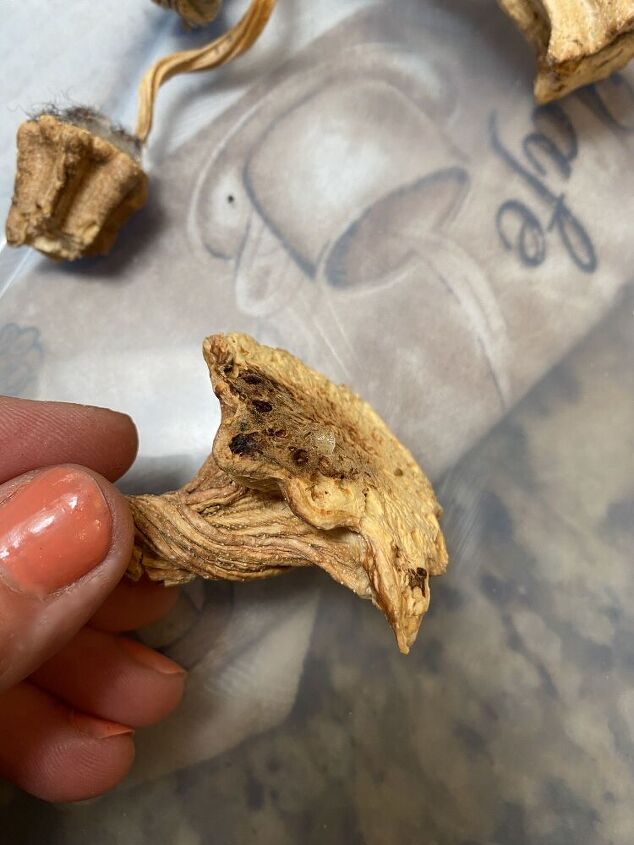
The first thing I did was place all the pumpkin stems in a Ziplock bag and put them in the freezer. It wasn't clear if the weevils had gotten into the stems, but I wanted to make sure before I used them again.
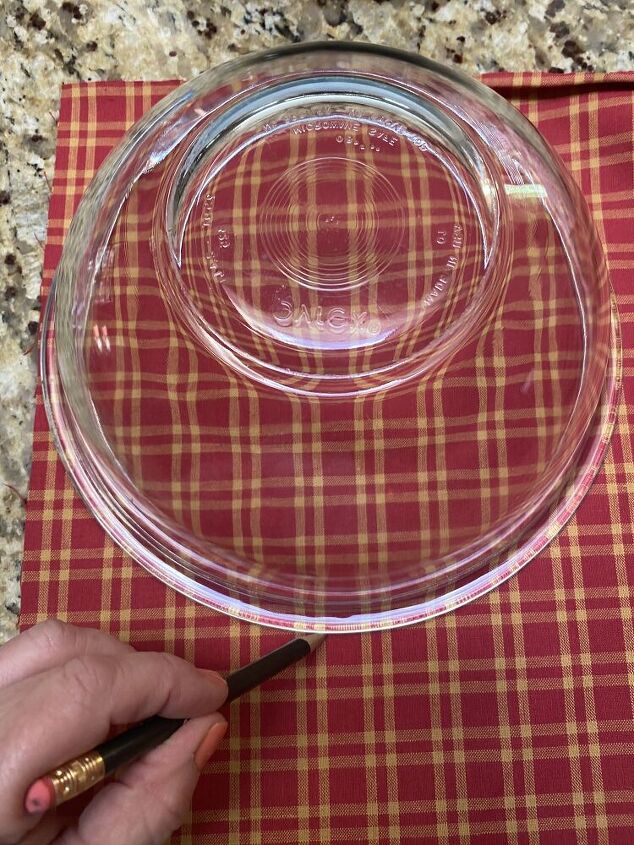
Next using a Pyrex bowl, I trace and cut a pattern for the first pumpkin. This bowl is approximately 10" wide, which makes a small pumpkin.
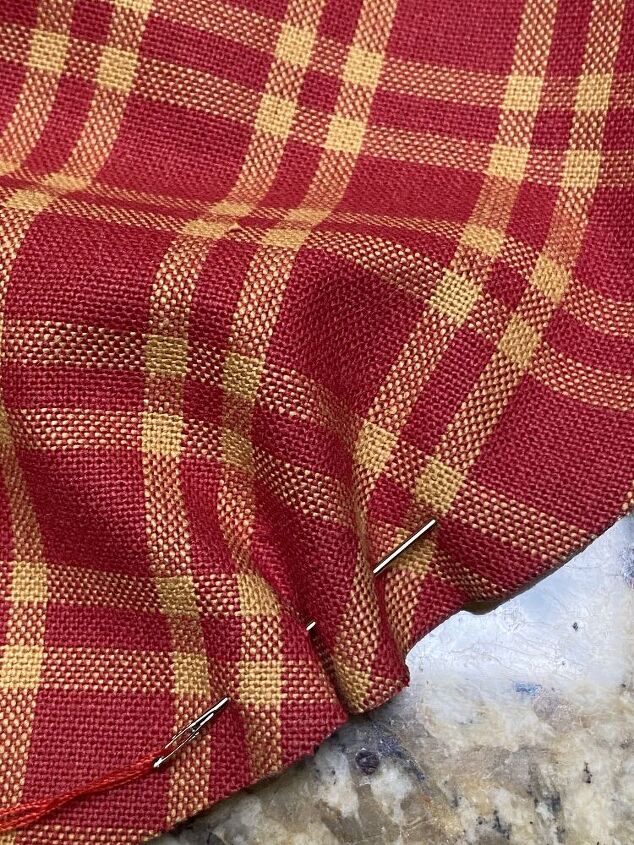
Using a large basting stitch and a needle with 4 strands of thread (I only did this because the thread I had available was cheap and not a strong version), stitch around the fabric circle.
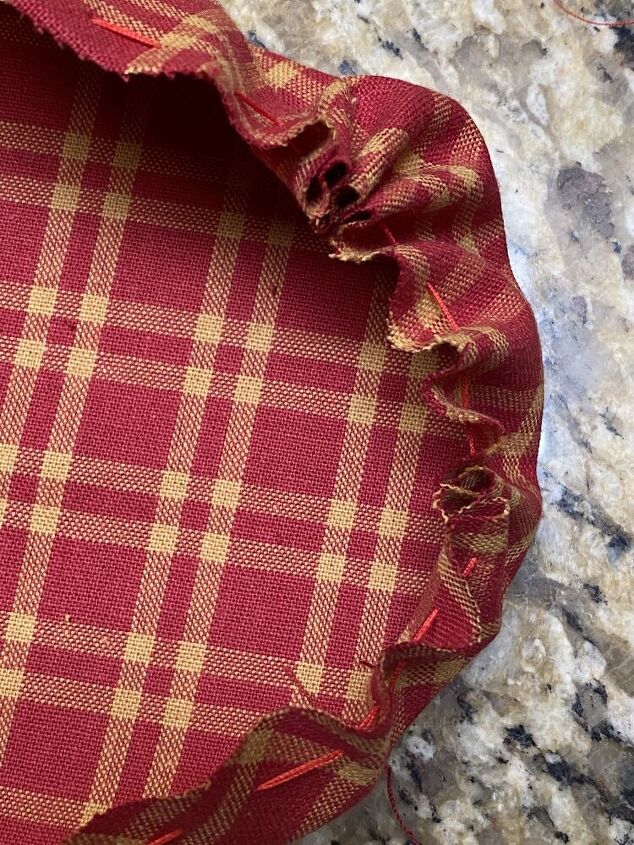
As you pull the thread taut, the circle will make a fabric bowl.
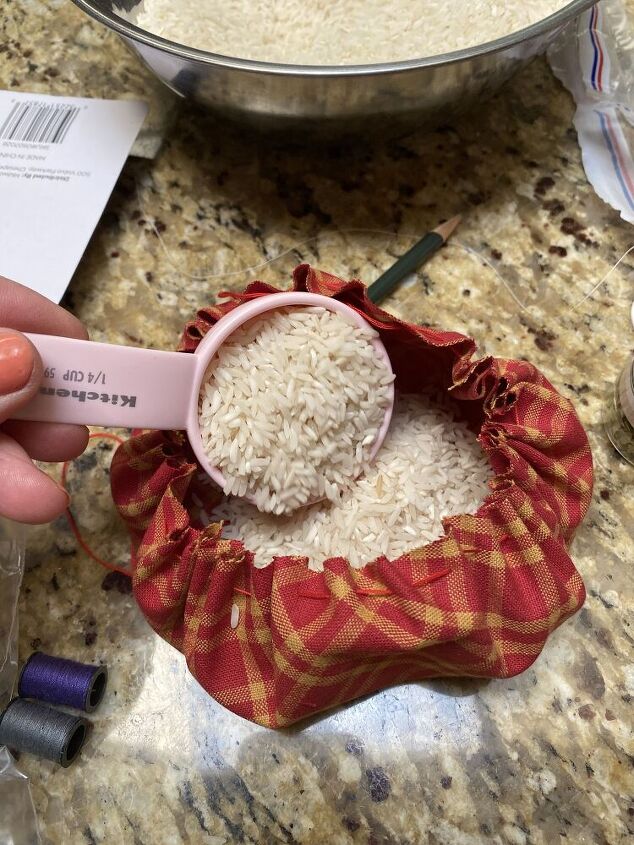
Since I am at our cabin and have limited access to supplies, I can only find rice to fill the pumpkin.
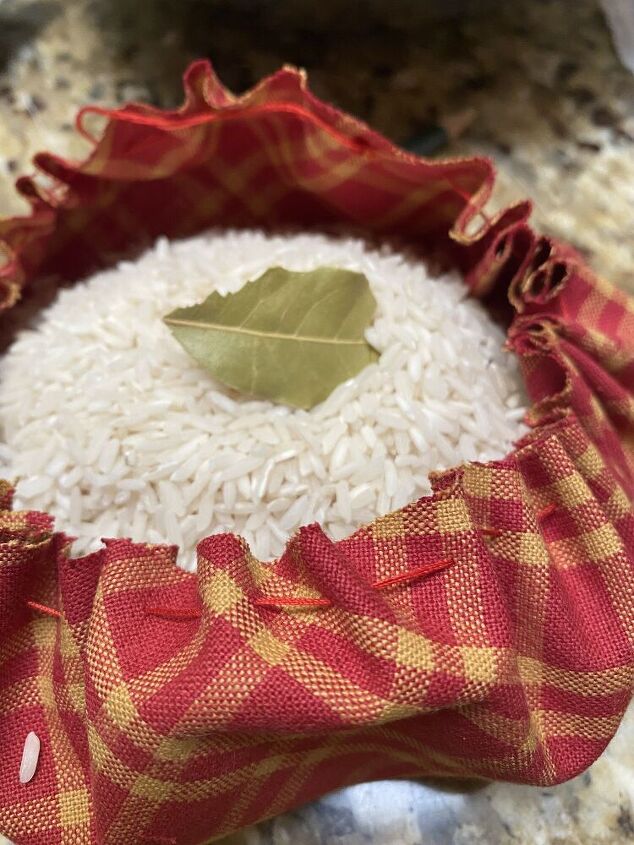
I also add bay leaves to prevent future infestations. Also, add enough rice to keep the pumpkin full, but squishy.
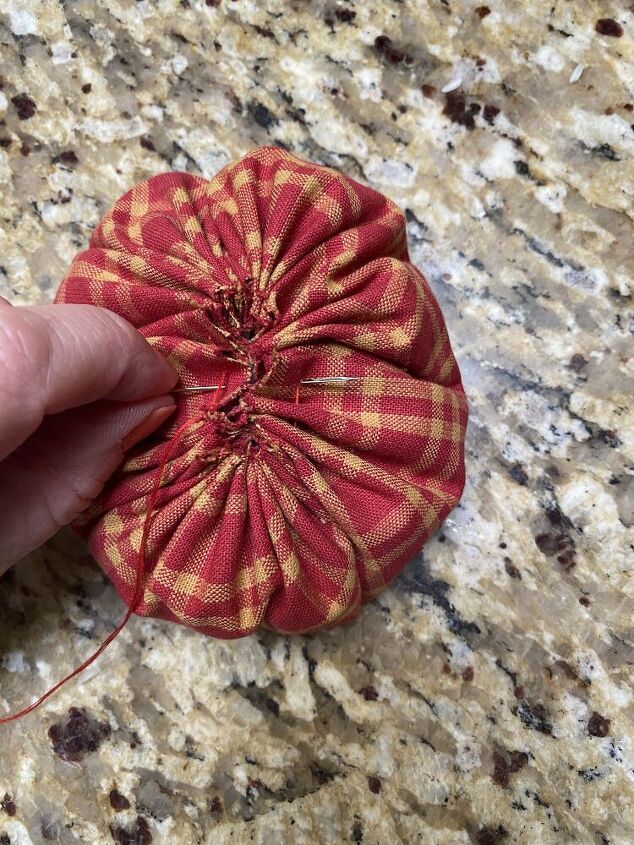
Pull the thread very tight to close the top of the pumpkin. Stitch from side to side, turning the pumpkin until the top is securely closed.
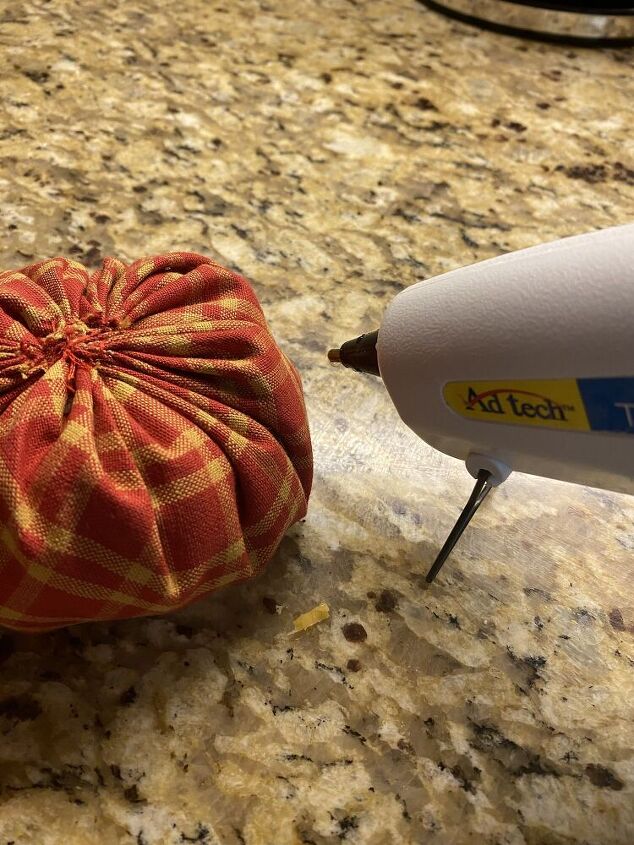
Using a heat gun, generously apply the glue to the pumpkin stem. If you do not have a pumpkin stem, you can use a stick or a cork.
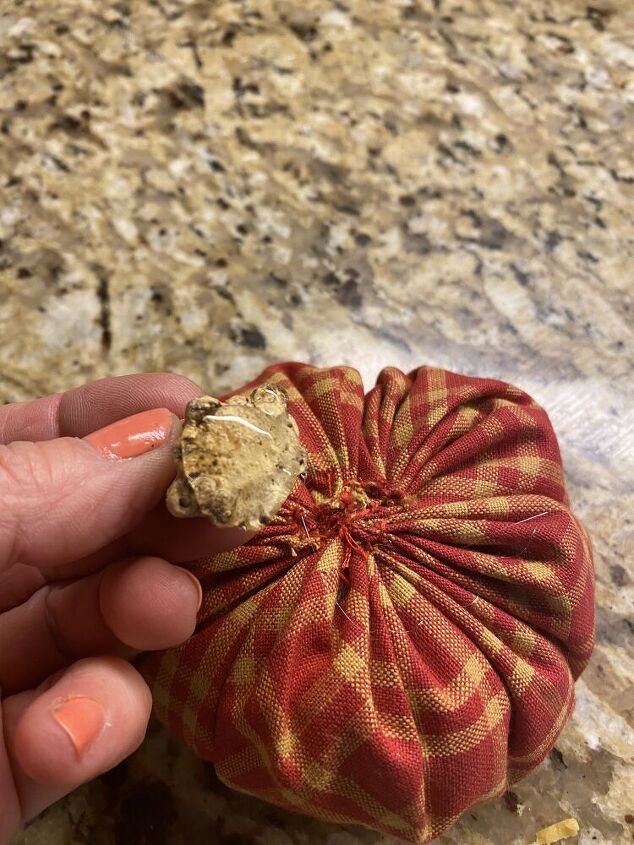

Push the stem into place and hold until secured.
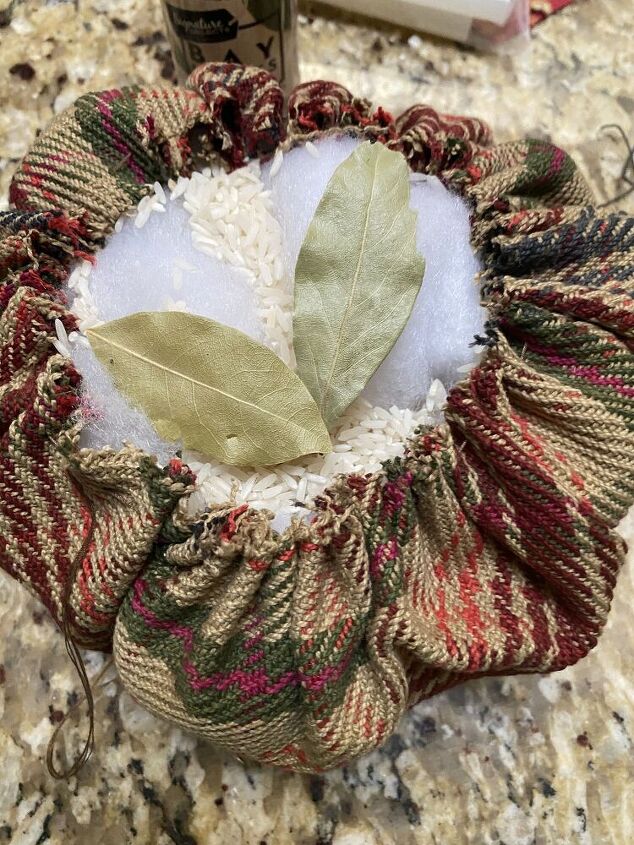
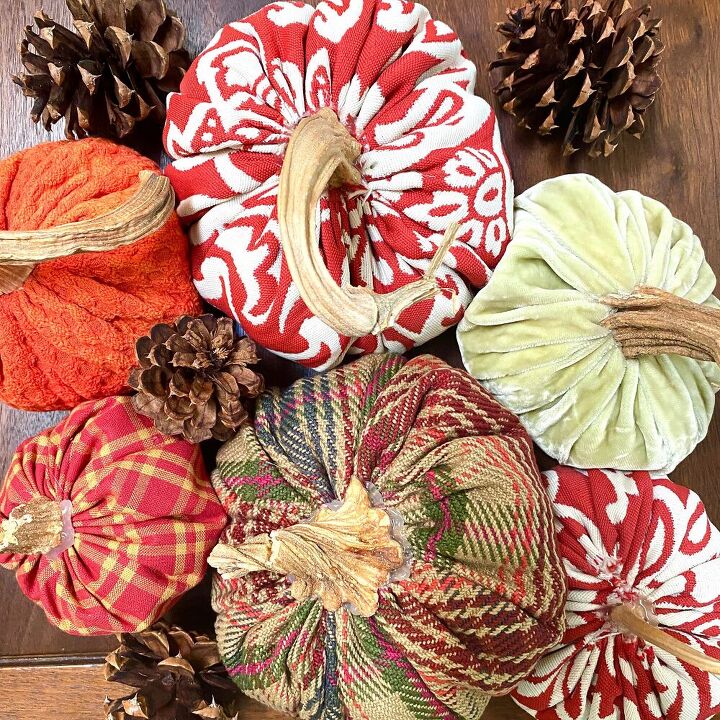
In my next pumpkin, I use a combination of rice and fiber fill. The rice at the bottom gives the pumpkin a nice weighted feel. The fiberfill allows the pumpkin to take shape and feel squishy, without using so much rice. Bay leaves are added for protection.
Recycling the old (first frozen) pumpkin stems works well. I am able to use up scraps of fabric and make multiple pumpkins. I will be very careful how I store them at the end of this season.
For a more detailed tutorial, please visit my blog, Life at Bella Terra. My people have suggested alternative fillings such as pebbles, cat litter, beans.
Resources for this project:
See all materials


Comments
Join the conversation
-
Very cute idea!!! I would put them in zip locks for storage...along with a few more bay leaves!! 😉
-
I would put sand in a zip lock bag and place it in the bottom of the Pumpkin then add the polyfil. no bugs


Frequently asked questions
Have a question about this project?
Love these! I put dryer sheets in my totes of holiday decor. Helps keep bugs and mice away and smells good too!!! I also use old dryer lint and used dryer sheets to stuff fabric pumpkins too!!! Happy Fall Creating!!!