


How to Make a Cute DIY Pumpkin Kissing Ball For Fall
Head to Dollar Tree and grab some faux pumpkins to create this stunning hanging fall decor ball. Kissing balls are usually associated with Christmas, but this pumpkin kissing ball is inspired by the fall holidays. Let me show you how to make your own.
This post was transcribed by a member of the Hometalk editorial team from the original HometalkTV episode.
Tools and materials:
- Faux pumpkins
- White, green, and silver spray paint
- Styrofoam ball
- Upholstery needle
- Floral wire
- Hot glue gun
- Succulents, leaves, and moss
- Ribbon
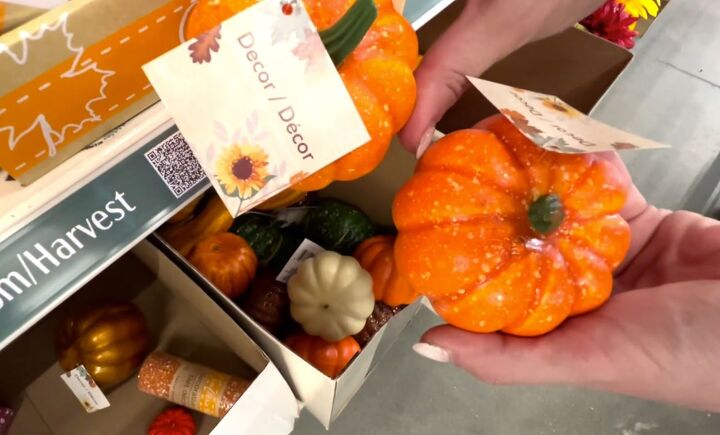
I grabbed my pumpkins at Dollar Tree this fall for my project. How many will depend on the size of the styrofoam ball you are going to use.
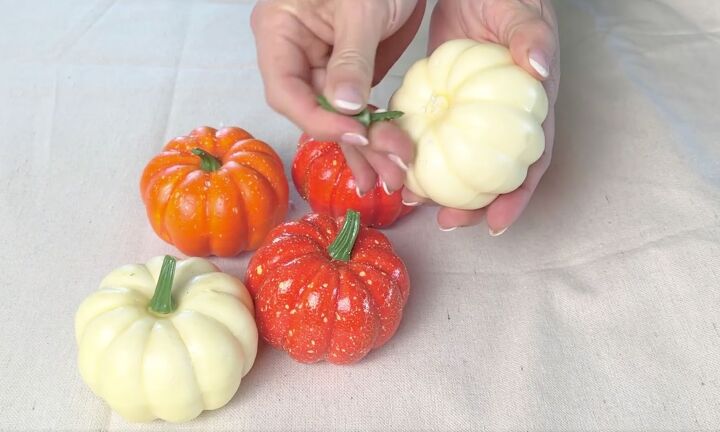
1. Remove the pumpkin stems
First, let's prep the pumpkins by removing the stems. You should be able to just pop them off. Be sure to save them because we will need them later.
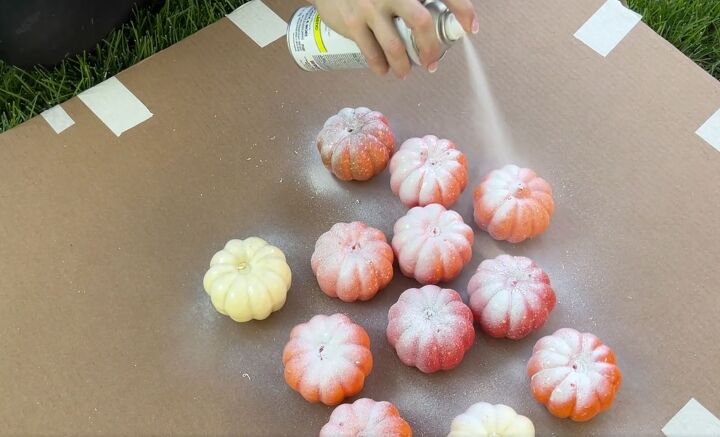
2. Spray-paint the pumpkins
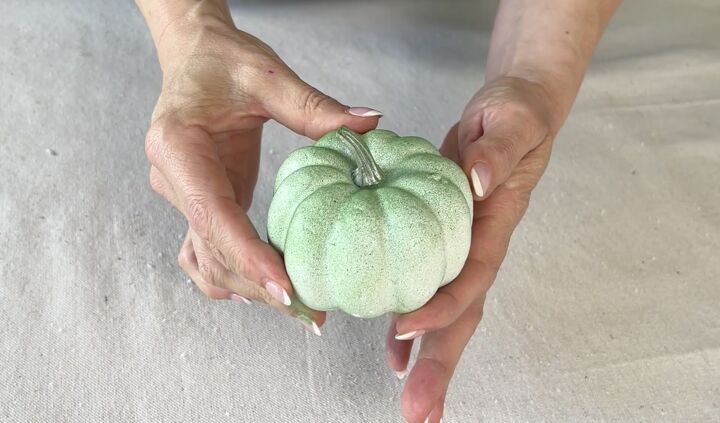
Next, I spray-painted all of the pumpkins, a basic white.
Once they dried completely, I lightly sprayed the pumpkins with green spray paint, kind of like an overspray. I did this by layering light dustings of the green paint and letting it dry in between.
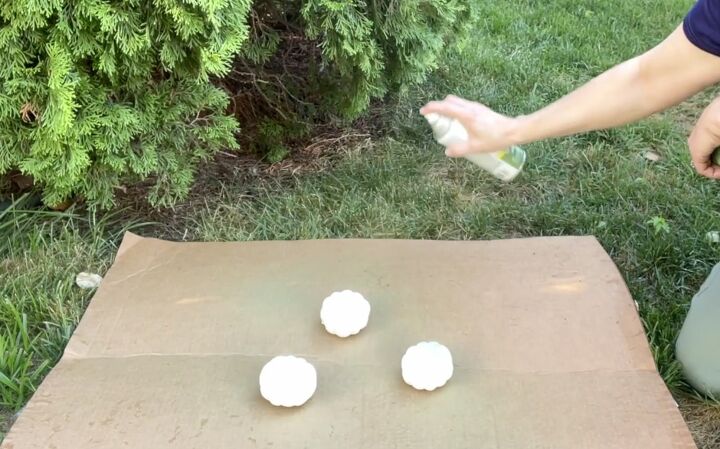
3. Reattach the pumpkin stems
After they dried, I reattached the pumpkin stems, which I had painted with silver nickel spray paint and over-sprayed with the green spray paint.
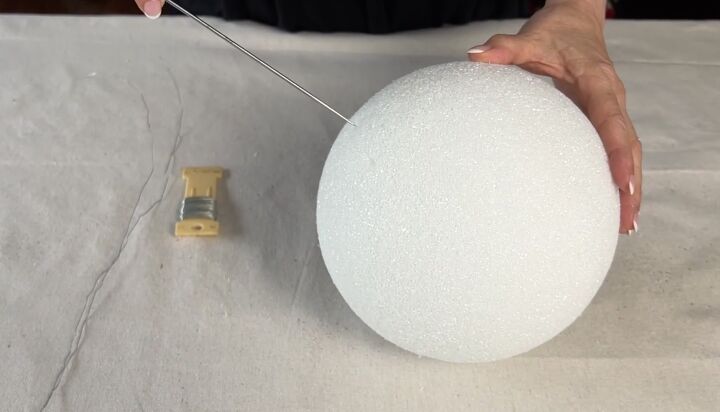
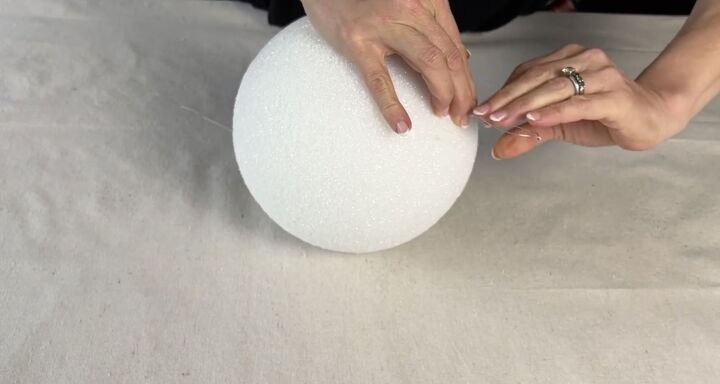
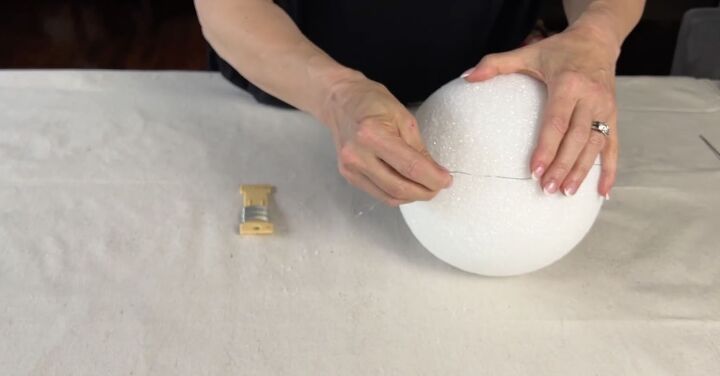
4. Create a tunnel in the ball
Next, I needed to prep a styrofoam ball. My styrofoam ball was pretty dense, so I took an upholstery needle and pierced through the ball to create a little tunnel.
5. Add the floral wire
Then I took a length of floral wire that was about double the length of the styrofoam ball and folded it in half and pushed it through the ball. If your styrofoam is soft enough, you can pierce through with the floral wire and just pull it to the other side.
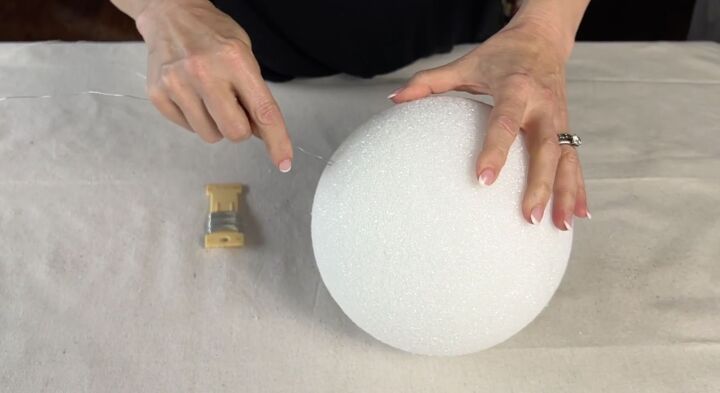
6. Fold the ends of the wire
When that folded edge comes out the other side, just twist it to create a loop and that's what you'll hang your pumpkin ball from.
Then on the other side, you've got two little tails of the excess floral wire. Just take each one of those tails, fold it around the edge of the pumpkin ball, and just stick it into the side of the ball. That is sufficient to anchor that floral wire into the styrofoam ball.
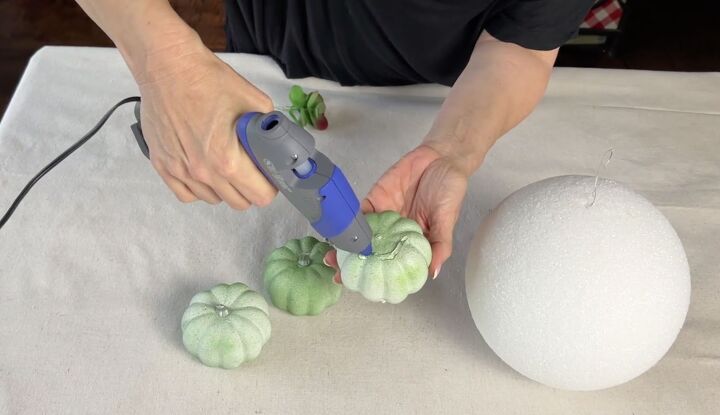
7. Glue the pumpkins to the kissing ball
Now is the really fun part. It was time to glue the pumpkins onto the styrofoam ball.
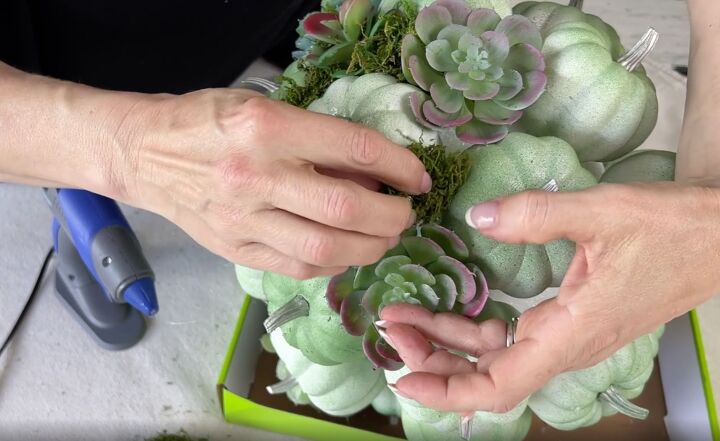
There really is no set pattern for gluing the pumpkins. However, I find it helps to kind of group the pumpkins in groups of three, keeping in mind that a succulent will go in the center in between those filling in that gap.
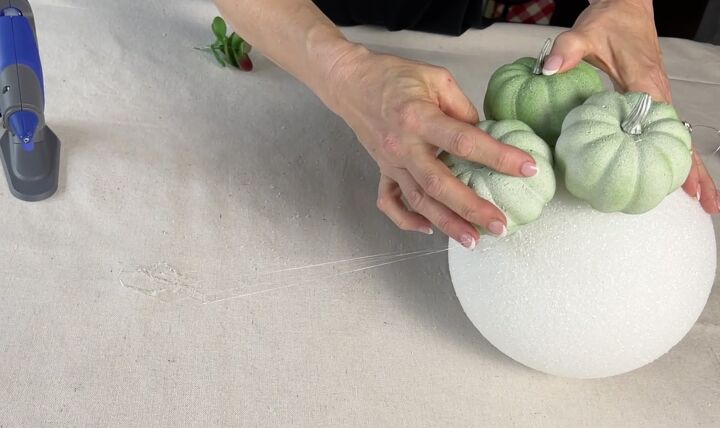
To attach the pumpkins to the ball, you just use hot glue. Put some hot glue on the bottom of each pumpkin and stick it to the styrofoam ball. You want to hold this in place until it is set.
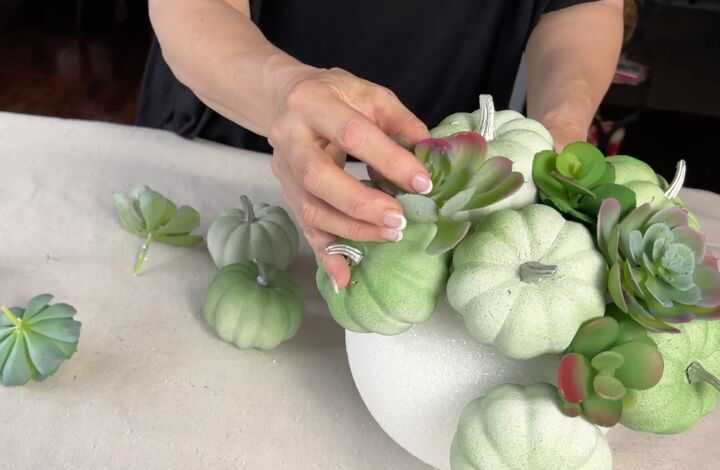
8. Add succulents
Then I added the succulents into the gaps. Every once in a while I needed to glue a leaf to a pumpkin to keep the succulent anchored.
9. Fill in the gaps with moss
Once the pumpkins and succulents are glued to the ball, you will notice there are still nooks and crannies. I filled those with moss. A little bit of hot glue is all you need to attach the moss and fill those spaces just stuff the moss in and fill those spots.
I think this was my favorite part of the project because I can really see what the ball is going to look like when it was finished.
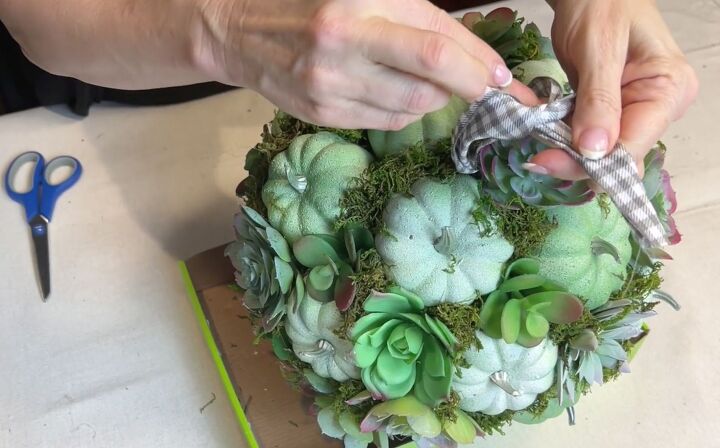
10. Add ribbon
Finally, tie a ribbon to the wire loop that you made earlier on and you now have a beautiful pumpkin ball that is ready for hanging.
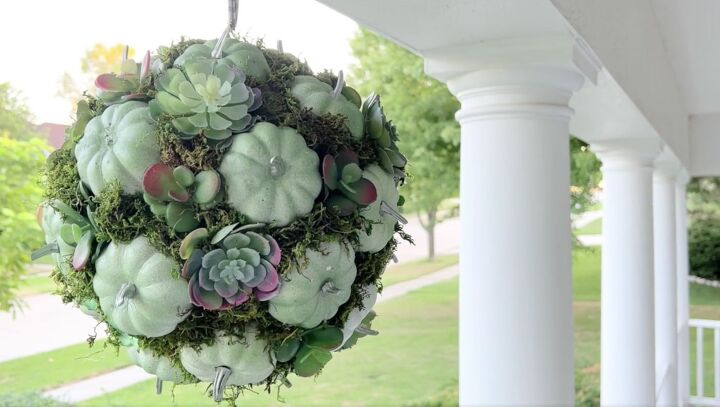
DIY pumpkin kissing ball
I have used this hanging from our front porch. I also tried it hanging from a shepherd's hook in the backyard and might even try it hanging from our back door. I hope you enjoy making this pumpkin ball as much as I do. Let me know your thoughts in the comments below.
Unique DIY fall project ideas
Resources for this project:
See all materials


Comments
Join the conversation
-
Great idea. So fresh. Seasonal but not expected orange. So many fall decorations are without green. Seems silly to me as celebrating natures bounty but forgetting everything grown has green somewhere and green life needs to be displayed to show where bounty came from. Well done
-
I love this project for a simple and inexpensive decor project for fall on our front porch. I like that the colors are soft and not garish orange/rust.


Frequently asked questions
Have a question about this project?
Did you seal it with any outdoor spray since it’s going to be exposed to wind, rain?
How big was you’re styrofoam ball? I’m going to dollar tree today so I thought that I would pick up some pumpkins and try this. I absolutely love this idea, it’s darling!