


Pumpkin Pincushion Tutorial

by
Troom Troom
How to make a pumpkin pincushion. In this tutorial we'll craft a pincushion using a short poplar twig for a handle and a fabric. This pumpkin pin cushion will become a sweet and absolutely doable fall mood gift for a craft lover!
{
"id": "3850497",
"alt": "",
"title": "",
"video_link": "https://www.youtube.com/embed/Rf2mk6V5-qw",
"youtube_video_id": "Rf2mk6V5-qw"
}
{
"width": 634,
"height": 357,
"showRelated": true
}
Check out the video above to learn how to make your own!
We will only need a patch of fabric – here we have some linen.
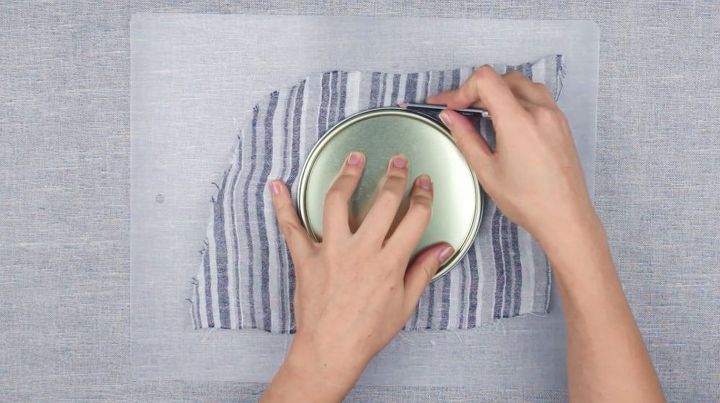
So, how to make a pumpkin pincushion? Cut out the pattern. Anything round will do – be it a saucer or a cookie box lid.
Lay the lid on the fabric and trace it with a pencil, tailor chalk or a marker. Most fabrics have obvious face and back sides. Transfer the circle onto the back one.
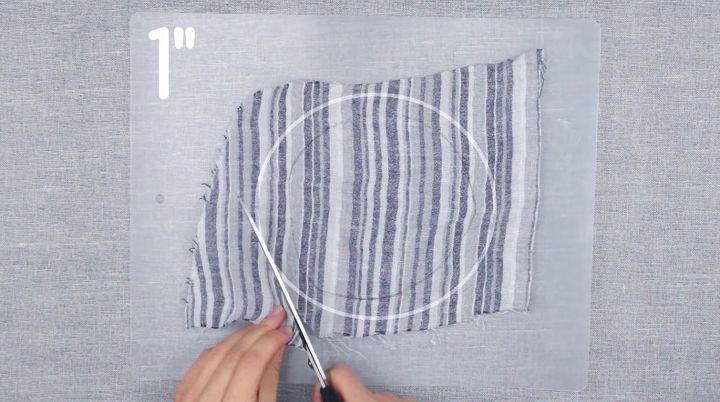
Cut out the pumpkin pincushion pattern adding 2 cm seam allowances around the outside.
The edges don’t have to be even – we’ll tuck them in later on.
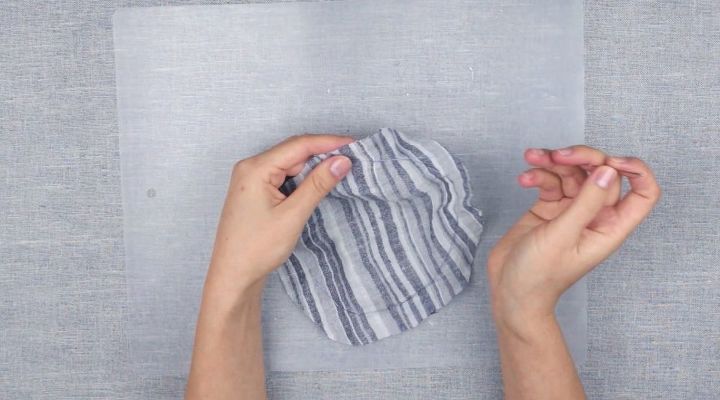
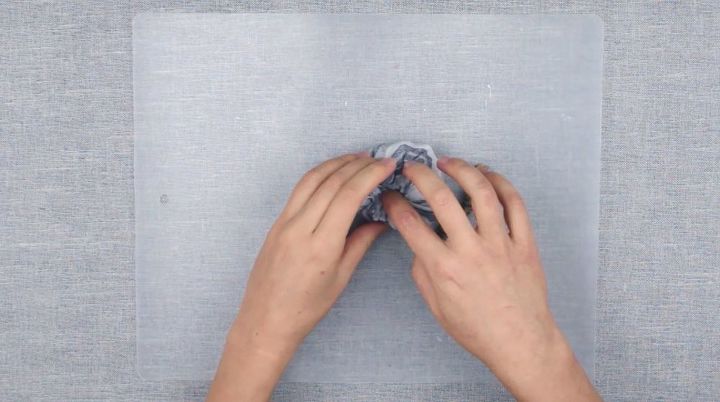
Thread the needle. Hand stitch along the line. Running stitch works best.
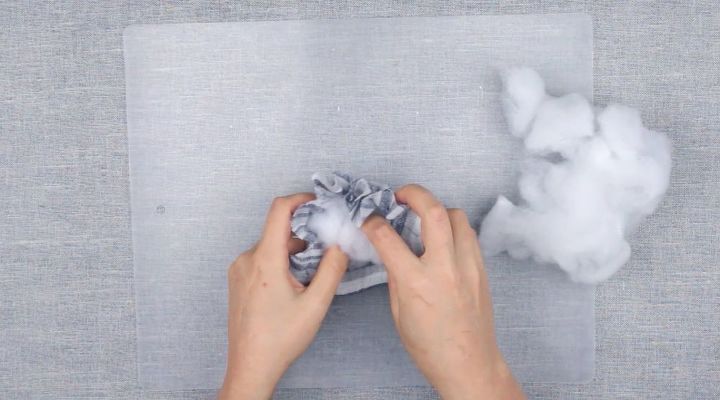
Pull both ends of the thread and stuff the pouch with the filling.
We’ll need a handful of soft toy filling. Cotton or fabric shreds will also do.
Pull both ends of the thread. Add the filler if needed.
Pull the ends of the thread tightly and secure with a few knots. Trim the ends.
For a pumpkin pin cushion we’ll need a short poplar twig.
Break off a shorter piece. I like the colour and bold texture. Tuck the edges in.
Fit the fruit stem. Shorten a little if needed.
Fluff the pumpkin cushion for a better volume.
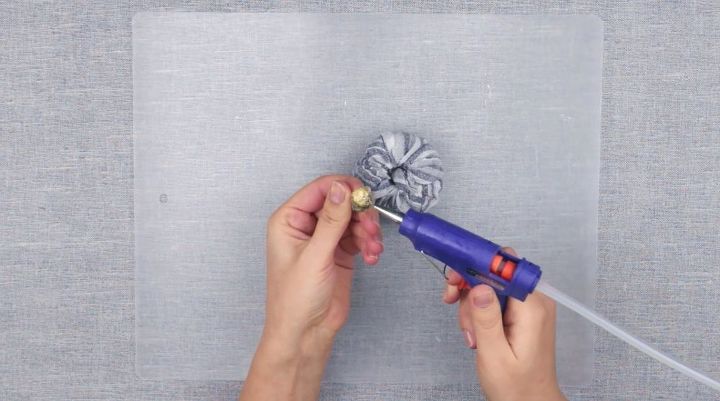
Hot glue the fruit stem.
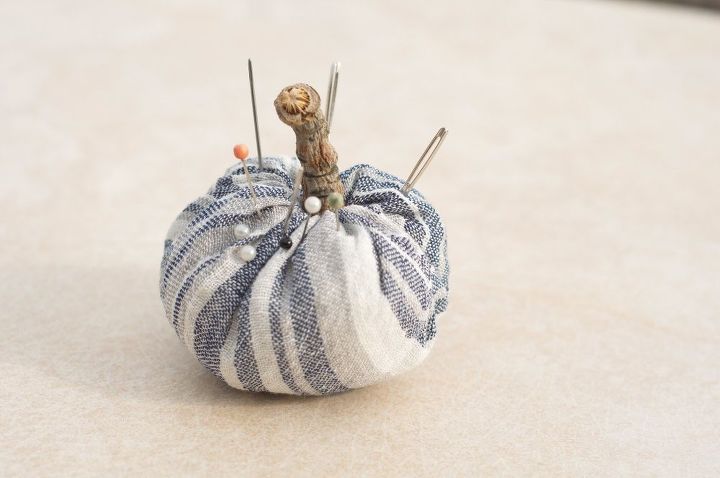
The pumpkin pincushion is ready to use!
If you're like this project, check out our youtube channel OR our super cool website
Thanks so much for reading/watching!


Frequently asked questions
Have a question about this project?