


Thrift Store Pumpkins Makeover
5 Materials
$4
4 Hours
Easy
I see pumpkins in the thrift stores a lot. The problem is that they all look so bad. And the new pumpkins can get expensive. So I decided to buy some from the thrift store and see if I could make them look any better!
I have made over the dollar store foam pumpkins before so I thought I could make these look good too.

This is how they started out. The two in the front are ceramic and the one in the back is foam.
I wanted two white pumpkins and one that looked like metal. Have you seen the metal pumpkins in the stores? I love them.
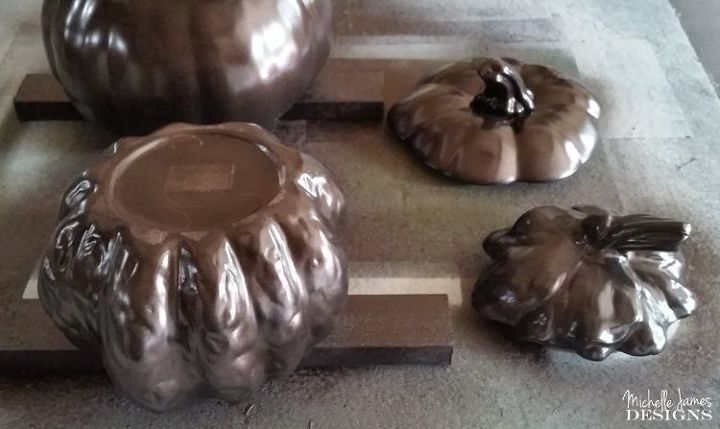
I wanted to be able to distress them after the final coat of paint so I painted them a dark brown first. When I distress them at the end this brown paint will show through.
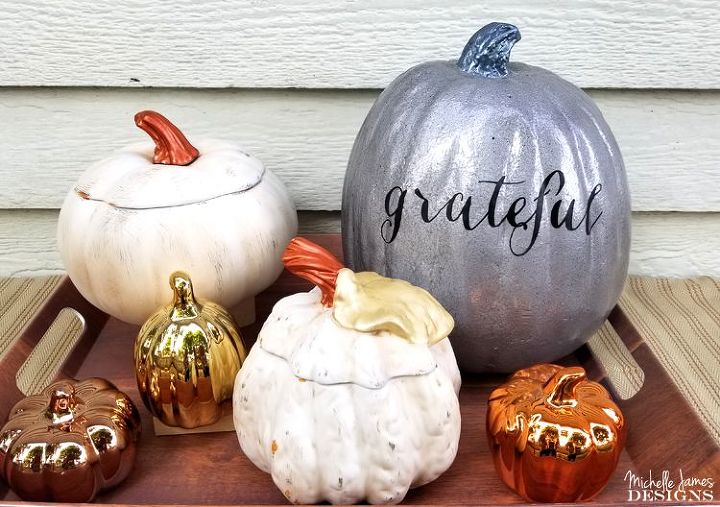
When this coat was dry I used an off white for the final coat.

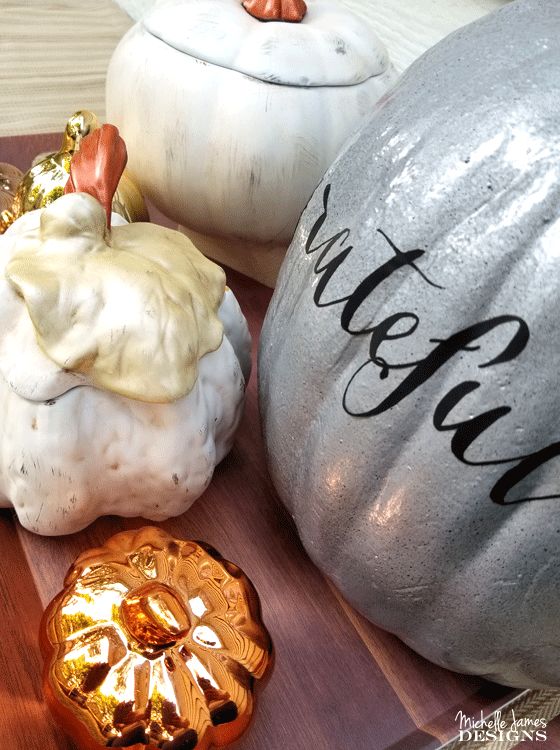
I used some metallic copper for the stems and a green metallic for the leaf on the smaller pumpkin. Then used a sanding block to distress them a little bit.
The large foam pumpkin was painted with Hammered Silver spray paint and a metallic pewter for the stem.
I used my Silhouette Cutting Machine to create the text for the front. I love how it turned out.
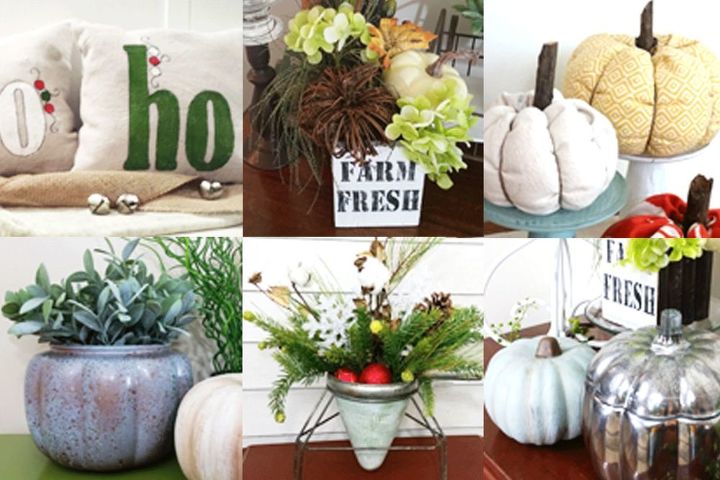
What do you think? These are some of my other Holiday projects. You can take a look at my Holiday Gallery to see even more.
Or, sign up for my email/newsletter so you don't miss a project or post!

Want more details about this and other DIY projects? Check out my blog post!


Frequently asked questions
Have a question about this project?