


Upcycled Dollar Store Fall Decor
I’s not quite Fall according to the calendar, but all the feels are creeping in. The neighboring fields are harvested, the evenings are cool and the pumpkins are ripe for the picking. Once again, I hit up the Dollar Store Fall decor section, and found a handful of items that had up-cycle potential. I also gathered some thrifted Fall decor items, and the few bits that I had left over from last year.
Be sure to check out my blog for the full details! https://myhappysimpleliving.com/dollar-store-fall-decor-up-cycle/
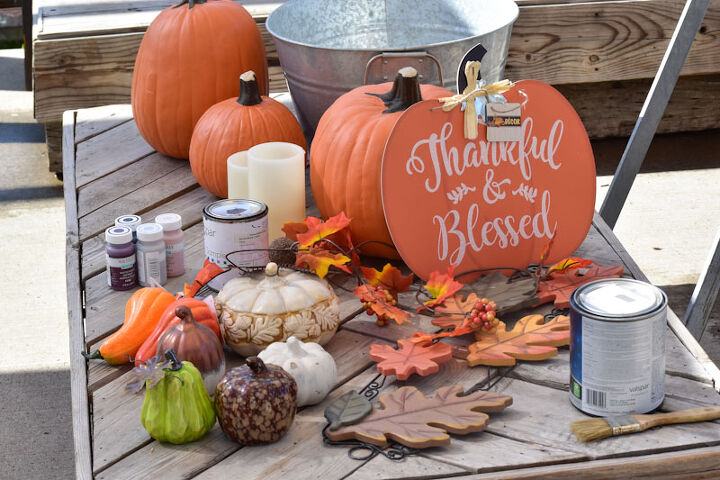
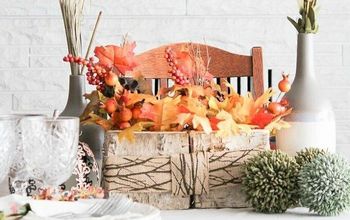
I started out with this collection of decor items from the Dollar Store and local thrift stores.
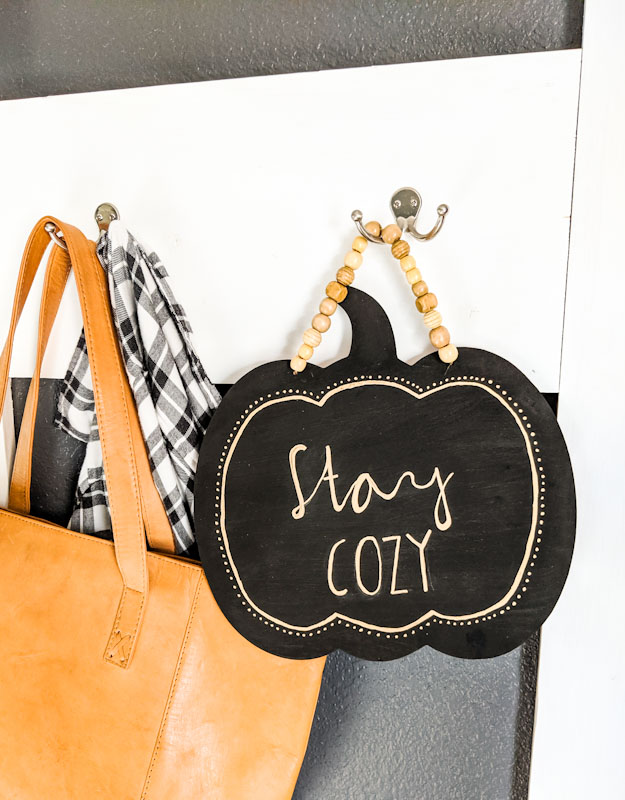
The orange Dollar Store pumpkin sign made a cute chalkboard sign. I just flipped it over, and used the smooth back of the original sign. Using a fun gold paint pen, I easily added my own quote and some easy doodles. Replacing the original string with some wood beads, added a little extra detail.
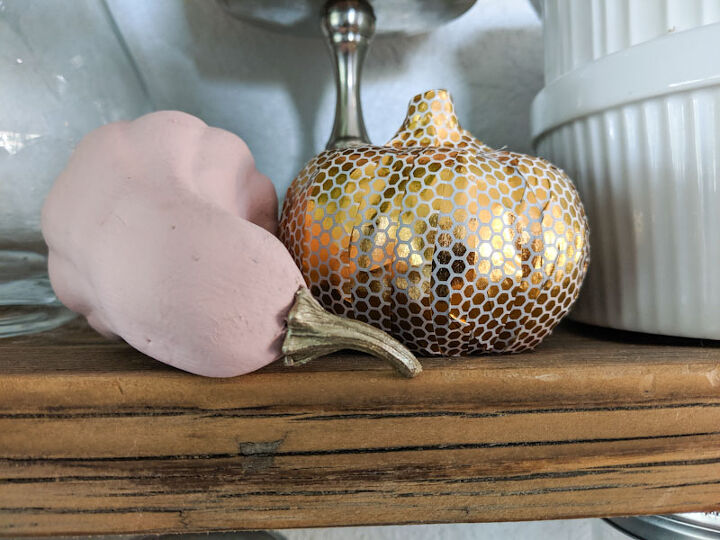
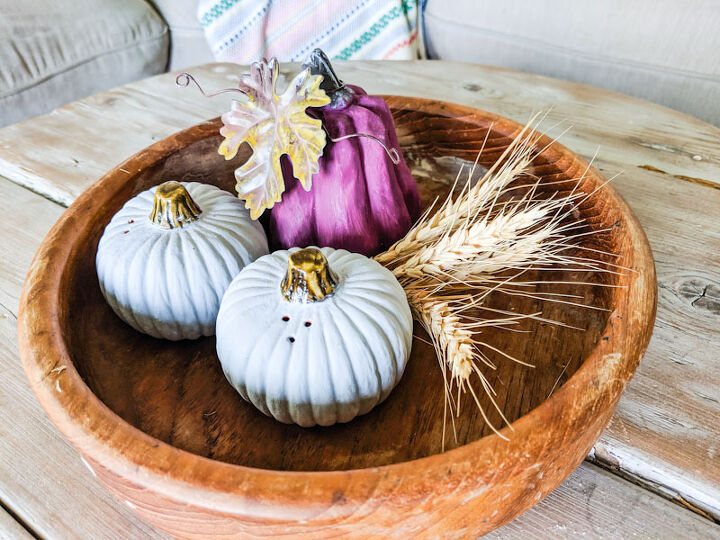
I used chalk paint to bring new life to the ugly faux Dollar Store gourds and pumpkins. I removed the stems, and blasted them with gold spray paint. To mix things up and continue with the whimsical theme, I covered one little Dollar Store pumpkin in Washi Tape. This makes such a fun little pop, and you could use as many patterns as you wanted. It's also a zero mess project, which is almost unheard of.
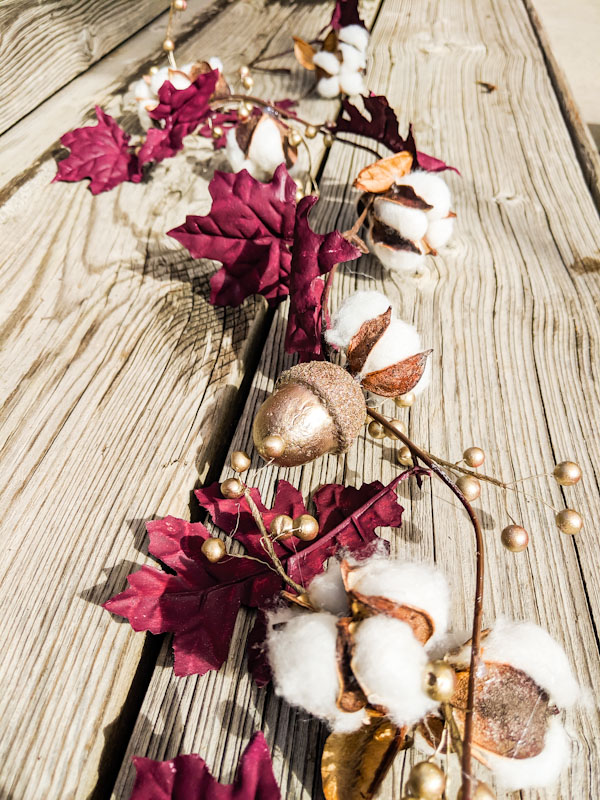
Possibly my favorite upcycle in this Dollar Store Fall project extravaganza, is this leaf garland. In it's original state, it was pretty sad and sparse. It only came with a few leaves and one acorn . Painting the leaves to match my color scheme and adding a few faux plants with hot glue gave this leaf garland a completely updated look. I absolutely love the contrast of the gold and burgundy mixed with the natural cotton stems.
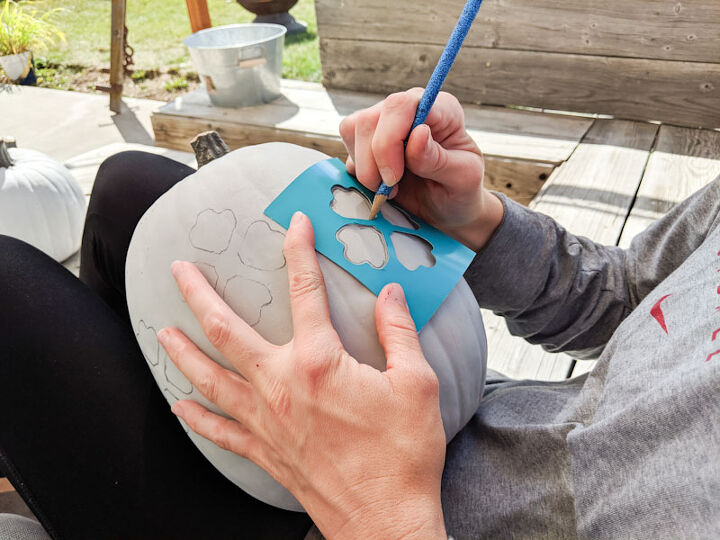
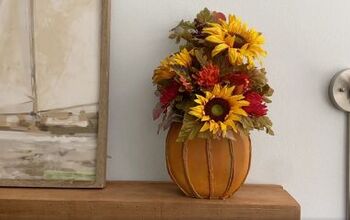
The faux pumpkins are actually thrifted items. I grabbed three of these foam carvable pumpkins in different sizes. Using a stencil that wasn't too detailed, I copied a pattern onto the pumpkin.
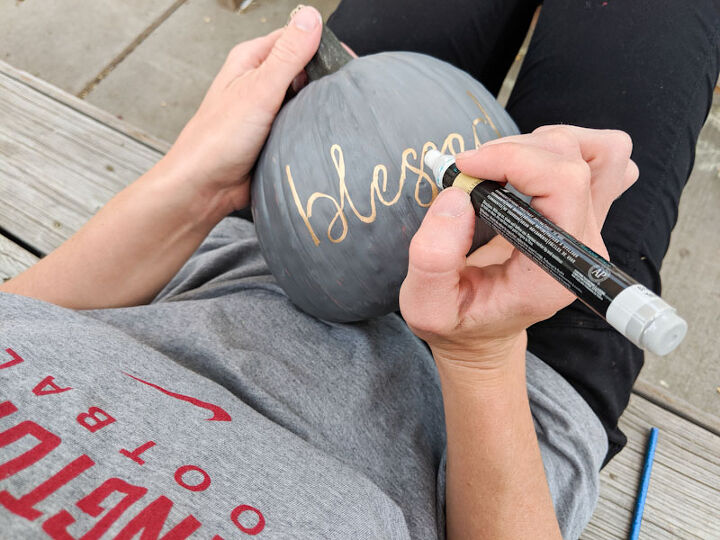
My gold paint pen made another appearance to add some pretty lettering to the smallest of the bunch.
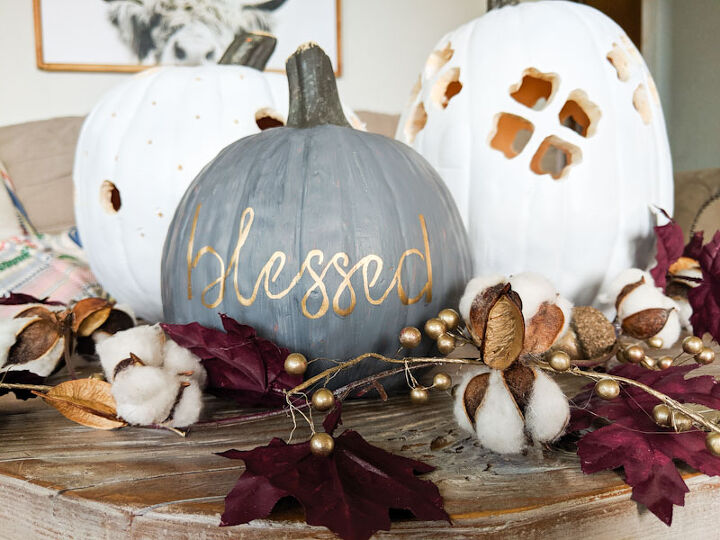
I carved out the stenciled pattern on the largest pumpkin, and used a drill to create different sized polka dots on the other. Pumpkin carving will be much easier if you have a pumpkin carving kit.
If there are any rough edges after carving, a fine grit sandpaper can smooth it out with minimal effort. Cut a hole in the bottom, and add LED candles to get the lantern affect.
It's amazing what a little paint can do! Now all I need is some pumpkin pie. Happy Fall and enjoy!
Resources for this project:
See all materials


Frequently asked questions
Have a question about this project?