


Vintage Tin Mold Pumpkins
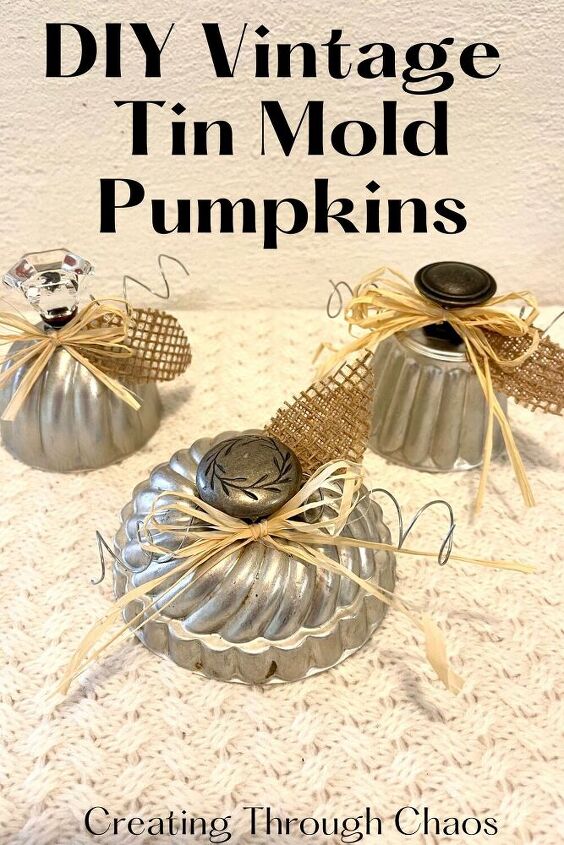
Every time I go into a thrift store or flea market and even yard sales I always look for molds, I just love them! I had a few ideas for Christmas with them, honestly never really thought about any other projects…until now! When I was organizing my junk, I mean treasures in my craft room I came across a bunch of old knobs that I had apparently also been collecting. Clearly I have been hoarding a lot of stuff ha-ha! Any who, I was just playing around with all my treasures and came up with this idea of using the knobs on the molds and making pumpkins (I’m pretty sure that somewhere along the way I have seen something similar to this) this is how the idea was born! Follow along as I create this super cute vintage tin mold pumpkins! They turn out SOO cute!!
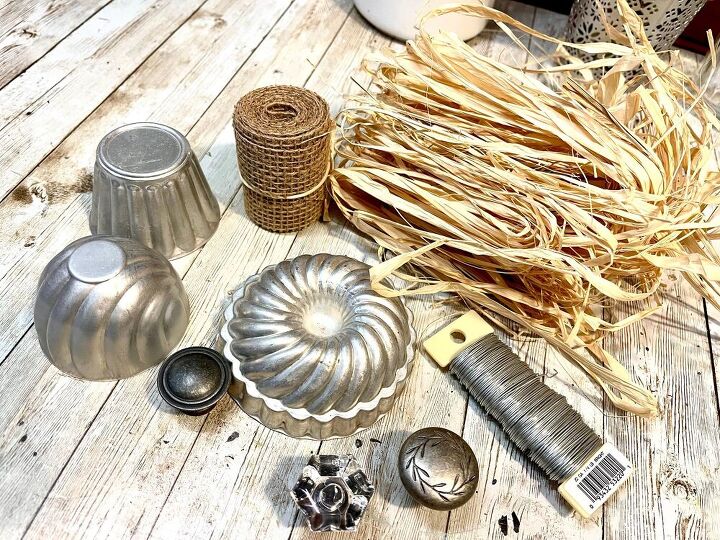
Supplies
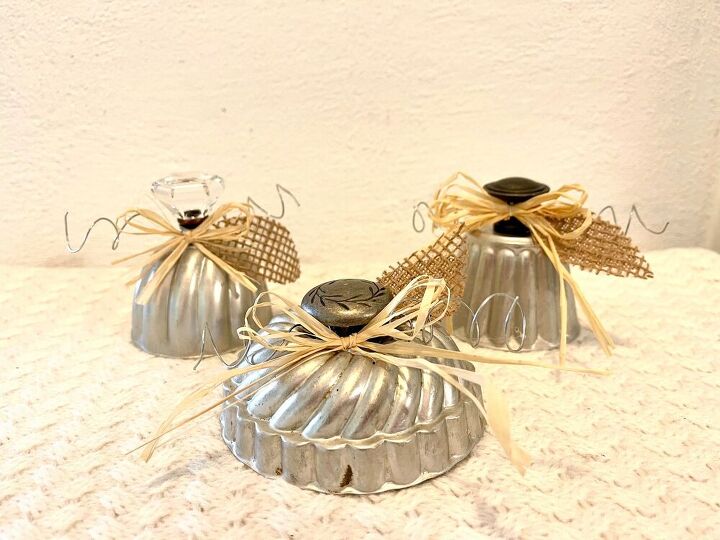
Vintage Tin Molds ( I used 3 different styles)
Knobs (I used 3 different ones)
Wire
Raffia
Burlap Ribbon
Hot Glue Gun
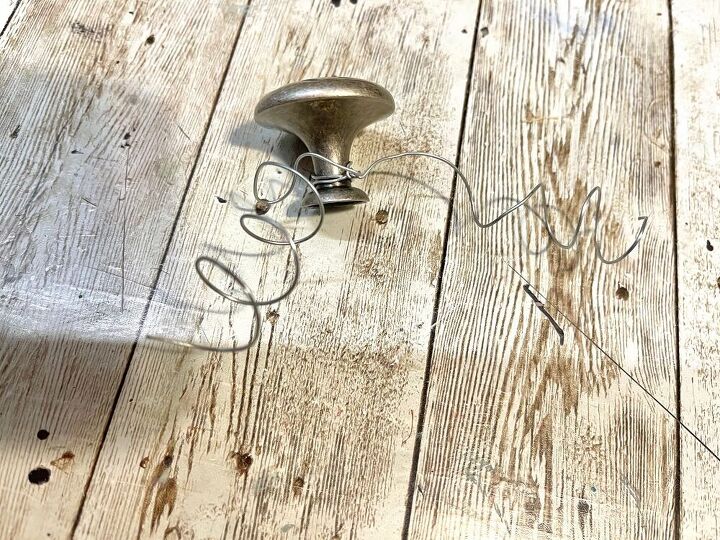
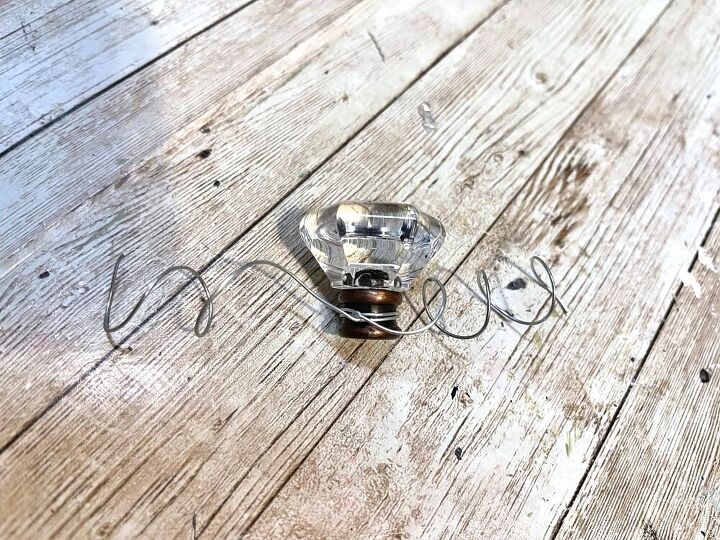
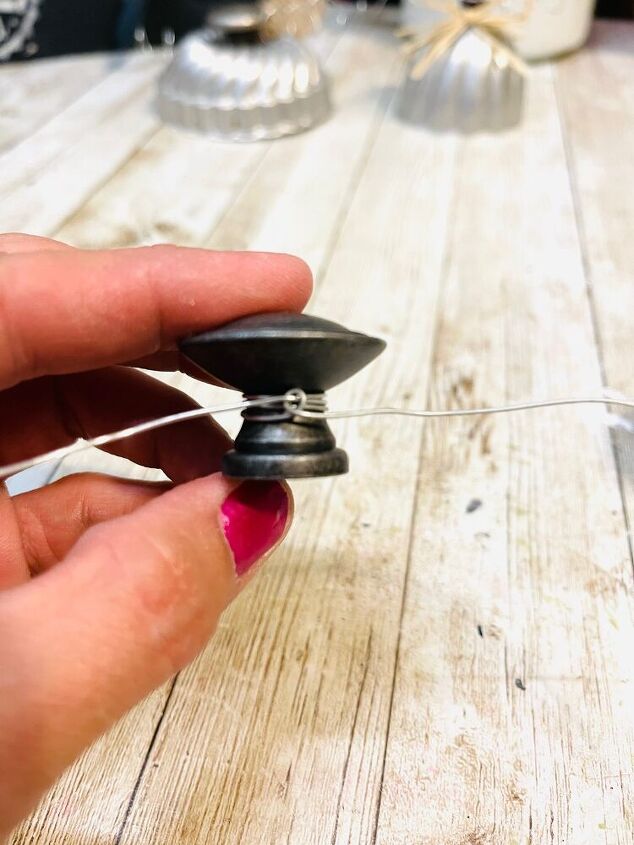
First, I took my wire and wrapped a long piece of it around all 3 of my knobs and twisted it to secure. Then I used a pencil to twirl the excess.
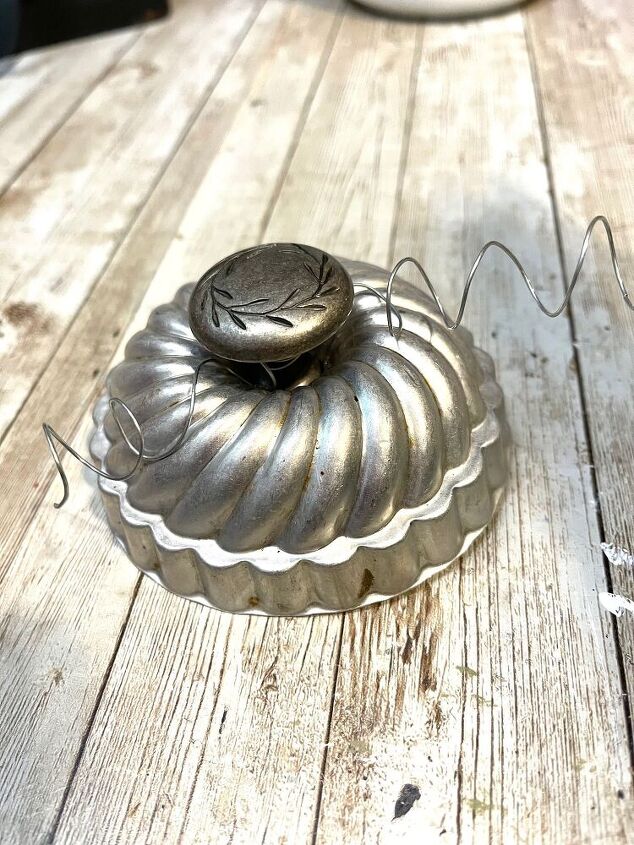
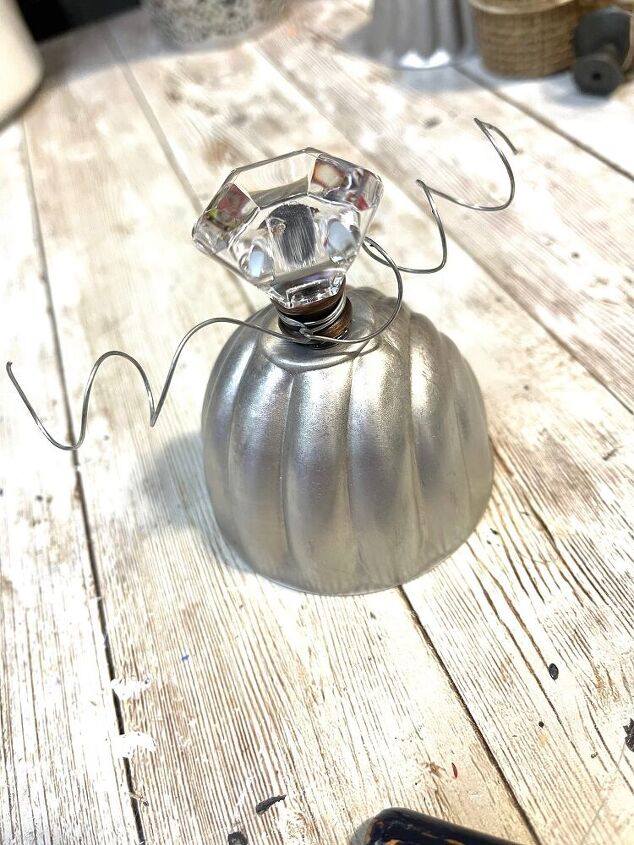
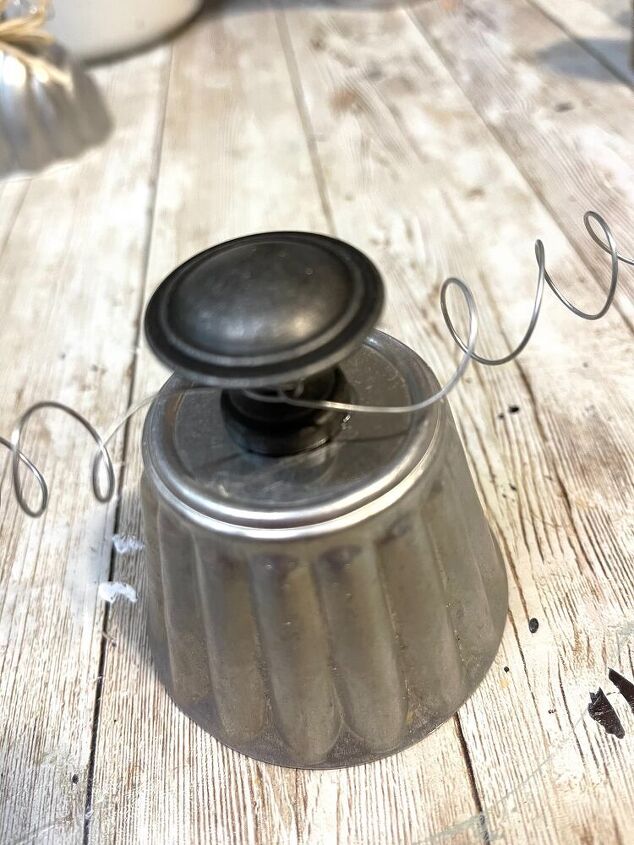
Second, I took my knobs and glued one to each of my molds. For the glue I just used hot glue, it held well and I figured it is easy to remove in case I choose to use these molds for soemthing else in the future! I am using the molds upside down. so you’ll glue the knobs to the bottom of the molds.
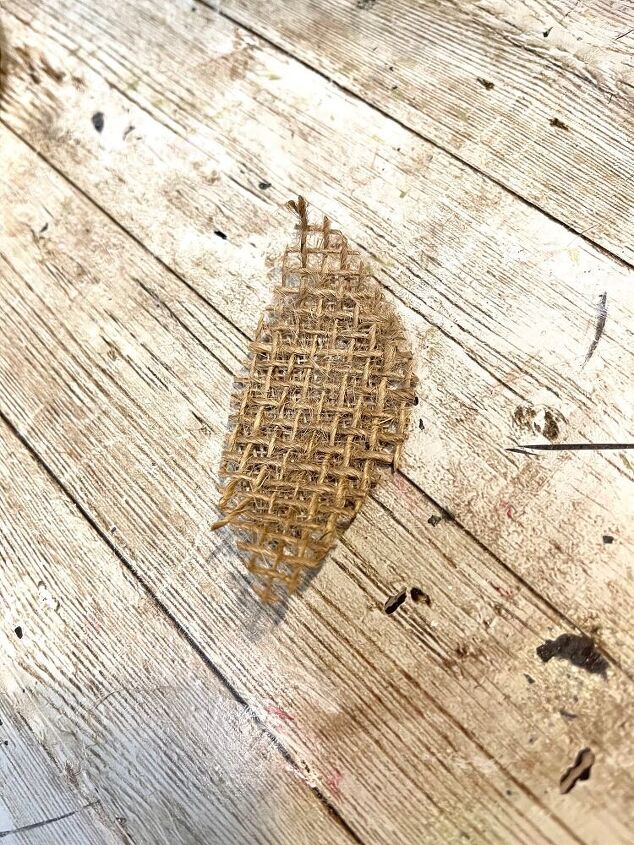
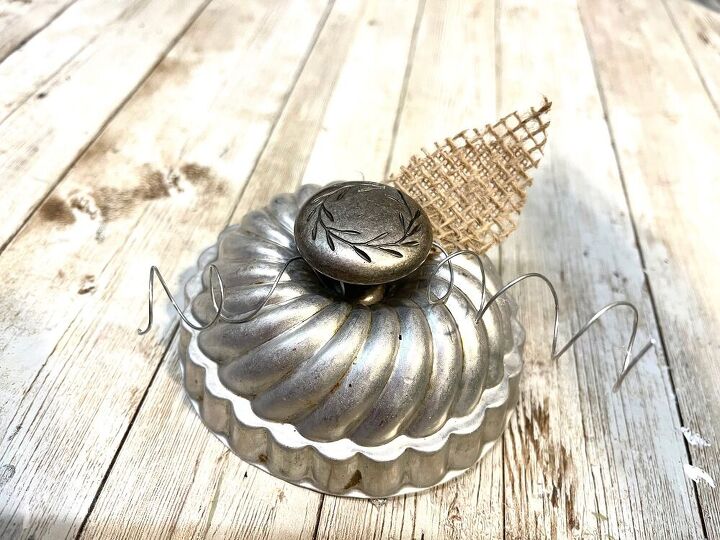
Third, I cut small leaves from the roll of burlap and hot glued one on each pumpkins mold.

Finally, I made small raffia bows and added one to each mold as well! This was the perfect finishing touch!
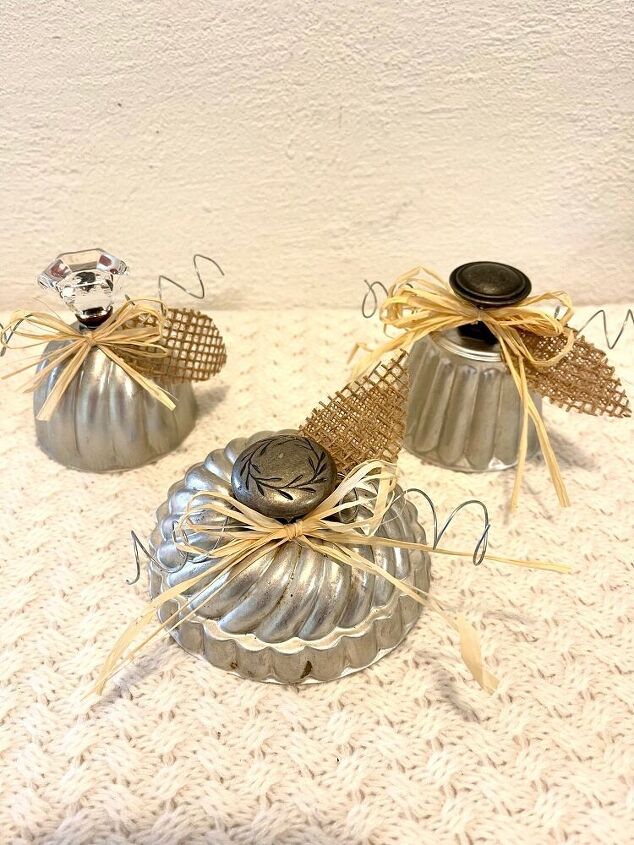
How ADORABLE are these?! They came out just the way I had envisioned them in my mind! Honestly I had contemplated painting them white and orange, I am really glad I didn’t. I am really enjoying the rustic/industrial look of them! What do you think, should I have painted them?
Hope you enjoyed the making of these Vintage Tin Mold Pumpkins! They were fun to make and I hope it inspires you to make some too!
If you enjoyed this project, come find me on social media below for many more DIY’S!
PIN FOR LATER
Resources for this project:
See all materials


Comments
Join the conversation
-
Very unique.. love them
-
No paint


Frequently asked questions
Have a question about this project?
Sooooooo cute they are