


"All Because of You" ROSES

by
Teresa
As a single parent for many years, I had no intention of ever falling in love again, much less marrying.
Then I met John, who had the same idea as I did. We became friends, just friends, we both promised, “No commitments”.
HAHAHAH!!
Well, we have been married for a long time now, all our kids are grown and our grandkids are growing up.
One thing we have always said is you should never blame anyone for anything, it is never exclusively anyone’s fault, but we have decided, and said it to each other for closing in on 20 years that.. "It’s all because of you", and THAT, is a good thing.
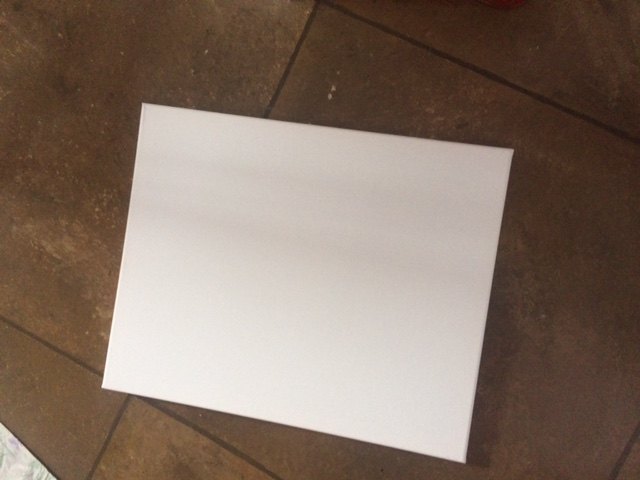
I started with a blank canvas, some white paint, some plaster of Paris and some premised drywall compound.
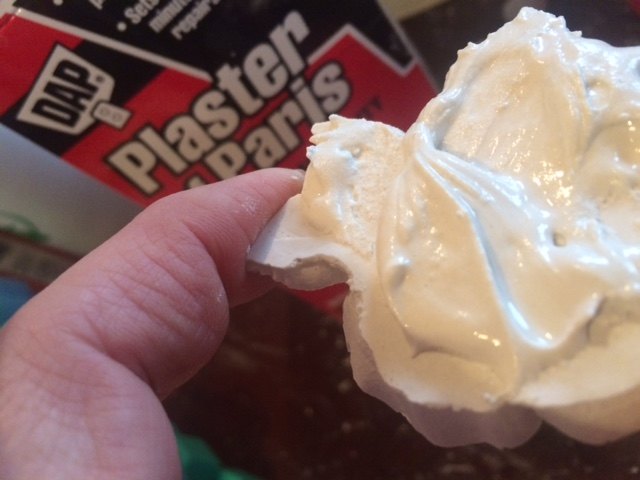
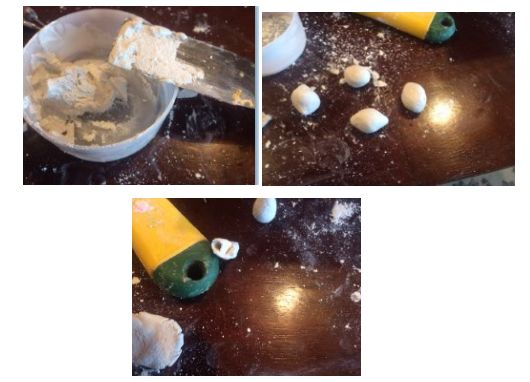
I have done quite a lot of pottery and sculpting in my past and so I decided to sculpt a rose, it worked well but it was much too time consuming so, so since I wanted a few roses, I decided to make a mold, I use silicone, acetone and cornstarch, and cast my rose with plaster of Paris. After making 2 casts I decided to cast an old brooch of my Mom’s and even a pair of her old earrings, so I had a few sizes of roses.

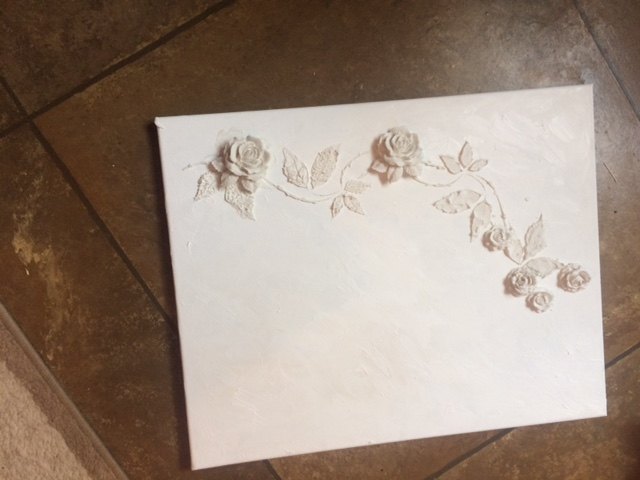
Using plaster mixed with white paint I painted my leaves and the bases of 4 roses, then I stuck my roses which were dry, into my wet plaster on the canvas.
First few roses attached.
The tinted ones added. When I added a rose I would try and make a base of poly-filla shaped light the base of the rose but slightly large than the rose to make it look bigger and so when I stuck the flower on it would sort of wrap around the base of my dry plaster flower.
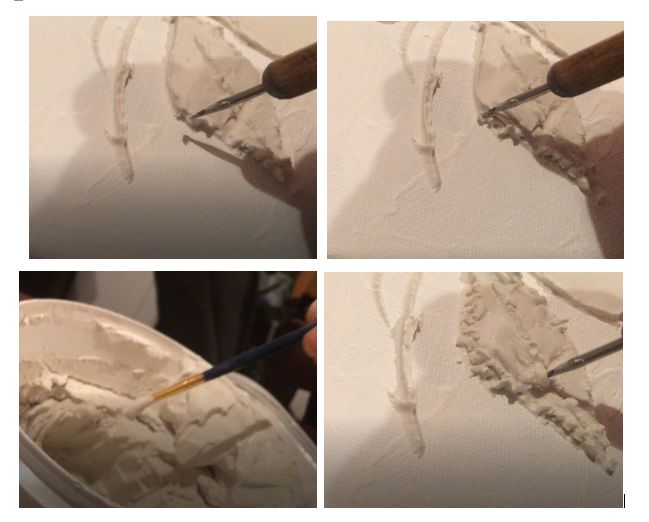
Building up the leaves, keep adding more and more plaster and allowing to dry slightly before building up again. make different leaves different thicknesses. I used a nail polish dotting tool but a toothpick works better!
Making buds and unopened roses, glue these on with a dab of plaster on the side you want down.
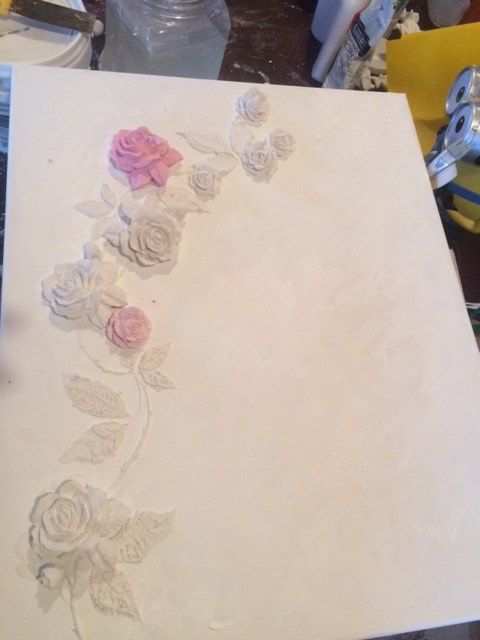
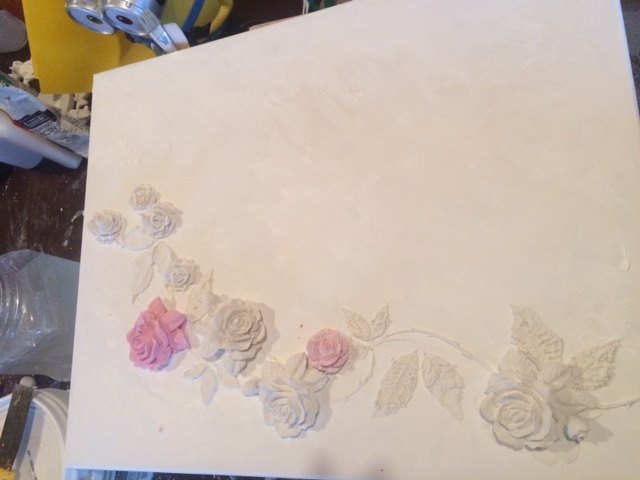
Adding more, you can easily see the pre-tinted ones.
Tooling a rose leaf. I have dental tools from sculpting in the past but a toothpick works too!
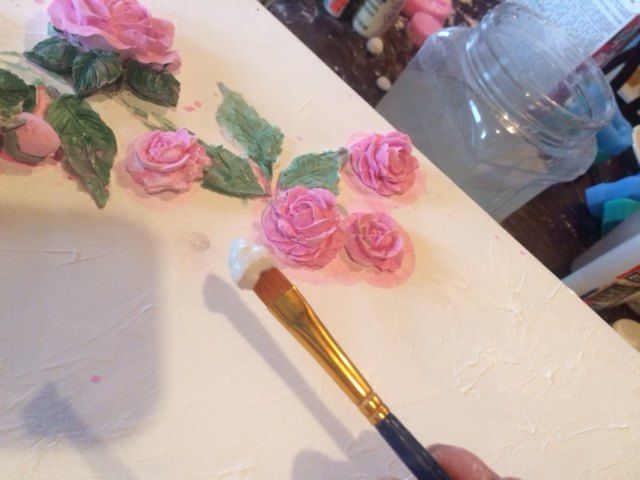
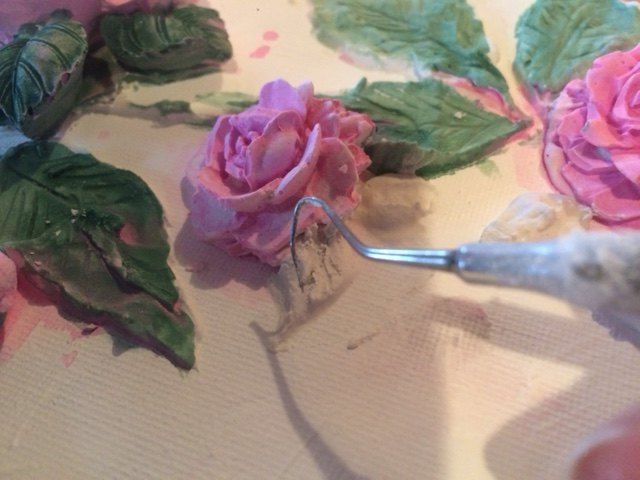
Touching up where I painted the canvas pink or green, I should have pre-tinted things!!
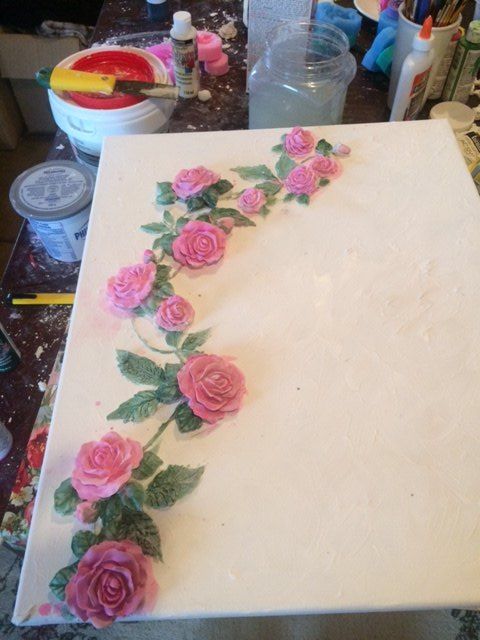
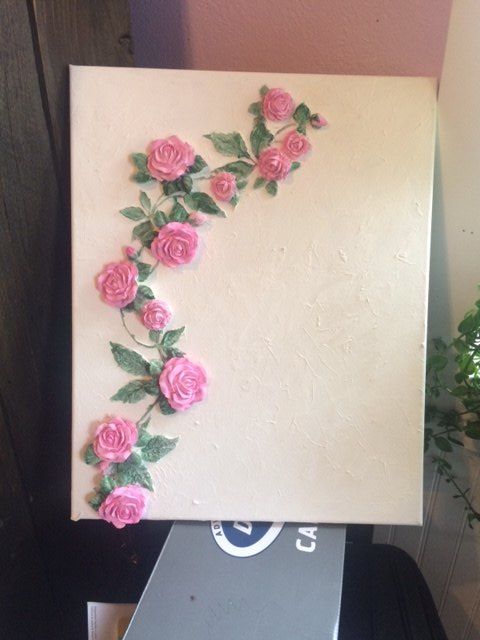
Painted and touched up. two coats of polycrylic matt finish applied
Looking at it from different angles, found out I love the rose that hangs off the bottom.
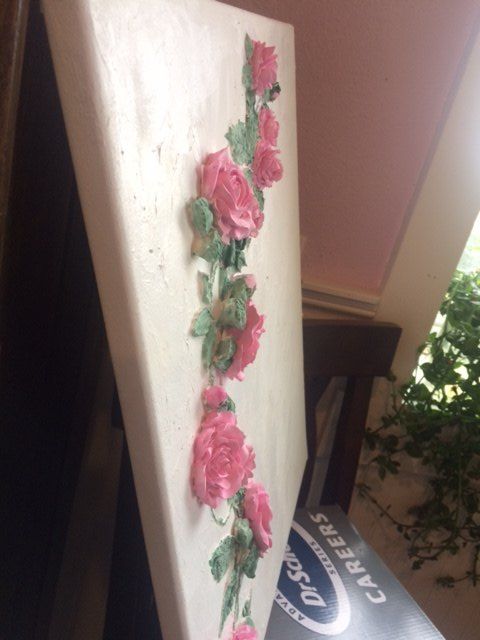
From the side.
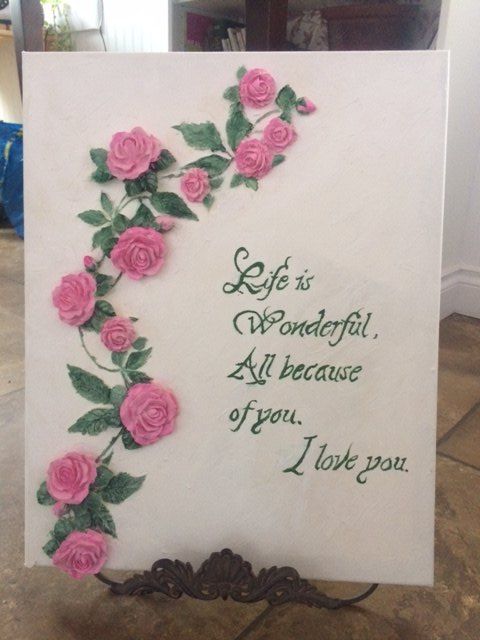
And presto the thing we both say to each other every day..
Comments
Join the conversation
4 of 114 comments
-
Absolutely beautiful work. I make roses out polymer clay - hand rolling each petal - very time consuming but I love to do it. Would be so much easier to use a mold and plaster as you did - - thanks so much for your inspiration!!
-
This brought tears to my eyes.....Love is beautiful and so is that last rose.
 ...You have a beautiful talent and I would bet you have a beautiful heart too.....Merry Christmas to you and your love.......Joanie


Frequently asked questions
Have a question about this project?