


A Quick Way to Make A Hand Tied Bouquet
Using an artificial hydrangea as an armature is an easy way to make a hand tied silk bouquet! Let me show you how to do it!
What is a hand tied bouquet?
A hand tied bouquet is a bouquet that is designed by arranging the flowers in your hand rather than in a vase or other container. It can be a bit tricky to master, especially if you have small hands! Once you get all the flowers arranged, you then tie the stems together. Bridal bouquets are often hand tied.
The Stems
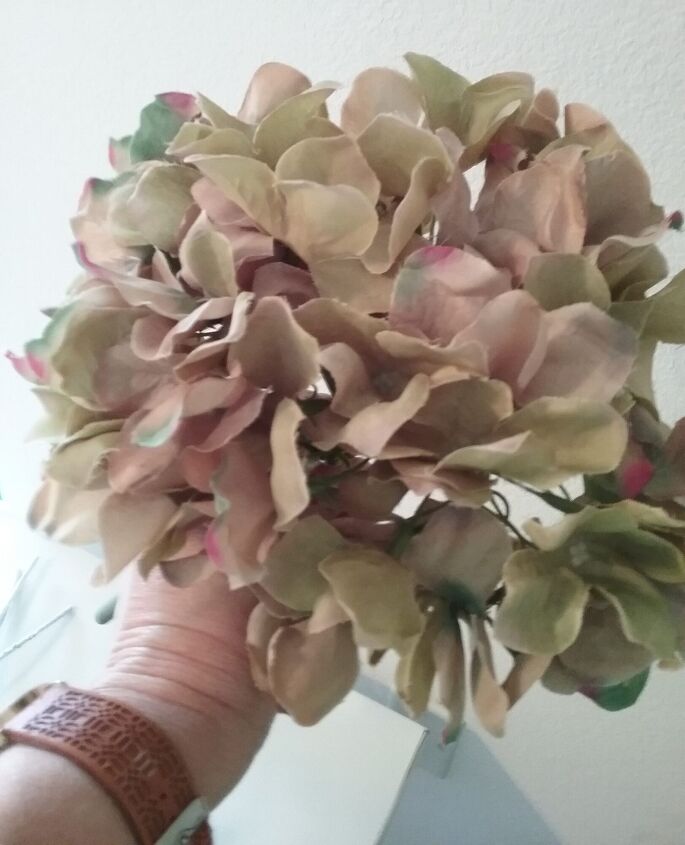
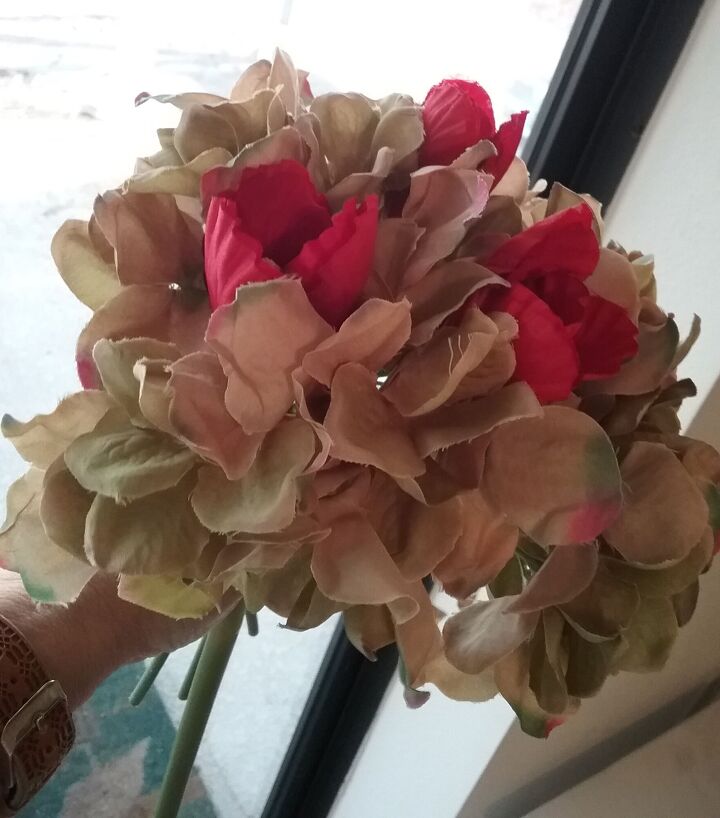
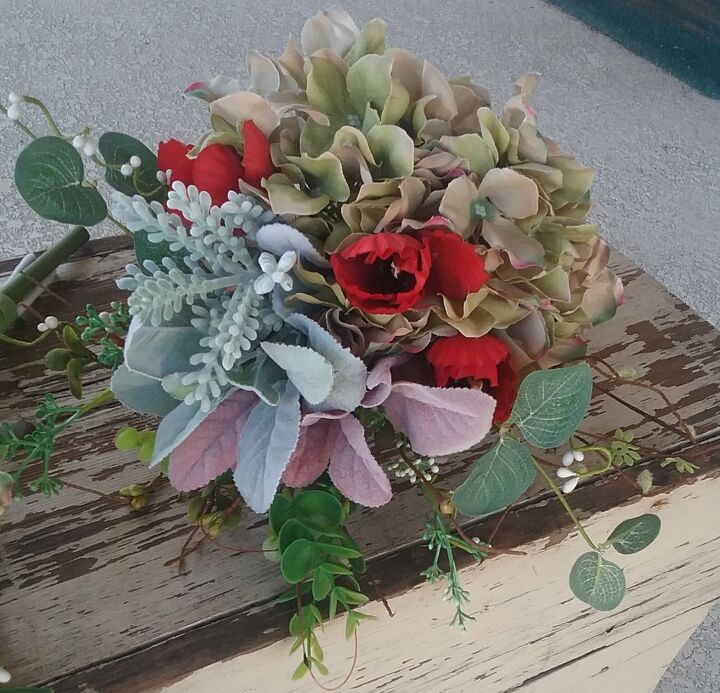
One large green hydrangea head
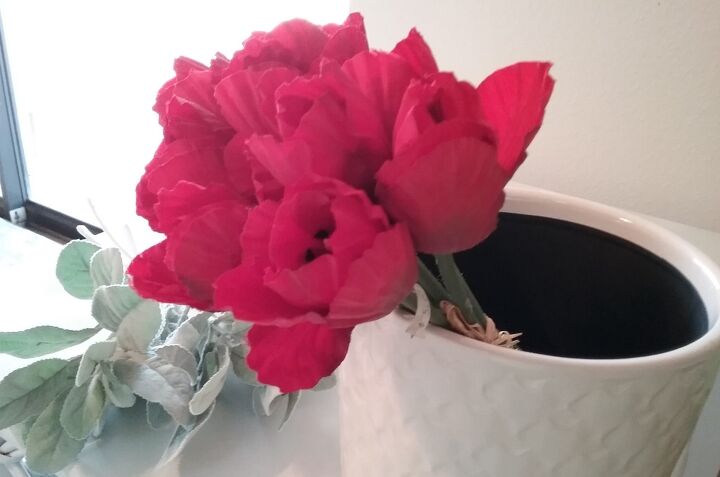
Red tulips : we will use three for the bouquet
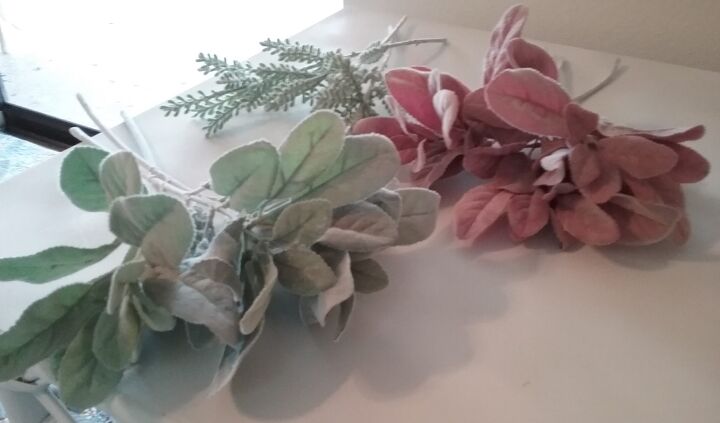
Assorted Lamb’s Ear for added texture
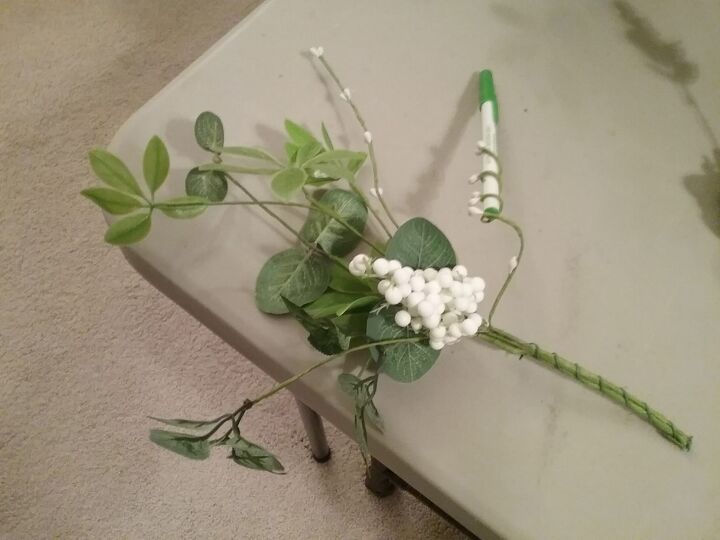
These berry stems are individually wired so that I can twist the stems around a pen to make whimsical curlicues to add interest and movement to the arrangement.
The Process
Since I am right handed, I will hold the hydrangea head in my left hand. With my right hand, I add the tulips into the hydrangea at a slight angle. The blossoms of the hydrangea are supporting the heads of the tulips. Continue to add the stems to the bouquet, always inserting the stems between the blossoms of the hydrangea. You may need to turn the bouquet in your hand so that the stems are easier to insert .
Because I am going to be using the bouquet as part of a larger arrangement, I made this one one sided. If I was only making one bouquet, I would have made it more symmetrical and used the lamb’s ear all around the edge to form a collar. There are many ways to design your bouquet. As long as you are happy with it, that is all that matters!
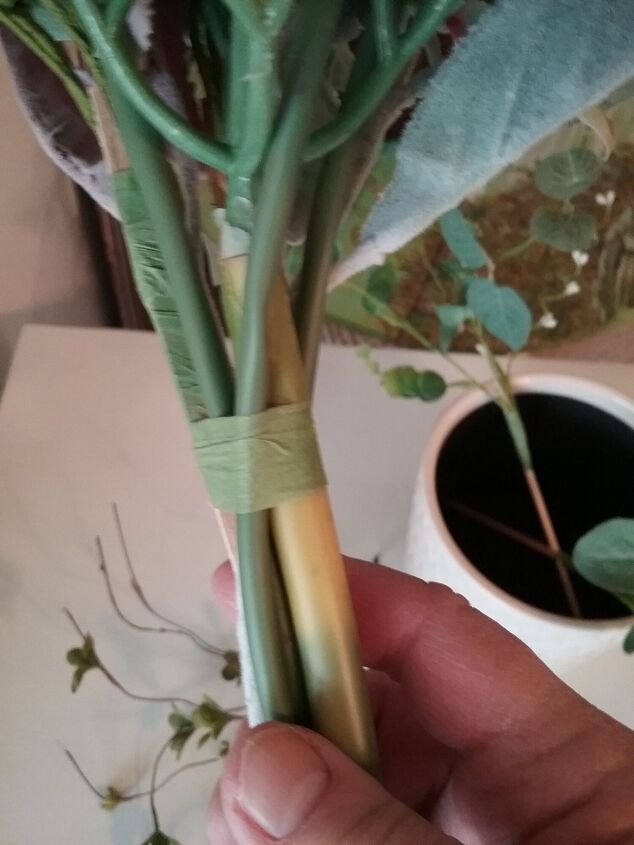
Once you have all your stems in place, it is time to tie the bouquet together. I simply used green floral tape to tie the stems. I chose this method because my stems aren’t going to show in my final arrangement. The floral tape will stick to itself as you stretch it around the stems. A gentle pull is all it takes. If you pull too hard, the tape will rip.
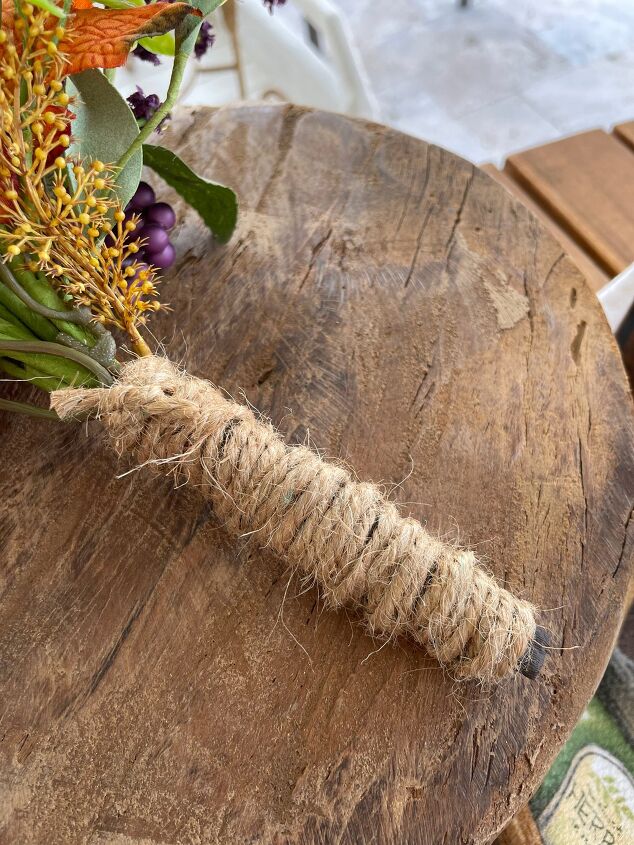
If you were making the bouquet for a wedding, for example, once your stems were secured you could wrap them with ribbon. Or you could use twine, as I did here:
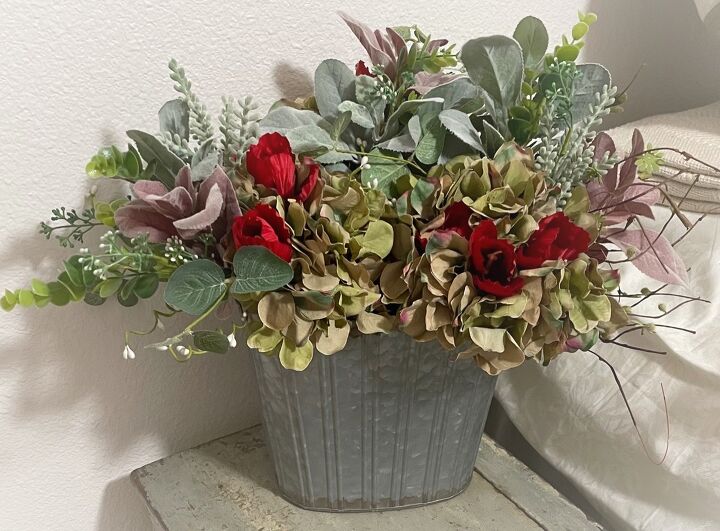
The Finished Bouquet
Once I had one bouquet finished, I simply repeated the process two more times. I wanted a trio of bouquets.
Because of the colors and textures, I chose, these bouquets could be used in my home from late fall until late winter.
A very simple way to display them is to place them in an oval tin bucket.


Frequently asked questions
Have a question about this project?