


Artificial Greenery Displayed in a Glass Vase Using Epoxy

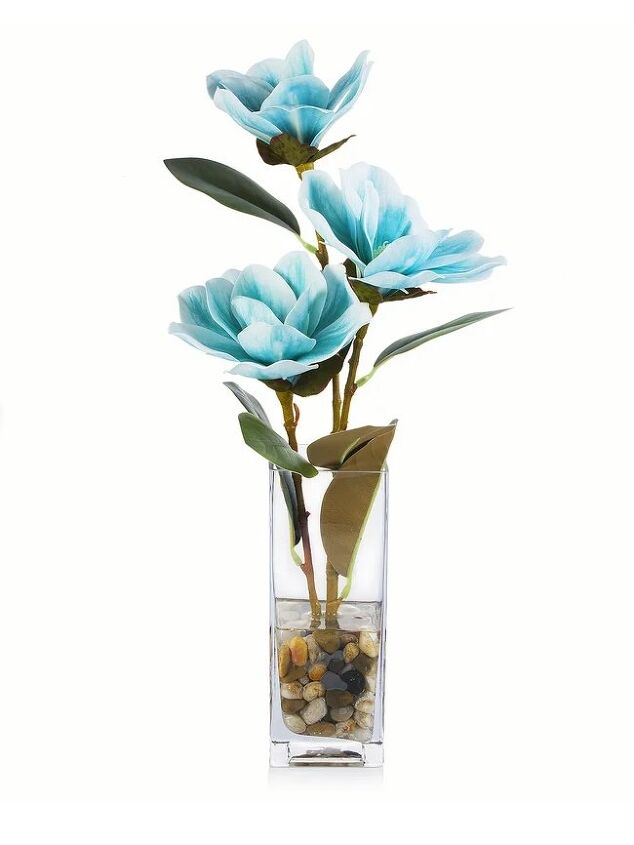
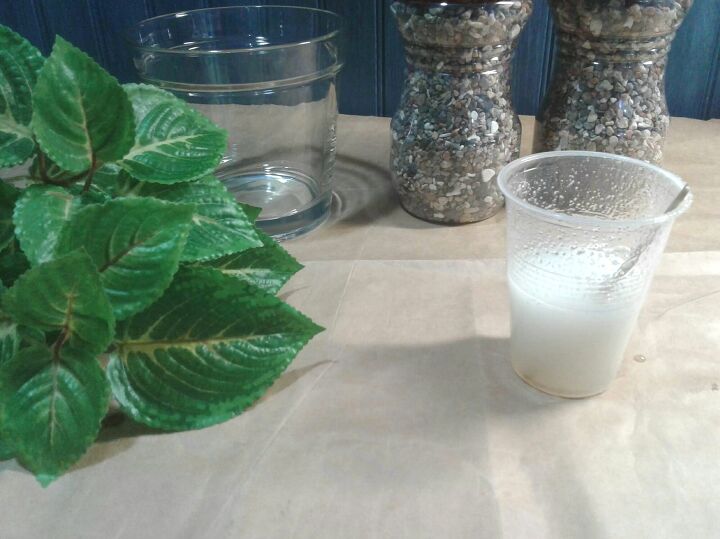
My mom bought this beautiful fake plant one time that I thought was so cool, it was sitting in pebbles and what looked to be water but it was actually epoxy resin. Fast forward to ten years later and I'm now using resin in my craft projects, are you thinking what I was thinking?? Why not try it? Here's a few examples of what look I'm aiming for, however they are not my images.
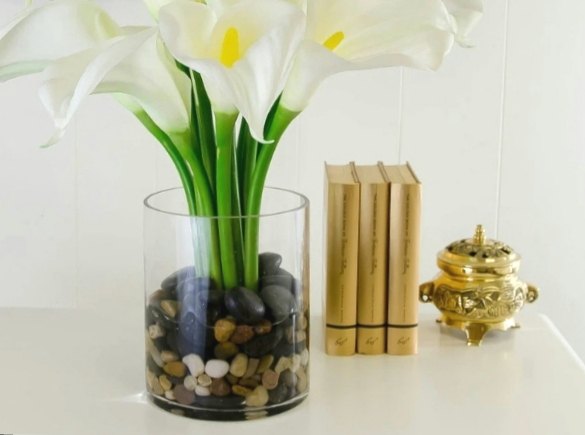
The plants sits in a clear pot with pebbles and what looks to be water but as with my mom's it's an illusion! It's fake! (Get more tips on how to make artificial flower arrangements.)
Fake or not it appealed to me and I wanted to try my version of this eternal plant that would not need to be watered or repotted. Particularly even more so now that Fall is here and my beautiful, lush view of green leaves outside is falling to the ground.

To begin creating my potted plant in faux water I made sure to use the epoxy in a well ventilated area wearing eye and hand protection in using the products.
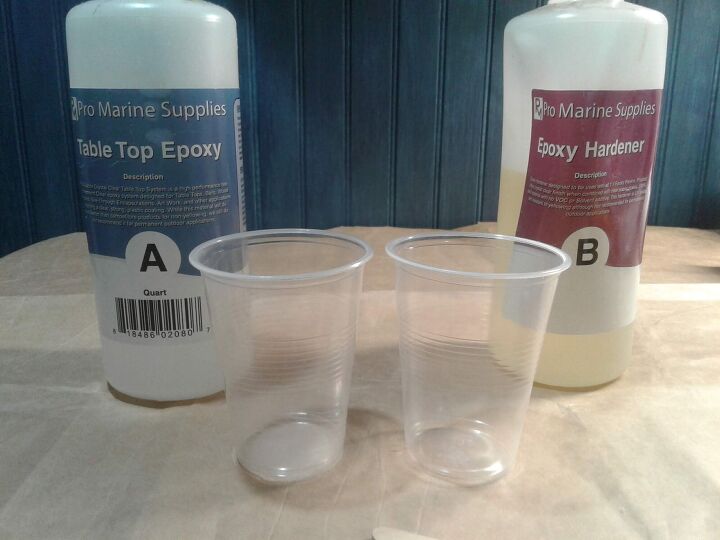
I used little plastic cups to pour out an equal amount of liquid A into one and liquid B into the other one.
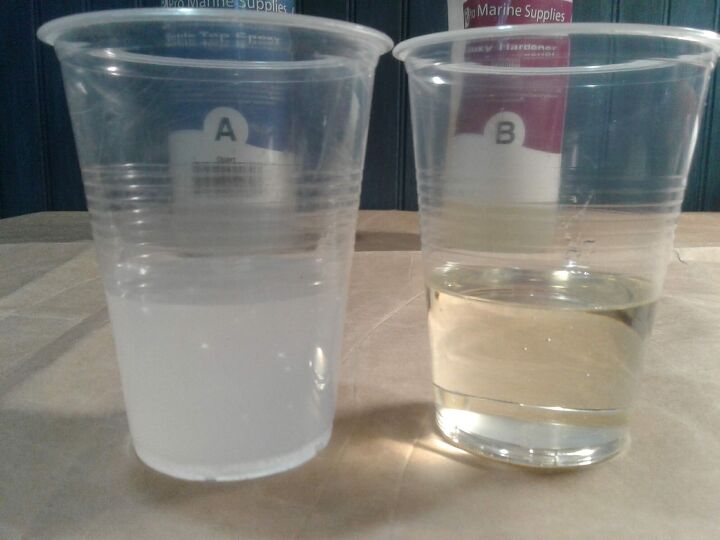
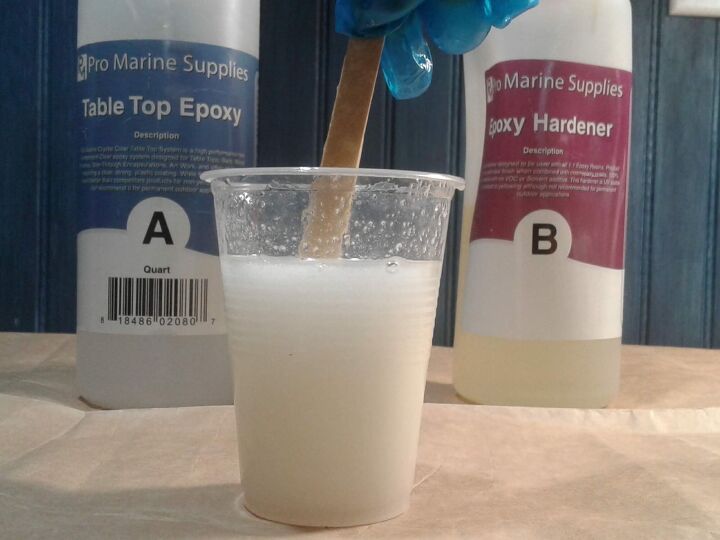
Next I poured all of the B mixture into A as you can clearly see from the color and clarity of the contents
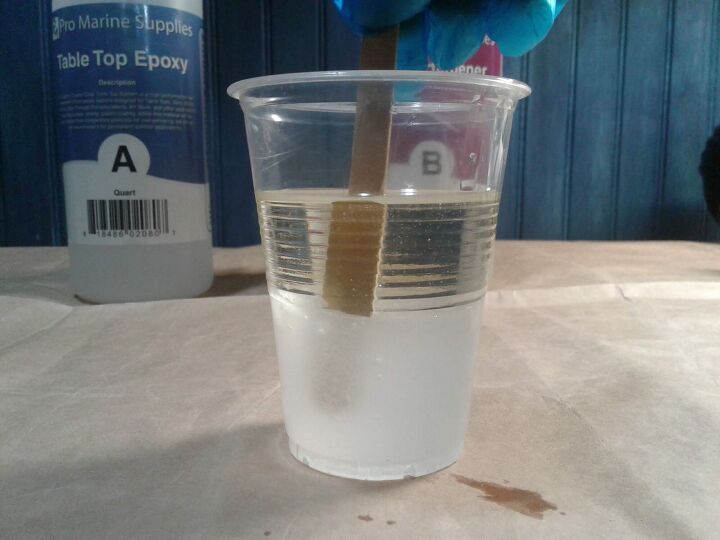
Now comes the key part, stir well I stirred for about 2 to 3 minutes to ensure both liquids mixed into one. With all of the stirring air bubbles got into the mixture making it cloudy but not to worry that will all become clear in a bit.
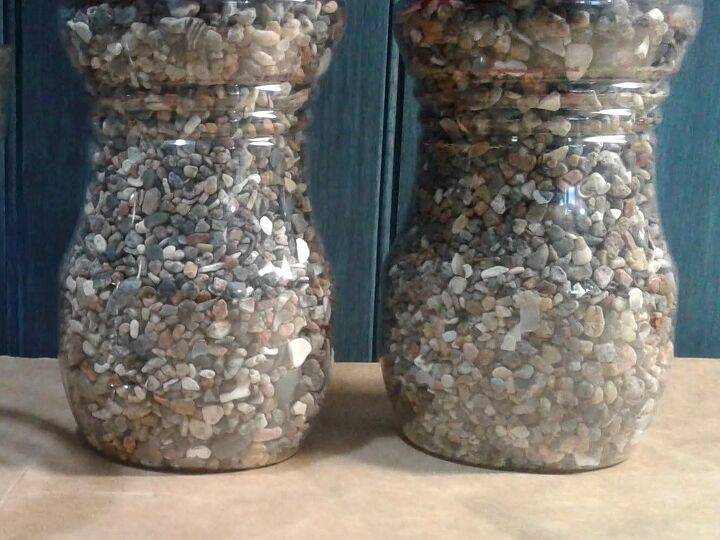
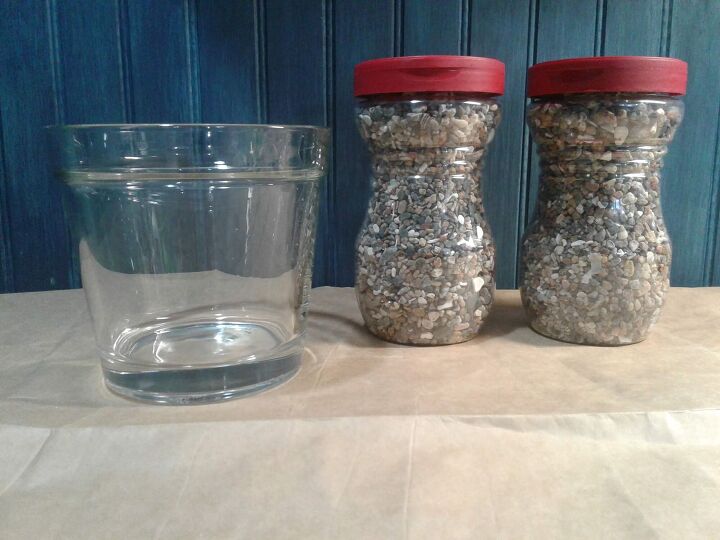
I'll be using coarse sand for the potting medium, I collected small amount from our local beach. However, it can be substituted with small pebbles as the examples shown above used.
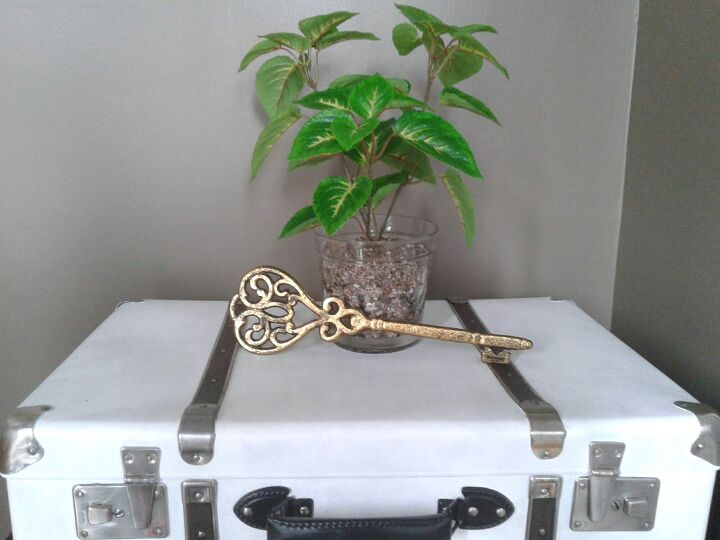
Next I pulled out a glass flowerpot that I had bought at the dollar store to make a cloche but it'll be used right here and now as a flowerpot.
For the plant part I sourced some rich looking green stems that reminded me of houseplants that are so popular right now.
One last supply I used was painters tape, just as a temporary aid to keep the stems in place while I filled the flowerpot. I secured it around the stems and then attached to the outside of the flowerpot. I would add a layer of coarse sand then pour the mixed epoxy over this and lightly mix it into the filler with my popsicle stick. To ensure the epoxy seeped through better I used my heat gun to give the inside and outside of the flowerpot a shot of hot air to thin the epoxy and also to remove the air bubbles.

Here below is two layers of filler with the epoxy mixed in through it just enough to become a solid base once it all hardens.
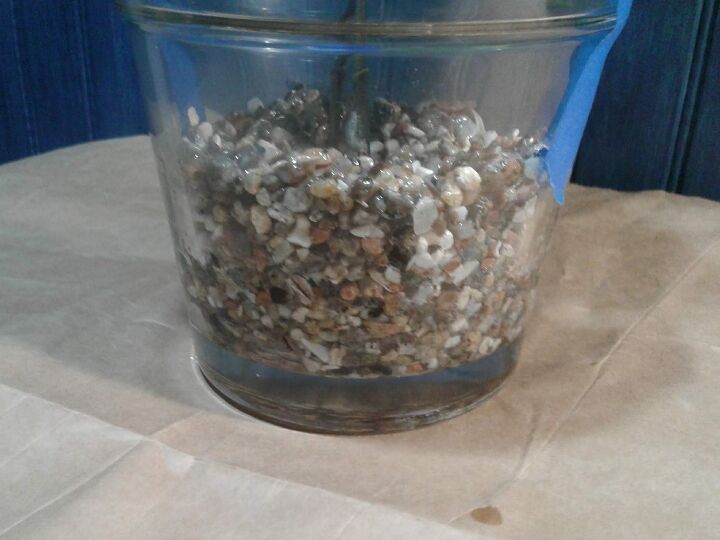
I went up to the edge of where the pot rim widens out and called that a good height level for my potting material. There's no need to press and compact it, just lightly mix as the resin is poured over the fill. If you are using pebbles I would build it up from the bottom in layers in the same way as this but the top part of the pebbles would get extra epoxy to create the sitting water look. Again you would use a heat gun or small torch to remove any air bubbles in the epoxy before allowing it to harden.
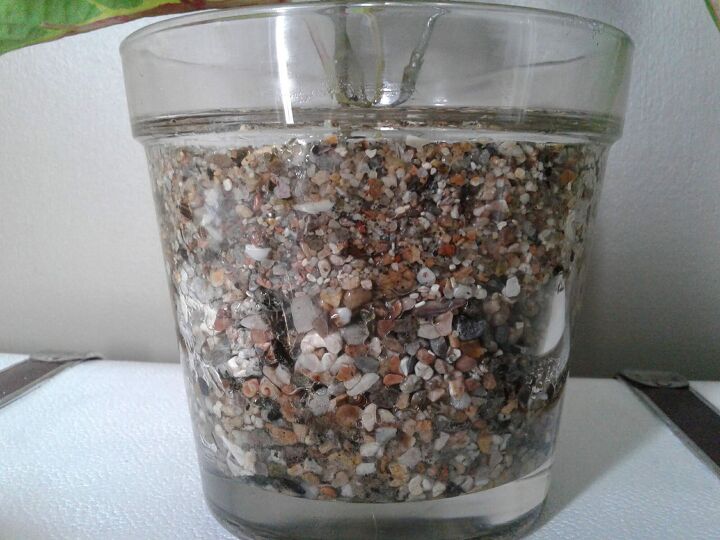
I leave my epoxy projects in a well ventilated area while they are curing, ussually for 24 hours. Once it has cured it ready to display.
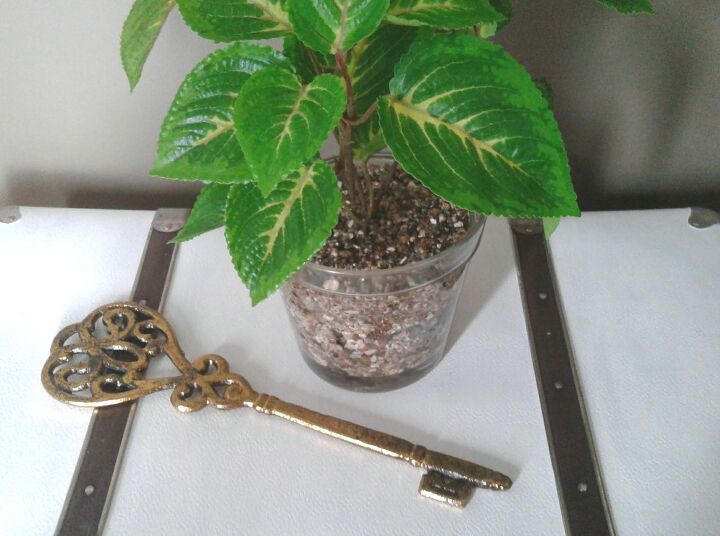
Its beautiful from all angles, both the lush greenery the textured fill capture your attention and it's unique and different...pretty cool for a fake!
I'm liking my take on my mom's glass vase plant and even more so I'm proud that I was able to make my own now we can say like mother, like daughter...both flaunting fab fake flowers! Hahahah... all jokes aside this is an easy and creative solution to attain custom looking greenery even if you dont have a green thumb! The options are endless depending on the flowers you choose and the filler you decide upon. Thanks for checking in on my project and pop back anytime for more projects that you might like to try!
Comments
Join the conversation
-
Cute! This will help bring plants into dark rooms that don't get enough light for the real ones
-
Very clever. I love these. There once was a company that specialized in making & selling these online. In the early 2000’s their owner lost her battle with cancer and the business closed. I’d bought several of them. They make amazing housewarming gifts, newlywed gifts, plus to decorate with year-round. My favorite is silk poinsettia arrangements dipped in gold glitter for table centerpieces!! I’m allergic to the poinsettia plants, but they are stunning in silk standing in epoxy.


Frequently asked questions
Have a question about this project?