


Beautiful, Affordable Magnetic Bowl Hack
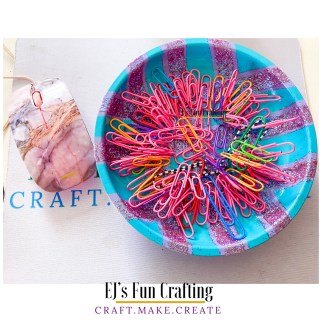
I’ve got a super fun magnetic bowl hack (kind of) that I want to share. If you’ve been sewing any amount of time, I’m sure you know how frustrating it can be not to have everything you need within arm’s reach. For some reason, I always have to hunt down sewing pins. Or, when I’m actually sewing, I forget to bring my pin cushion to the machine with me so I end up with pins all over my sewing table. Of course, they never stay there and I end up with pins on the floor. But never fear. I’ve got an affordable sewing hack for you. And let’s not even mention when I need a paper clip to hold together my pattern pieces.
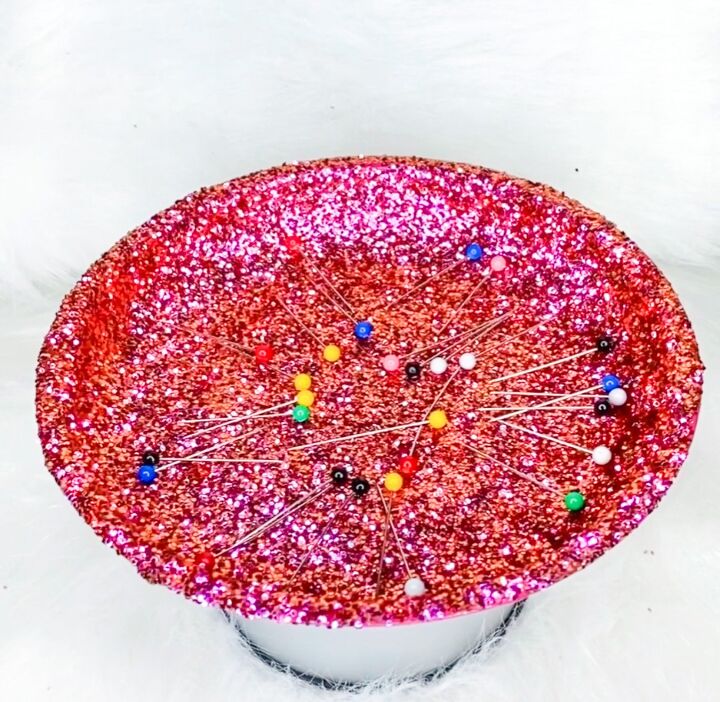
Enter the magnetic pin bowl. I’m sure you’ve seen them. They are perfect! I can just drop my pins and they’re automatically drawn to the bowl. Not only that, but if I happen to drop a pin or two, I can just run the bottom of the bowl across the floor and the pins just jump up!
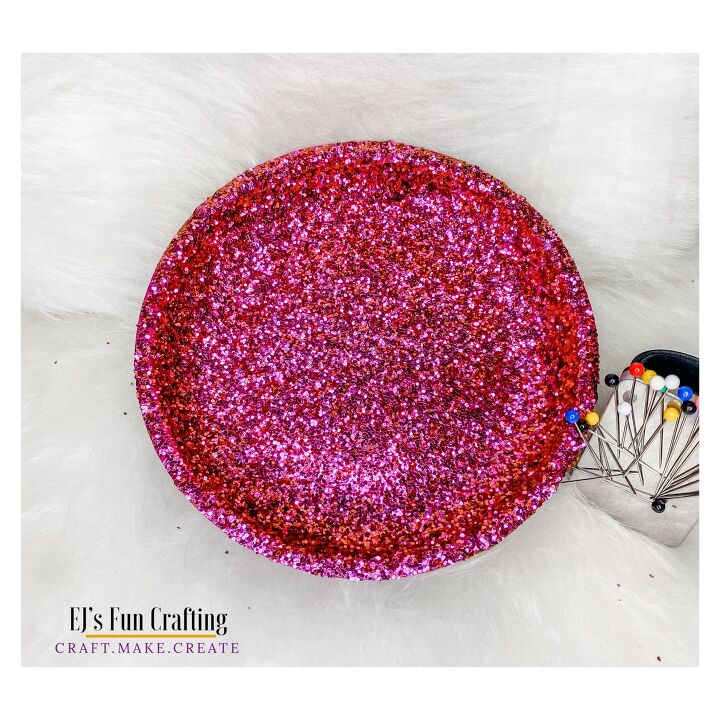
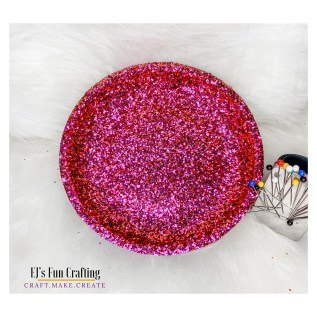
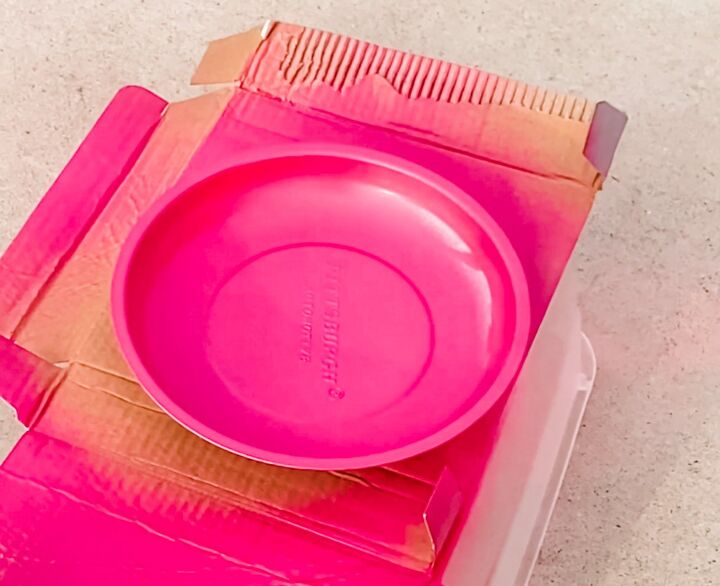
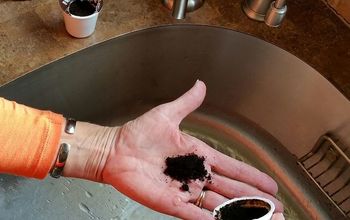
Being a DIY craft kind of girl, I sent my husband to Harbor Freight to purchase a couple (because one is never enough for a trial project) of automotive magnetic bowls. However, that stainless steel was definitely not blending with my craft area. So what did I do? I added glitter… pink glitter… from Backfist Customs. Because “glitter makes it better”.
In this tutorial, I’ll take you through the process of how I prettied up my magnetic bowl. If you try this super fun budget-friendly magnetic bowl hack, be sure to tag me on Instagram. You can also find and pin it from Pinterest. Dress it up and make it your own!
Magnetic Bowl Materials and Supplies
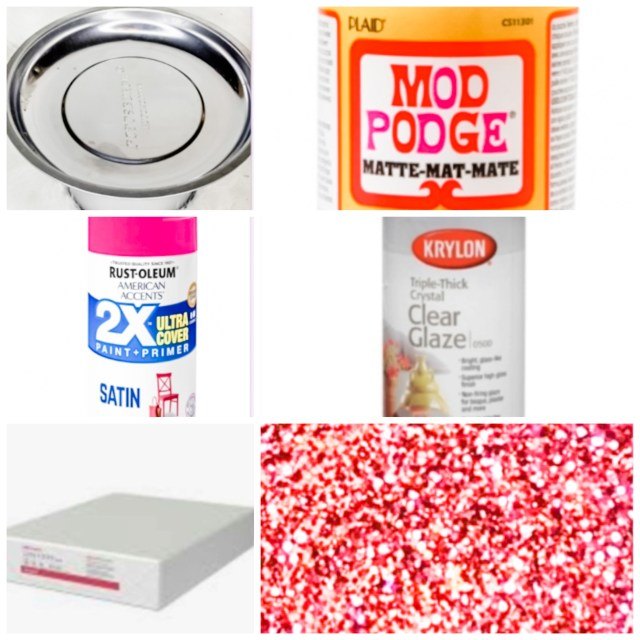
- Magnetic bowl (can be purchased from hardware store)
- Spray paint
- Clear spray sealant
- Mod Podge
- Glitter
- Copy paper (2 or 3 sheets)
The Process
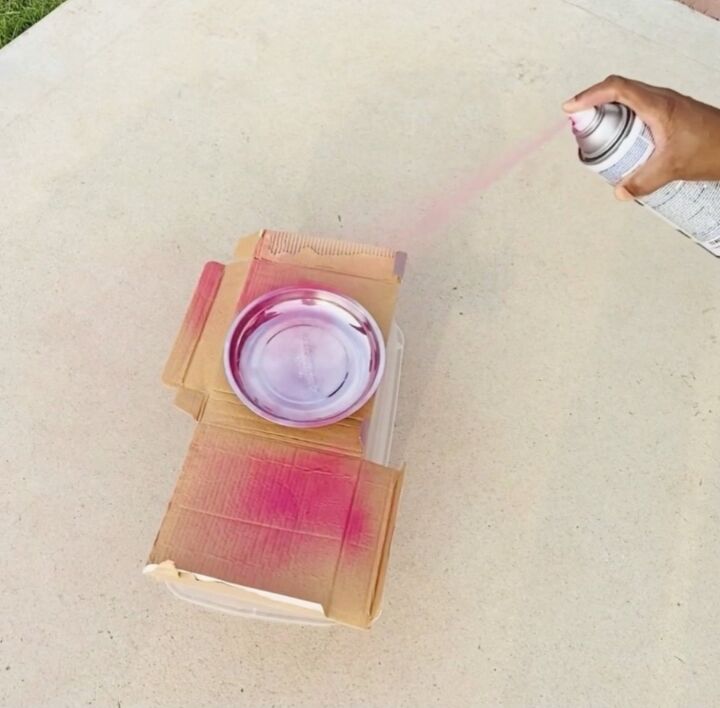
- Spray paint your bowl. Be sure you are in a well-ventilated area. I used Rustoleum Satin in Magenta.
2. After it has dried, apply another coat of spray paint. Let it dry completely.
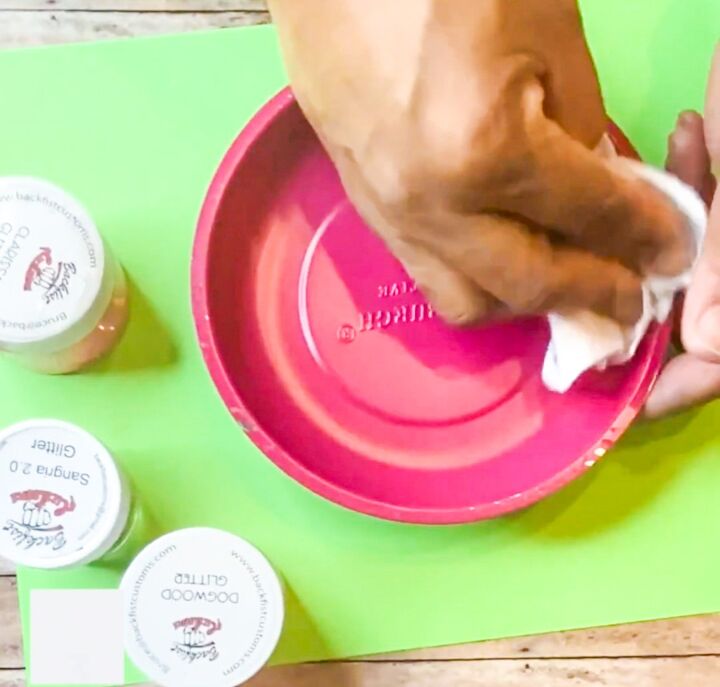
3. Wipe down your painted bowl with a clean, lint-free cloth or paper towel.
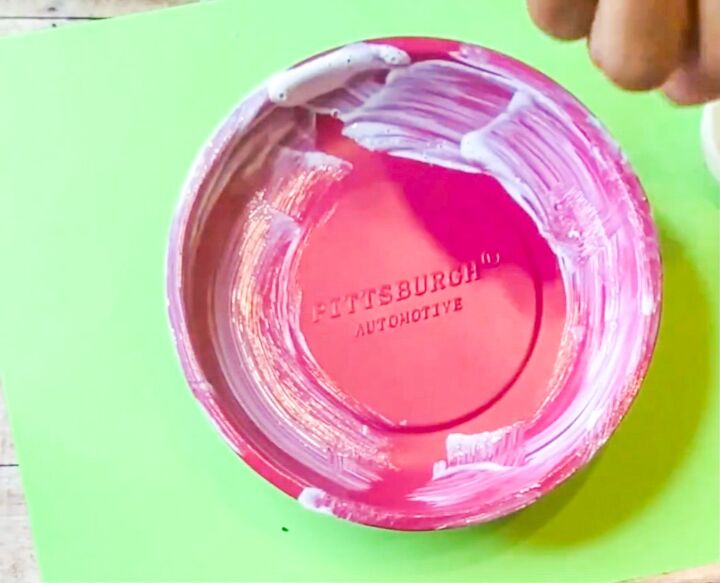
4. Use a foam brush to apply a thin, even layer of Mod Podge to the inside of the bowl.
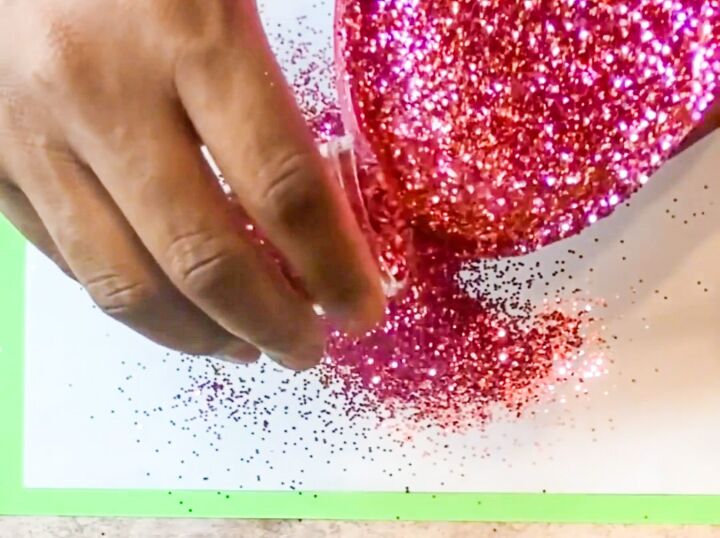
5. Place a clean sheet of copy paper under the bowl. Add your glitter. Cover as much as possible. Don’t worry about using too much.
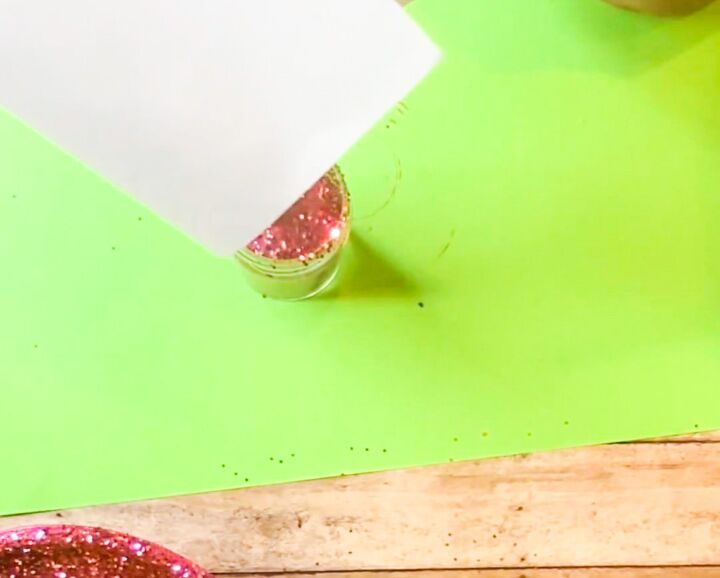
6. Take your extra glitter and pour it back into the glitter container. That’s what the sheet of copy paper was for. (We don’t waste glitter.)
7. Seal your bowl to minimize the fall of loose glitter. I used Krylon Clear Glaze. Let it dry. If you’d like, add another coat of sealant. Then you are DONE!
Now go make something cute!
craft bloggershow toJumpropesewingvideo tutorial
Latest Crafting Fun
- Five Easy Beginner Sublimation Projects
- Craft With Us!
- Being Part of a Crafting Community
From the Archives
Select Month
June 2021
May 2021
January 2021
December 2020
November 2020
October 2020
August 2020
July 2020
June 2020
March 2020
February 2020
January 2020
Categories
Meta
- Log in
- Entries feed
- Comments feed
- WordPress.org
Resources for this project:
See all materials


Comments
Join the conversation
-
As I get older I don't know why but I like a little bling so this is adorable and you have a new follower.
-
I have been using the magnetic bowl but will definitely be updating it with some sparkle thanks for your post


Frequently asked questions
Have a question about this project?