


Bedside Hanging Lamps With Corbels

10 Materials
$60-80
2 Hours
Advanced
In the past several months I've seen this project in different variations and have been too intimidated to try to create my own, but I am SO happy I finally did! Thankfully, my sweet husband helped me because I'd be lost as a goose in the woods had I not had him to lend a hand--and his brain--to figure out these handcrafted corbels and reclaimed candle holders!
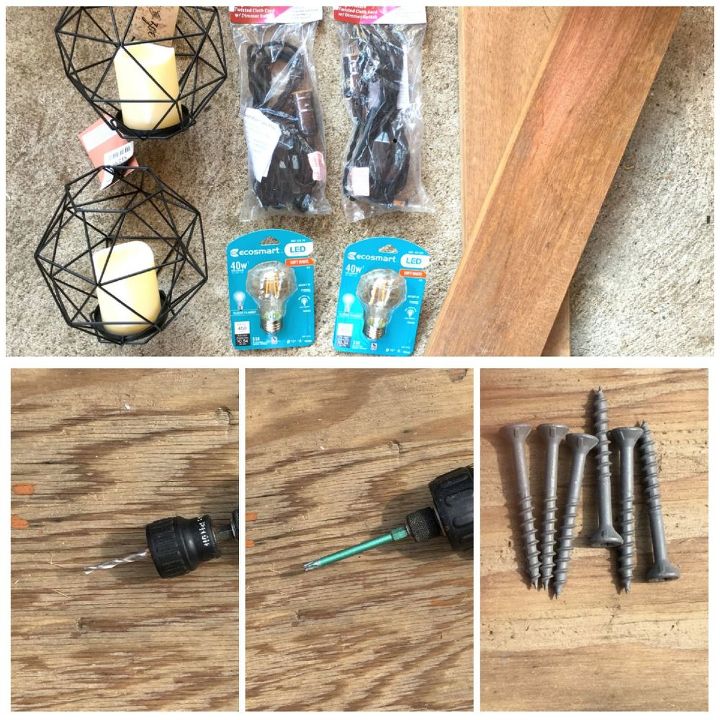
Supplies:
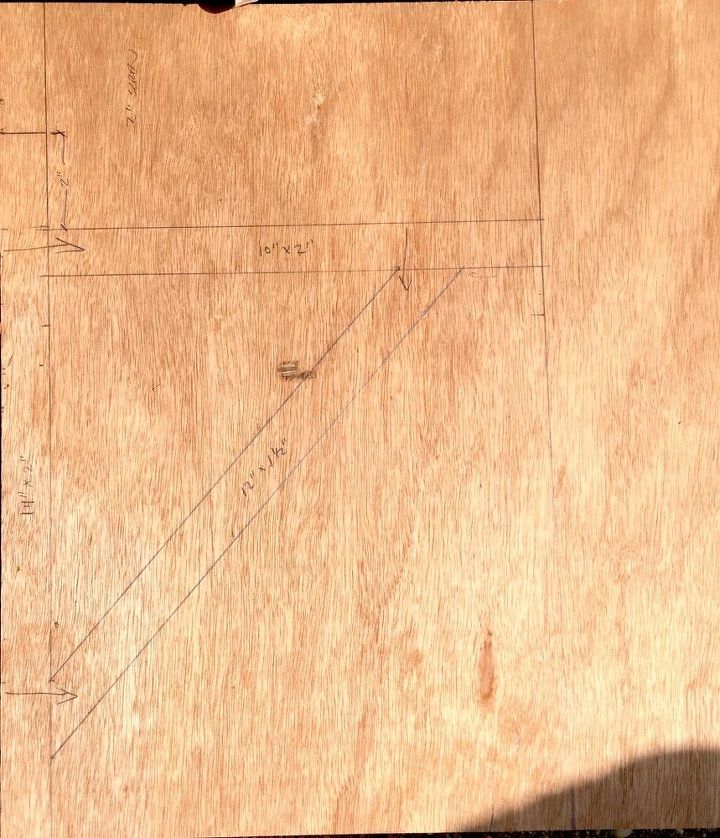
Before I explain my steps, I just wanted to share this little sketch that Rob had drawn up for me to go by for creating the corbels.
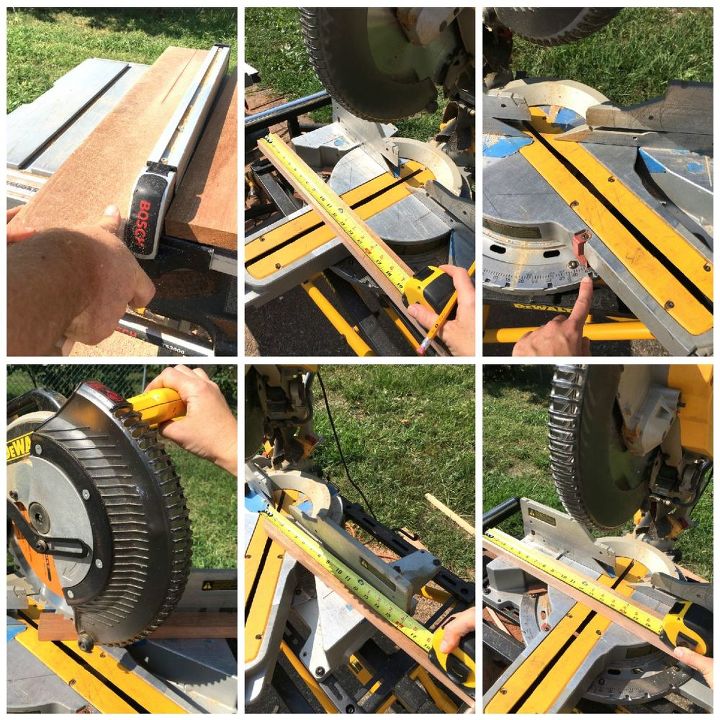
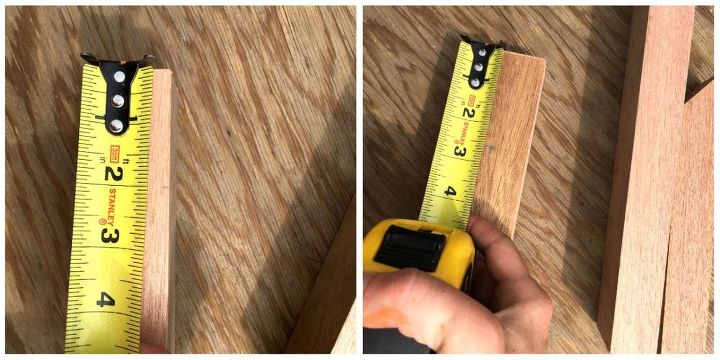
STEP 1: Cut wood
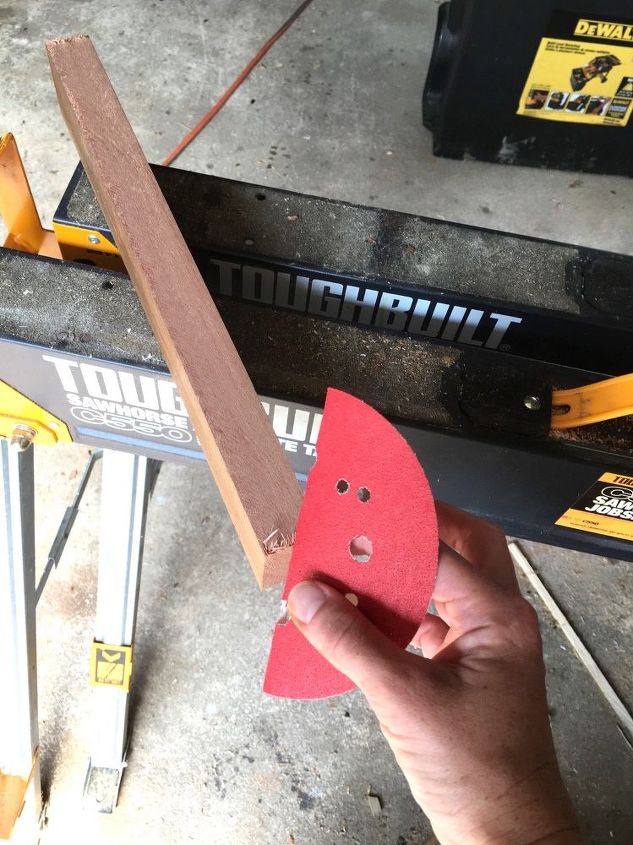
STEP 2: Sand
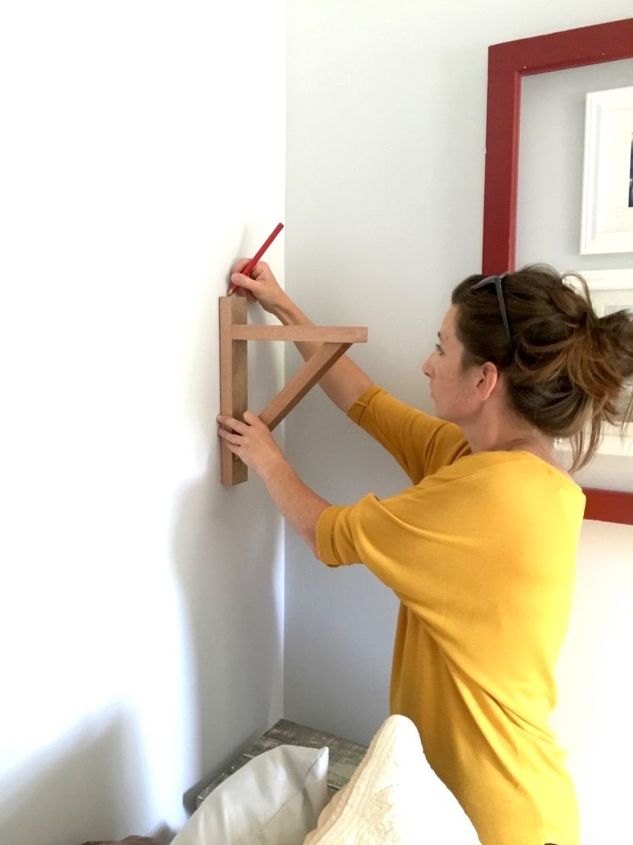
STEP 3: Measure for holes and assemble corbels
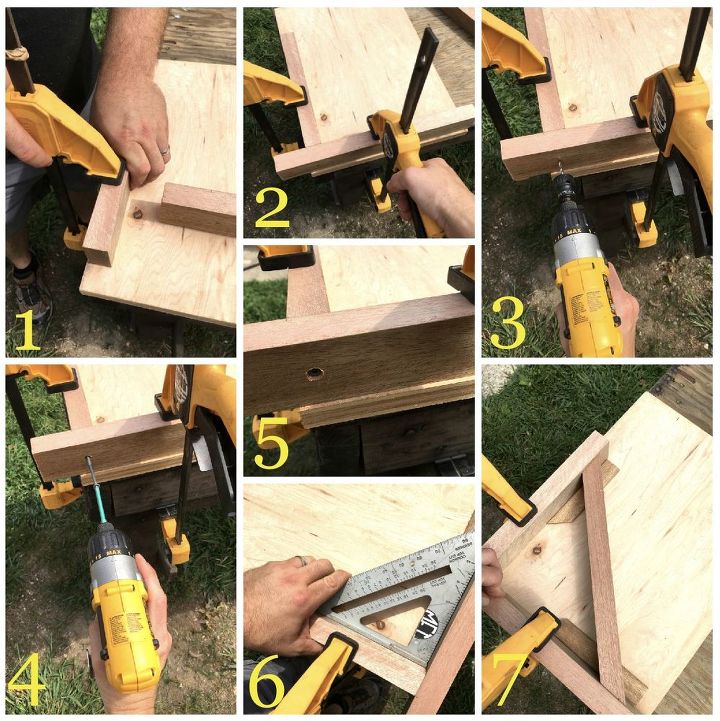
Once I made my mark, I clamped my 14"x2" and 10"x2" pieces to a flat, even piece of wood that was sitting on my work table. This kept everything in place while I drilled/screwed the pieces together. Using a counter sink attachment for my drill, I made a starter hole where I made my mark on the 14"x2" piece of wood at the beginning of this step.
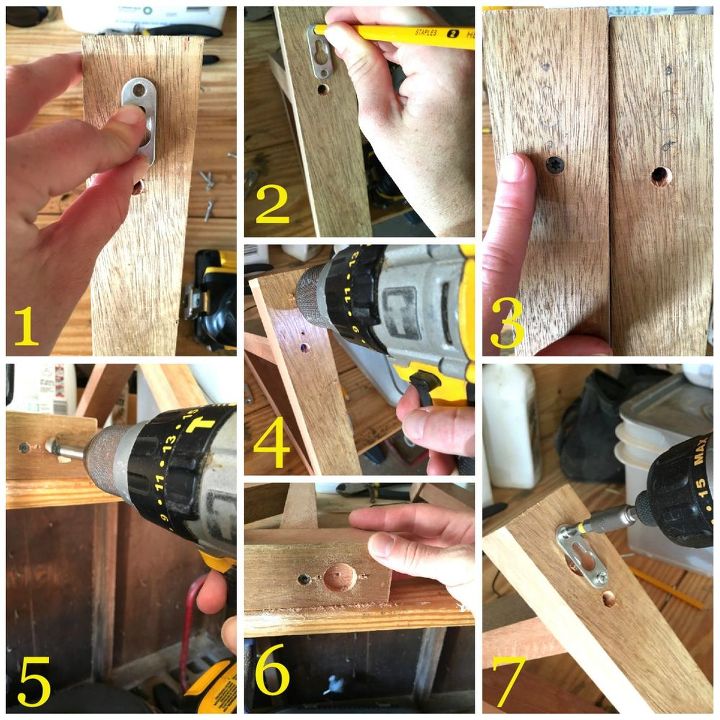
STEP 4: Attach keyhole hardware
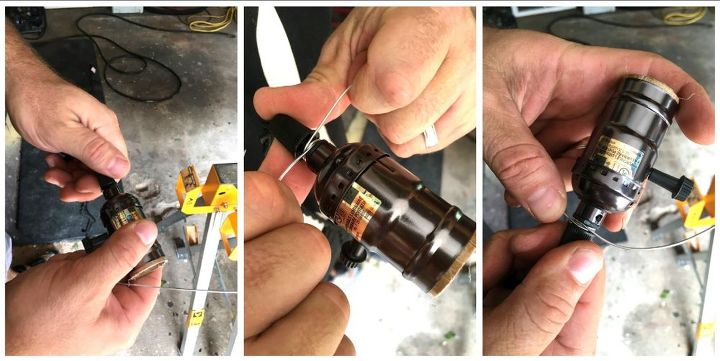
STEP 5: Assemble pendant light cord and candle holder/cage

Once Rob finished wrapping the neck of the socket, I held the candle holder/cage while he fed the cord through. Then, he laced the wire through the screw holes on the candle holder/cage (Note: there was originally a battery-powered candle that was screwed to the bottom of the candle holder/cage when I purchased it) and twisted it using a set of plier until he reached the end, then clipped the wire.
STEP 6: Mount corbels
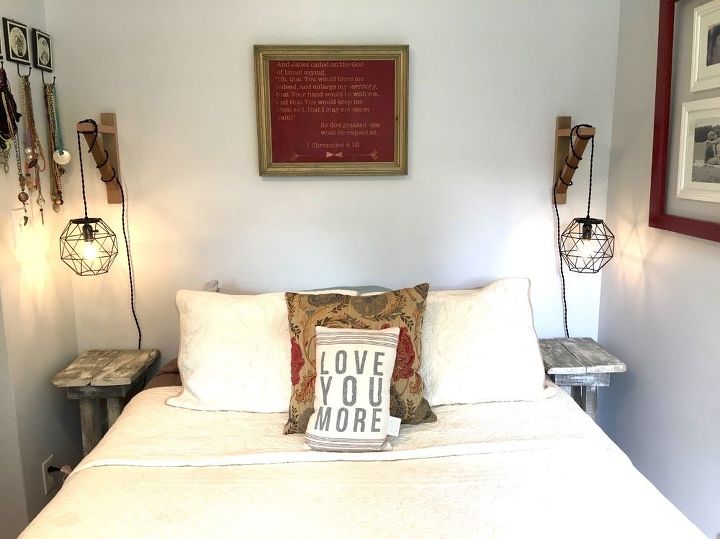
I rearranged our bed back to where it used to be--we have a little alcove in our very small room--and these beside hanging lamps just make our room look so comfy and complete now!
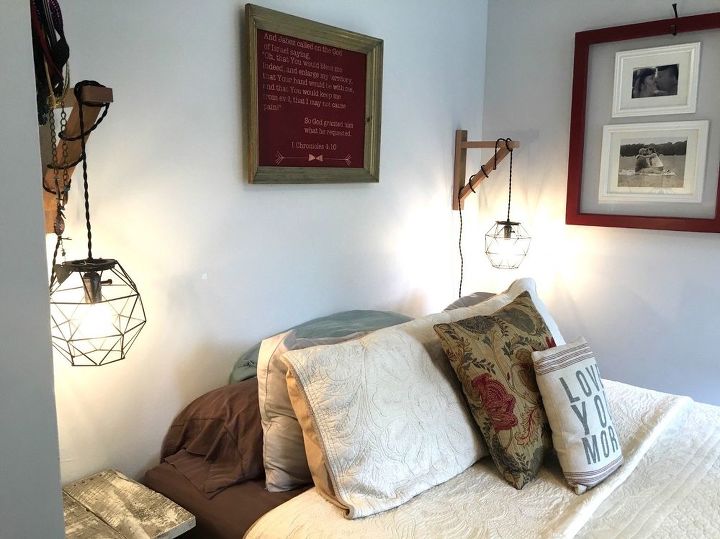
I. AM. IN. LOVE!!!! I just sold my side lamps a month or so ago that were in our room which I had had for about 6-7 years, so we needed lamps desperately and I am so so so happy with hows these came out!
Comments
Join the conversation
3 of 44 comments
-
Yhese are great. But I'm collector of odd pieces of wood trim . And this inspired me to figure out a way to use the corbels rescued from a house in Richmond a few years ago . Thanks for the inspiration.
-
Love this idea. I am having two hanging stained glass lights rewired. They are very heavy and your idea may be the perfect solution for hanging them.
Thank you for sharing your idea.


Frequently asked questions
Have a question about this project?