


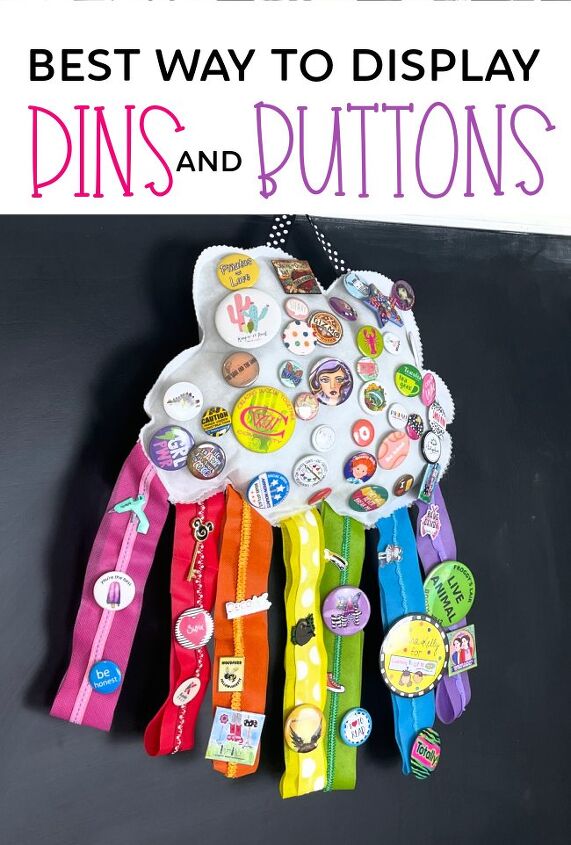
Best Way to Display Pins and Buttons
This is the Best Way to Display Pins and Buttons! Clouds and rainbows go together to create dreams! This dreamy rainbow cloud pillow is a beginner level sewing project and creates a fabulous rainbow cloud for pin display — you know — all those adorable pins that you’ve collected over time that need a place to go. I love that it is stuffed with Polyfil from Fairfield World so can be as soft or as firm as you like. It can be hung against a wall or from the middle of the room if you need to use both sides.
Supplies Needed for Rainbow Cloud
You will need the following supplies:
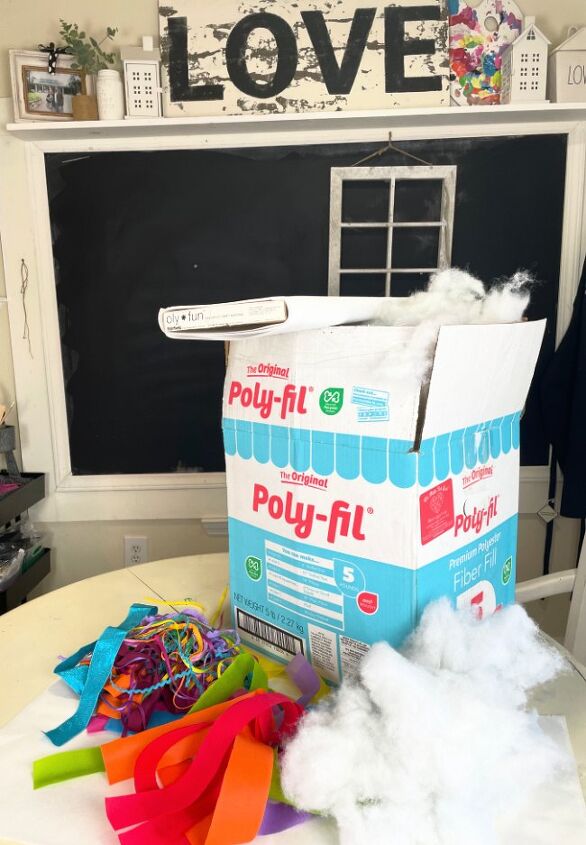
- PolyFil from Fairfield World
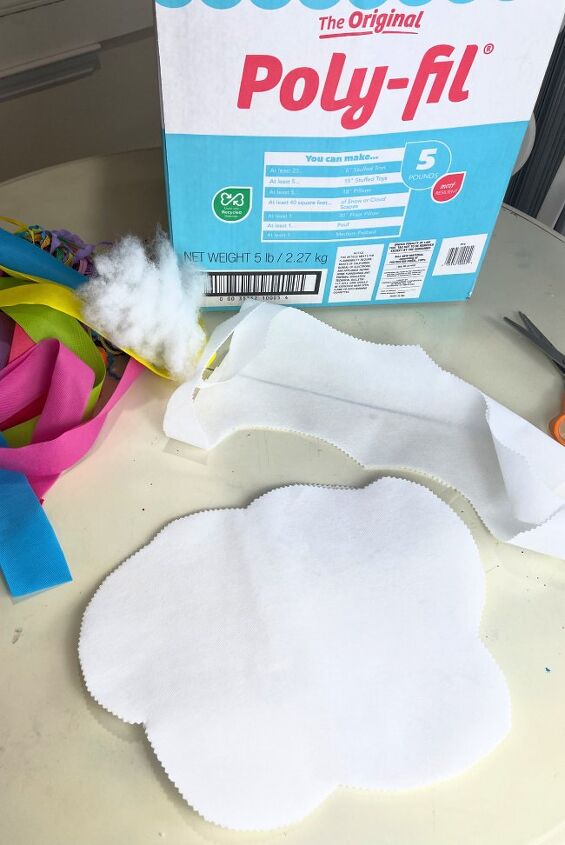
- Oly*Fun: White – Two sides of the cloud pillow. Mine measures 18×14 at it’s greatest spans.
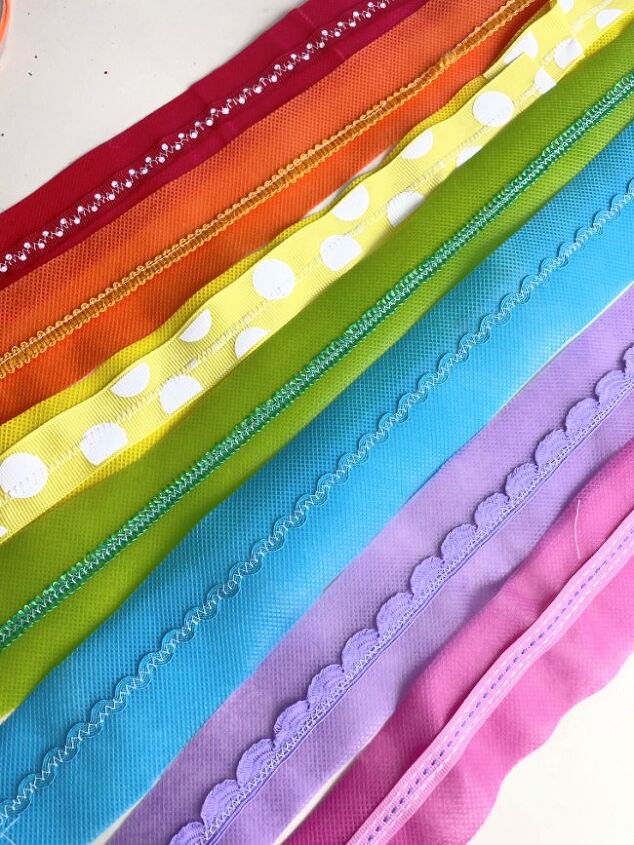
- Oly*Fun: Strips of Red, Orange, Yellow, Green, Blue, Purple and Pink measuring 12” x 2”
- Trims and Ribbons to match the felt
- Sewing Machine and Thread
- Scissors (Fabric and Pinking Shears)
- Pins
- Ribbon for the hanger if you plan to hang it up
My Favorite Sewing Supply List
These are the sewing supplies that I keep on hand at all times. They get used over and over again and again in so many of my projects.
- Sewing Machine – This one has FIFTY built in stitches!
- Thread
- Ready Made Bobbins – I am not a fan of making my own bobbins so I LOVE these.
- Fabric Scissors – These are great because they cut through multiple layers of fabric.
- Pin Cushion and Pins – The cuter the better. I love this hedgehog.
- Poly-FIl Stuffing for Pillows
- Poly-Pellets for Bean Bags and Weighted Projects – The POUR bag makes all the difference.
- Rotary Cutter and Mat
Directions
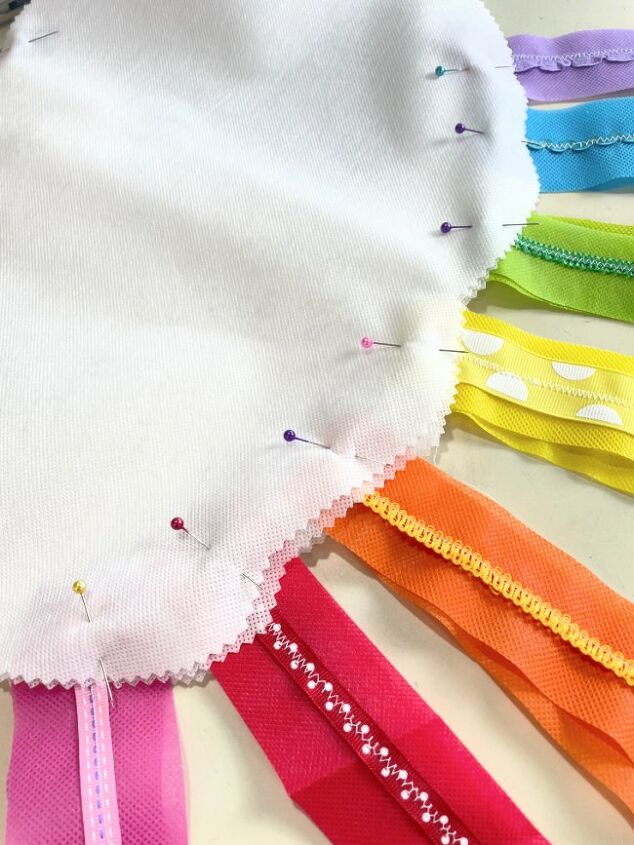
The first step is to cut our your cloud using pinking shears. I cut all pieces at the same time so they would be exactly the same. Oly*Fun is thin so I like to double up.
Next sew your trims/ribbons to the corresponding color of Oly*Fun strips.
Pin your strips (folded in half) in between your two cloud pieces where you want them to be sewn. Do the same for your ribbon hanger. Be sure to have the pins on the OUTSIDE so you can easily remove them.
Sew your cloud around the edges leaving approximately ¾ inch margin. Be sure to leave a 4-5 inch opening to stuff your pillow. Now for the FUN part. Stuff your pillow with PolyFil!
Remove all pins. Stuff your pillow the sew it closed.
Adding Pins to Rainbow Cloud for Pin Display
Add enamel pins with stopper backs to the rainbow strips.
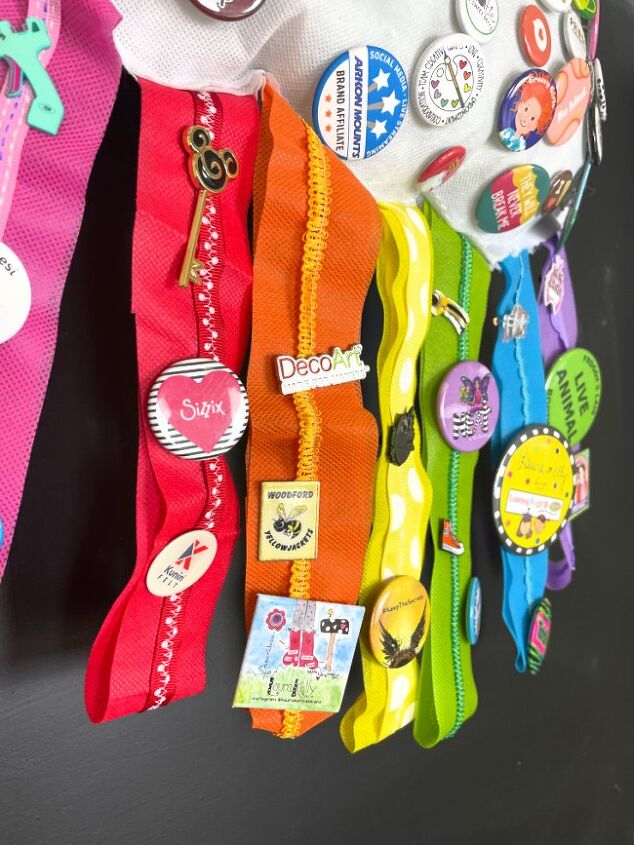
Add pins with traditional pin backs to the cloud.

Ta Da! Doesn’t this make the most adorable and cheerful way to store and display all of those pins?
Cheers to making things, decorating and PINS!
Laura


Frequently asked questions
Have a question about this project?