


Bubble Burlap Topiaries
2 Materials
$20
45 Minutes
Easy
Today I am sharing some bubble burlap topiaries that I made! These were quick and easy and look lovely on my console table that I just decorated for the summer!

Here are the supplies I used:
Potted Topiary
4" Burlap Ribbon
Natural Burlap Bow
Primer
White and Gold Paint
Ball Head Pin
Moss
Hot Glue Gun
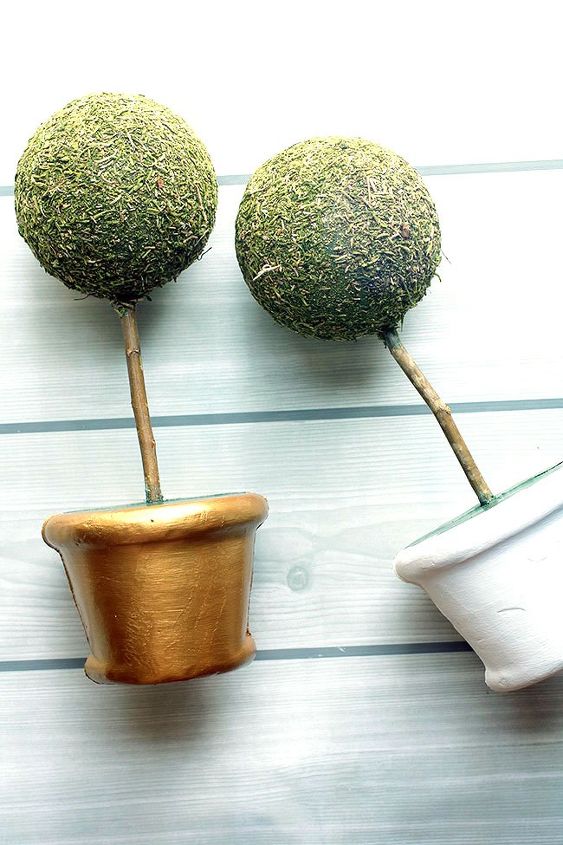
First you'll want to prime the pots. Then I added two layers of an acrylic paint to each pot. I did one pot in gold and the other in white. You can do any colors you'd like.
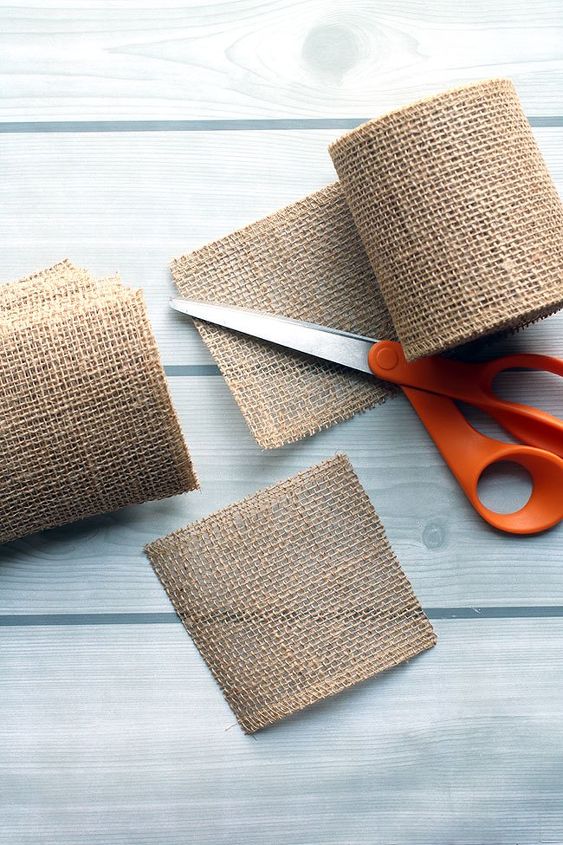
I used a 4" burlap ribbon and it saved me a lot of time! I needed 4" x 4" squares, so I just had to cut the ribbon every 4". If you cut out one square, you can use it as a template in which to cut your other squares.
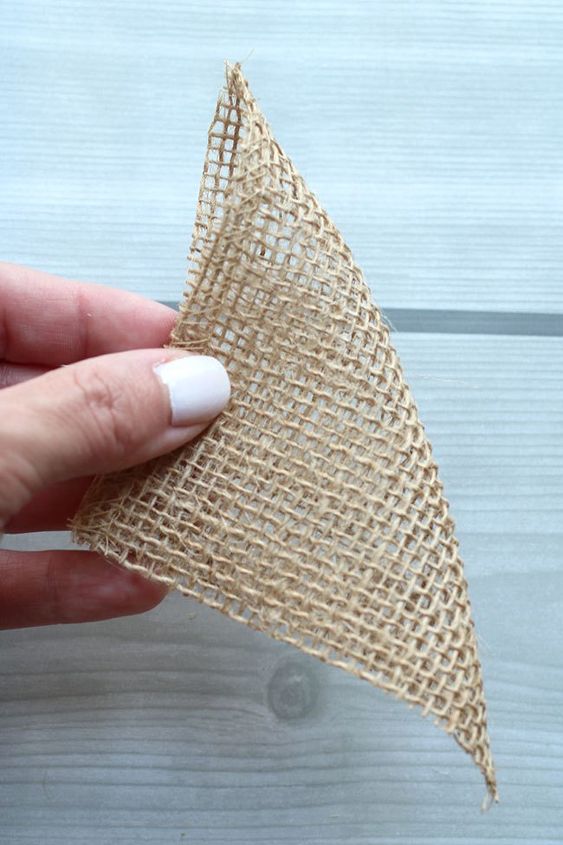
Take this 4" burlap square and fold it in half as shown above.
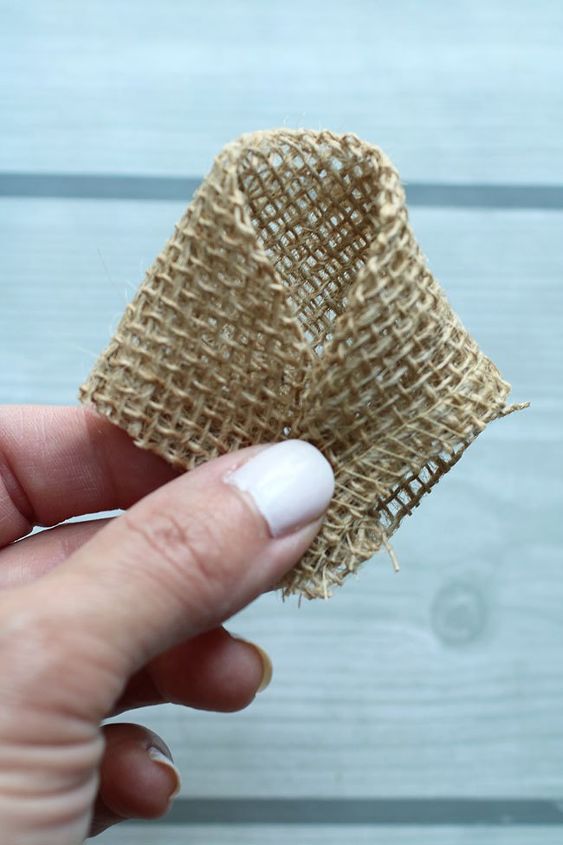
Fold in both corners and shown above.
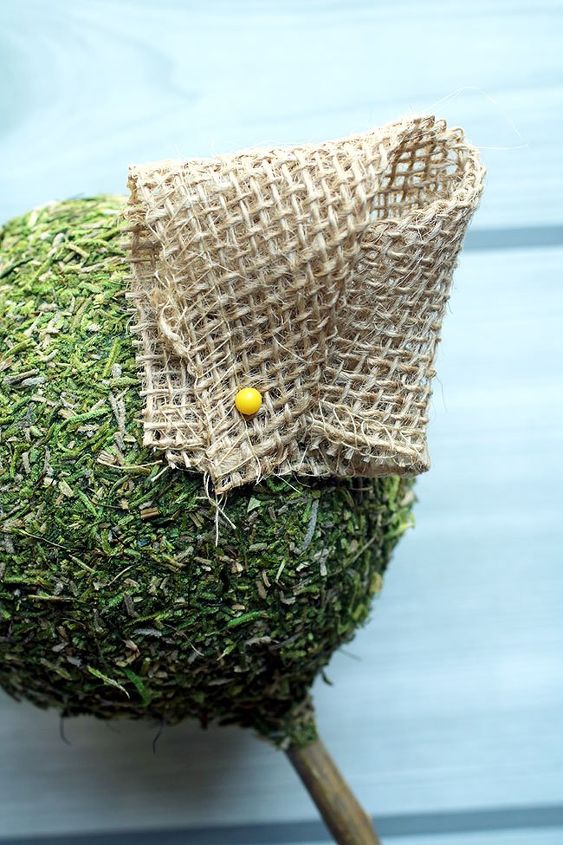
Then, take a ball head pin and secure it to the ball of the burlap topiary. The ball should be styrofoam and will slide right in.
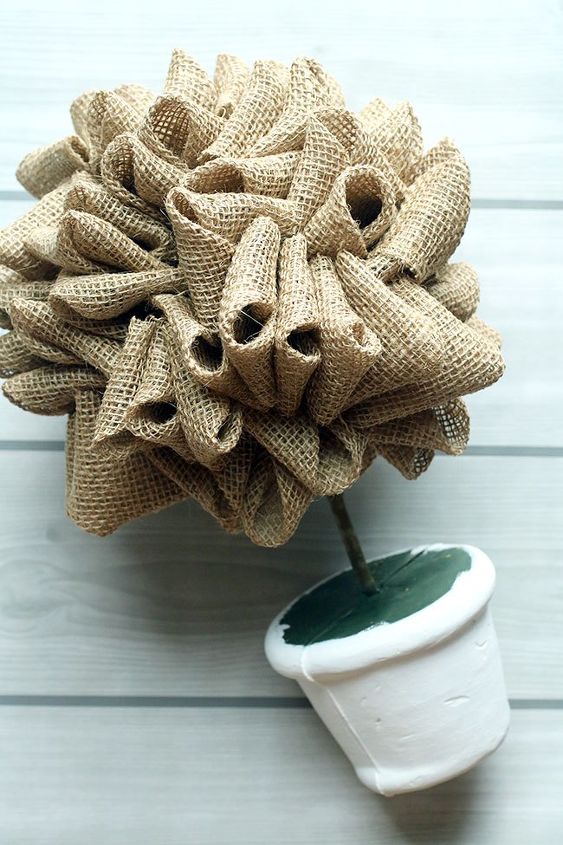
This is what the burlap topiary will look like once you've added all of the bubbles to it!
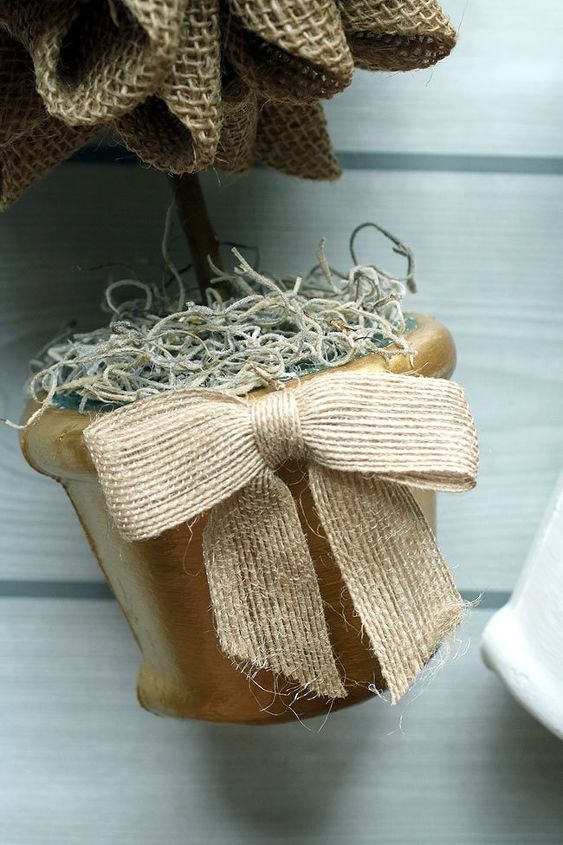
Then I hot glued moss on top of the pot and a natural burlap bow to the front of the pot.
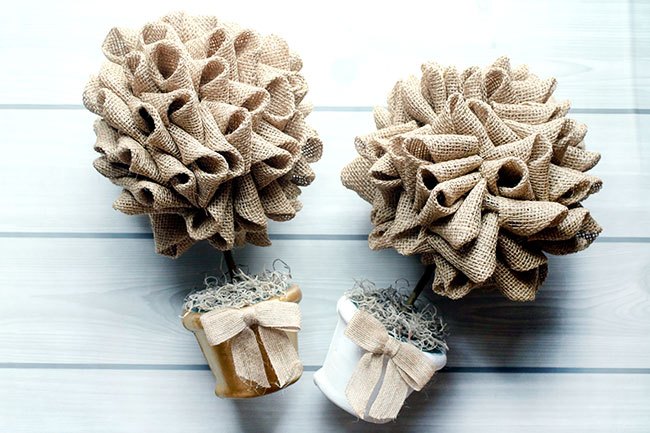
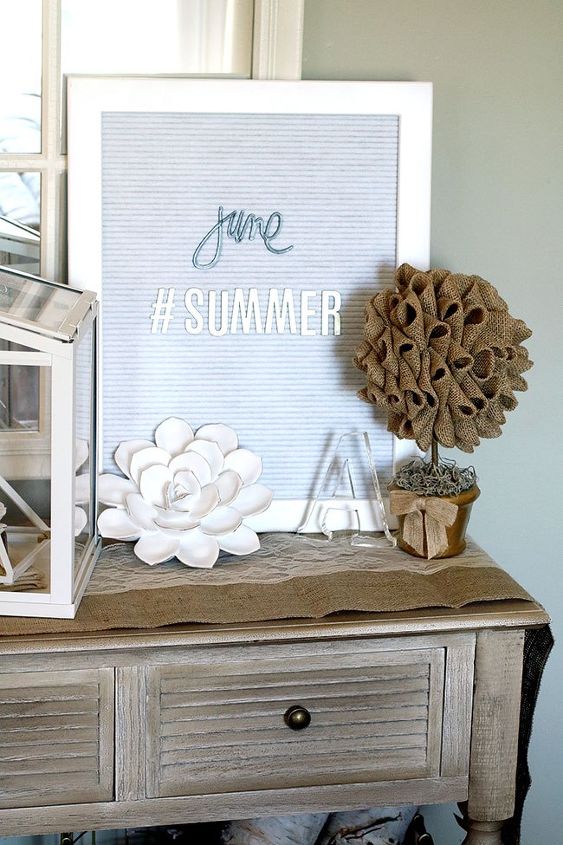
And, ta-da! You have yourself some BEAUTIFUL bubble burlap topiaries! These are so pretty to decorate your home with!
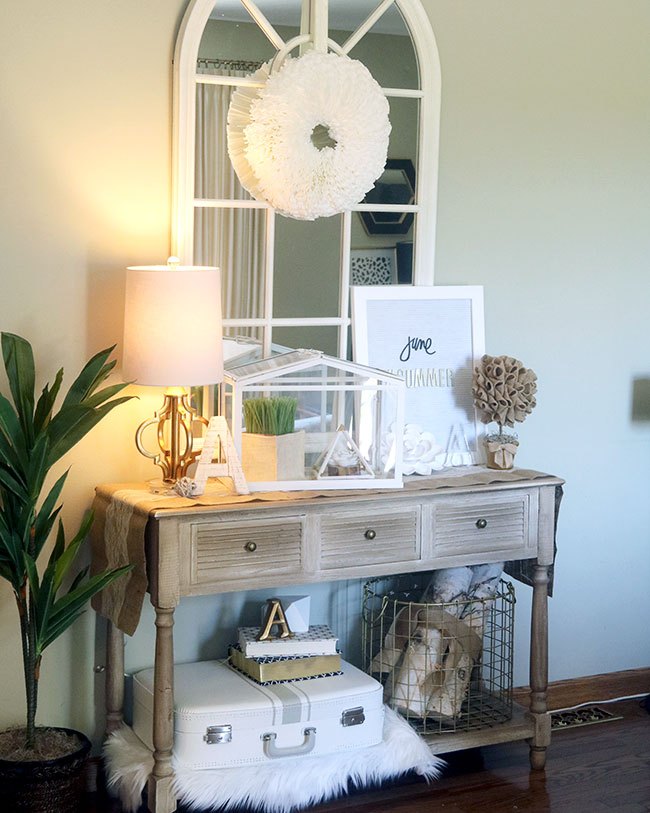
I placed one of the bubble burlap topiaries on my console table, which I just recently decorated for the summer. The other one went on my buffet rack in the kitchen (not pictured).
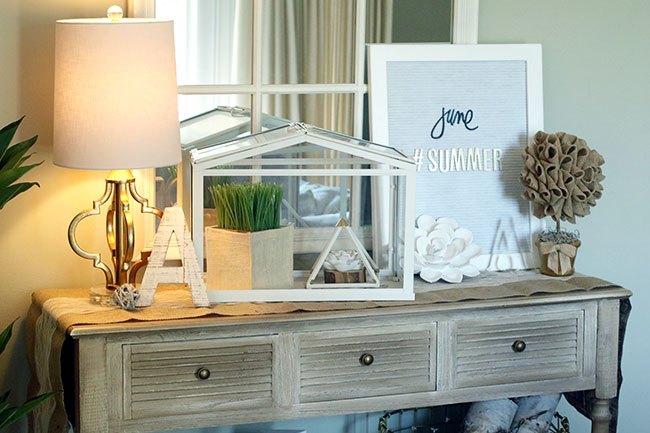
Here is a close up of the bubble burlap topiary on the table. This letter board is new to the table, too! I have been seeing them everywhere and had to have one!
I hope you enjoyed this tutorial! You can see more photos and instructions by clicking on THIS link, to go to the actual blog post.

Want more details about this and other DIY projects? Check out my blog post!
Comments
Join the conversation
4 comments
-
looks terrific! wtg!
-
love it well done!!


Frequently asked questions
Have a question about this project?