


Candlesticks to Lamps
This month’s DIY blog hop is all about thrift store finds. I have really missed scouring thrift stores in 2020! Lucky me to find these gorgeous tarnished candlesticks years ago. They are the perfect size to make into buffet lamps for an entry table or dining room. Here is my DIY on turning thrift store candlesticks into lamps.
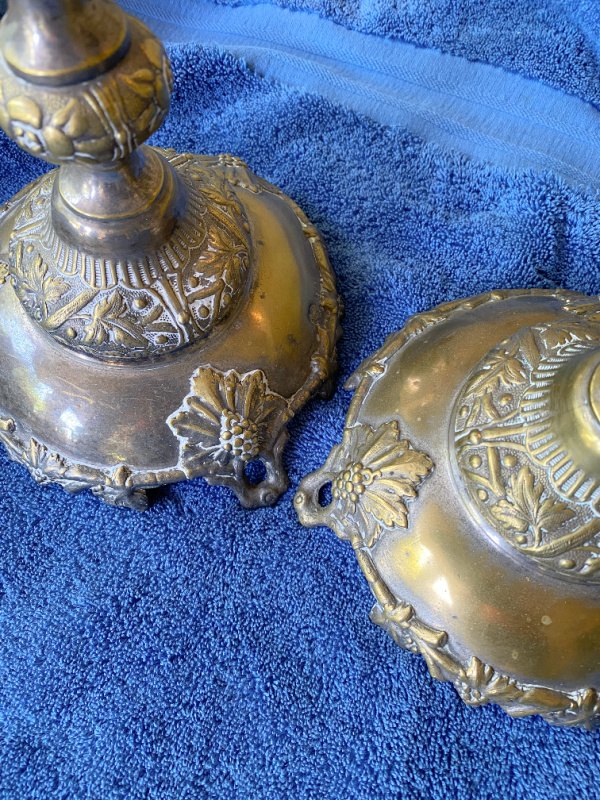
I don’t know about you, but often I cannot find just the right lamp so it’s easy to convert a thrift store find into that perfect lamp. What attracts me to these candlesticks is the ornate design in the metal. From a distance they look elegant and expensive. Due to their relatively light weight, I can’t really tell what kind of metal. My first inclination is that they are silver-plate, but there is a brass cast to the patina.
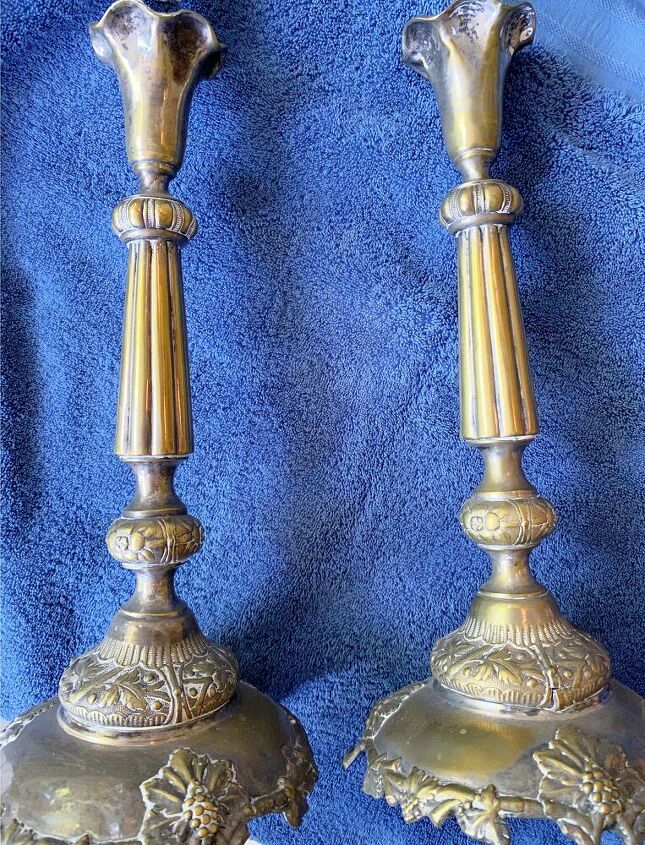
I don’t recall how much I paid for these candlesticks, but you can find many silver-plated or brass sets on eBay for a small amount~$25.00. Just make sure you find candlesticks that are hollow.
Now my husband, Scott will take over and provide the tutorial to convert these candlesticks into lamps.
Supplies You Will Need
- Hollow Candlesticks
- Threaded rod (available in various lengths)
- Lamp socket
- Make a Lamp Kit or see individual items below
- Candle sheaths
- Lamp shades
- Light bulbs
Preparing the Candlestick
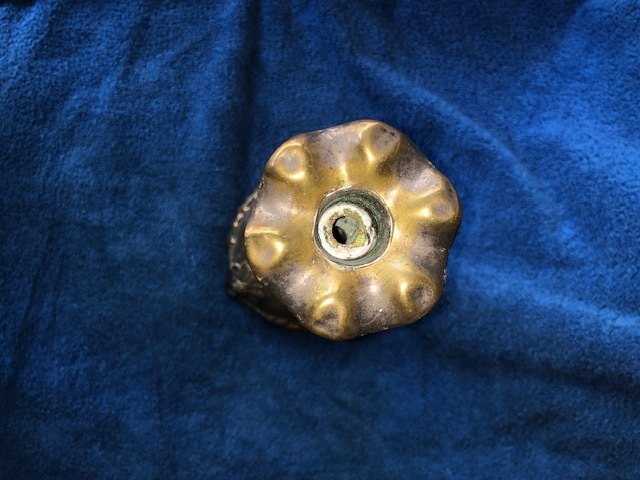
The first step is to drill a hole through the top of the candlestick, just big enough for a 1/2 inch diameter all thread steel pipe. It’s hollow so the wire can run up the middle.
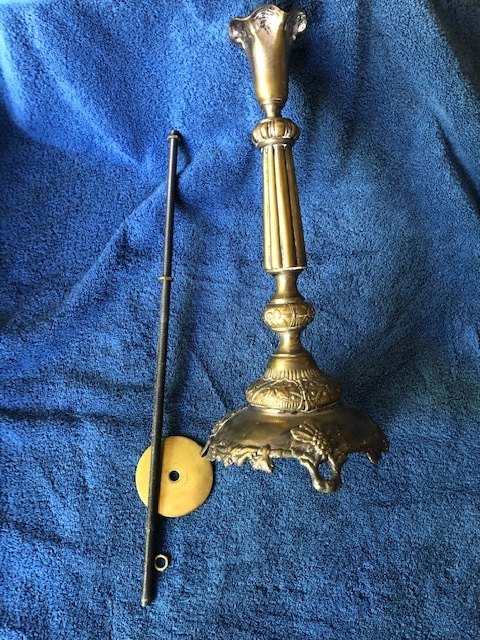
Here’s a shot of the pipe and a base plate for the candlestick holder. You’ll see three thin brass nuts. One holds the plate on, one sets the top of the rod against the top hole we just drilled and the third sets the height of the socket.
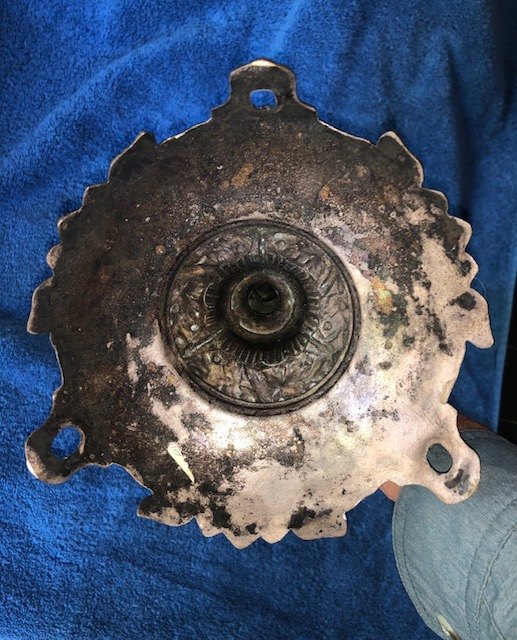
Here’s a picture of the hole drilled in the bottom of my candlestick (you may not need to do that. The brass plate holds the rod with the nut but also centers the rod in the indentation.
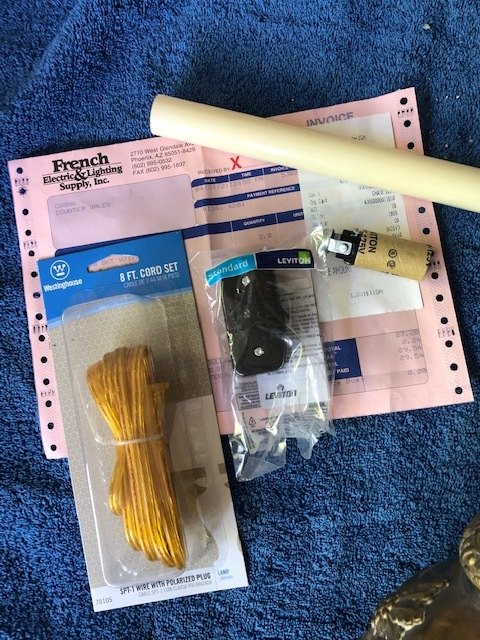
A trip to our local legendary electrical supply store French Electric & Lighting Supply, Inc., in Phoenix, Arizona is necessary. Here’s where we get the candelabra sockets, plug wires, rocker cord switches, adaptors for full size bulbs, plastic candle sheaths and warm LED bulbs (40 watt 2700K).
Assembly
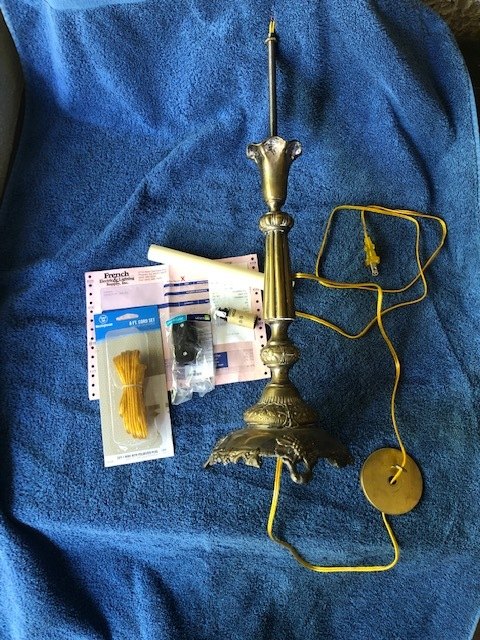
Assembly is pretty quick. I slide the nut and baseplate over the plug wire, thread the wire through the threaded steel rod (cut to the appropriate length) and push the rod up through the candlestick holder.
I put the plate in place and screw the nut onto lower end of the threaded rod and hand tighten it. Next, I put two nuts on the top part of the rod(one to tighten the top of the rod to the candlestick and one to set the height of the socket. Now I attach the wires to the socket which will screw onto the rod. Since I don’t do this often, I find the guide above useful.
I only have two wires here so I ignore the last line.
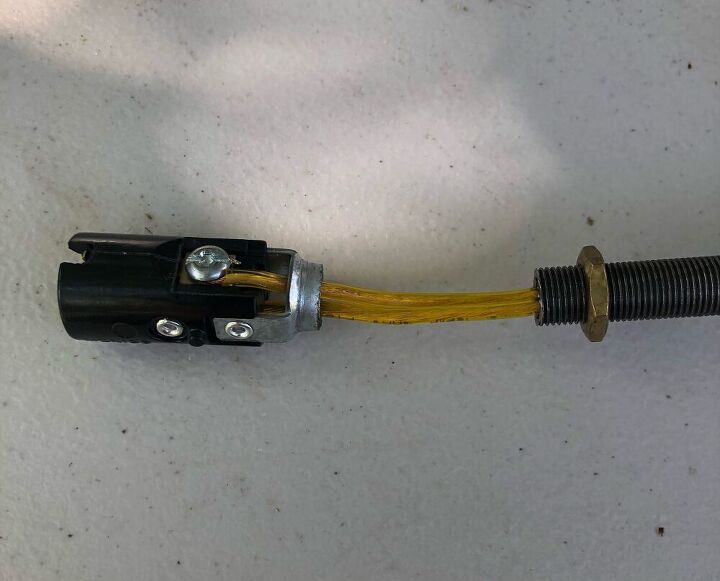
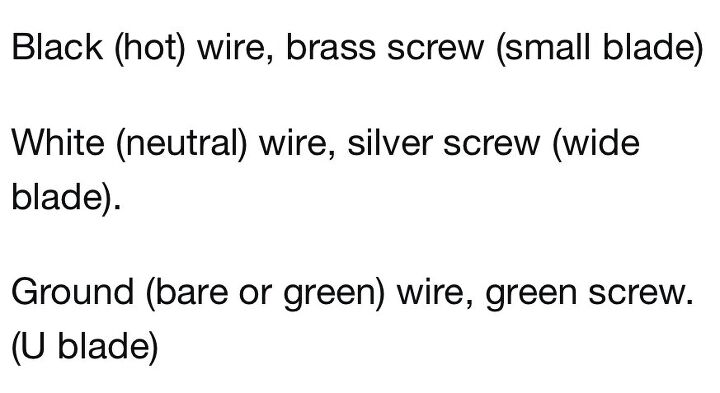
The last thing I do is put in an inline rocker switch. It’s pretty straightforward. Here’s a picture of the inside of the switch.
The cord passes through the switch. I split the wire with a knife, cut the hot wire, take about 1/2 inch of insulation on both cut ends and attach them to the poles. Tighten them down and reassemble the switch.
The sockets come with a cardboard sleeve which is the perfect diameter for the plastic candle sleeve. Tighten up the various nuts, slide the candle sleeve over the socket and you now have a lamp ( in need of a bulb and shade).
Finishing Touches
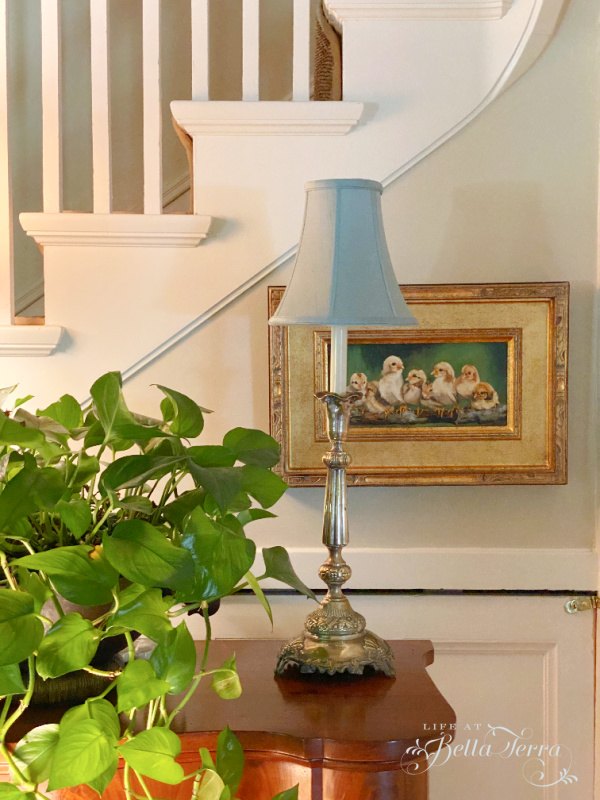
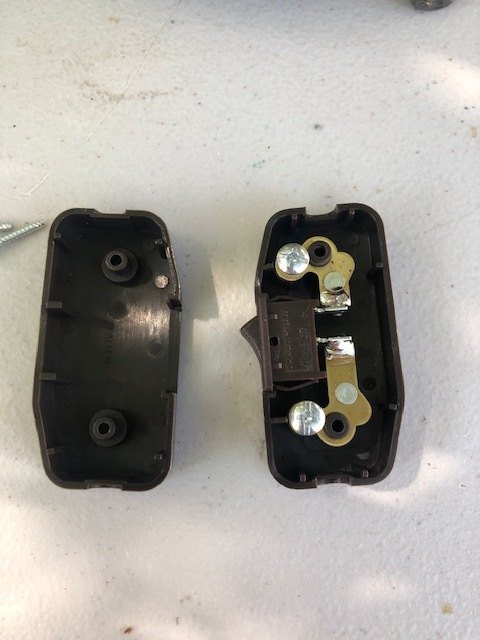
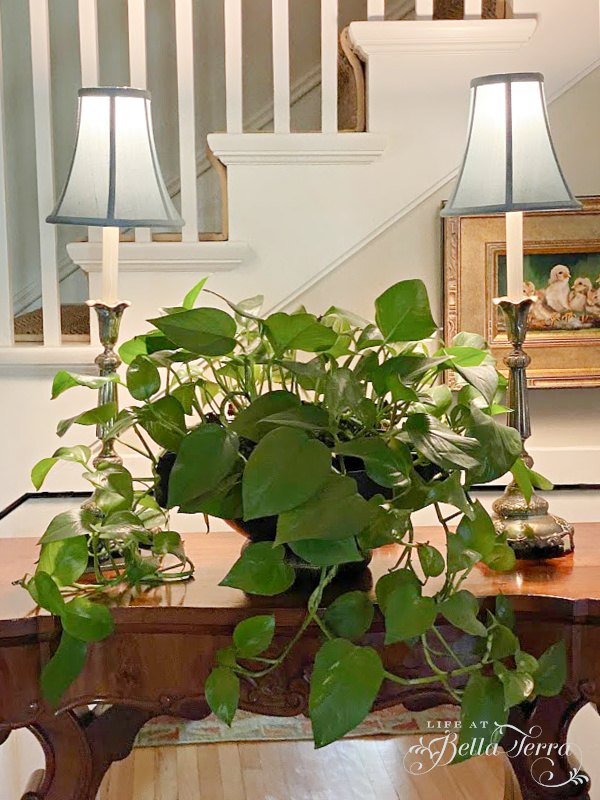
Thank you, Scott! I love them. Now it’s time for me to dress them up.
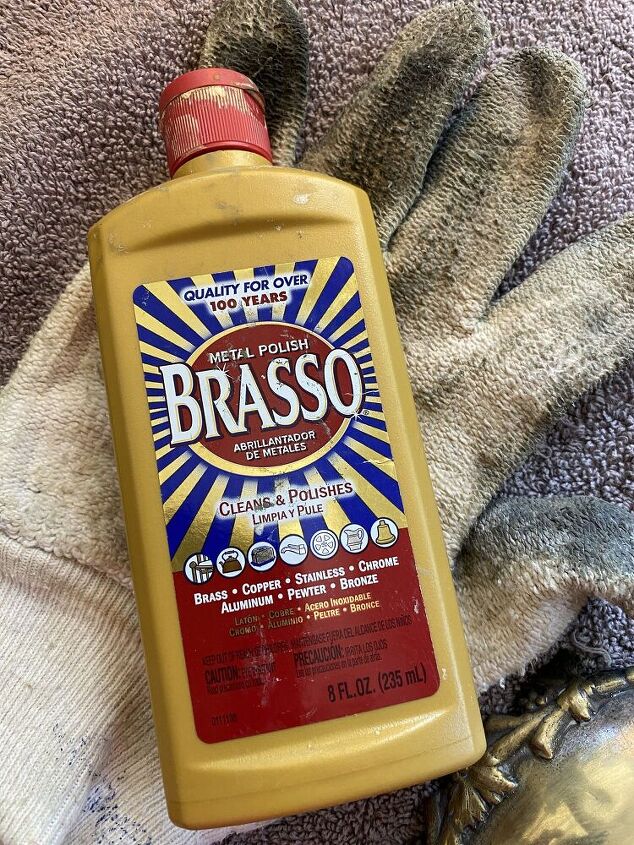
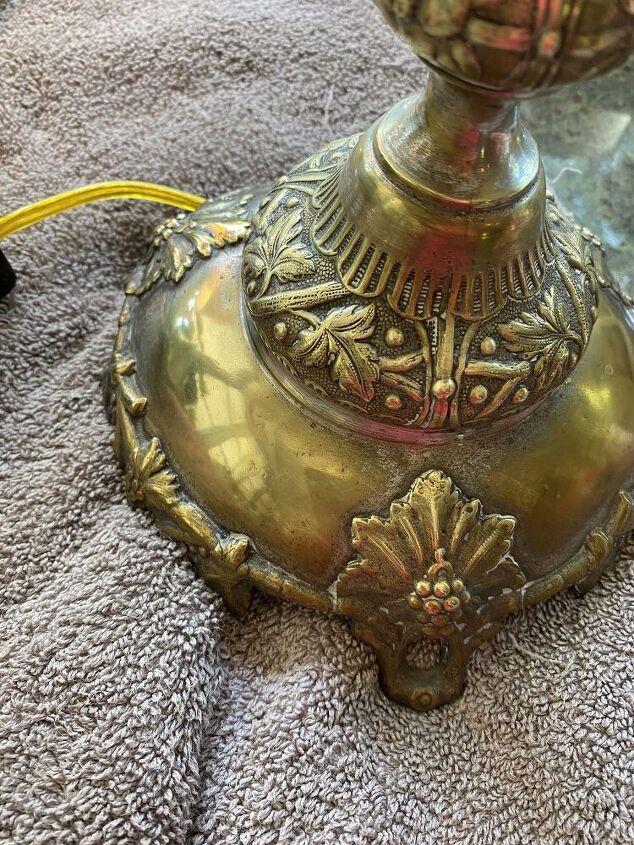
Since I do like the vintage look, I do not want to completely polish them to a high sheen. I first start with silver polish, but it only reveals that these candlesticks are not silver. With a little brass polish, I can lightly clean the metal.
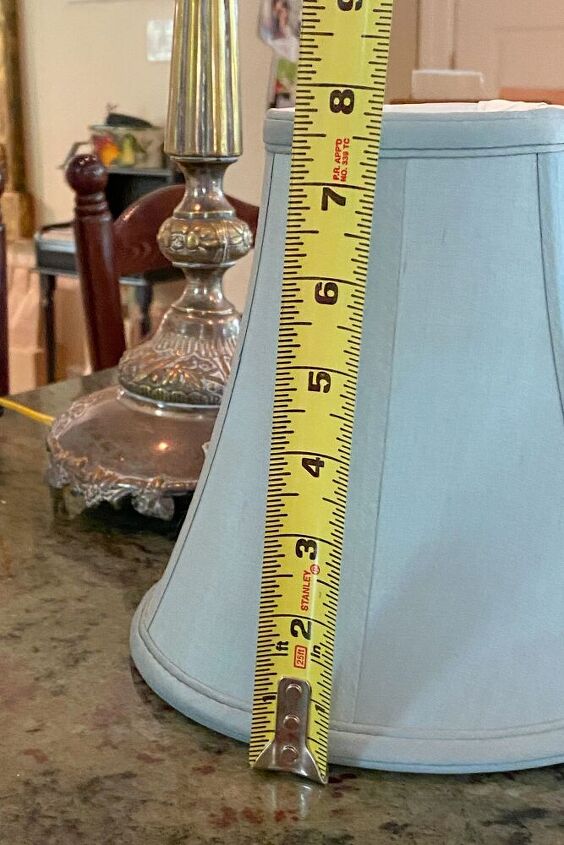
I do have different color shades that I change each season~blue for Spring, gold for Autumn and white/cream for the New Year. Ballard Design is a great resource for shades of different sizes and colors. According to Architectural Digest, your shade should be 1/3 of the total height of your lamp. These candlestick lamps are 24″ tall and my shade is 8″.
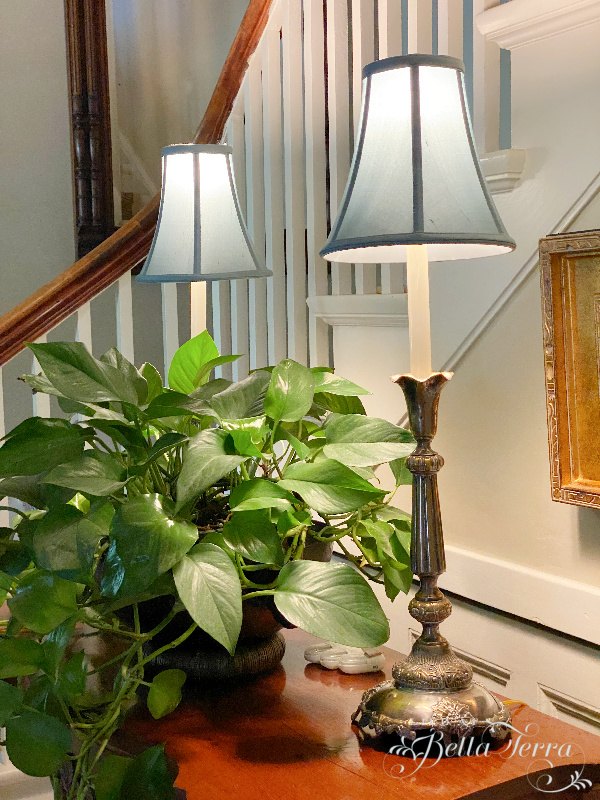
Aren’t they beautiful? They add a touch of elegance to my entry hall table, as well as light for evening ambiance.

If you enjoy this post, please share on Pinterest.

Thank you for joining me today for the DIY Monthly Blog Hop. Now let’s check out what my friends are doing.

Chas from Chas’ Crazy Creations teaches us how to Paint with Chalk Paint
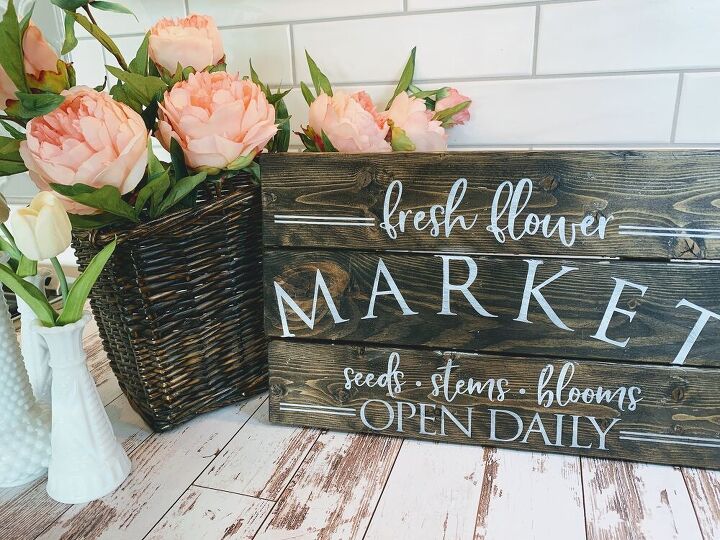
Niky from The House on Silverado has a wonderful thrift store Farmhouse sign makeover.
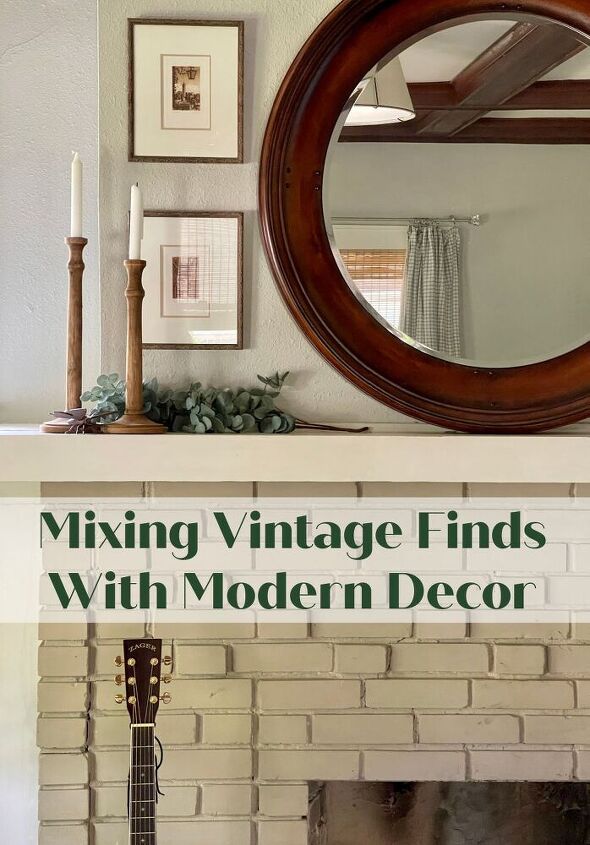
Andrea from Design Morsels mixes vintage and modern here.
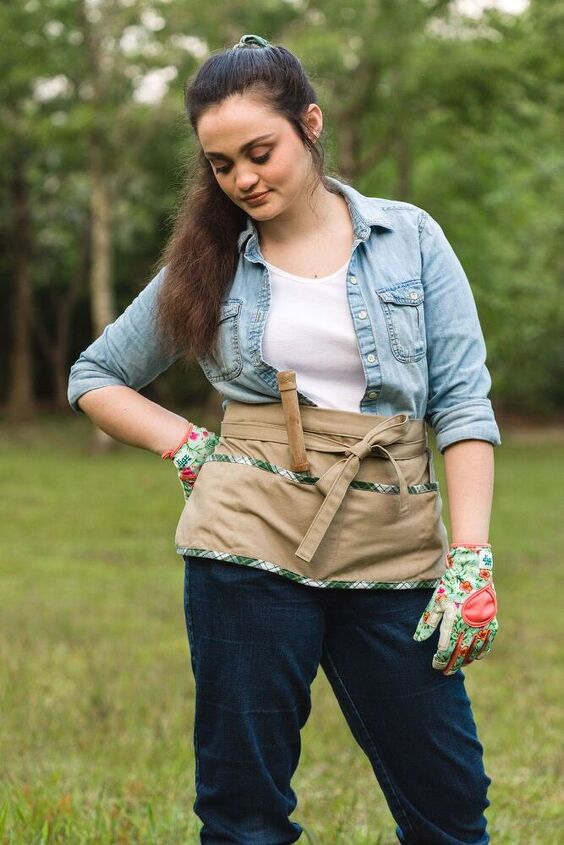
Kippi from Kippi at Home shows how to take a Goodwill shirt and turn it into a gardening apron.
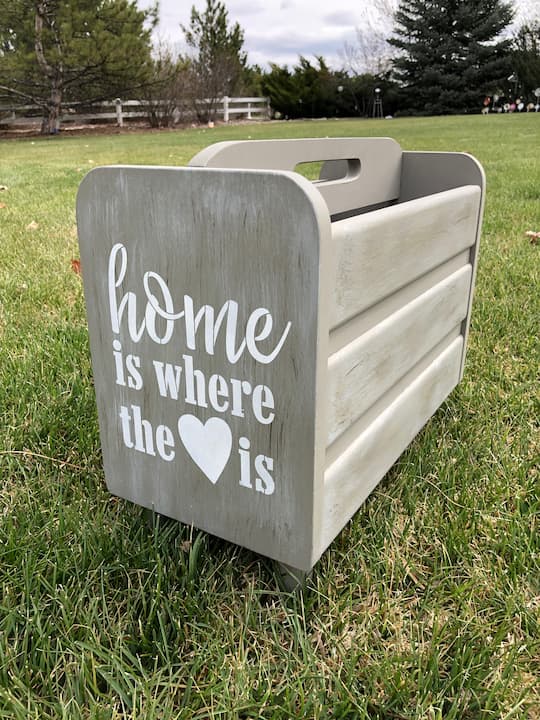
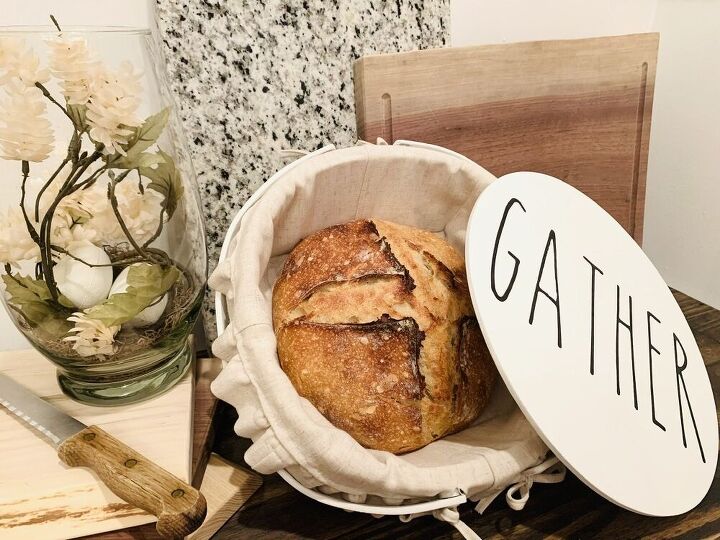
Allison from Darling and Dapper Life makes a Farmhouse Bread Basket from a thrift store find.
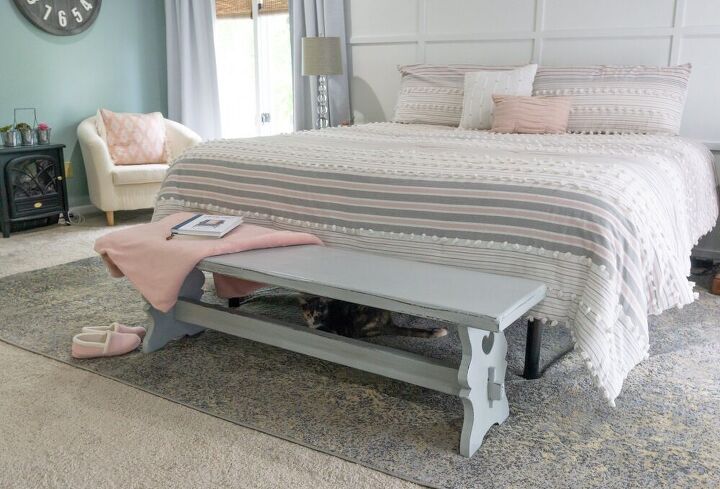
Amy from Health, Home and Heart does a thrift store bench makeover.
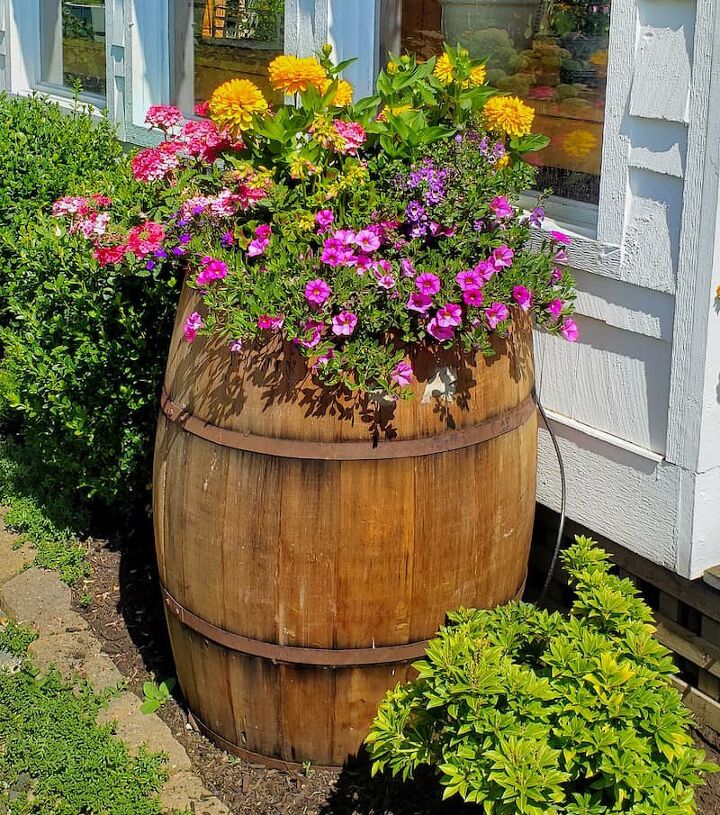
Kim from Shiplap and Shells, who has a gorgeous garden uses a thrift store find to show off your garden flowers.
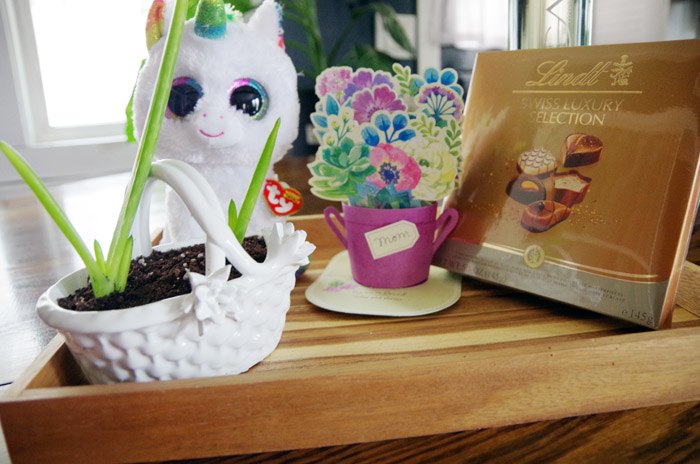
Tarah from Grandma’s House DIY takes a Thrift Store Basket and creates a gift for Mother’s Day.
I hope you enjoy seeing all the thrift store finds. Makes me want to go shopping!
Resources for this project:
See all materials


Comments
Join the conversation
-
I like this idea.I've used candlesticks to make outdoor lights by putting solar lights on the candle base.
-
Beautiful, thank you for sharing :)


Frequently asked questions
Have a question about this project?