


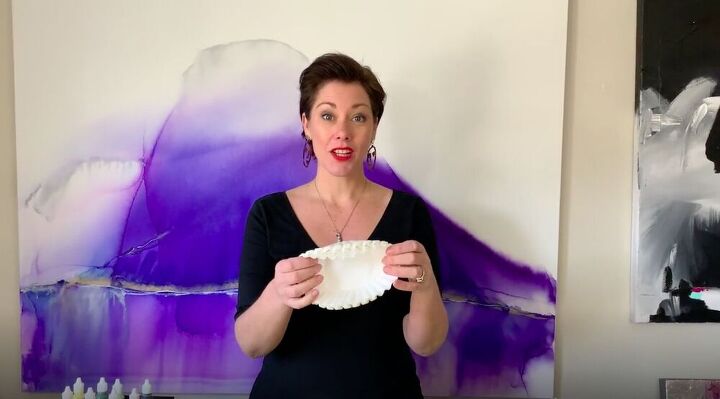
Create Bunches of These Coffee Filter Flowers to Decorate Your Home

Peonies are one of my favorite flowers, but their season is so short and they are delicate and don’t last long once cut. With this coffee filter flower project I was able to create faux peonies that will never wilt and die. This is absolutely one of the easiest projects I have ever done, and I simply love the end result. The best part is that they are so cheap that you can make a whole bouquet for under $5. Add bunches of coffee filter flowers throughout your house for some fun floral decor that won’t wilt or fade. Check out my step-by-step tutorial below to make a bouquet of your own!
Tools and Materials:
- Paper coffee filters
- Scissors
- Bowls
- Water
- Fabric dye (you can use food coloring or acrylic paint)
- Cupcake liners
- Paint brushes
- Floral wire
- Modeling clay
- Spray bottle
- Tape
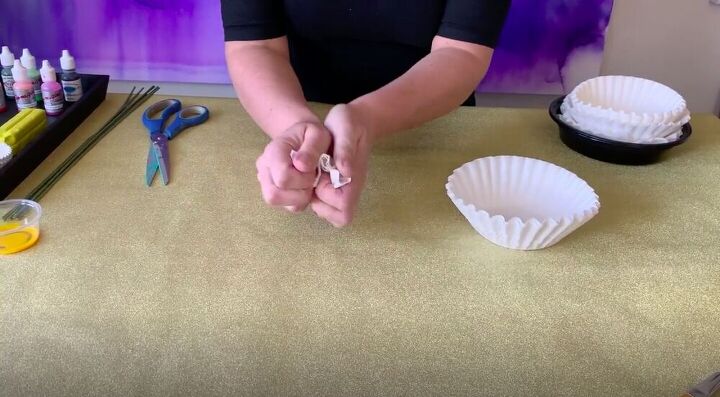
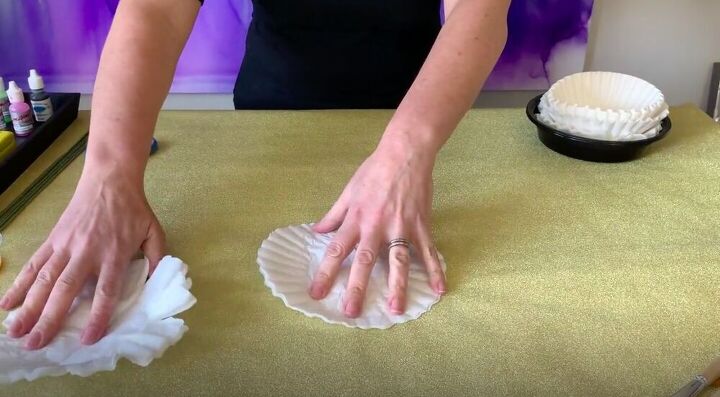
I split the coffee filters into groups of five and flattened them out on my table. Then I scrunched them up and flattened them out again. Don’t worry about making this part perfect, the goal is to get rid of the uniform ridges on the coffee filters. and bring some texture into the flowers.
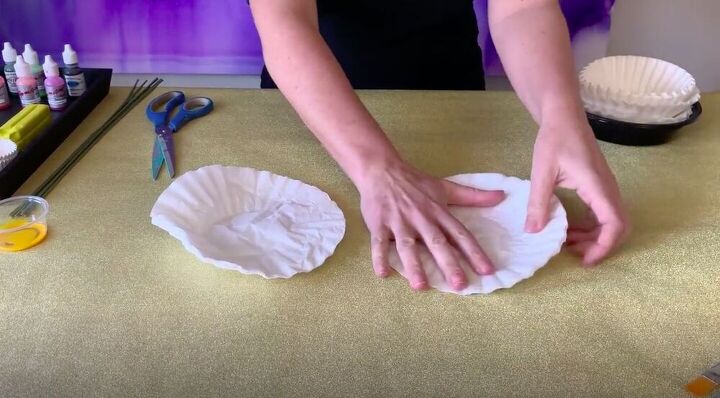
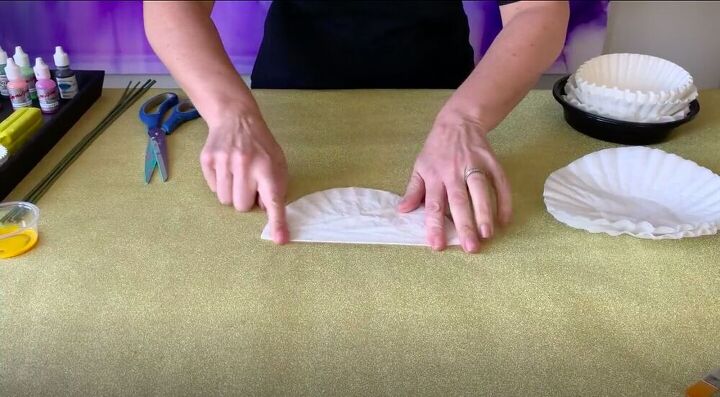
Next I folded the filters in half, and then in half again.
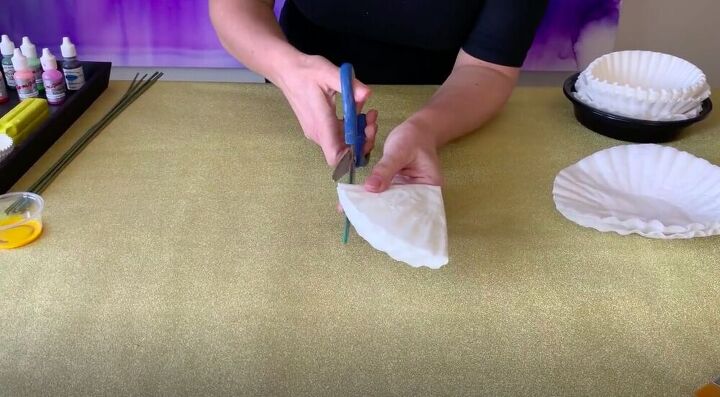
I cut along the edges of the filter, leaving the center connected. I made a basic petal shape, it’s really up to you how you want to cut this part.
Look at that flower shape coming through already!
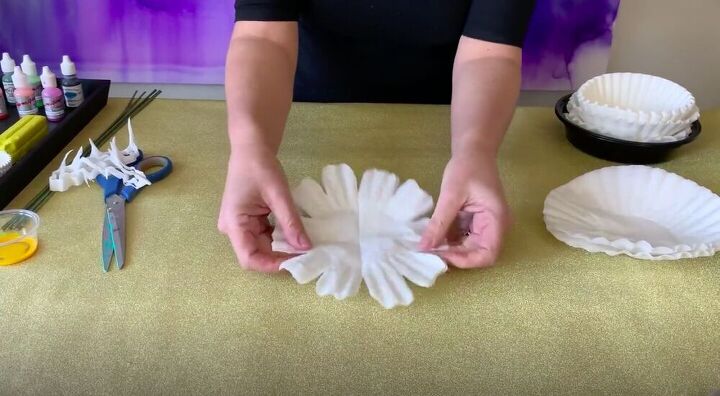
You could also just cut across the top in a ragged, imperfect pattern, and you’ll end up with the perfect flowery edge for your peonies!
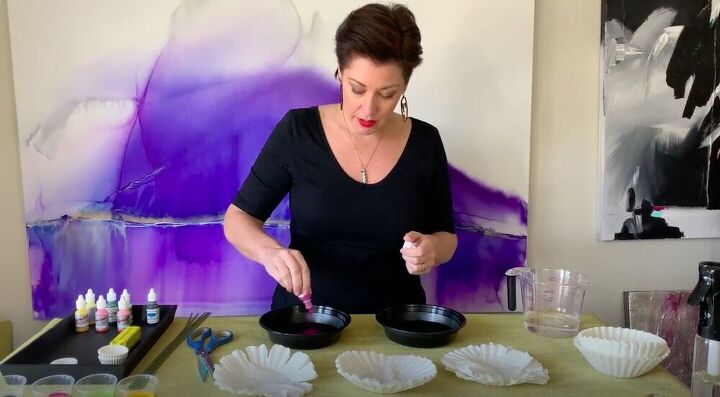
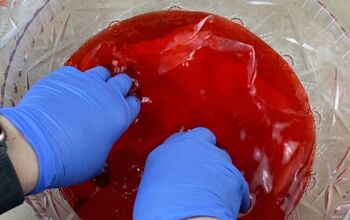
I mixed a bit of fabric dye with some water in a bowl that was big enough to hold the coffee filters. If you can’t get your hands on fabric dye, you can get the same effect by mixing food coloring or acrylic paint with water as well.
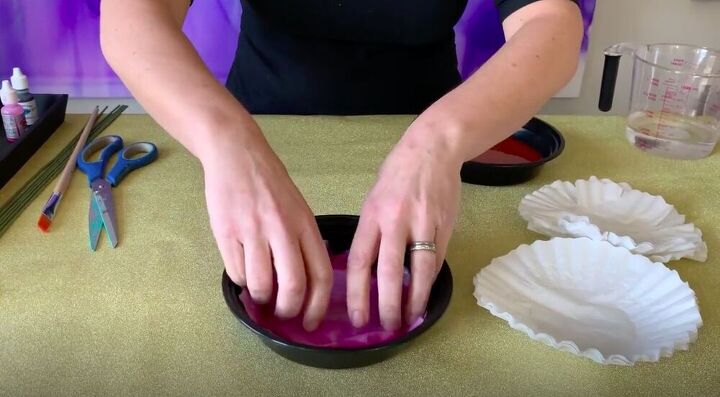
Working in stacks of five, I dipped the coffee filters in the dye. Make sure to get them really saturated with color. Any excess can be squeezed out, just be careful not to tear the coffee filters.
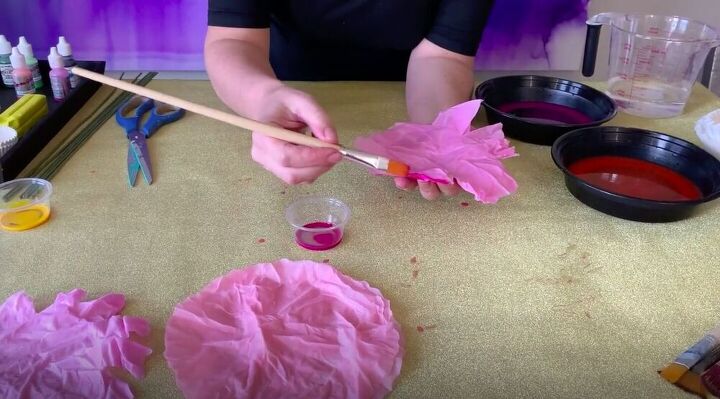
Using a bit of undiluted paint I darkened the edges of the petals. This brings a nice, natural depth to the color of the flowers. Just get the very edge and the color will move down the petal a bit by itself. Then I left them to dry. You can dry them in the oven if you want, at around 300 degrees fahrenheit for 20-25 minutes and then let them cool, but I prefer to just let them dry overnight.
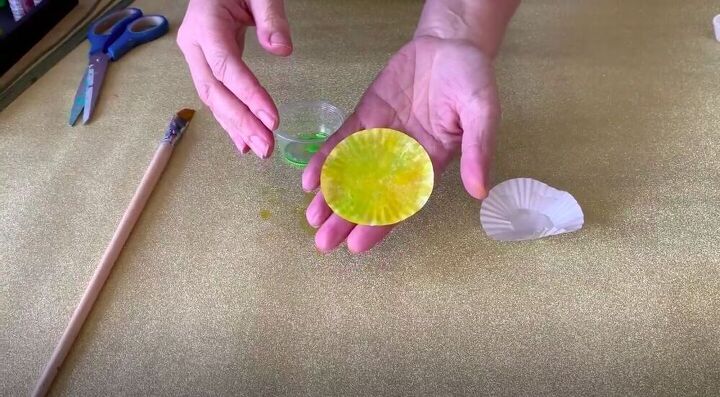
Using some small white cupcake liners, I painted both sides with yellow and a touch of green paint. I like to use a touch of green because it softens the yellow and stops it from looking like a giant blob in the middle of the flowers. Once I had painted the cupcake liners to my liking, I left them to dry overnight.
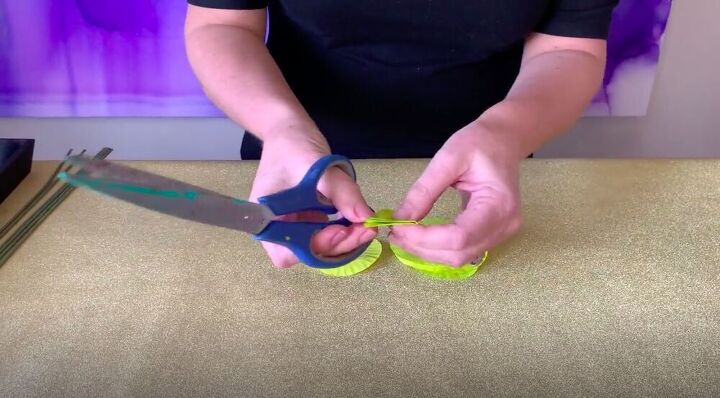
I layered two of the cupcaked liners and folded them in half. Then I cut them along the folded edge just down to the bottom of the ridges.
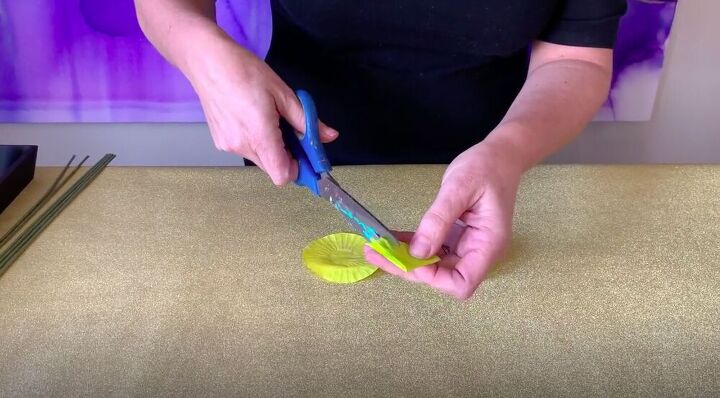
I folded them in half again and repeated the same cuts. Then I continued cutting small strips to create the stamen of the flower.
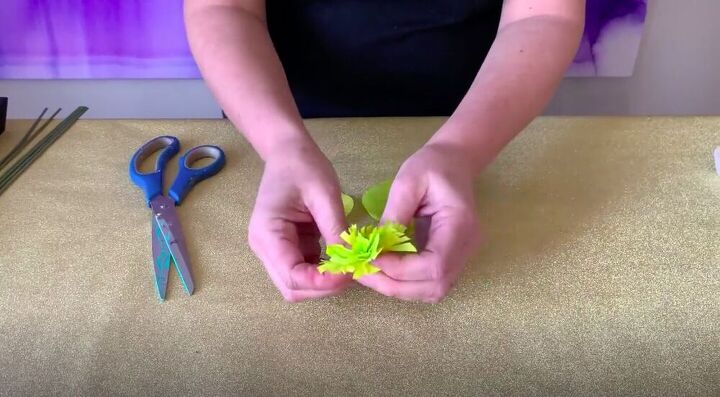
When you scrunch it up as shown it really looks like a stamen.
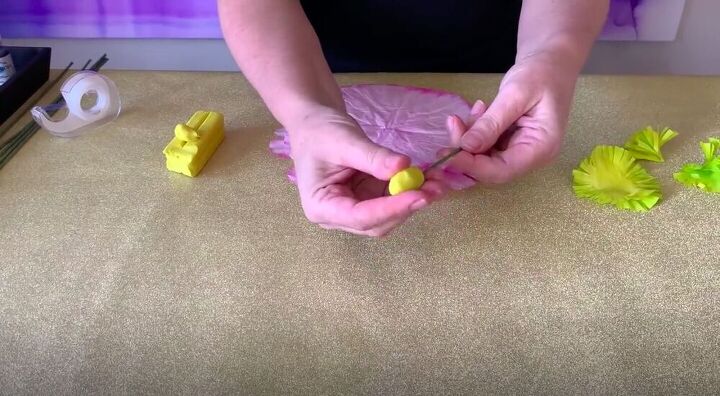
Using some yellow modeling clay I made an egg shape and inserted floral wire into it. This doesn’t need to be perfect as the main purpose of the clay is to act as an anchor.
Then I threaded two of the painted cupcake liners onto the floral wire and pulled it up and around the modeling clay.
I scrunched it in a cone shape and then used a piece of tape at the base to help it hold its shape.
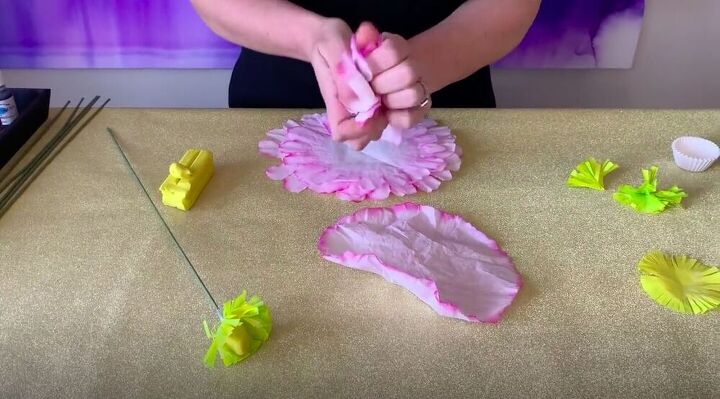
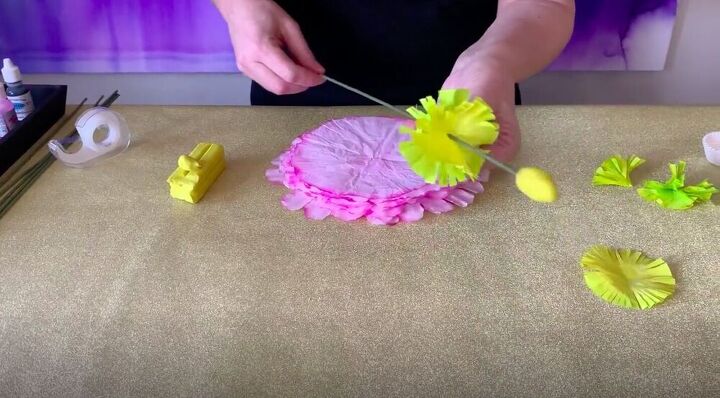
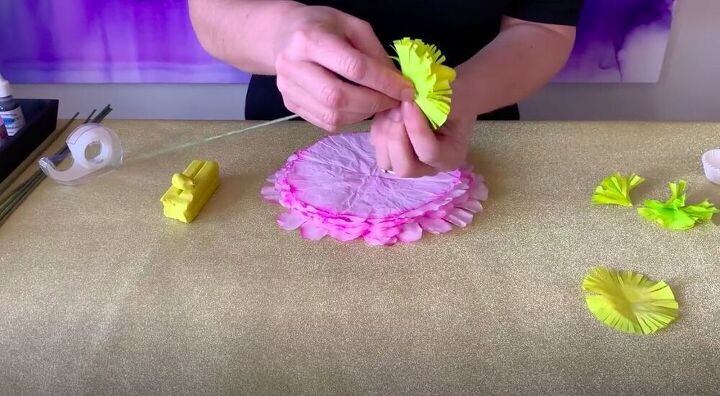
With the stamen complete I was ready to move on to the flower itself. I took the petals I had made and scrunched them up a bit. This gives them more of a natural feel.

I threaded the petals onto the floral wire, pulled it through to the end, scrunched it around the center, and taped it in place.
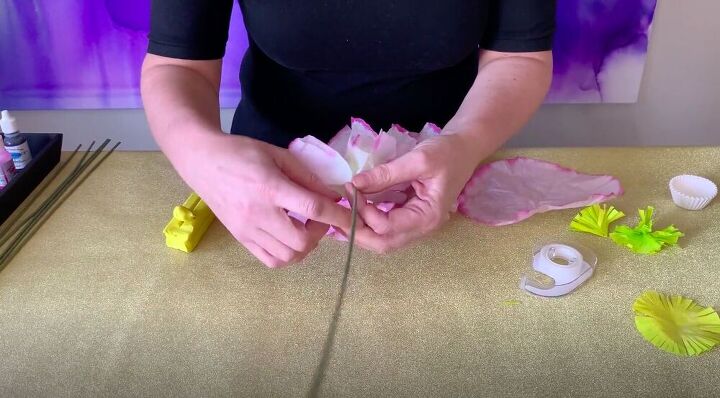
I repeated this process with several more layers until the flower reached the fullness that I liked.
At this point, the flowers look great, but they are just missing a few touches that will really bring them to life.
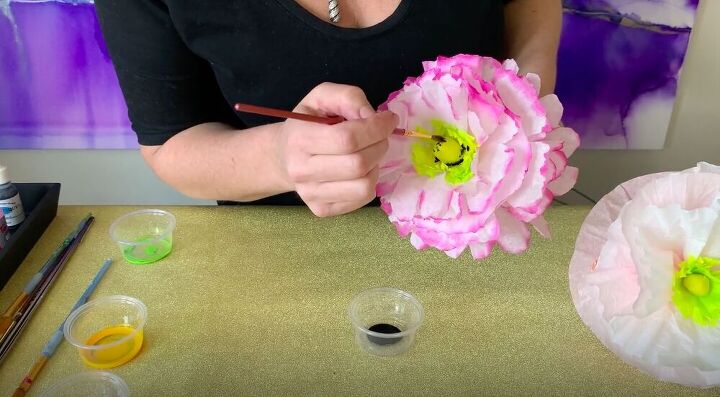
Using a touch of black paint, I dabbed a few dots in the center of the flower.
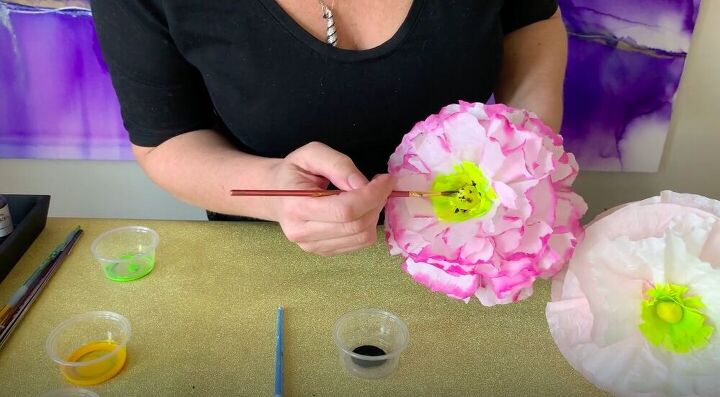
I repeated this with some yellow and green paint as well. This added depth and a more natural look to the flowers. If it looks too “perfect” spritz it with some water to get the color to move more naturally.
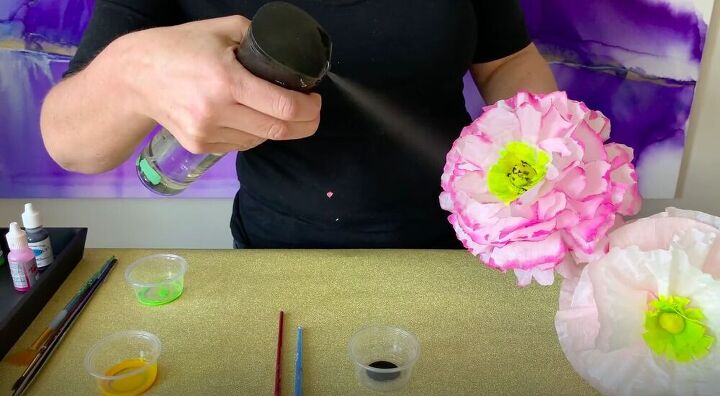
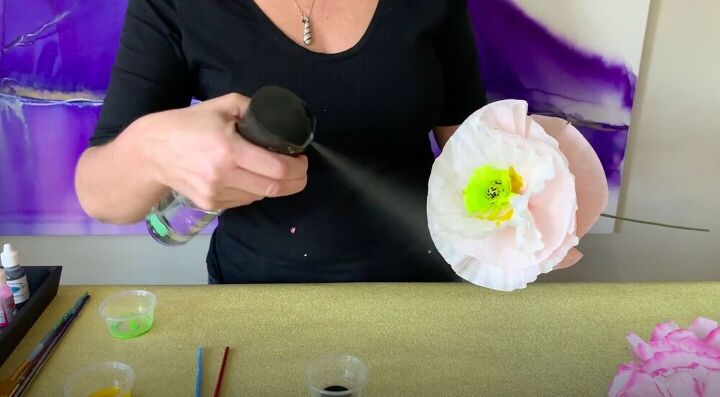
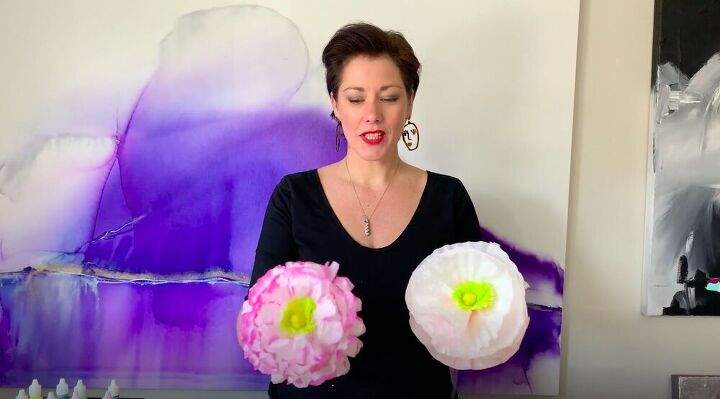
You can also choose to not color the petals at the beginning of the process and add it now. I heavily misted this flower with water and then added color along the edges of the petals with a fan brush.

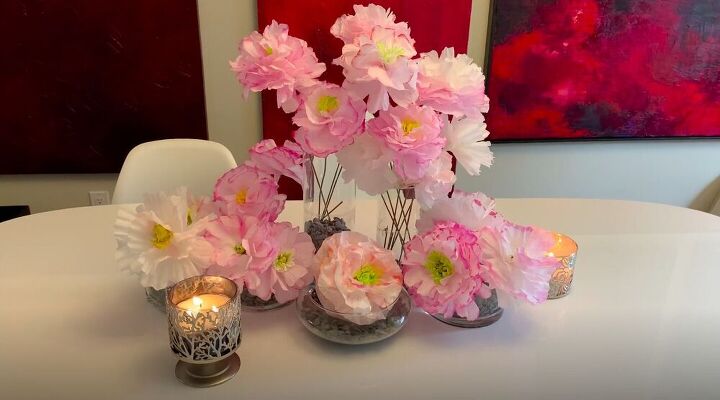
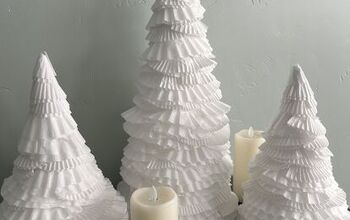
Would you ever believe that these peonies were made from coffee filters? I sure wouldn’t! How would you display your coffee filter flowers? Let me know in the comments below!
Resources for this project:
See all materials


Comments
Join the conversation
-
Absolutely gorgeous! I think I will try to make these for my mom, she loves peonies!
-
This is so beautiful


Frequently asked questions
Have a question about this project?
The flower you made looks bigger than the ones you display, did you make small ones?