


Come Sail Away, Sail Boat Decor
Hey friends! I have an awesome craft for you today. This one, it’s a little involved, but it’s sooo worth it. I have always loved boats as home decor items, but they aren’t always very easy to find, and the ones you can find are pretty pricey. I am thrilled with how easy this was, how it turned out, and I’m excited to create a few more eventually
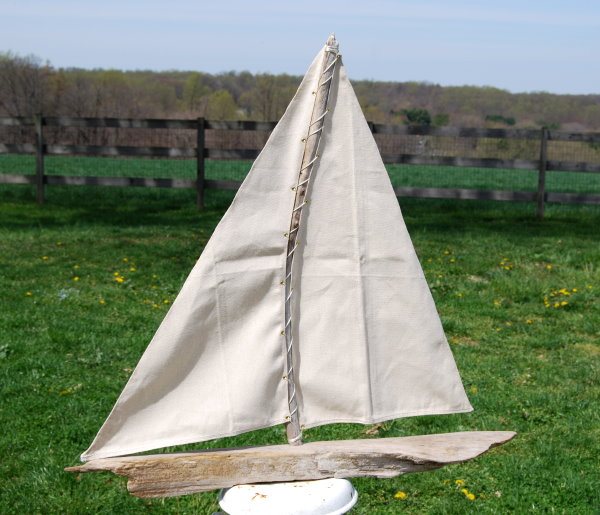
I ended up creating this awesome boat, with a little help from my hubby (lacing the boat sail took 4 hands) but the rest of it any adult can do. Come sail away…
I ended up creating this awesome boat, with a little help from my hubby (lacing the boat sail took 4 hands) but the rest of it any adult can do. Come sail away…
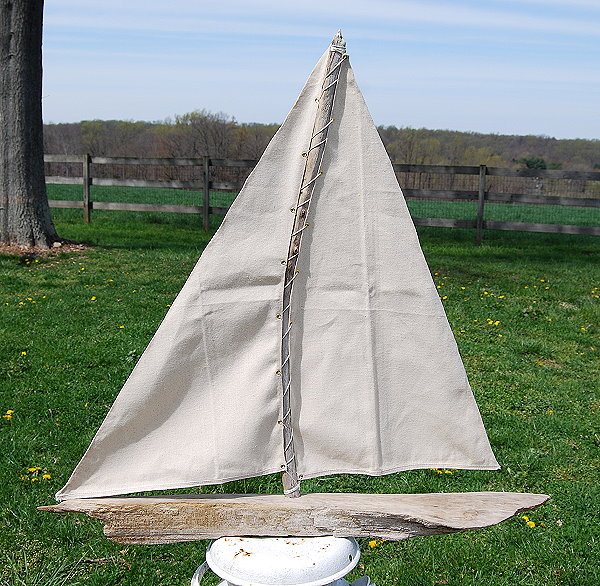
The cost of the boat? all of $6.99 for the canvas painters drop cloth that I have about 8′x4′ left.
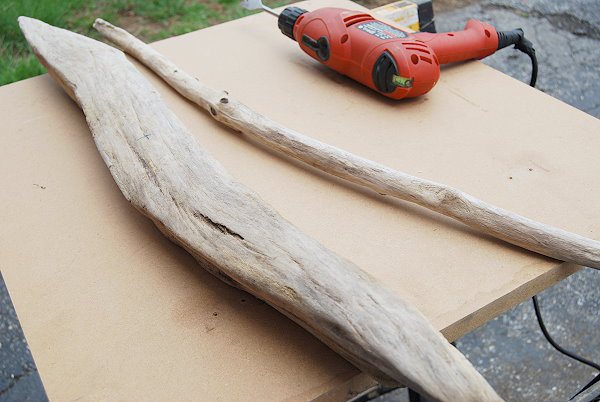
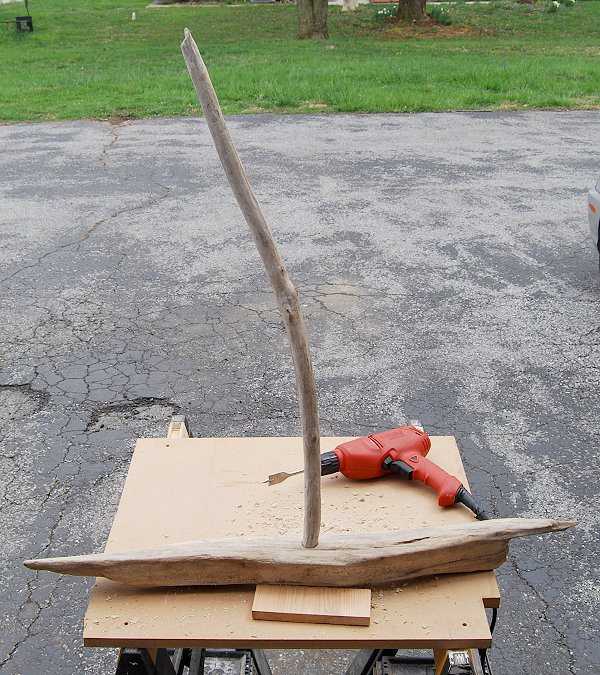
What you will need, is some driftwood. That in itself can be hard to find. You could also get a thick board and rough it up, sand it, or carve it to make a base that looks like driftwood. We got ours from a beach that is along a Delaware river industrial beach. Hurricane Sandy filled this beach with all sorts of trash and wood, most of it is well worn and weathered. We ended up bringing a few pieces of wood home with us, and I do hope to create a few smaller boats now that I have the basics understood.
Now roll out your painters canvas. These come in different sizes. We got ours at a discount store. The canvas is nice and I will be sure to create other projects with it.
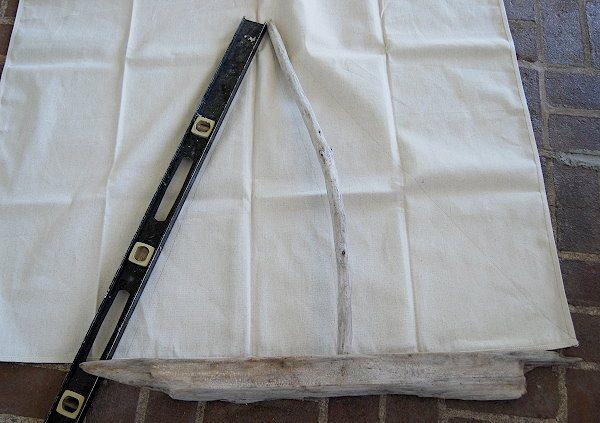
I left a 1/4 inch hem when I cut my fabric, so I could fold it over. I used a fabric glue to fold my edges in, and then used clothes pins to secure it until it had absorbed into the fabric.I found it helpful to take several clothes pins off, then roll a bottle over the seam to have it adhere better. I trimmed the points off the sails at the top.Next I punched holes and added eyelets. I used a cropadile tool from We R Memory Keepers, which is both a punch and a setter.I looped twine through the eyelets, around the mast and tied it off. I used a hot glue gun to seal my knots. I then used the same technique for the other side of the sail.At both ends of the boat, I tied a knot in some thin fishing line- or clear thread, and hot glued the end to the underside of the boat. I stitched through the sail at the tip. then hot glued the other end under the boat. this keeps the sail more taut, but the lines are virtually invisible.
If you need to, add felt buttons that are sold at any big name store, for the bottom of furniture, to steady your boat so that it sits evenly.

Want more details about this and other DIY projects? Check out my blog post!
Comments
Join the conversation
2 of 6 comments
-
I love it alot!
-
I think I will do this with my son! :)


Frequently asked questions
Have a question about this project?