


Cool Decorative Box + How to Transfer an Image Onto Wood
$10
1 Hour
Easy
DIY a spiffy decorative box and find out which image transfer process is the only one you should use!
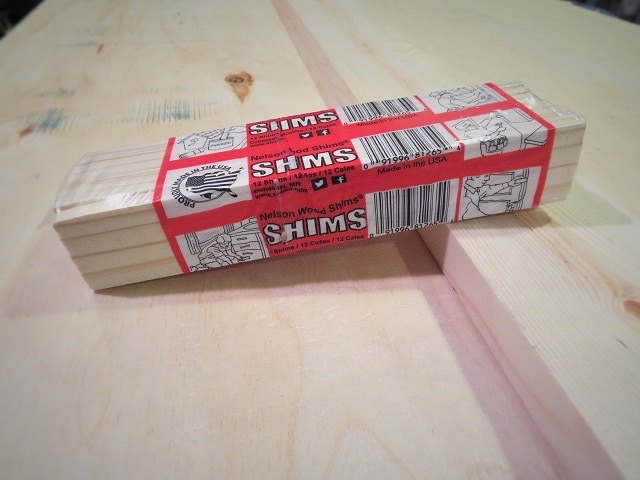
For this nifty project, the materials are simple: 1/4" plywood, 1x4, and a couple packs of shims. Oh and ok, some glue, Liquid Nails, screws and a few small nails.
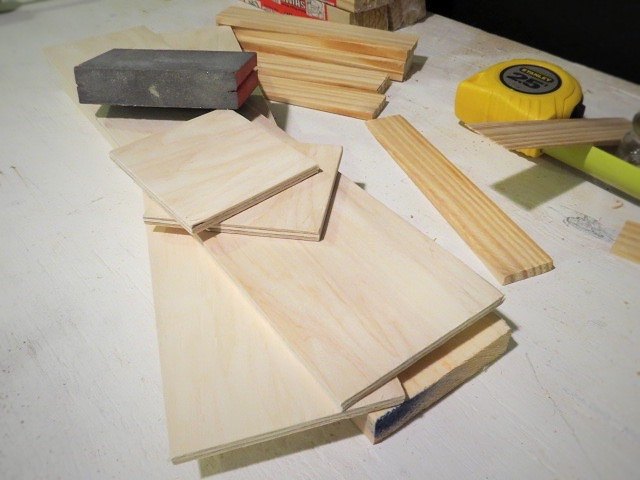
Chop up that plywood to your finished box size. Mine was 4x4x17.5. Cut the 1x4 to fit within as your bottom piece.
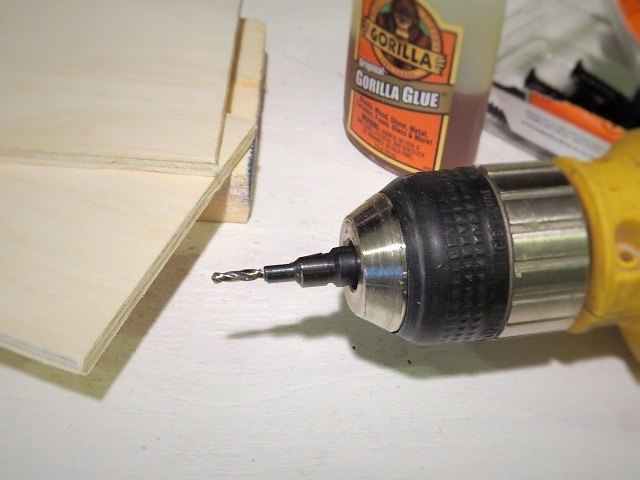
A countersink pilot bit is, well, critical to this project. No worries, they aren't expensive and you'll use it again. Come read all the details about this project over on my blog Flipping the Flip at humboldtartdept.blogspot.com!

Pilot through that plywood into the 1x4 base, add a dab of glue and screw those two puppies together.
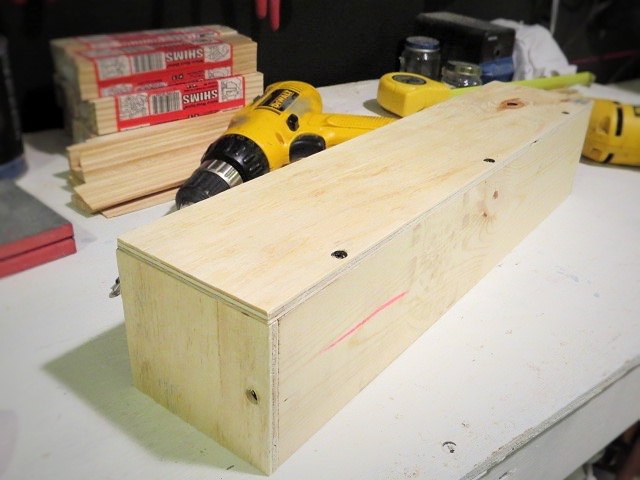
And repeat for the longer sides.
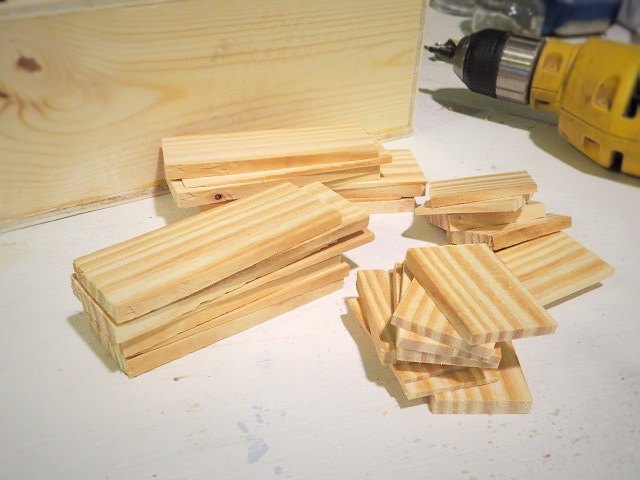
Now for the fun part! Pop open a pack o' shims, cut them in half. Then cut one of the halves in half again.
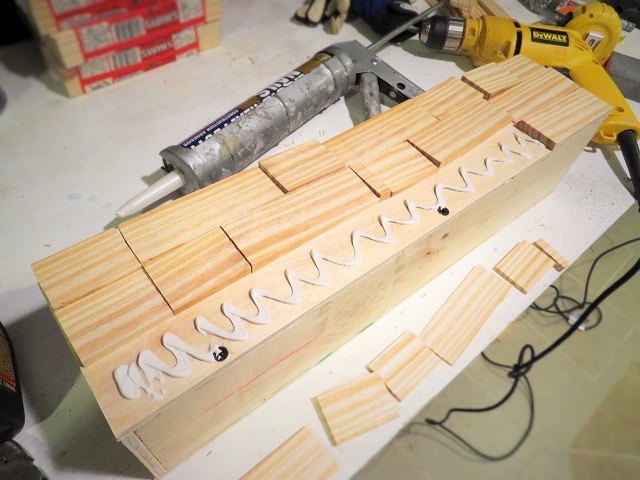
Lay the shim bits out on one side and once you have a design you like, set them to the side, smear on some Liquid Nails, and then squish all the shim bits in. Repeat for the remaining sides and.....
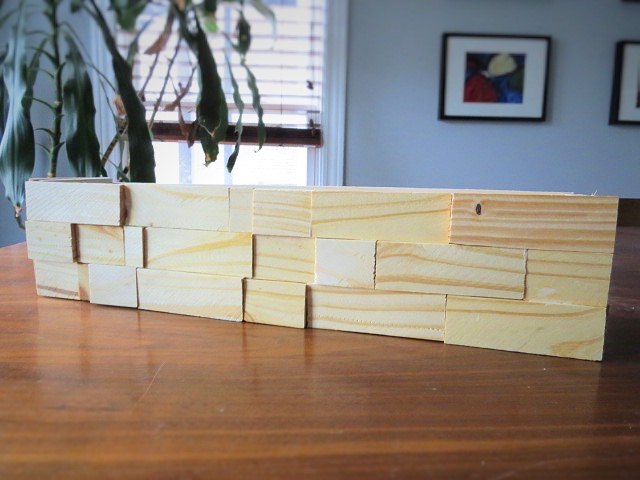
Viola! Super cool decorative box! Paint it, stain it, char it, or plain seal it up -- finish it as you see fit! So many customizing options!
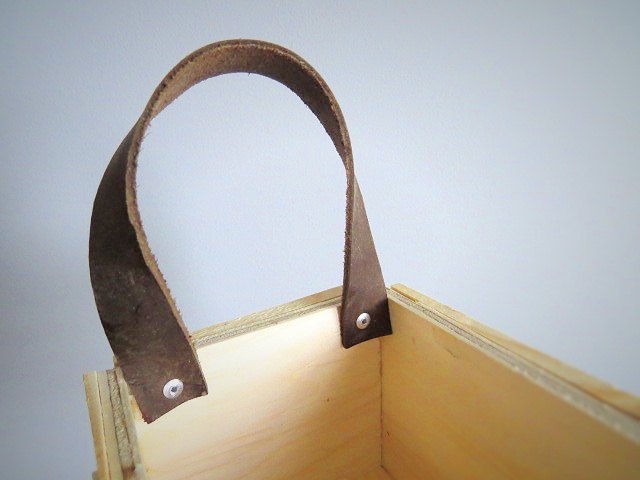
You can also add some swanky leather handles on the sides as well! Click the link below to find out how I did those.
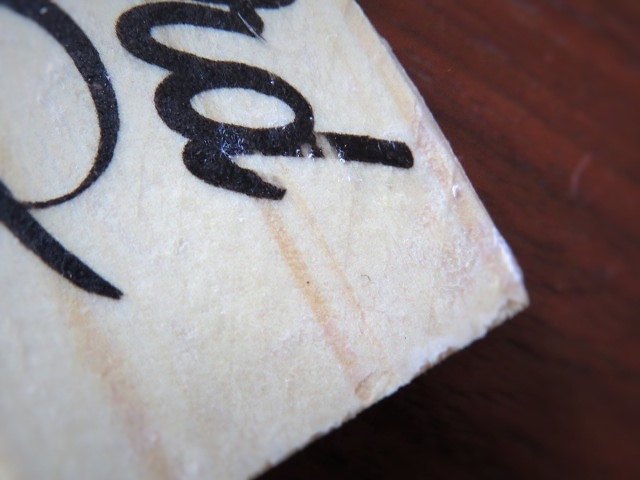
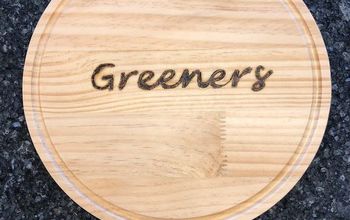
Now, I needed to add a logo to these boxes. I tried so many ideas and tutorials out there on the web -- there are some that certainly do not work and one that does, the *only* one I recommend. Be sure to click the link below to find out the time wasters and the sole winner!

Want more details about this and other DIY projects? Check out my blog post!


Frequently asked questions
Have a question about this project?