


Cord Box

This month is all about making our home more child friendly. I don’t want to say child proofing, cause we aren’t there just yet, but for sure more child friendly. The first thing we wanted to do was contain all the TV, internet, Xbox cords. They are very appealing for baby C and to be honest, they are a bit of an eye sore. Our first attempt to deter her was to put a cushion in front of the area….
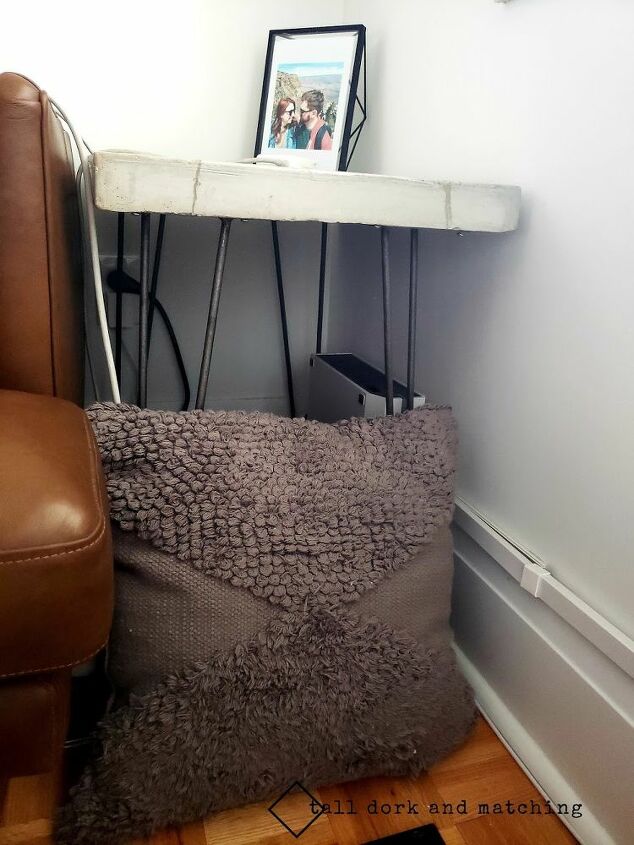
clearly that didn’t work! So here’s what we did.
What you will need for this project:
- Brad nailer and brad nails
- wood glue
- clamps
- table saw
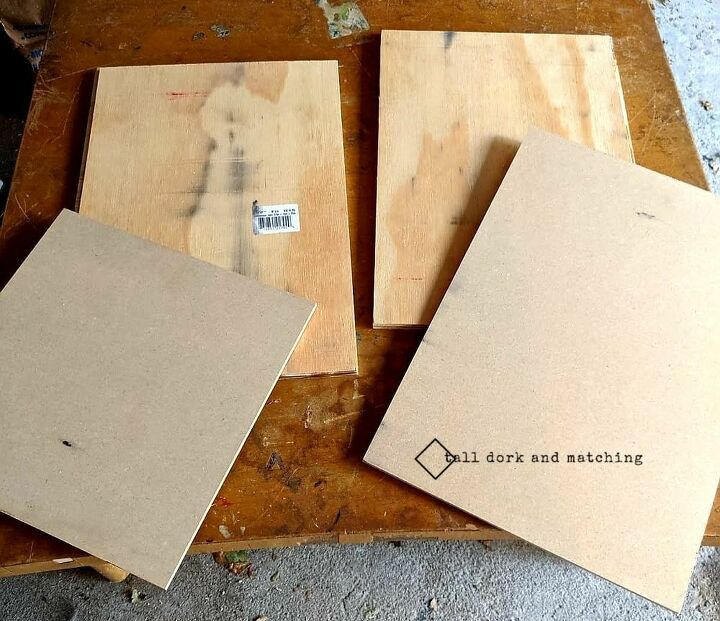
- ½ inch thick plywood
- ¼ inch thick particle board (or hardboard or MDF)
-drill
-measuring tape
-pencil
-chalk paint
-roller
- chalk paint brush
- chalk paint sealer spray
-sand paper
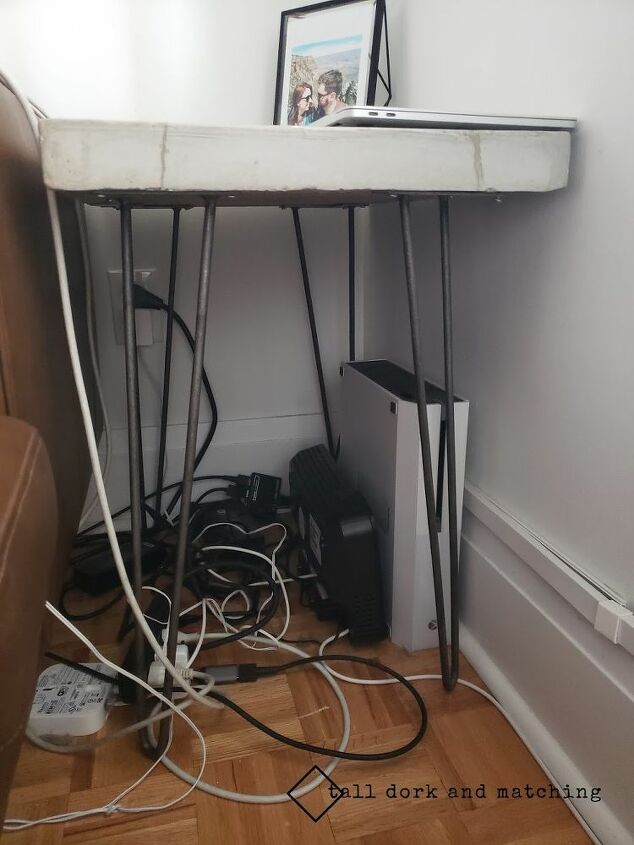
Firstly we measured the space we needed to conceal and the electronics we needed to hide from our babies curious eyes. We wanted to make a 3 sided box so the back was open for all the cords to go back, as well as provide some ventilation for the devices that get a bit warm.
Matt started by cutting the 2 sides of the box out of the ½ inch plywood and then the front and bottom out of the 1/4 inch particle board. This is ideal so that he had all his pieces of wood cut before he started assembling.
Rather than simply nailing everything together, he wanted to use a technique he recently learned at his woodworking class called a rabbet joint. A rabbet joint is an open-sided recess along the edge or across the end of a board or panel. (so thankful for adult night classes!). Rather than just use a butt joint (where the one board butts into the other one), this joint adds a bit more surface area to the joint for more glue (or nails), and is a bit nicer to look at! Here is the process:
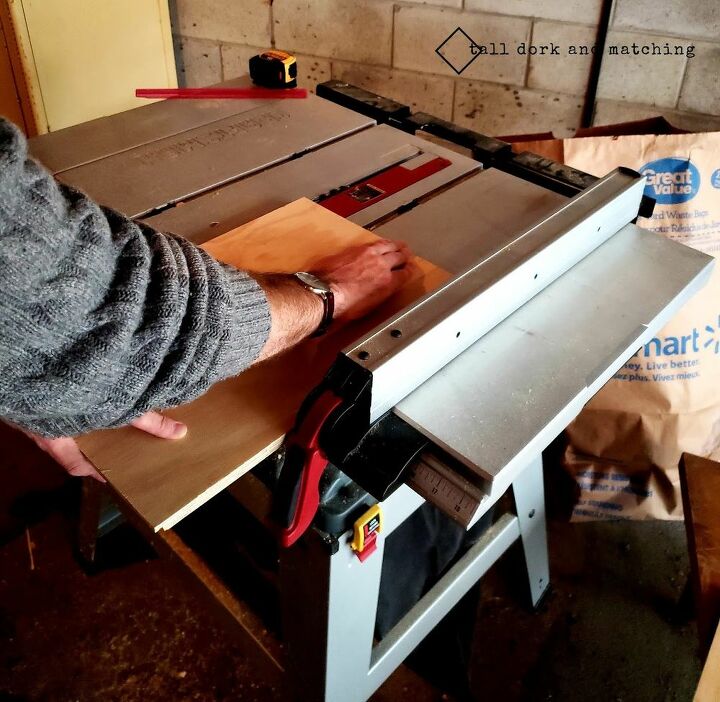
Firstly lets talk about the side 2 panels - the ½ inch plywood. Matt wanted to do a ¼ inch rabbet joint, so the ¼ inch hardboard will sit flush with the edge of the sides. He started measuring how much of a channel he wanted to achieve on the front edge and bottom edge of the 2 side panels. Firstly he set the guard measurement on the table saw just under ¼ inch so that the far edge of the blade is at the quarter inch mark.
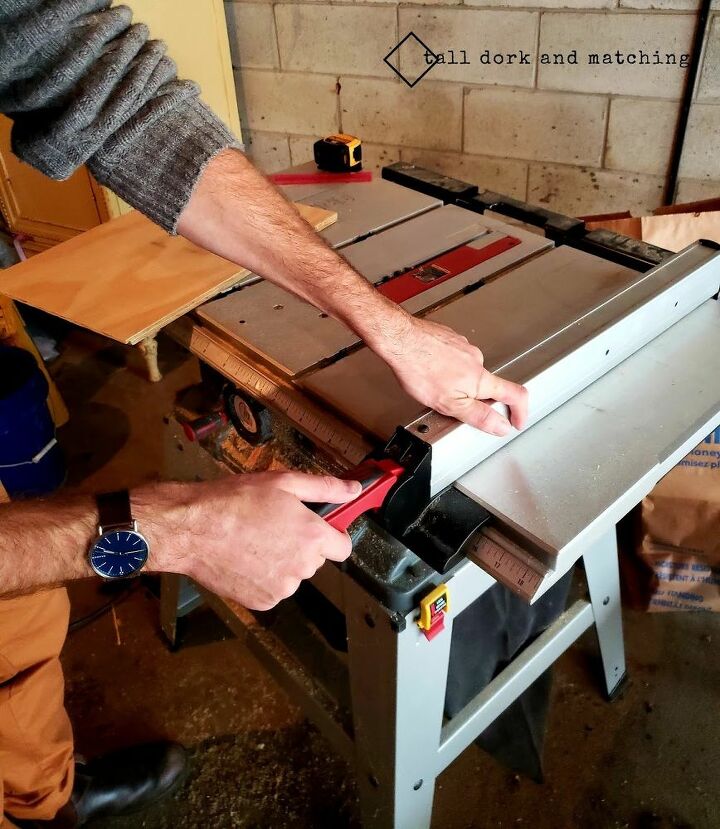
He removed the guard on the table saw and lowered the blade so it was only a ¼ inch high using ¼ inch boards to confirm his measurements. (make sure to unplug before you do this!). Once the blade was in place he ran the front and bottom of the side panels through the table saw creating a groove. Repeat this on both side pieces on the bottom and front side.

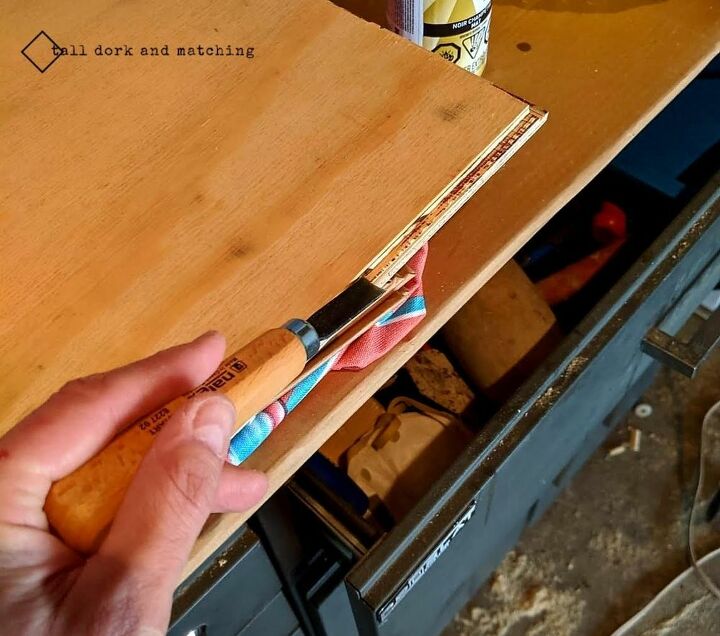
You will be left with about 3/16 inch of wood on the outer rim of the channels where your made the groove. You are going to want to remove them to create a full groove on the edge. Matt moved the guard over to about the 1/8thinch mark and repeated the process a couple times until there is a nice open channel. He repeated this on both sides of the box, both the bottom edge and front side. He used a flat chisel after to get any little bits out that he missed with the saw.
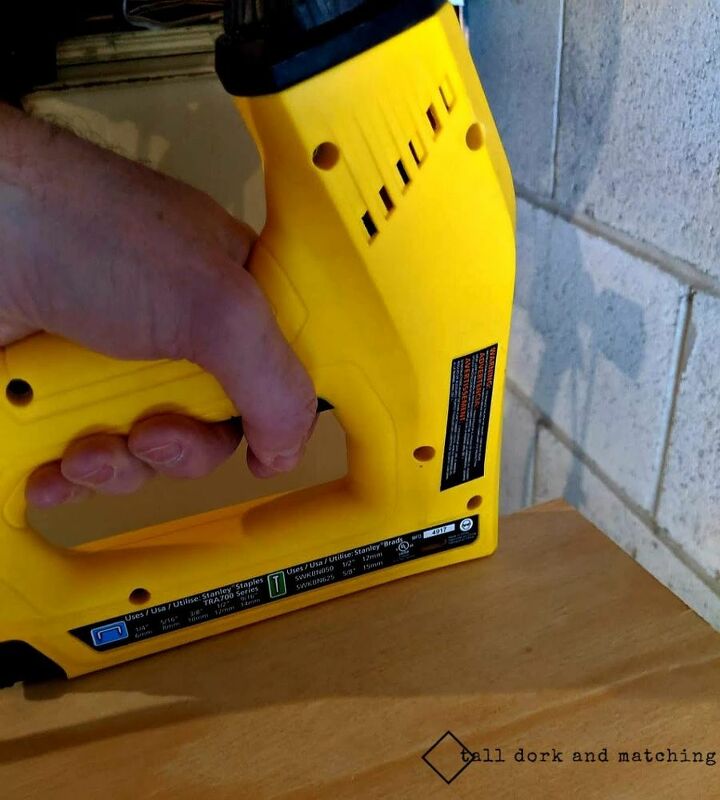
He now has 4 joints ready to be assembled! The front and bottom pieces will now nicely fit into those grooves! Hurray! He wood glued around the edges on the inside of the joints, and applied the clamps to secure while drying.
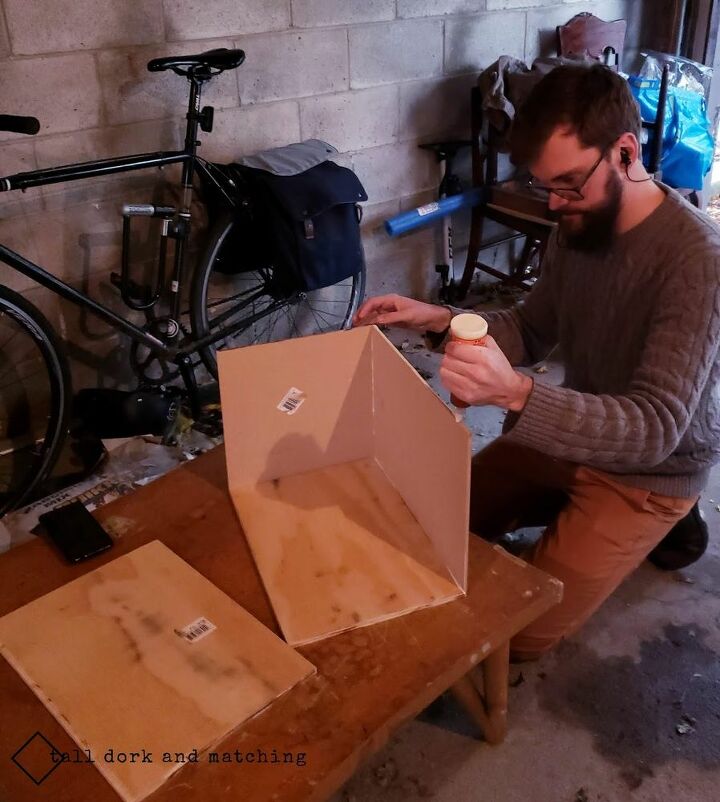
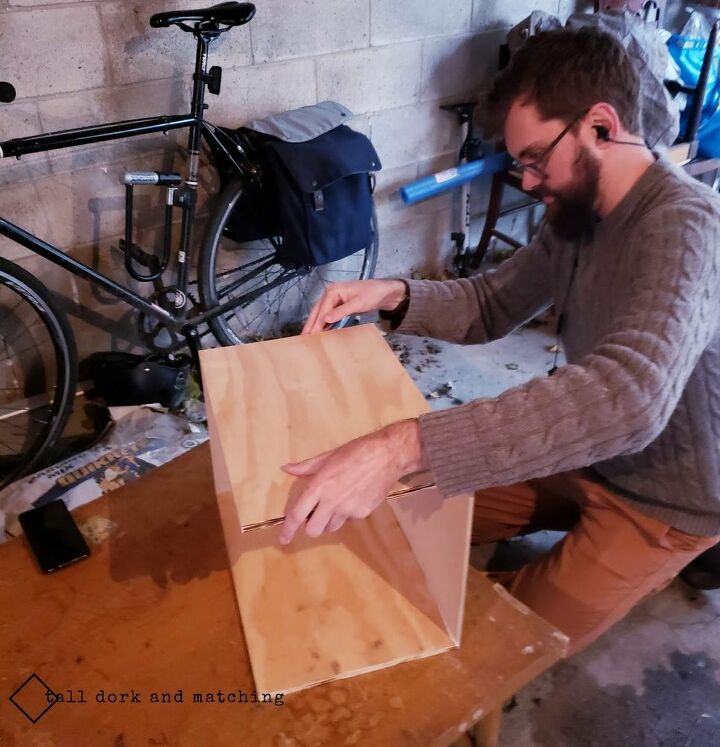
At least in a perfect world that’s what he would have done. However our clamps weren’t long enough. So to add strength to the box he used the brad-nailer around the edges to secure the joints once the glue had dried.
Now we wanted something slightly more aesthetically pleasing but not so much that baby C was also interested in it. In addition, we wanted to add some more breathability to the box so it would properly ventilate. We decided drilling a pattern into the front would give it more appeal and also add the much needed ventilation. Matt decided on an x design and drilled 9 holes in that pattern.
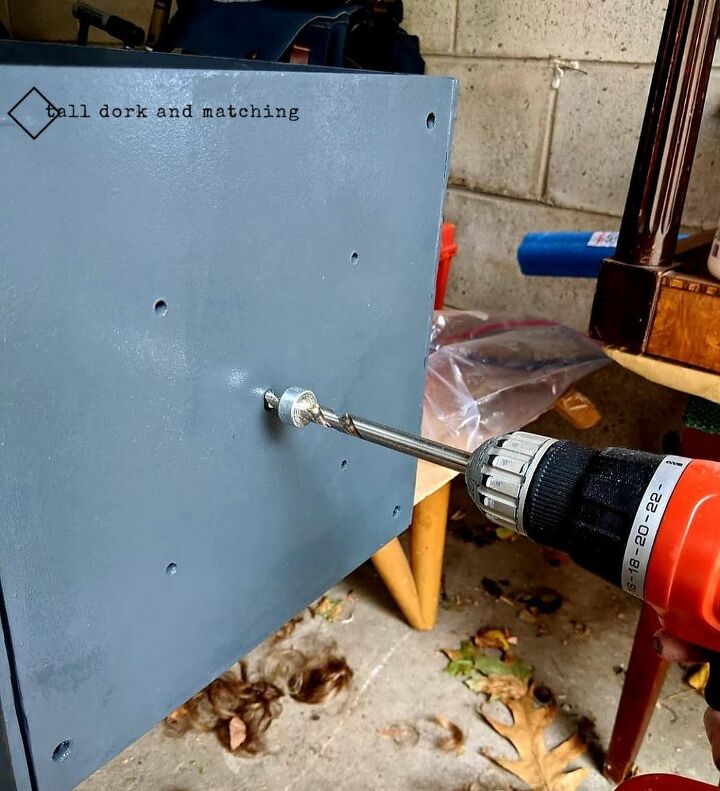
He also added a few drill holes on the side as needed for the cords that wouldn’t reach to go through.
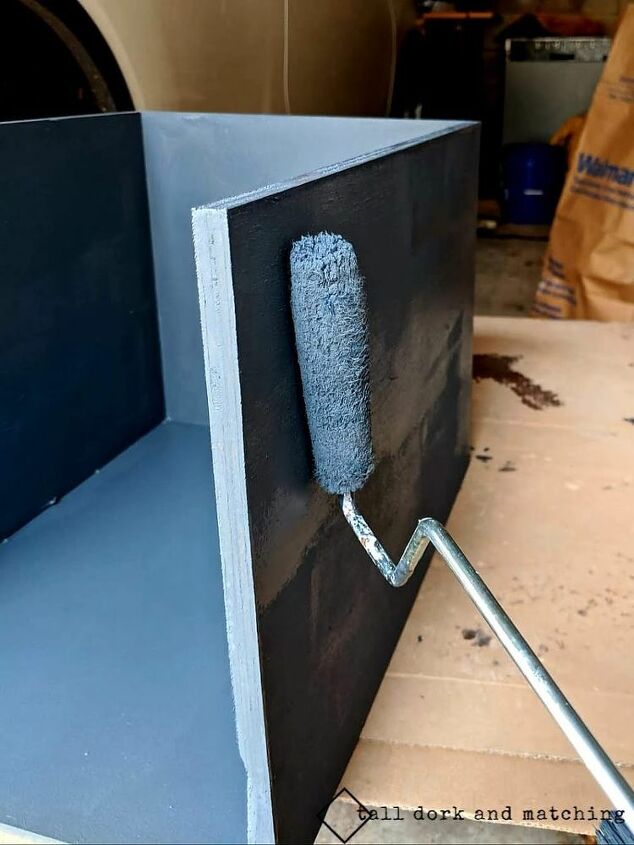
He then painted the box with chalk paint to match a few of our other décor items and not draw much attention to it. He sealed it with acrylic chalk paint sealer.
*If you can't find the color chalk paint you want. Pop by our blog to find out how to make your own!
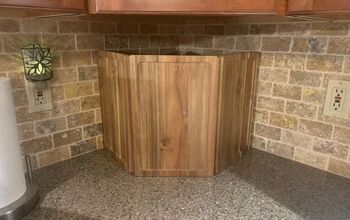
And here we have our finished product!

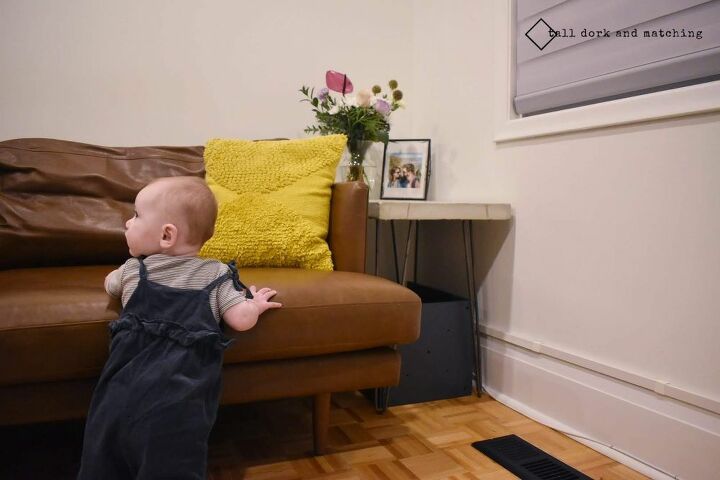
Hope you enjoyed! Pop over to our blog www.talldorkandmatching.com for more great ideas
Resources for this project:
See all materials


Comments
Join the conversation
-
I take a trash can, screw it to the underside of my Computer desk to hold the wires off the floor. I drill a hole plug size and place a surge protector on the underside of the desk and plug in all the items needed and cut an access square out of the side facing the wall. Leaves foot room and keeps puppies from damaging cords. I have taken curtain rods to protect wall plug cords when they were tempted with them.
-
Electric repairman told me about using pvc pipe to put cords in and run along baseboards. PVC can bepainted to match base boards using this way for years their are brackets to attach that you purchase for this. Saved many cord from puppies and children.


Frequently asked questions
Have a question about this project?
Could you attach the box on the underside of the table to make it easier to clean under the table?
wouldn't the baby eventually be able to climb into the box, since the top is open?