


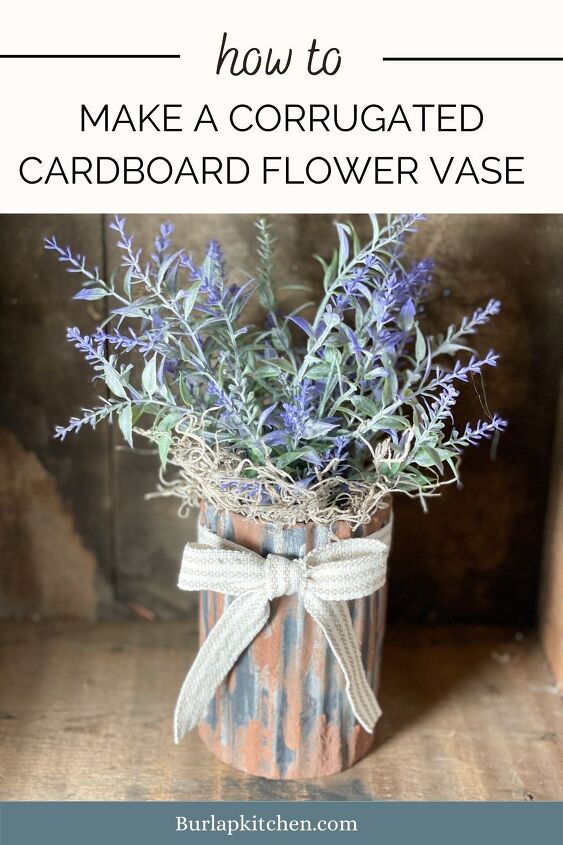
Corrugated Cardboard Flower Vase
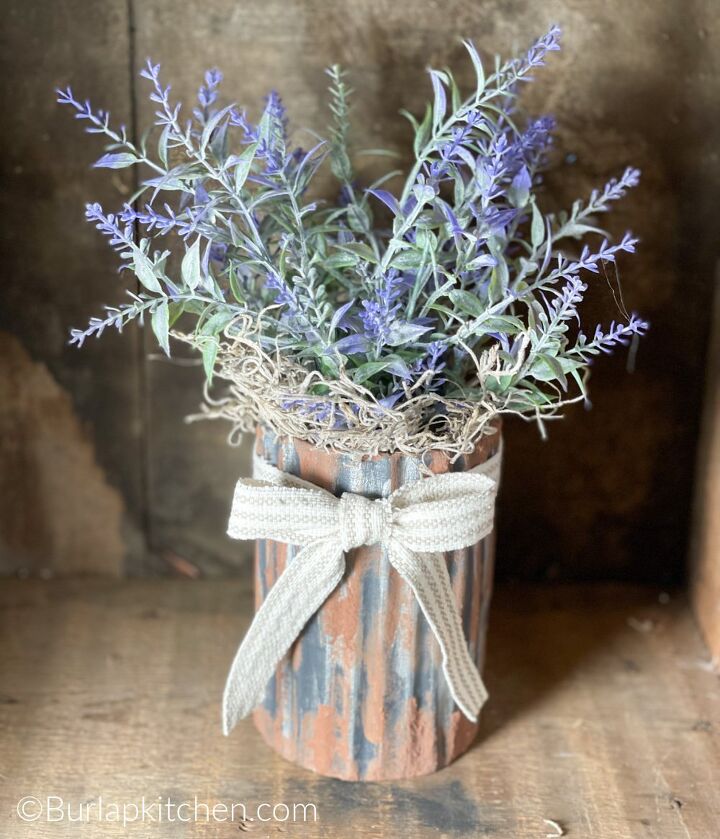
Friends, I am so happy to be sharing with you all how to make a budget-friendly DIY flower vase! This farmhouse style flower vase is not only simple to make, it is an incredibly budget-friendly DIY for your home décor. I love mixing flowers in with my home décor throughout the seasons, and this beautiful flower vase is the cutest way to display all of your seasonal flowers and/or plants. Also, wouldn’t these rustic flower vases make gorgeous centerpieces for a budget-friendly wedding?!
Materials needed:
- empty container of your choice
- corrugated cardboard
- Charcoal grey (or medium to dark grey) paint
- Metallic silver paint (Get a similar color here on my affiliate link)
- brown oxide (Get this color here on my affiliate link)
- baking soda
- paint brushes
- hot glue gun & glue sticks (Here is my affiliate link to my cordless hot glue gun. I love it!)
- floral picks of your choice
- foam
- Spanish Moss
- ribbon
Step 1. Use any size of cylinder shaped can of your liking for this project, I used a bread crumb can for mine. Be sure the can is cleaned out and dry first.
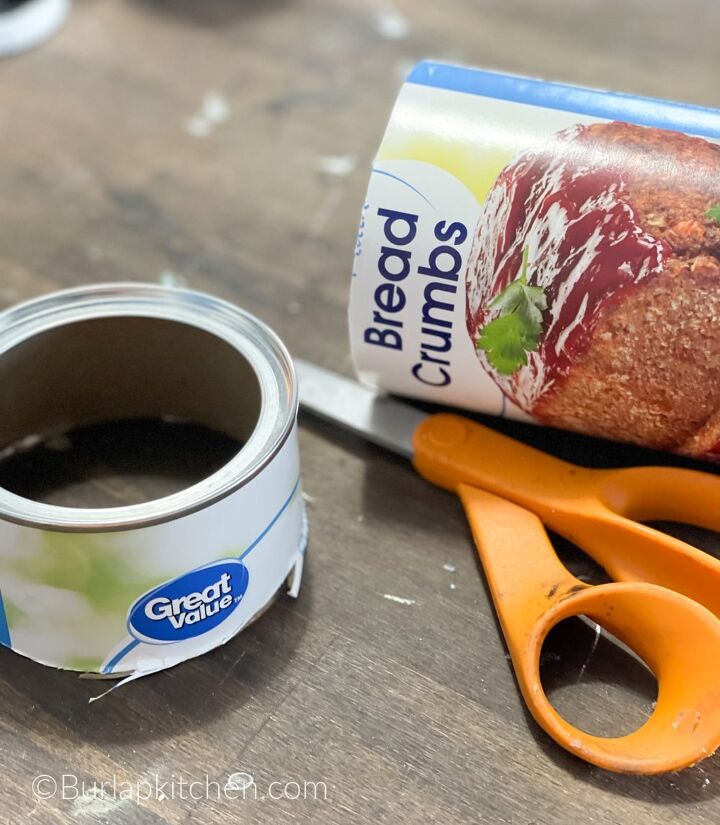
Step 2. This step may not be necessary if you like the size of your can, but I trimmed about 2 inches or so off the top of my can to get it to the size I wanted for my vase.
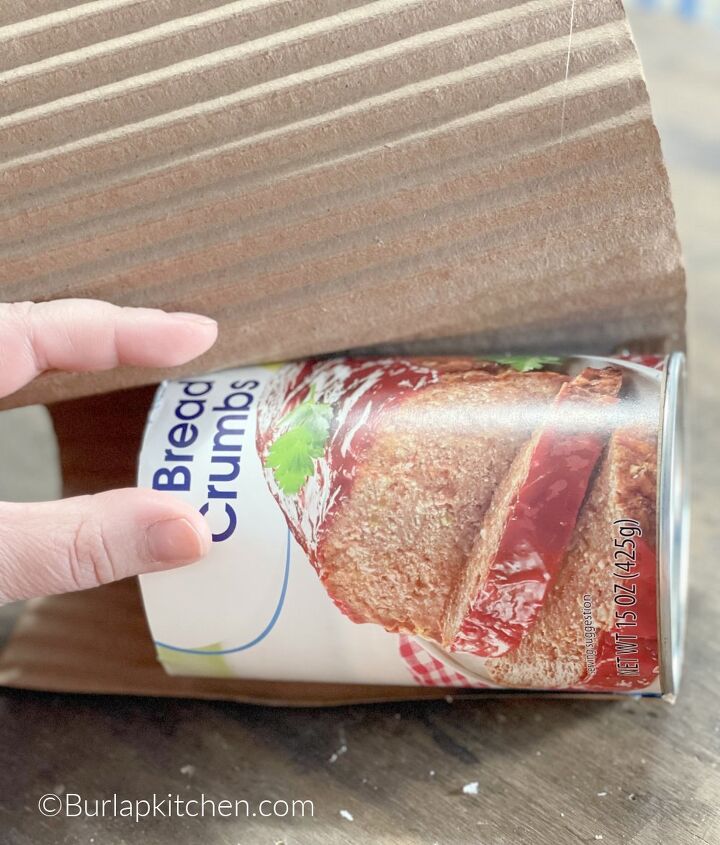
Step 3. Take a piece of corrugated cardboard to size and wrap it around the can to make sure it fits properly around the can, trim away any excess corrugated cardboard. *Do not cover up the top of bottom of the can with cardboard, simply wrap the cardboard around the outside of the can going in a circle. Then, use hot glue and glue the corrugated cardboard around the can pressing down to secure the cardboard directly onto the can. The ends of the cardboard should meet/match up neatly. Allow to dry. The can/vase should now be completely covered with corrugated cardboard.
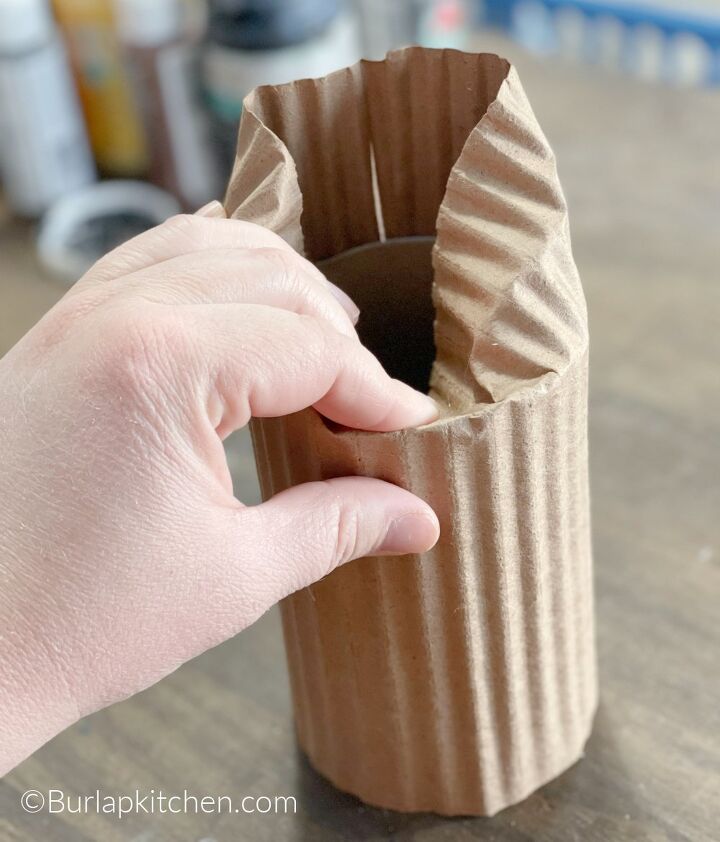
Step 4. If you have any excess corrugated cardboard at the top of the can, fold it down and hot glue it down onto the inside of the can. Allow to dry.
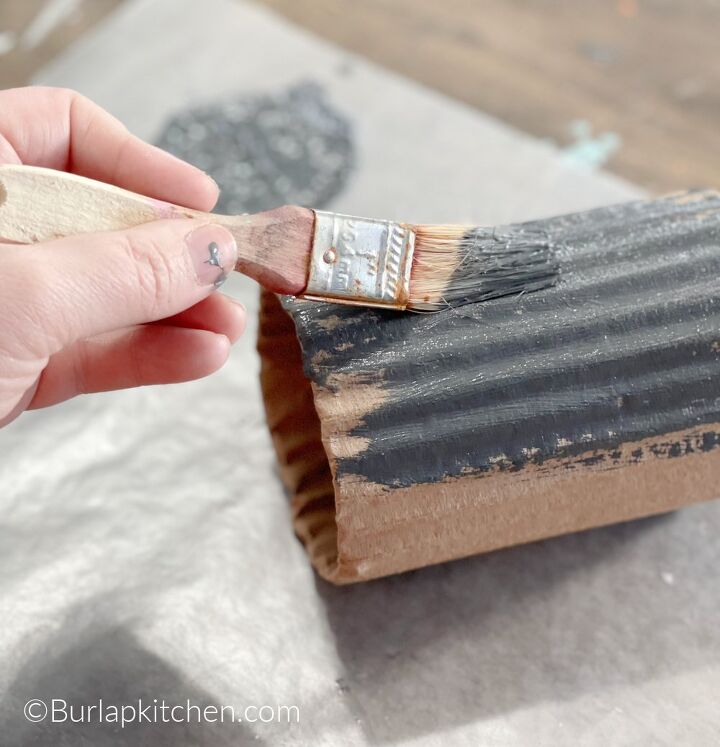
Step 5. Using a charcoal grey acrylic paint, paint the corrugated carboard covered can/vase. Allow to dry.
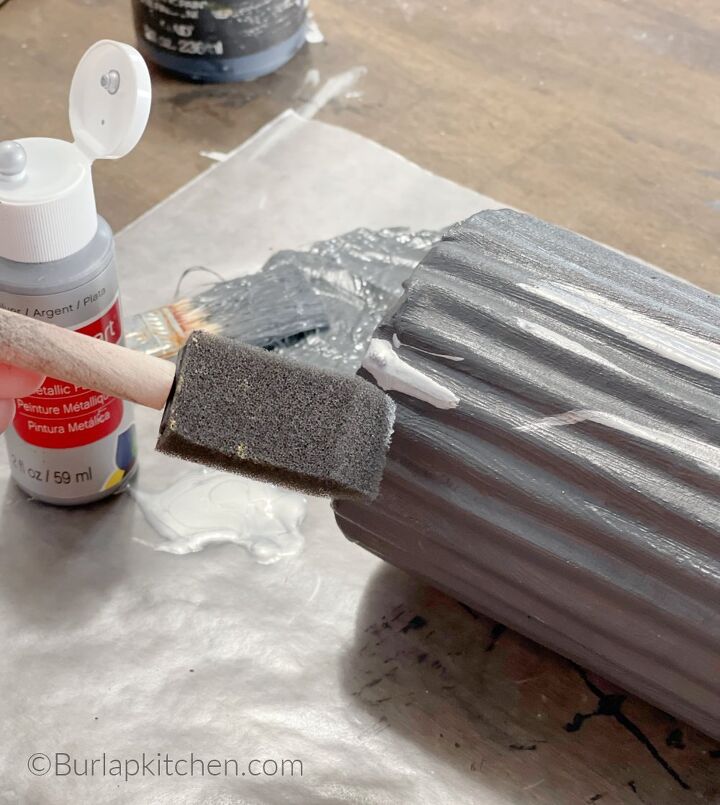
Step 6. Using a metallic silver colored paint, add some of this color onto the vase in random spots using a foam brush. Allow to dry.
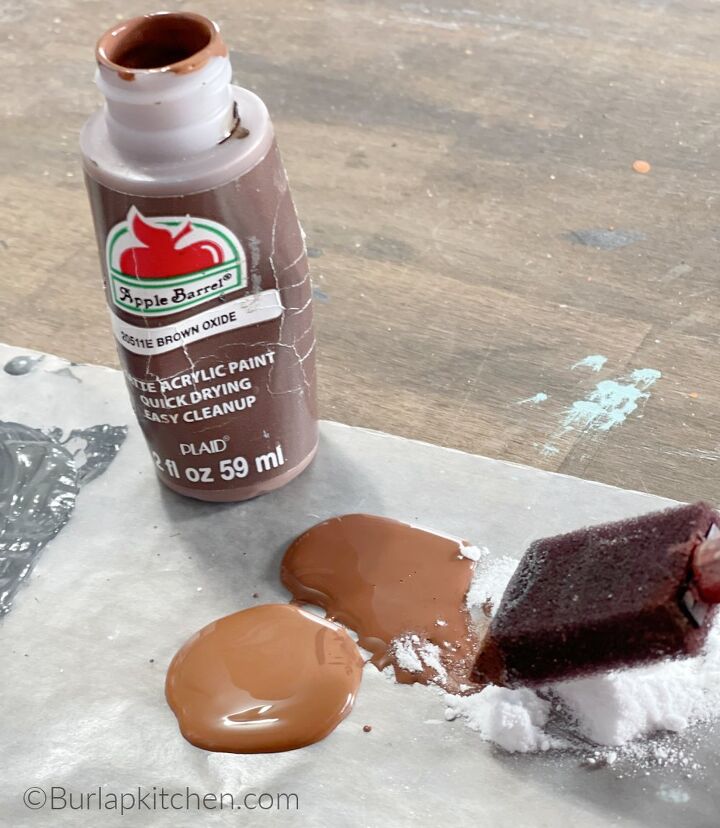
Step 7. Take a brown colored acrylic paint and mix it with some baking soda, then use a foam brush and paint this onto the vase in random spots. This will add a more rustic/farmhouse style look to the vase. Allow to dry.
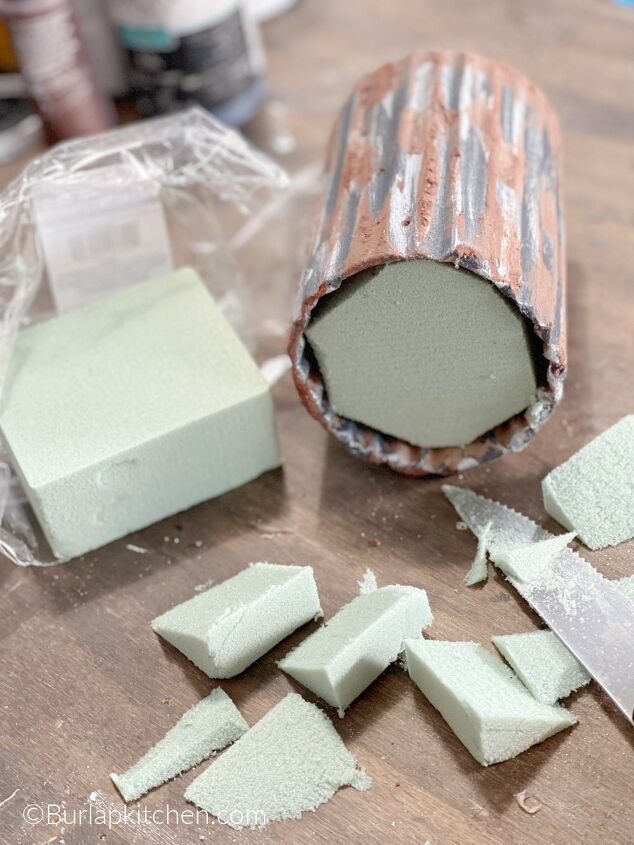
Step 8. Take a small piece of foam and cut it down to size so that it will fit down inside of the bottom of your vase. Stuff the piece of foam down to the bottom of your vase.
Step 9. Using picks, flowers, stems, or any greenery of your liking, trim the greenery down, if needed, so that it will fit the size of your vase.
Step 10. Add a handful or so of Spanish Moss to your vase so that it flows out around the top a bit.
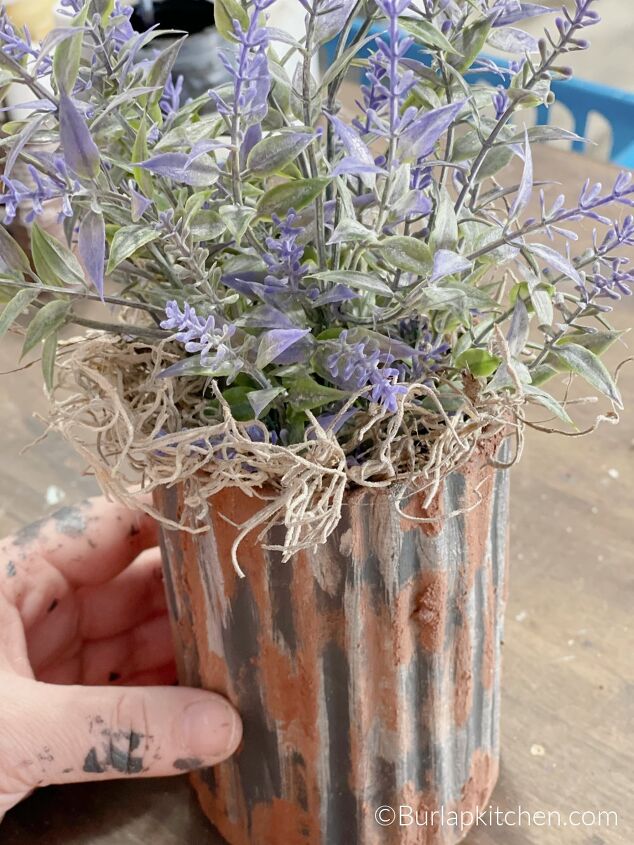
Step 11. Start to stuff your flowers/greenery down into your vase in a pattern of your liking. Trim away any excess Spanish Moss, if needed.
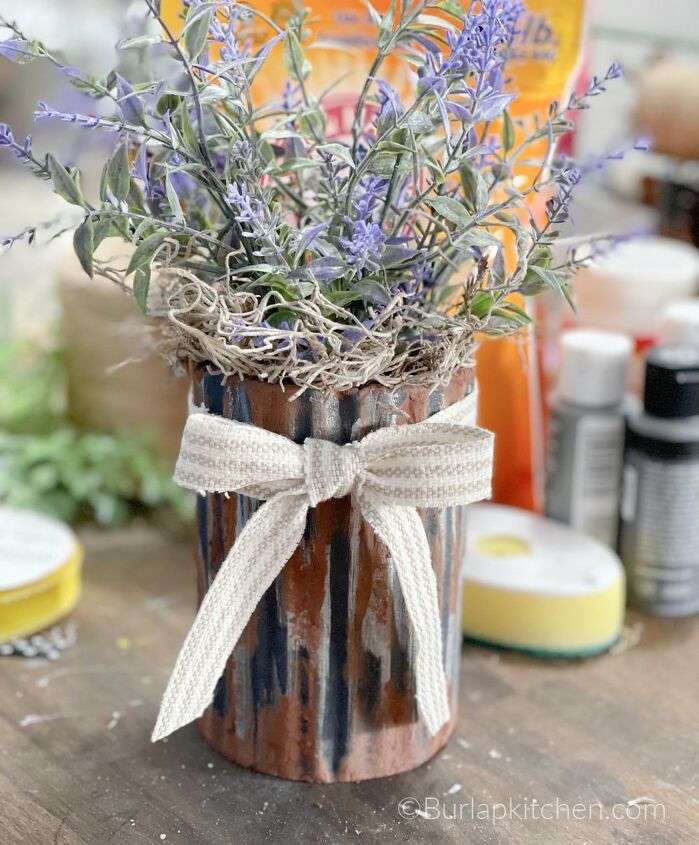
Step 12. Using a piece of fabric of your liking, cut it down to size so that it will fit around the middle of your vase. Wrap the piece of fabric around the vase and tie it in a simple bow to secure the fabric into place. Trim away any excess fabric. Enjoy!
Watch me! – YouTube Pin me! – Pinterest
If you decide to make this DIY I’d love to hear from ya! You can drop a comment below or message me on any of my social media pages. Hope you have a blessed weekend and as always remember to keep it simple. Catch ya next week my friends! Facebook, Twitter, Pinterest, Instagram, youtube
Resources for this project:
See all materials


Frequently asked questions
Have a question about this project?