


Create a Custom New Look With Old Books

This is my third time creating these custom book stacks, they are simple, easy and fun to put together! It's a feel good craft too because I'm recycling, being creative and best of all I'm getting new home decor every time! Win, win, win! To get started here's what I gathered together in supplies.
I laid everything out on the table to inspire ideas and basically I'm a visual person so unless it's all in front of me I might forget the supplies I actually do have! I saw a funny quote on how people aren't laughing at you now because of ALL those craft supplies you bought up...that would include me! Maybe, just maybe this will be the year I use it all up!! 😄
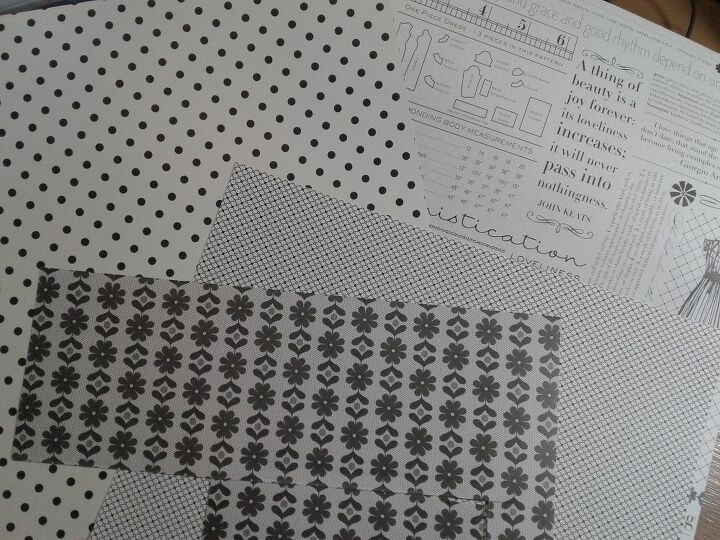
I'm going with a color neutral scheme choosing just black and white paper selections from from pads. I did a rough measure on my book while the paper was dry, folding and scoring for placement markings. I trimmed off the excess just leaving enough to fold over the edge and glue down inside the cover.
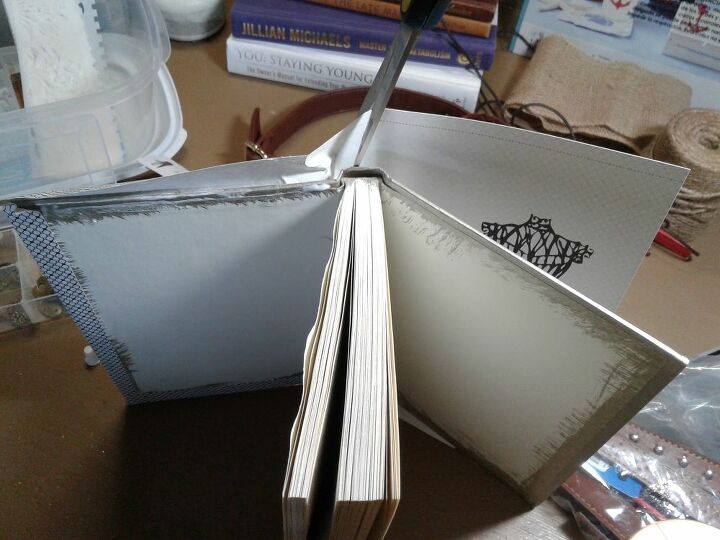
I did the front cover first then the spine and lastly the back to in order to have better control of getting it all laid flat in place. I spread on the mod podge evenly, laid the paper on and smoothed out any wrinkles or bubbles with my fingers. I snipped the edge of paper above the spine so that it would be able to fit down inside the hollow when the book is opened wide.
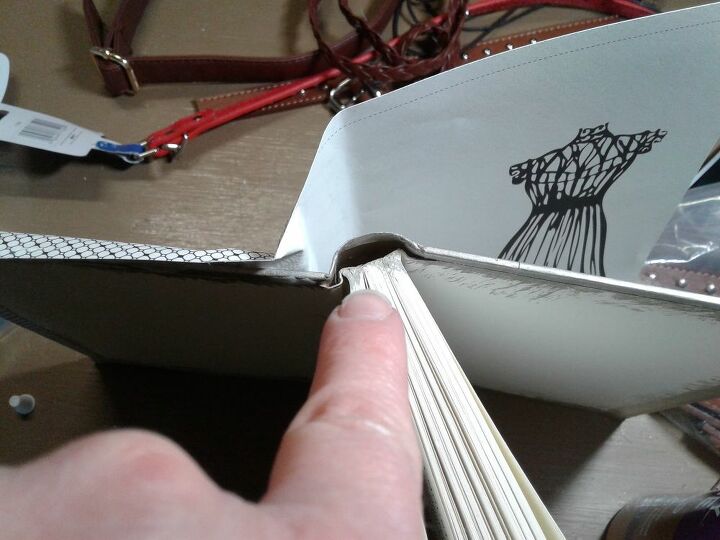
My finger is pointing to the hollow where I pushed the extra paper allowance down into once glue was pasted on the paper.
NOTE: Remember in the video I said if you only have white glue instead of Mod Podge well you'll need to mix 2 :1 glue to water ratio to get your homemade mod podge....that's it! Easy wasn't it? Mix well and store in a sealed container and you are all set!
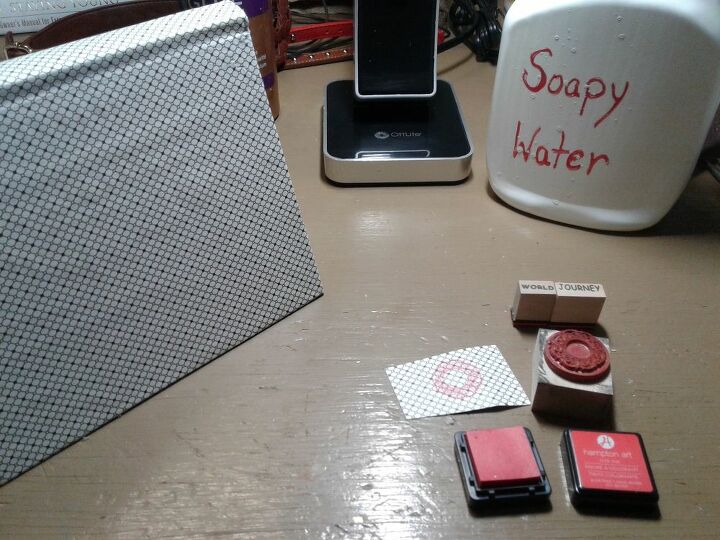
You'll notice I have a spray bottle of soapy water, its just a few drops of dish liquid with water added. It's my go-to for fast cleanup in my craft space when it's comes to glue or water paints along with my handy, dandy paper towels!
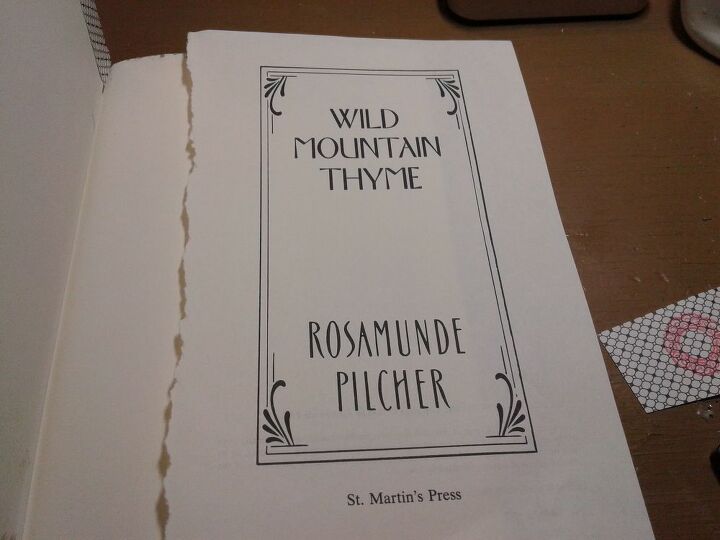
So as I was flicking through the pages I noticed the nice title page inside, hmmm I can glue that on the outside!
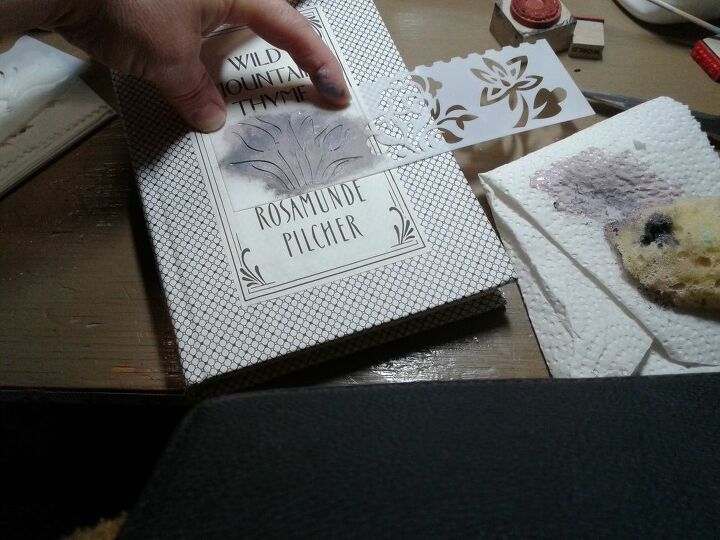
Since the title was Wild Thyme as in the herb thyme I thought to add a hint of color with a plant stencil. Using the mauve and black chalk paints mixed and blotted onto the paper with a tiny piece of sponge.
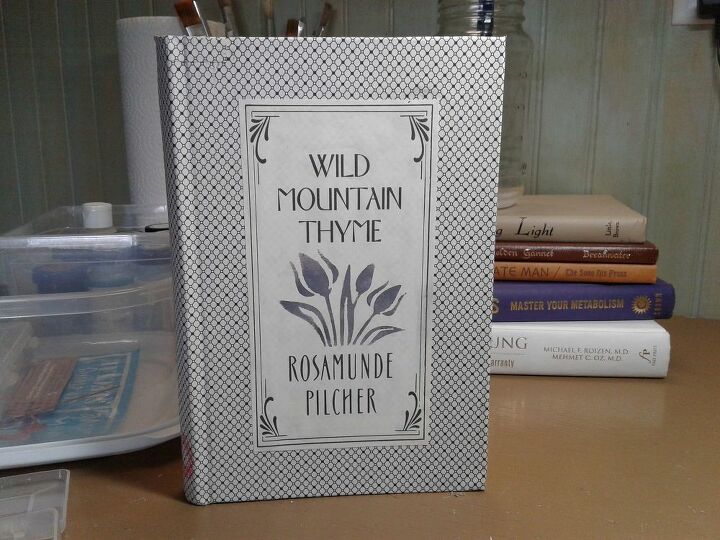
I think it looks pretty retro vintage with the pattern and colors don't you? As a protection I gave the entire book a seal with Mod Podge.. done!
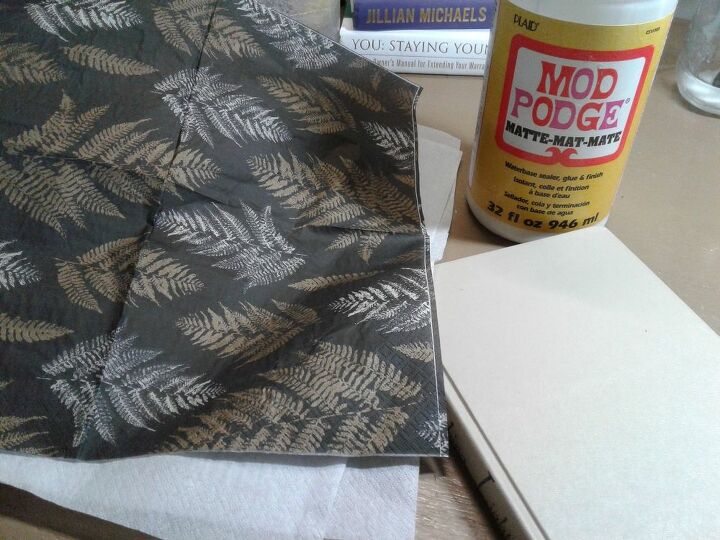
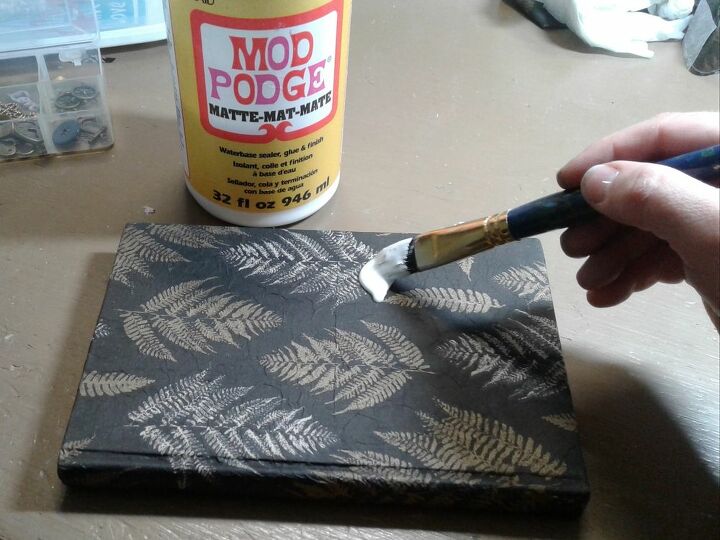
I bought these elegant fern napkins at Wal-Mart and they were in sync with my color scheme so I thought, why not? So as with any napkin decoupage project ýou remove the bottom 2 layers of white tissue paper and use the top patterned layer.
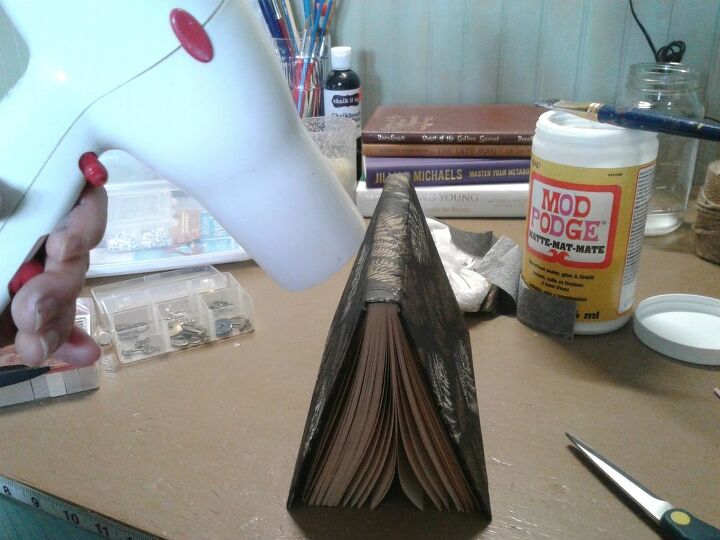
The same way I dry fitted the paper previously is what I also did here with the napkin, trimmed then mod podged in the same manner too. Spread and smooth out carefully any bubbles or wrinkles, I used the hairdryer to speed up the drying time.
To protect the tissue paper wrap a layer of mod podge was brushed over the entire cover and then blow dried again.
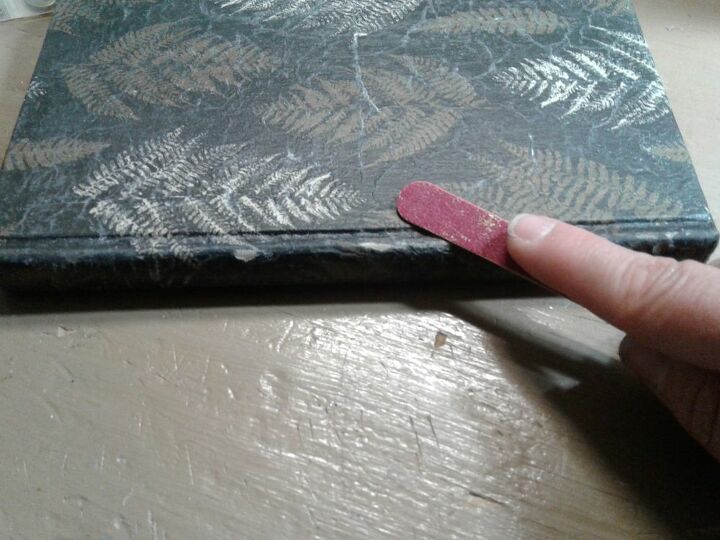
I wanted these books to look used and worn so I grabbed a nearby nail file and just scuffed the spine and cover to make some wear marks on it. Heh, not everyone has sandpaper lying around, use what you have!
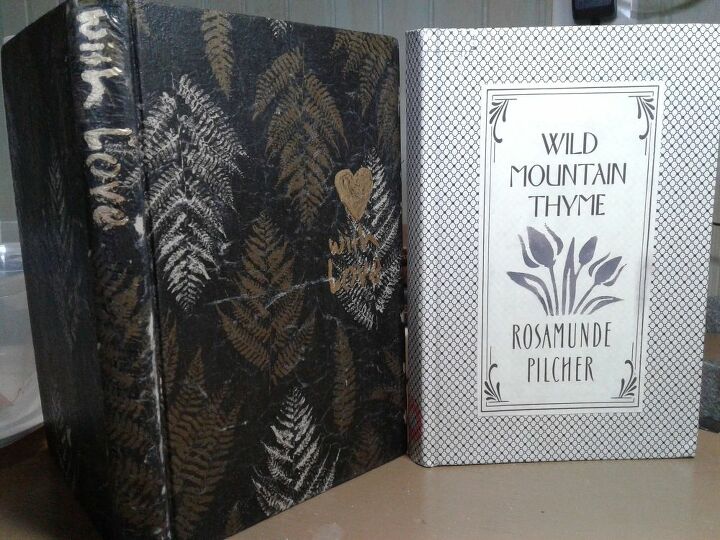
Last, I used a gold paint marker to add a book title and some gold shimmer to the paper edges. Book number two completed.

So I dont have a full sheet of this print and I wanted to try something different again. Hmmm half and half... using chalkboard paint and the paper!
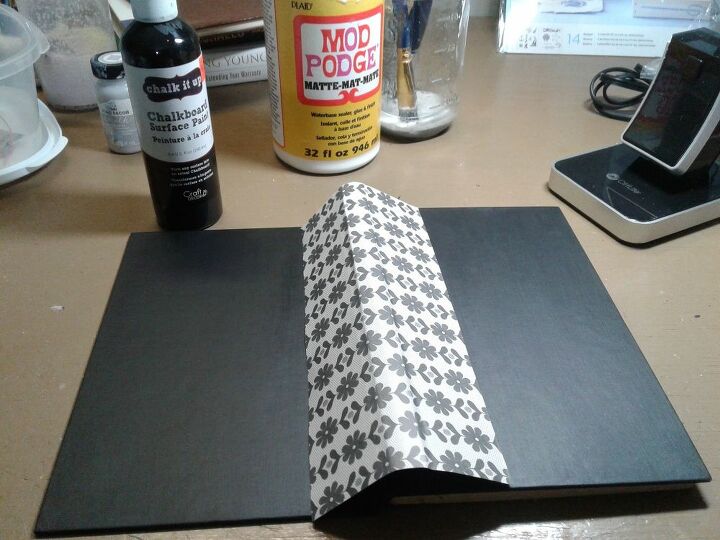
The book is painted and dry so I laid the paper to look as if it were wide binding on the book. I used my fingers to press the paper into the cover so as to make a dent or score where it would line up when I glued it. So once more I applied a layer of mod podge, the paper then another layer of mod podge. Lastly, I cut out a tiny piece of writing to make a book title and applied it with mod podge and afterwards the entire book was coated with more podge to seal it. Let dry and and book number three is done!
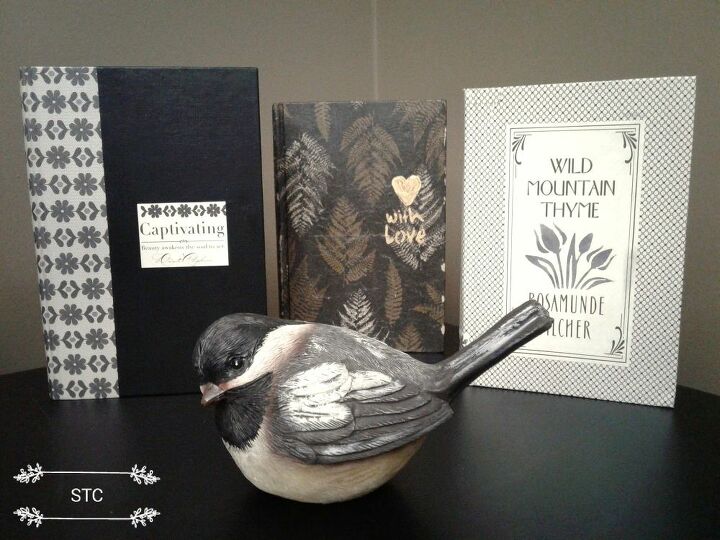
I'm finished with this long but good story, pardon the pun! These old books were saved from a landfill, I enjoyed a peaceful morning crafting and I created new decor accents for my home!
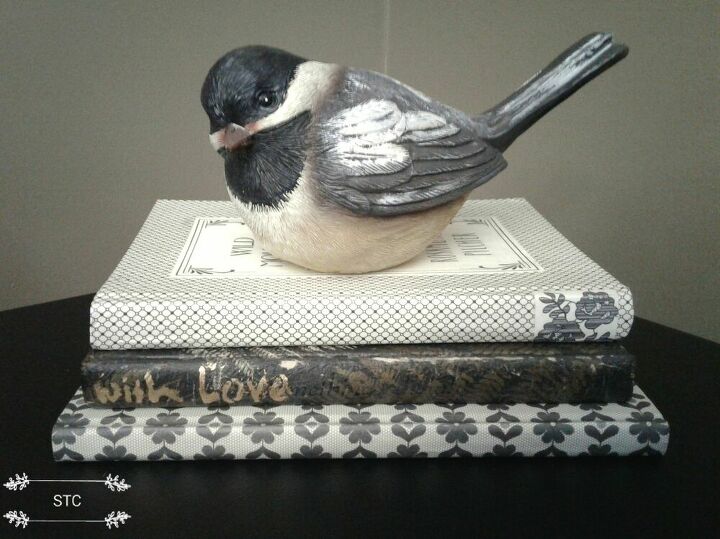
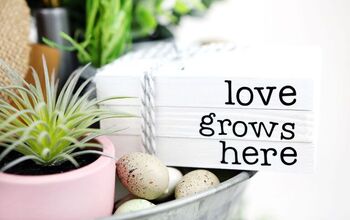
I usually go with odd numbers for any groupings so that's why I chose three. These book stacks act as risers to vary heights in your vignette and they create horizontal lines instead of just all things displayed vertical.
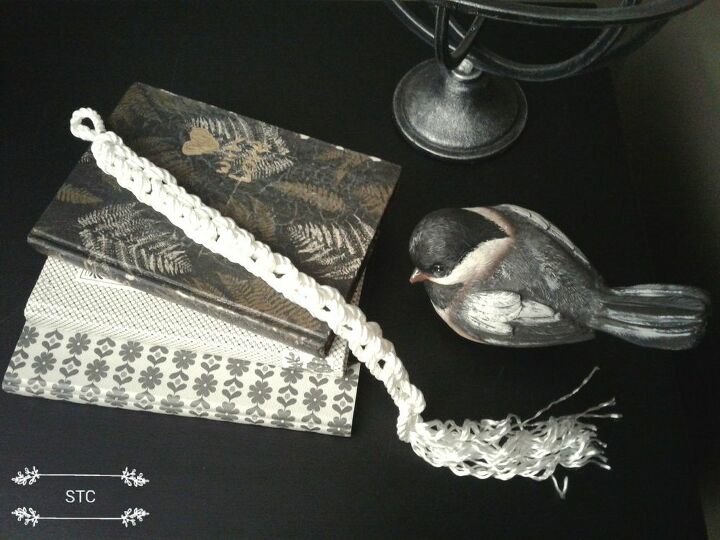
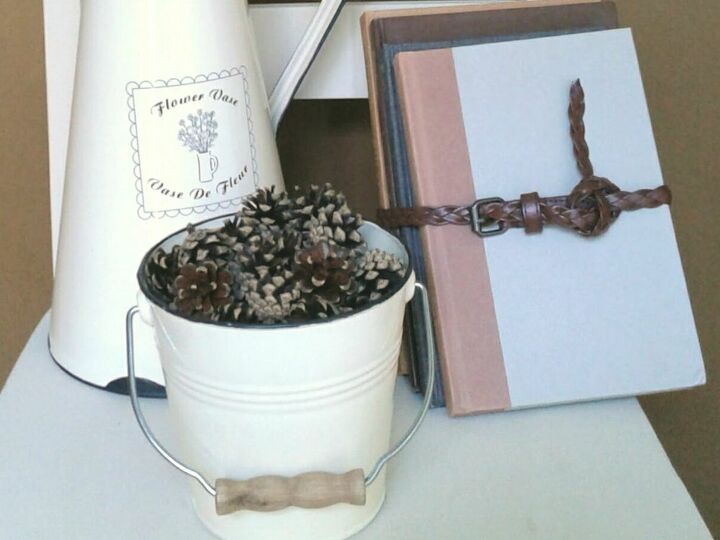
Switch out the books, lay them staggered or with a paper weight, a green plant etc. on top. You could group this in a tray as well to make a fun vignette adding a small lantern, orbs, wooden beads and especially some greenery.
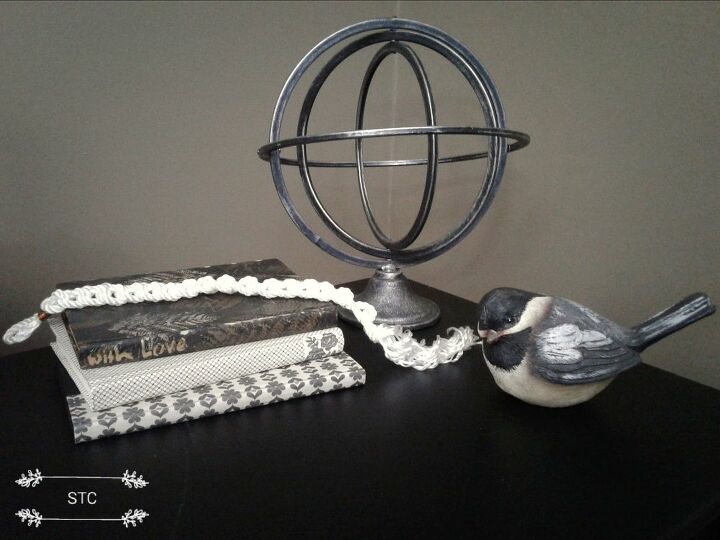
Yes, I'm missing the greenery but due to covid 19 restrictions I haven't been able to pick up any fresh, new houseplants. 😢 I know I could have faked it but I was anxious to share it with you! Next time I promise!
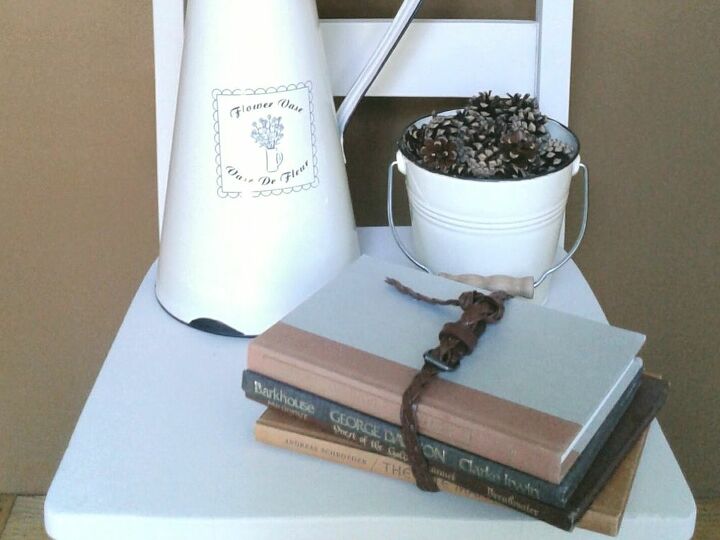
I know there are some of you who will ask..."What did she do with the belt?" Well I laid everything out on the table with no set plan in mind, but in the past I've used jute string and narrow belts to secure the books together for a vintage school textbook look. Some of those books above seen here are now updated for fresh stacks.
I'm loving this new craft and I hope you have too, you can see my previous book makeovers on my profile page. One thing I can guarantee you is that there will be more book makeovers in my future.


Frequently asked questions
Have a question about this project?