


Creating a Wood Ornament

Every time I visit a Walmart I find myself picking up a pack of Go Create wood slats in the craft section. They measure 2" X 7" in size and a little under .25" thick. I never really knew why I was buying them but I just kept thinking "these will come in handy for my next project". Several months later and about 20 packs too many I thought it's time to put these to use and I decided on wood ornaments.
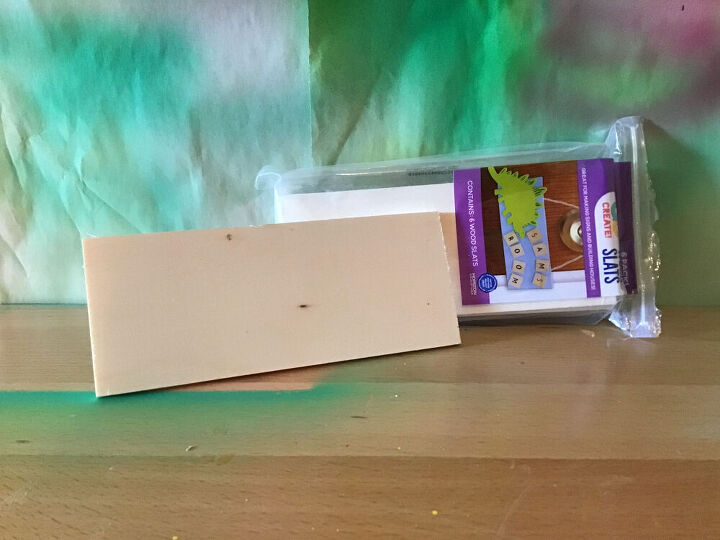
The wood slats by Go Create purchased at Walmart. There are 6 slats per pack.
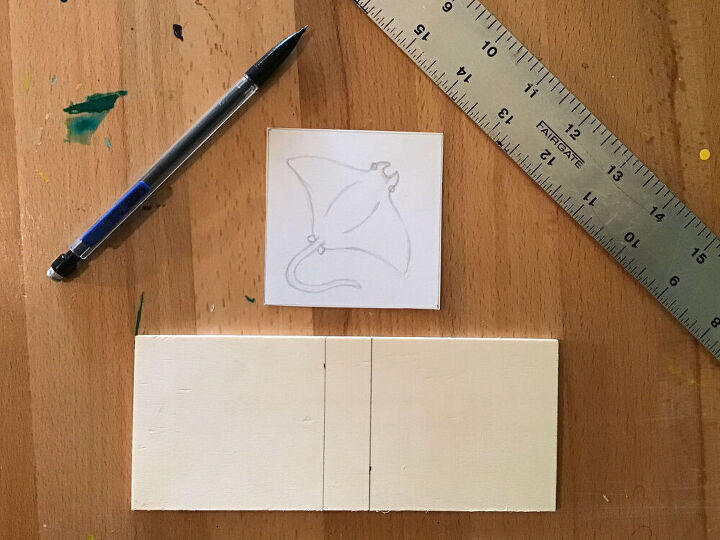
Step 1. I measured about 3 inches from either side (which leaves plenty of room to drill a hole later in the project). Next I sketched out my subject matter, in this case a stingray, on a piece of paper measuring slightly larger than 2" X 3".
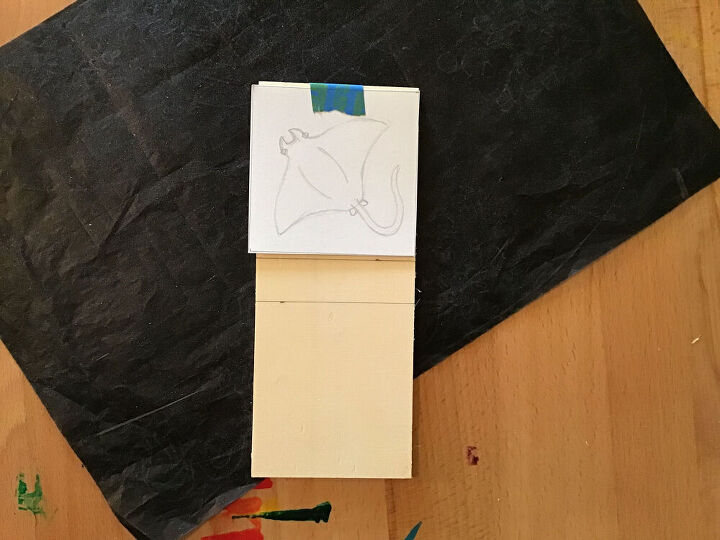
Step 2. Using a piece of tracing paper I transferred my sketch onto both areas that I had initially marked off on step 1.
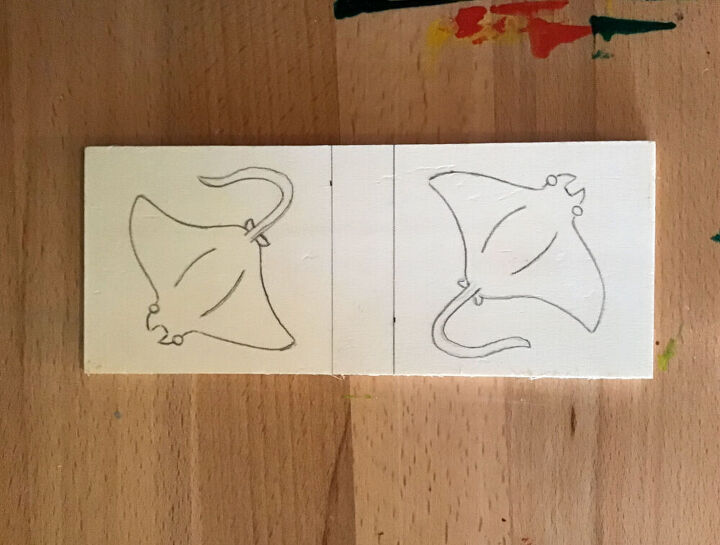
Here is a shot after the transfer of the sketch.
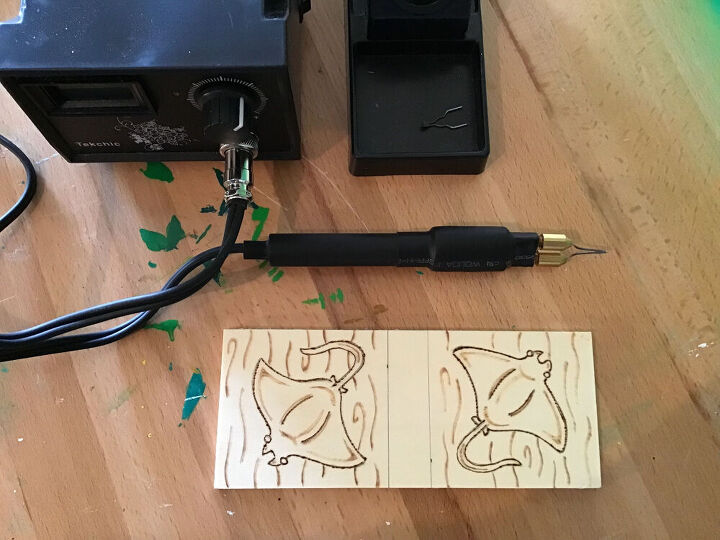
Step 3. I call this the optional step. I decided to wood burn the stingray and add some swirls in the water. Wood burning, I think, adds a rustic feel to the image which I like but is not necessary. If you decide you would like to explore wood burning I recommend a Tekchic wood burning kit, not too expensive but does a great job!
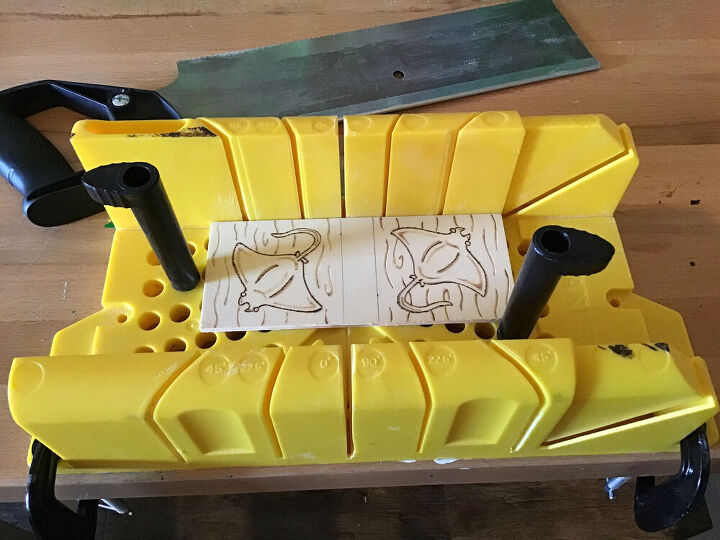
Step 4. In this step, using a miter box, I cut along the initial lines I drew 3 inches from the edge of the wood slat. This will give you the two sides of your ornament.
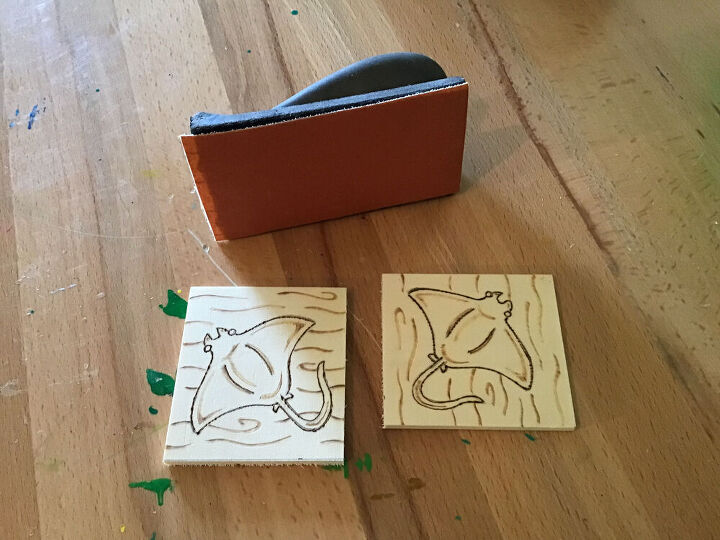
Step 5. I lightly sanded down the edges of my two square pieces removing any splintering and rough areas.
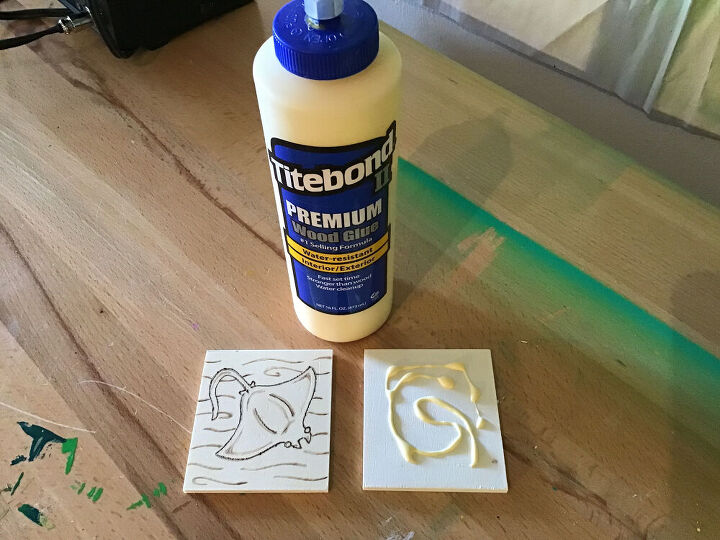
Step 6. Using Titebond II Premium wood glue (I always have this on hand, it's by far the best wood glue I've worked with) I glue the wood squares together so that the stingray image reflects on either side. I will set this aside and allow for drying time. Since I work on several of these ornaments at one time it sort of becomes a production line.
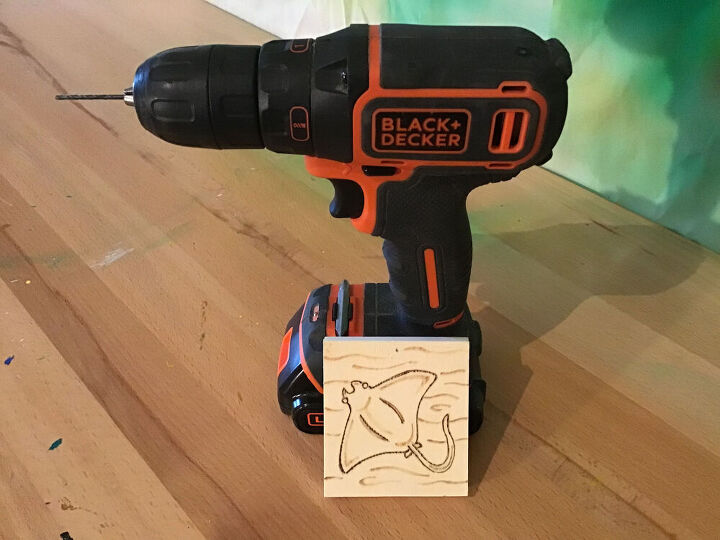
Step 7. After the glue has dried I drill a hole about .25 inch down from the center top. This is where you will attach the rope, wire or whatever you choose to hang the ornament with.
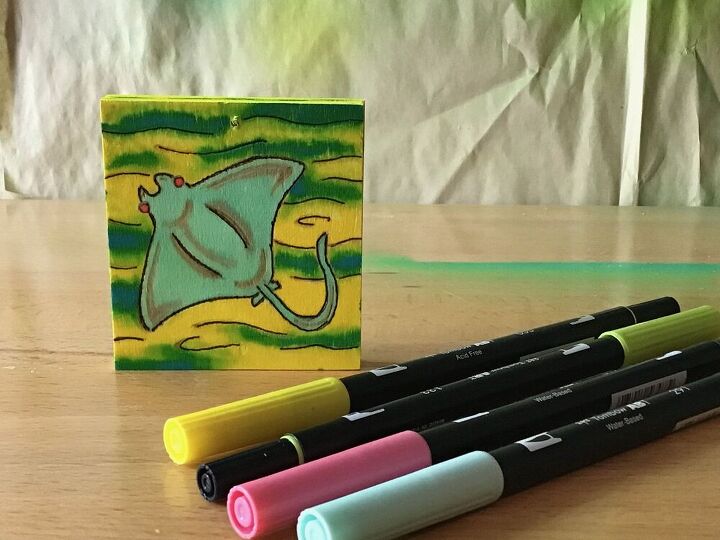
Step 8. Now it's time to add color. you can use acrylic, watercolor, airbrush whatever you like, each will give you a different look. I chose Tombow markers for this project, they apply nicely and their colors are vibrant.
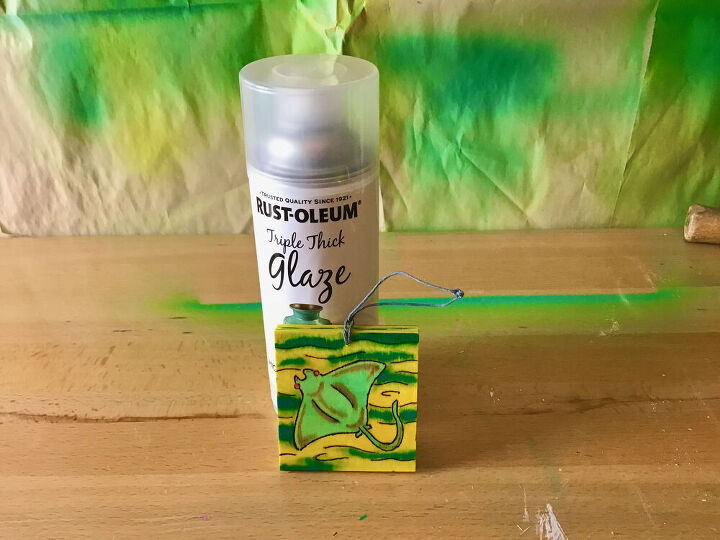
Step 9. I finished the ornament of with 2 coats of Rust-oleum triple thick glaze (I really wanted it to have a nice shiny coating). For the hanger I used a piece of blue hemp cord, I bought some packs at a craft store on clearance and find that it is quite sturdy.
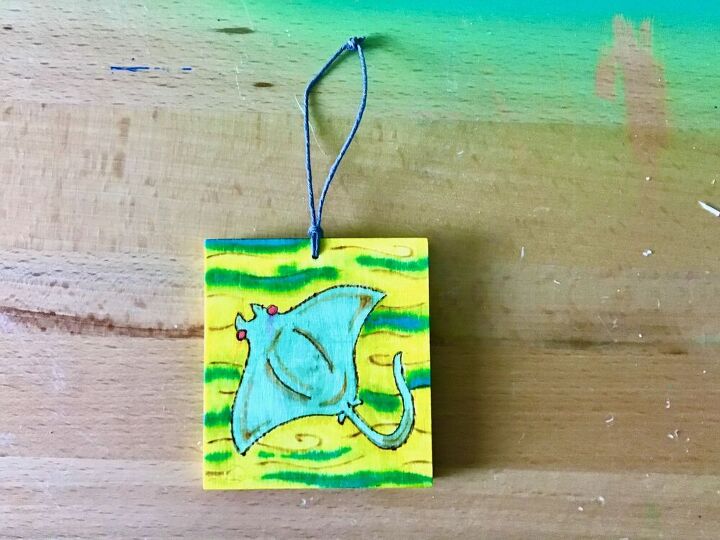
The finished piece! It is difficult to say the cost of this project only because I used materials I already had on hand. The wood slat packs were $2.00 for a pack of 6. The hemp cord I found on clearance, a pack of 6 colors for $1.97. All in all an inexpensive yet fun project!
Comments
Join the conversation
-
You could also use this technique to make a mobile
-
That's a great idea and, I agree with the other comments. Definitely a fun family project or mobile. What a wonderful gift a home made mobile would make!


Frequently asked questions
Have a question about this project?