


Decorative Doorbell Cover

by
Emily Fish
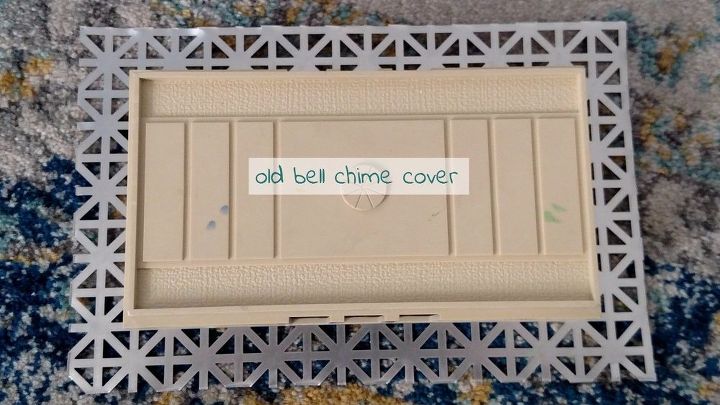
Doorbell chimes aren't always too pretty, especially if they are straight out of the 1970s. Replacing is an option, but how about making a new cover for the mechanics of a perfectly functional doorbell chime?
Measure punched tin (I used the Union Jack pattern) to be at large enough to cover the sides when folded over (I added 2 inches to the measurement of the front of the old cover). The linear pattern made it very easy to cut and make sure everything was straight.
Snip the corner on a diagonal
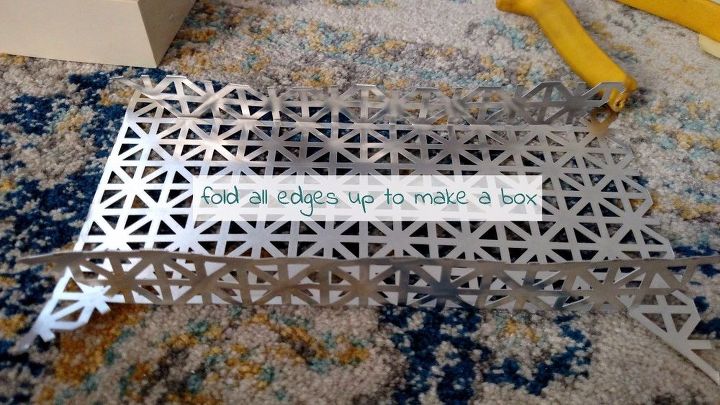
Snip the corners with tin snips on a diagonal. Fold the edges up to make a box. Be careful, the tin can be very sharp.
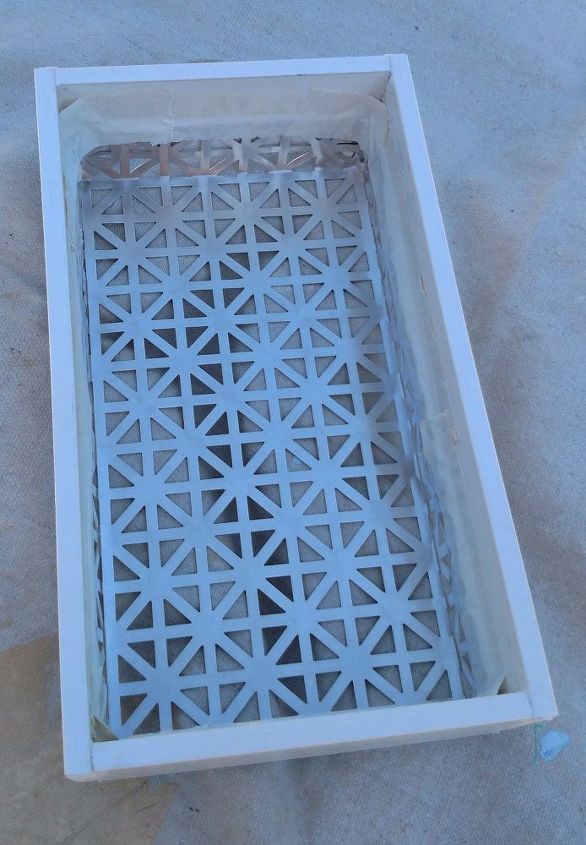
Using lattice, create a frame around the metal box. This is the side edges of the doorbell chime cover. I used a PVC lattice I found at Home Depot. The lattice edges were glued together using Gorilla Glue. Everything was held in place while it dried with duct tape.
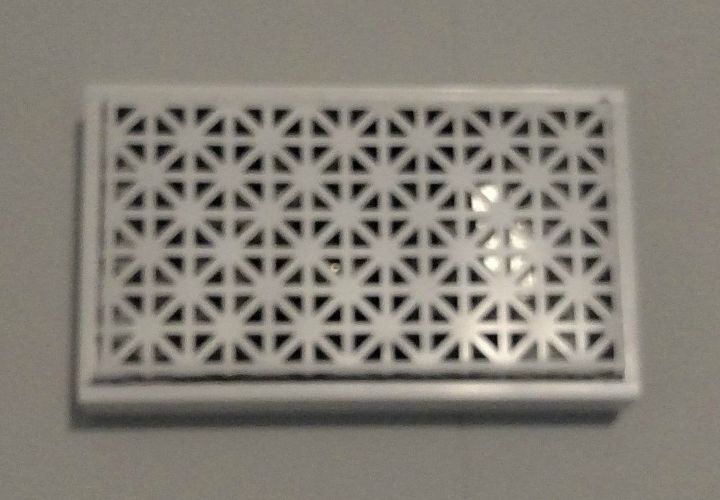
Paint to finish. I used 2 coats of glossy white spray paint to coordinate with the trim in my house. Light coats of wall paint could also be used to make the cover disappear or blend in with your wall color.
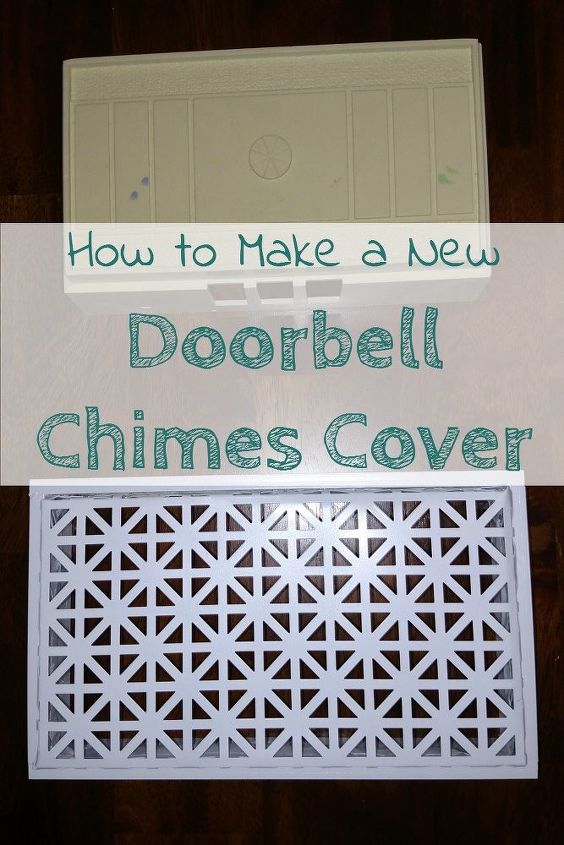
All finished, you can see how much nicer the new one looks instead of the old one! Full instructions are available on my blog www.domesticdeadline.com with additional pictures.
Want more details about this and other DIY projects? Check out my blog post!
Comments
Join the conversation
2 of 6 comments
-
So pretty! Love this idea :)
-
Thank you, people keep thinking it's a piece of art on the wall!


Frequently asked questions
Have a question about this project?