


Distressed Coastal Photo Block

These are so easy to make and can be displayed almost anywhere. You can make them in a variety of colors to match your decor, and display your favorite beach photos! You might even have some of the stuff you need already laying around your house/ garage.
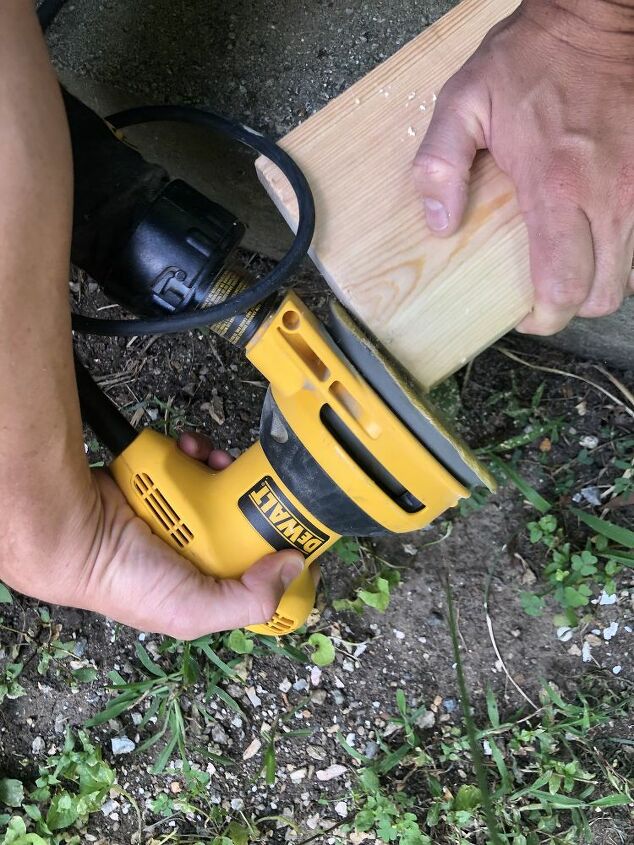
First find a piece of wood that will fit with the size photo you want. I like to have at least a 1.5 inch border around the photo. So for a 4x6in photo, you would need a 5.5x7.5 inch piece of wood. Using a basic power sander, I like to round the corners and go along the edges to give the piece more character. (And no, those are not my hands. My hubby stepped in when our 1 year old decided he ONLY wanted Mommy to hold him right after I began sanding). You can buy wood at the store and saw it down to the correct size, or even just use a piece of scrap wood you might have laying around.
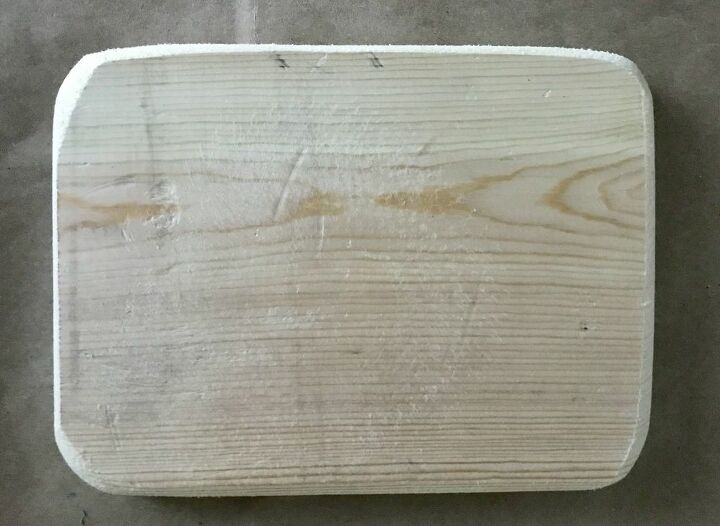
Once sanded, the piece of wood should resemble this. And scratches or marks will just give the piece more of a distressed look.
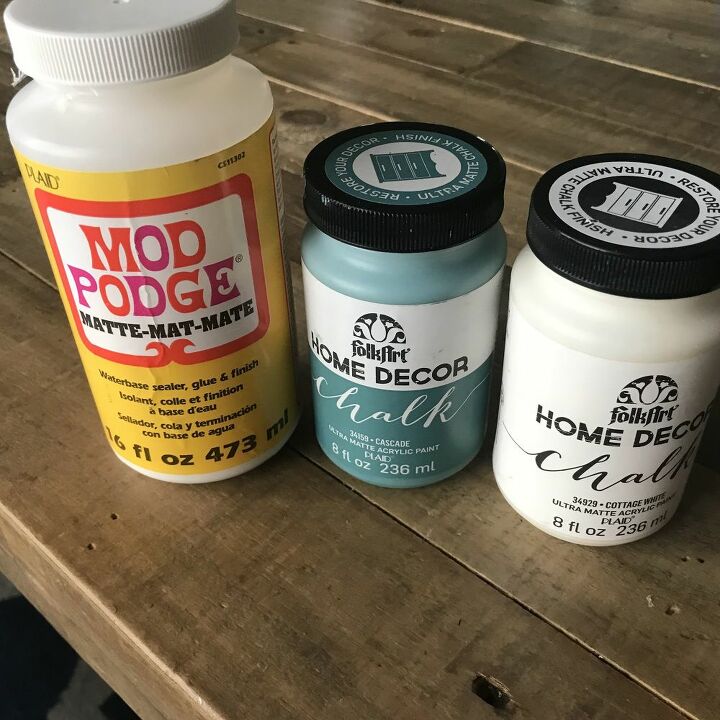
I love the Folk Art Home Decor Paint! It comes in a variety of colors and can be found at your local craft store. For this project I used Cascade and Cottage White. You also will use Mod Podge for gluing and sealing your photo.
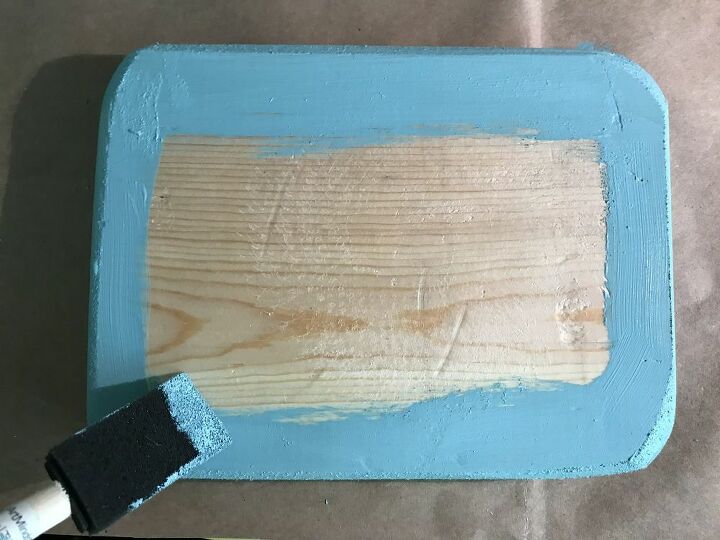
Using a sponge brush, pick the paint color that you would like to show through and paint the border of your wood. I used Cascade here, and only did one coat.
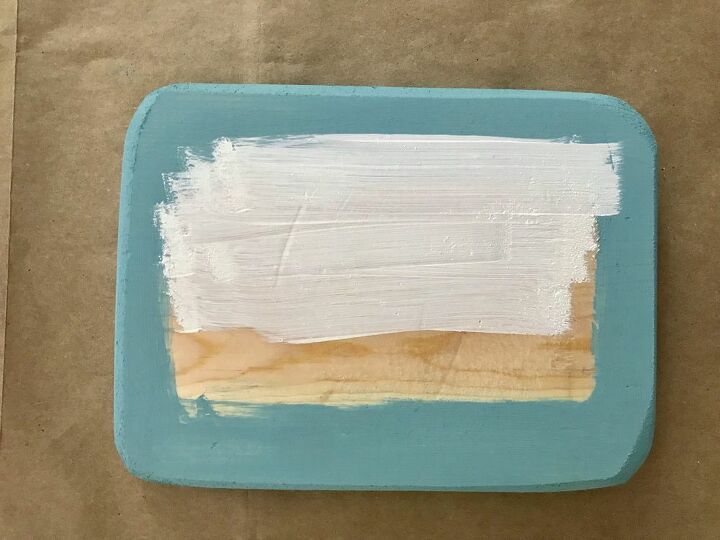
Once that layer dries, you'll want to paint the entire front and edges with your choice of paint color (I used the Cottage White). Again, just one coat here.
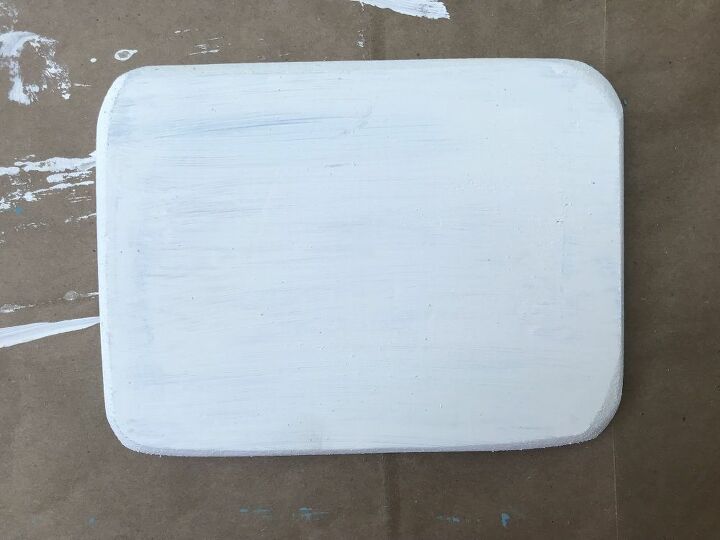
After painting the top coat, your wood will look like this.
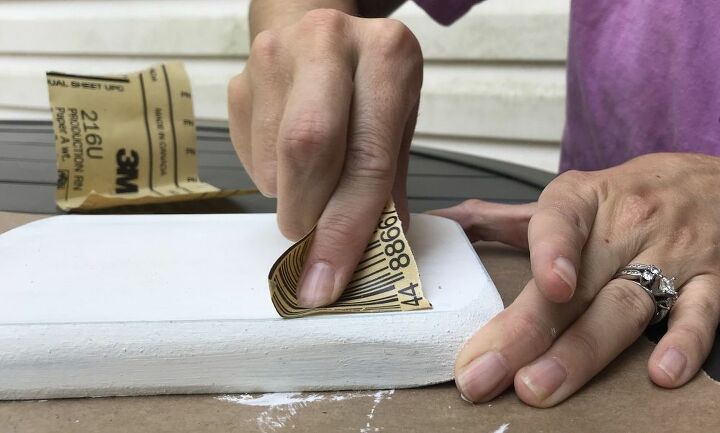
After the top coat dries, you'll want to begin sanding, or distressing your piece. I just used some basic sand paper I had laying around. You won't need much. You want to sand hard enough to remove the top layer, but only until you see the first color come through. Don't sand so hard that you go through both colors and see raw wood. I just sanded in a pattern to outline the photo that will go on the wood.
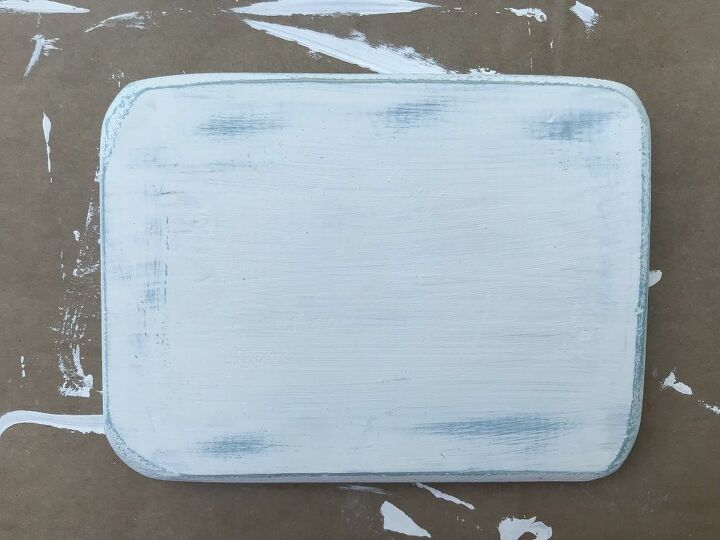
After sanding the wood, you should see bits of your first color coming through. Make sure you blow or dust off anything left from sanding.
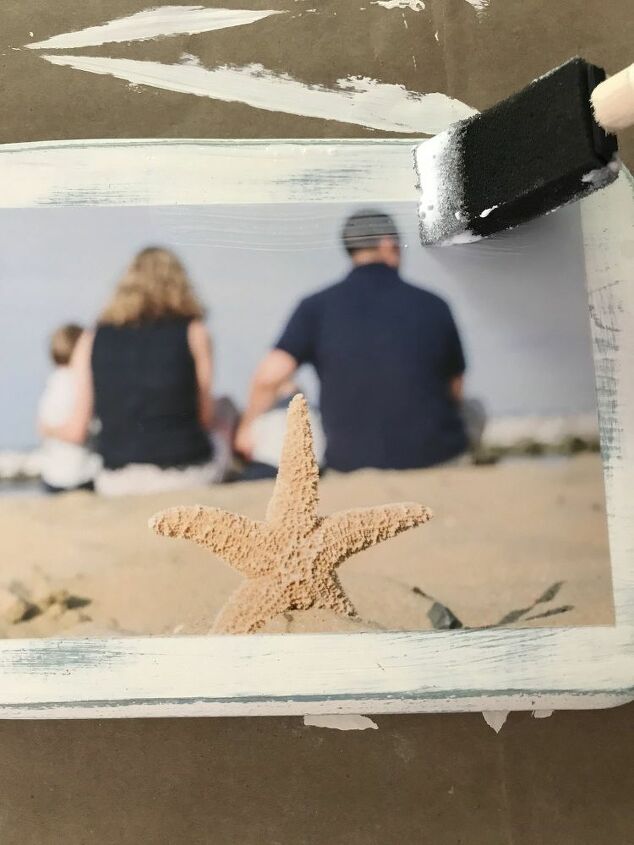
Using a clean sponge brush, you will use Mod Podge to first adhere the photo to the wood. Just put a thin layer on the back of the photo and then carefully place it on your piece of wood. Smooth it out, and then use more Mod Podge to apply a thin layer over the photo, as well as the wood. This will give it a finished look and protect your photo, since it won't be behind a piece of glass like in a traditional picture frame. *I use photos printed with a matte finish, instead of glossy photos for this project*
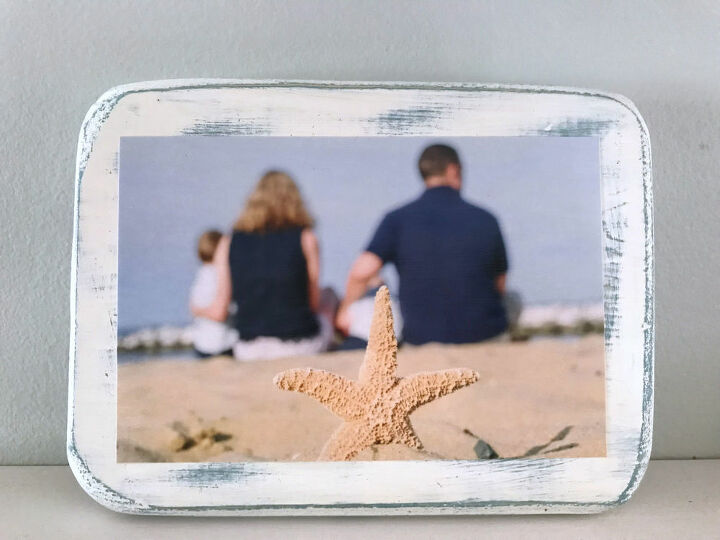
And once the Mod Podge dries, there you have it!
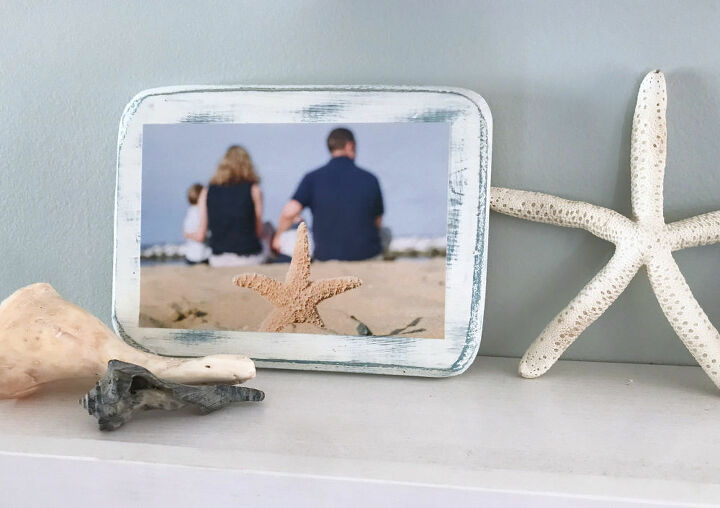
I've made several of these that I display on decorative shelves and I like to add seashells, starfish, or other coastal touches to bring it all together.
(Photo by Love Anchored Photography)


Frequently asked questions
Have a question about this project?