


DIY Activity Tray
We spend a lot of time in the car these days. With two kids in school full-time, we find ourselves traveling every day to and from school, dance class, play dates, grocery store, and more. Plus, since the grandparents live about an hour away, we get in the car once a week and travel to visit them. To keep the kids comfortable & entertained during all these car trips, I made a DIY Activity Tray.
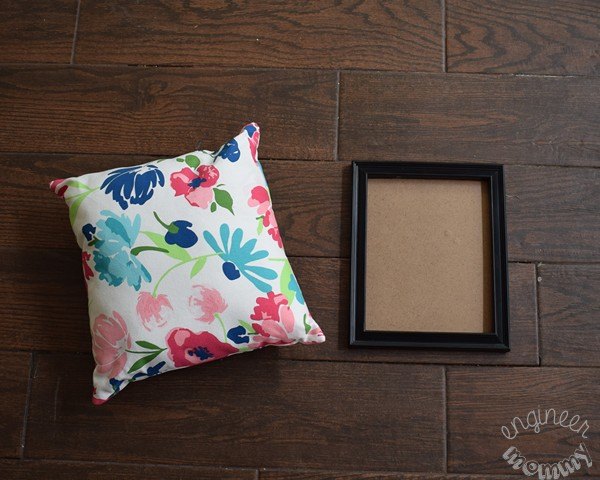
The first step for this project is to find a pillow and picture frame of similar sizes. My pillow was about 12″x12″ and my picture frame was 8″x10″. That’s close enough and fine for this purpose.
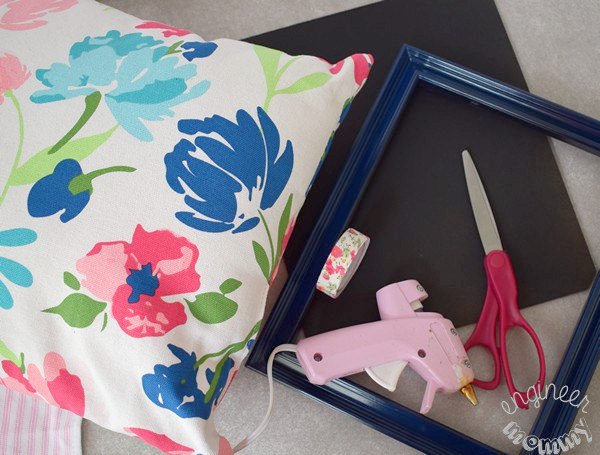
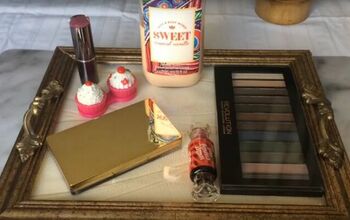
Gather the rest of the supplies we will need, including hot glue, scissors and washi tape.
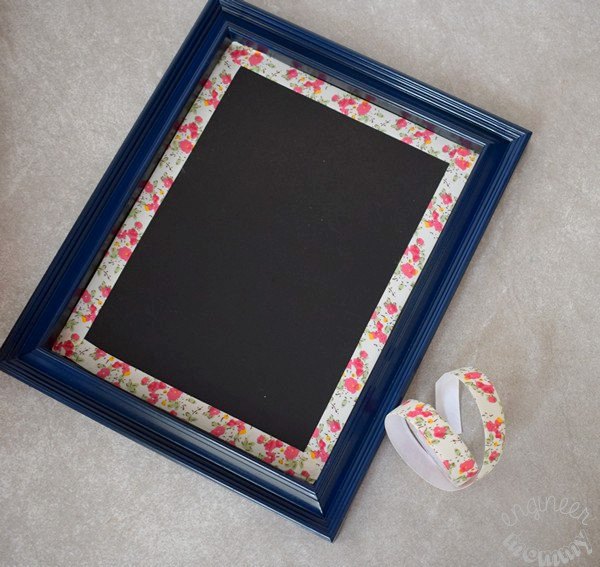
Place the chalkboard-covered backing into the picture frame. Add a strip of washi tape along the edge of the chalkboard. This step is optional, but I like the added pop of color this adds. (I found a floral washi tape that closely matches the pattern on my pillow! You can bet that put a smile on my face.)
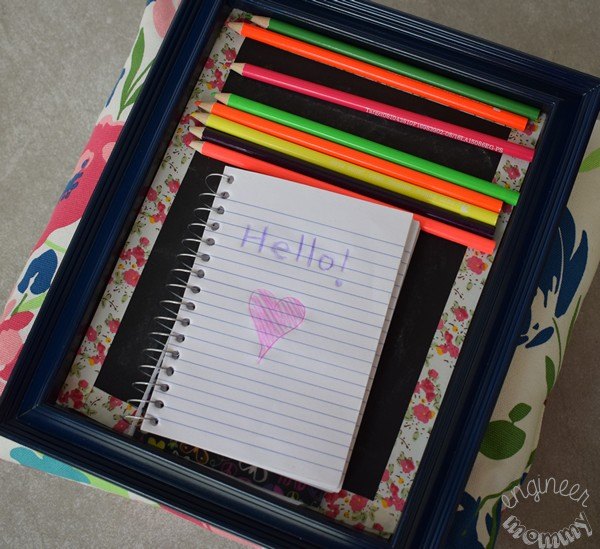
This DIY Activity Tray is actually perfect for use at home or on the go. When in the car, it’s perfect for containing my daughter’s pad of paper & colored pencils (she loves to draw & color). The picture frame edge keeps all the art supplies contained and prevents them from rolling off the tray.
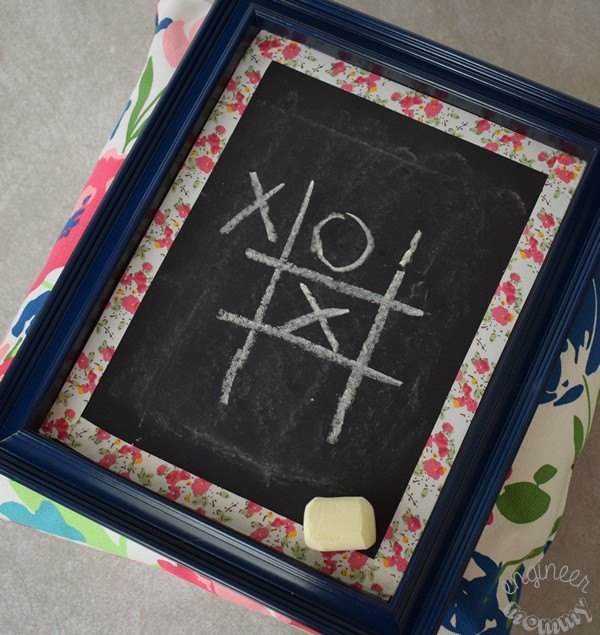
The chalkboard surface is perfect for an impromptu game of tic-tac-toe. For more details and tips, please visit the blog post below.

Want more details about this and other DIY projects? Check out my blog post!
Comments
Join the conversation
2 comments
-
Great job and smart thinking! My dad made something like this for my brother and I when we went on camping trips when we were little. When we were a little older he went to AAA and picked up maps to teach us how to read them and navigate. Great share! Thanks!
-
So cute!!


Frequently asked questions
Have a question about this project?