


DIY Back To School Pictures Frame
This DIY Back To School pencil frame would be the perfect frame to display those first day of school photos! It is easy to make and uses simple supplies you probably already have around the house. Please follow me on Facebook to see more fun DIY projects.
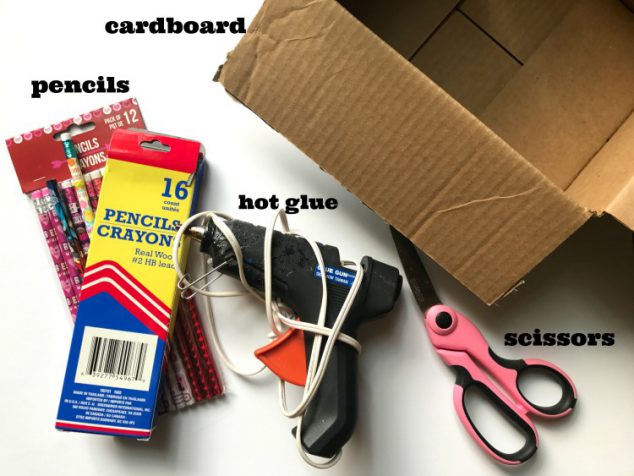
Start by gathering your supplies.
Plug in your glue gun so that it can be warming up. If you have a child helping you make this, make sure to use proper safety precautions around the hot gluegun!
Grab your scissors and your cardboard. I just used a cardboard box. You could even use a shoe box top if you have one.
I didn’t want to have to saw my pencils so I cut a square out that was about the length and width of the pencils I was going to use.
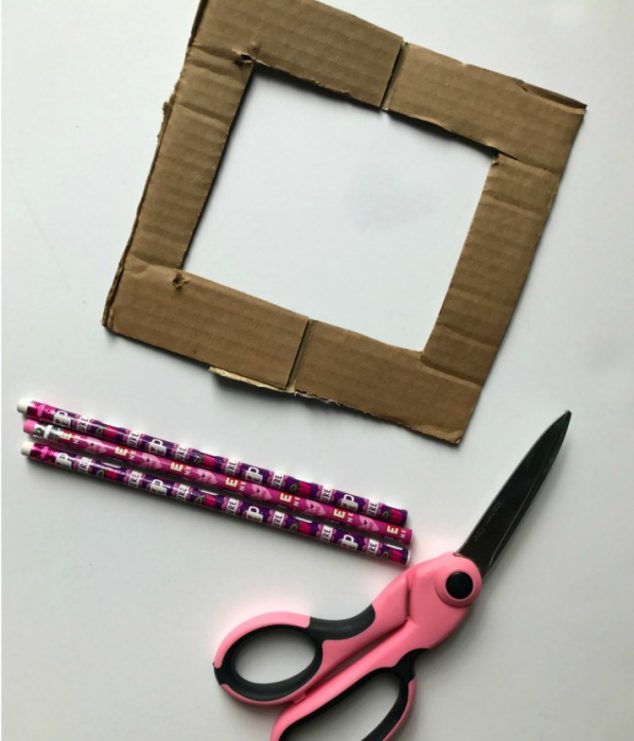
After cutting out the square, I cut out the middle where the picture will be placed. I left enough room around the edges for 4 pencils to be placed on each side.
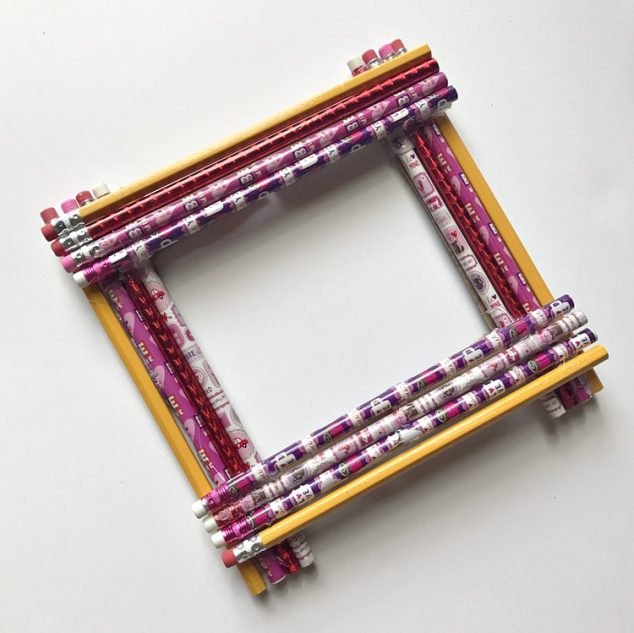
Once you have your frame cut out, add a little glue to the cardboard and lay your 4 pencils down side by side. Do this to the opposite side of the frame. Now for the other 2 sides, your pencils will lay across/on top of the pencils that you have already glued on. Once you are done gluing your pencils down, you have a Pencil Frame!
You can affix your photo(s) and use a string and thumbtack to hang it on the wall.
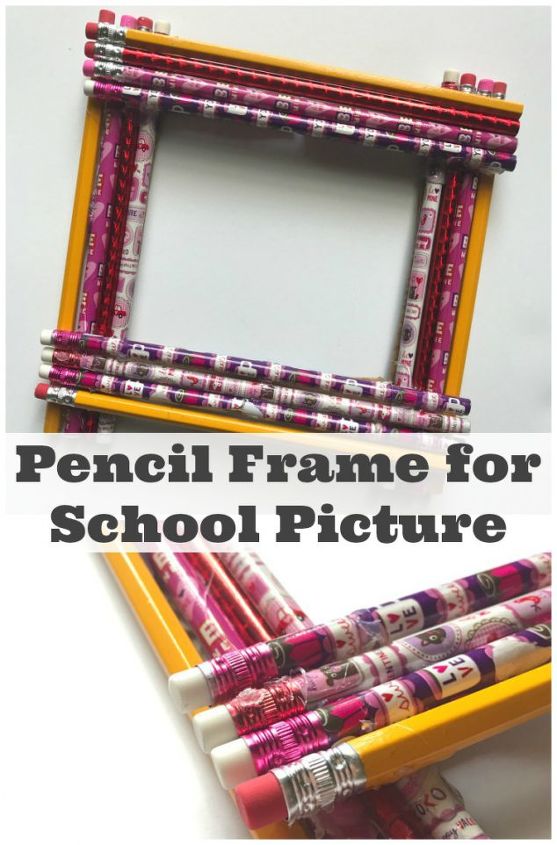
Do you think your child would like this for your child's first day of school picture?


Frequently asked questions
Have a question about this project?