


How to Make a DIY Bathtub Tray

Reinvigorate Your Bathroom Aesthetic with This Handy DIY Bathtub Caddy Tray
The bathroom is often neglected when it comes to DIY projects. This could be because there isn’t that much to add to most bathrooms that can be done without a plumber, but also because people tend to leave their bathrooms out of interior design projects. But with this handy little project can flex your creative muscles as well as providing you something chic and useful to help change up your bath time routine. This project solves a problem that many people have when wanting to take a relaxing bath – where can you put the things you need to truly enjoy the bath?
Taking very little in the way of time and materials, this DIY bathtub tray will provide you with something you can use every time you take a bath. The best part of this project is not only will people be impressed with your resourcefulness, but the piece can actually pull together the design elements of a bathroom and change the aesthetic – or it can fit into an existing aesthetic to really amplify the look you are trying to achieve with your bathroom. Ultimately, this project will give you somewhere to put your book, snacks, and drinks while taking a bath.

Tools & Materials
For this project, I used:
- Pieces of wood x4 (30 inches)
- Minwax Wood Finish (I chose Espresso 273)
- A piece of plywood
- 2 handles
- A drill
- Screws
- A tape measure
- A brush
Step 1: Gather Your Materials
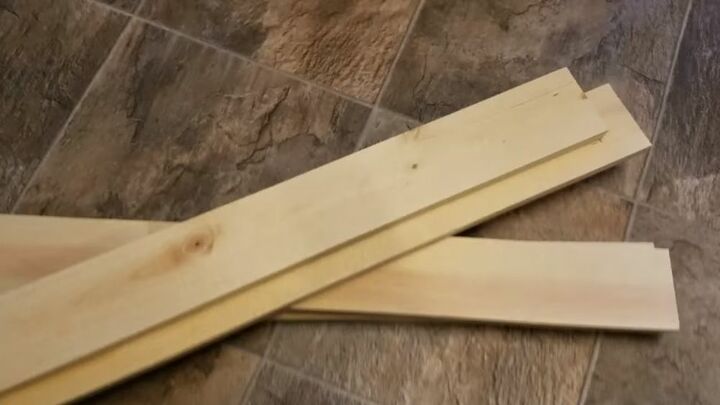
The first step for this project was deciding how exactly the bathtub caddy tray would fit across the bathtub. As they say in DIY, “measure twice, cut once”, so it’s important to ensure you have measured your bathtub across so that the wooden tray can be supported adequately. Once you’ve measured your bathtub, you’ll need to collect four identical planks of wood that are slightly longer than the width of the bathtub. I found four pieces that were 30 inches, just slightly longer than the width of the bathtub. It’s important that they are the same size so that the tray holds together effectively when you are using it – and that it looks good.
Other materials you’ll need are a piece of plywood that is long enough to span the entirety of the four pieces of wood when laid out next to one another. You’ll also need something to stain the wood with – I chose Minwax Wood Finish in Espresso 273 – but you could opt for a lighter stain or even a white paint if that better suits the aesthetic of your bathroom. You’ll also need a drill, some screws, and two handles to be able to lift the tray and move it around when you start using it.
Step 2: Lay Out Your Wood
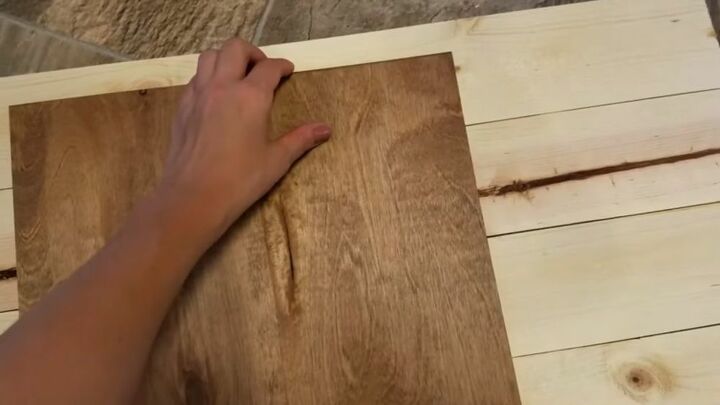
The next step was to begin to fit the tray together. This is where most of the logistics takes place. Every single piece of wood is different, even when they are supposed to look the same. This is the nature of wood, so it’s important that you line up the best side of each plank of wood to be the top side of the tray.
Once you’ve chosen the best side of each piece of wood, flip them back over. You’ll need to secure something to the back so that they stay together. So, laying out the wood is an important step, because if not done correctly, you could end up with a finished product that isn’t as long-lasting as it could be. The wood you choose could be any kind. You might have some lying around from a previous project or choose to purchase some. It’s inexpensive and buying new ensures that it is roughly the same size and shape.
Step 3: Connect the Pieces of Wood
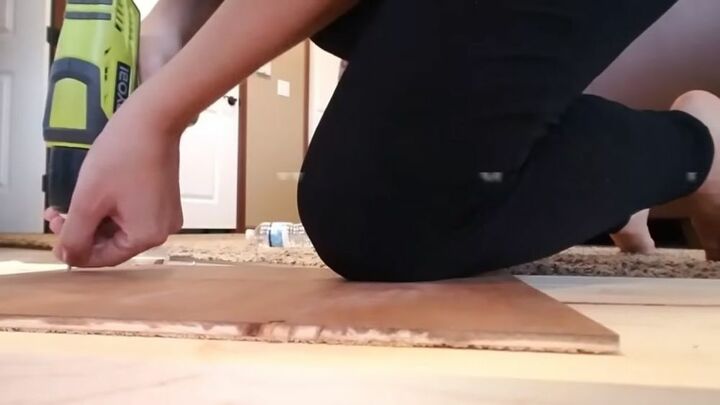
The next step requires a drill and some screws as you’ll need to make sure the base of the tray remains intact. To do this, you’ll need to attach a plywood board to the reverse of the four pieces of wood you have lined up. You’ll have measured it so that it is large enough to span the entirety of the four planks and that the pieces will each receive enough coverage, so they stay together. You’ll then need to take a drill and some screws and make sure that the plywood is attached to every piece of wood. You’ll also need to ensure that the screws don’t penetrate through to the other side of the wood.
This step requires careful planning but is fairly easy once you have lined up the pieces of wood and begin drilling the screws in place. Once connected, you could test the wood by carrying it around and seeing if all the pieces remain in place. If not, add some more screws or reinforce the ones you have already got in. This step is why ensuring the planks to begin with are almost identical is so important.
Step 4: Stain
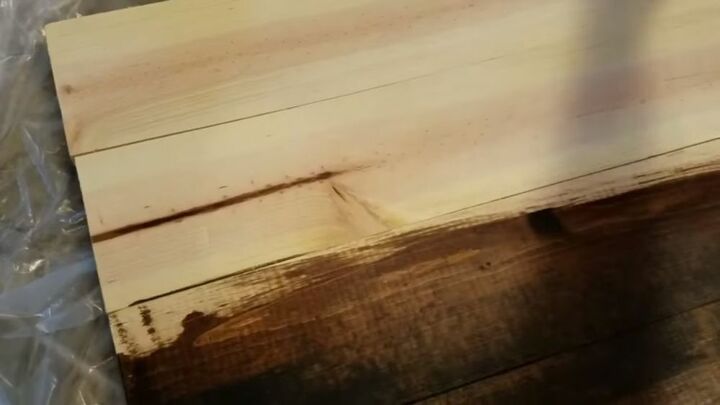
This next step can be done any way you choose and can help you create something completely custom-made that suits your own taste and style. I opted for the Minwax Wood Finish Espresso 273 color as it went best with the style I was aiming for. You could even choose a paint instead of a stain. The key to staining is knowing how deep you want the stain to go and therefore how much should be applied. A rustic look can be created if you remove some of the stain as you go along.
To stain, dip your sponge brush into the wood finish and then lather it across the wood. For this project, I wanted a deeper stain, so didn’t scrub any off. I let it dry and then was ready for the next step.
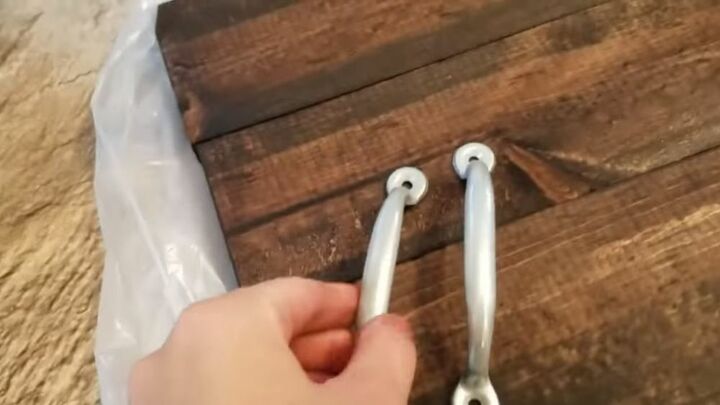
Step 5: Attach Handles
The final step to the project is to attach the handles. The handles you choose could reflect the style of the bathroom or could be something vintage you have found. Or, you could opt for simple handles that would be hard-wearing in case they happened to get splashed by the water. This step allows for customization and helps you really make the bathtub caddy tray your own. To attach the handles, simply measure a spot on either side of the edges of the tray and screw them in with a drill. Try to line them up so that they can be held easily and are in line.
Anything else you choose to add to the tray could reflect how you like to take your baths. You might need to add some wood to act as edges if you’re worried about items falling off into the water. Whatever you want to add to the tray can be added to make the tray even more functional. The best part of this project is that it is very simple to begin with but can become more complex if you wanted to use it as a base from which to add more things.
Following these steps will leave you with a very handy and functional DIY bathtub tray that can be used for recreational items in the bath, can be used to hold shampoos and body lotions, or can be used for decoration. The bathtub caddy tray takes up next to no room, stretching across the bathtub in and out of use, but can add to the storage you have in your bathroom. Depending on how you stain it and what kind of handles you add, you can really personalize and make the project your own.
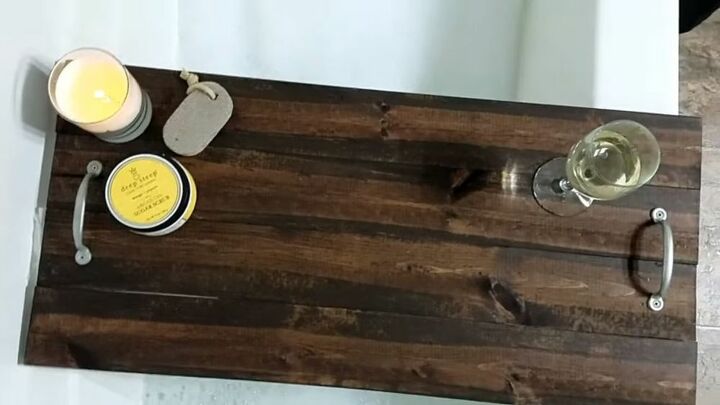
This project is one that showcases your DIY creativity, but also gives you something truly useful and functional at the end to show for it. Friends, family, and fellow Hometalkers will be impressed and the tray will be an endless conversation piece for any guests who use your bathroom. Plus, the project helps bring life to a room that is often neglected when it comes to exciting projects. One of the most exciting things about a project like this one is how different everyone’s interpretation of creating a bathtub caddy tray is. As the project is mainly functional, each project will be tailored to an individual or family’s needs. You may need space for a rubber duck, or want to etch out a ring to place a mug or wine glass in.
If you’ve made your own bathtub caddy tray, don’t forget to share it with us. Let your friends know if you feel their bath times need sprucing up or if you know they like to read with a cup of tea in the bath, but have nowhere to put them. Check out Hometalk for more projects like this one to help give your bathroom a unique makeover.
Comments
Join the conversation
-
I love how simple this was! Definitely trying this.


Frequently asked questions
Have a question about this project?