


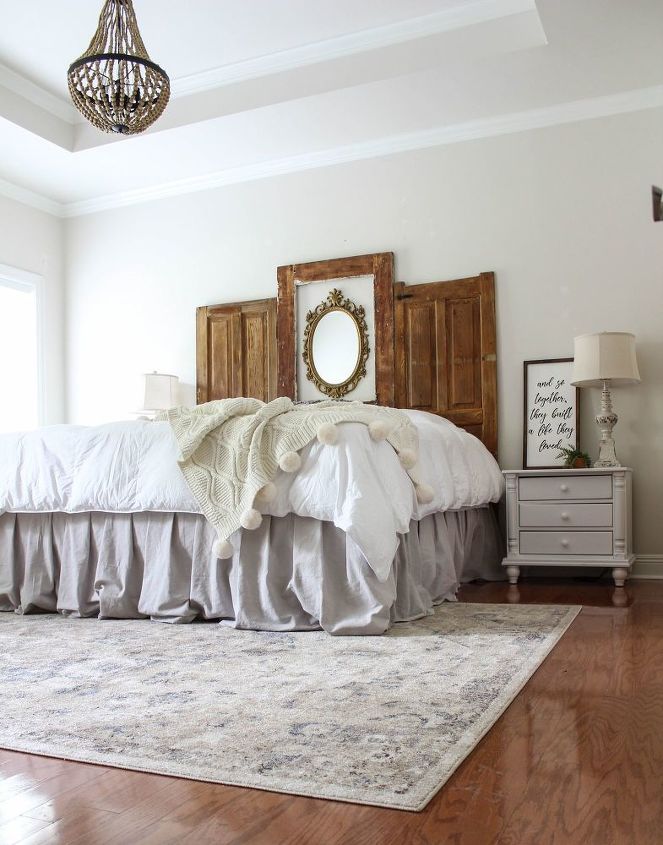
DIY Bed Skirt: No Sew Dropcloth
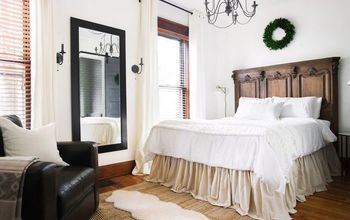
I recently made a custom bed and decided I wanted to make a bed skirt that fit the measurements of the bed. I made these to fit a king size bed, which is 19 inches off of the floor. You could easily adjust the size to fit any size bed at any height.
The first thing that I did was wash and dry my drop cloths to make them a little softer. I just put them on normal wash and dry. And I didn’t iron them because I despise ironing.
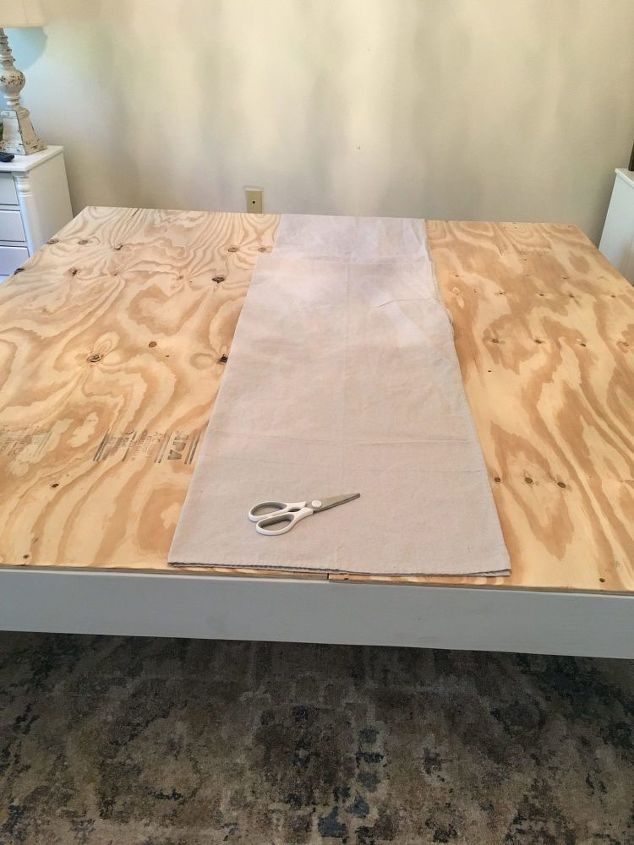
After washing and drying, lay them out lengthwise and fold them in half.
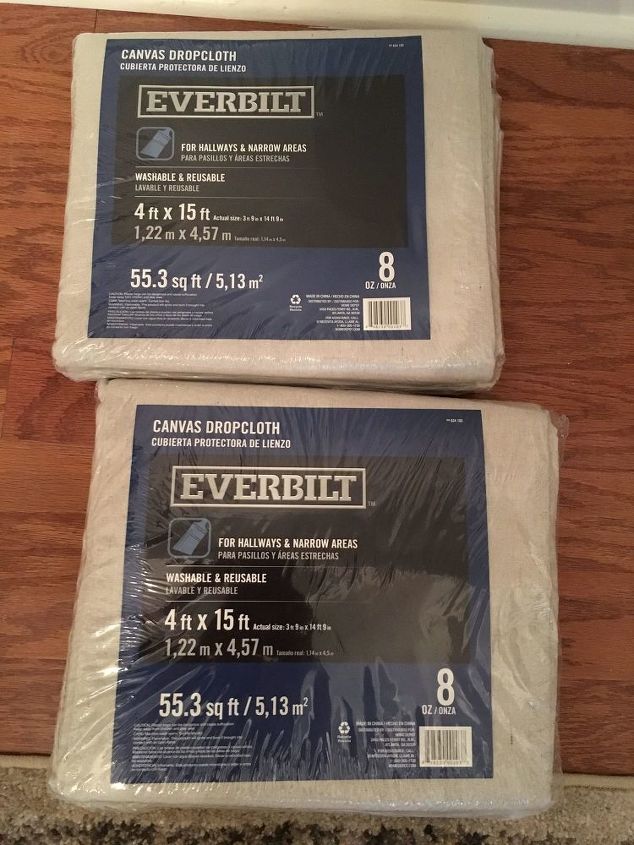
Cut the cloths in half so that you have a total of 4 – 2’x15′ strips.
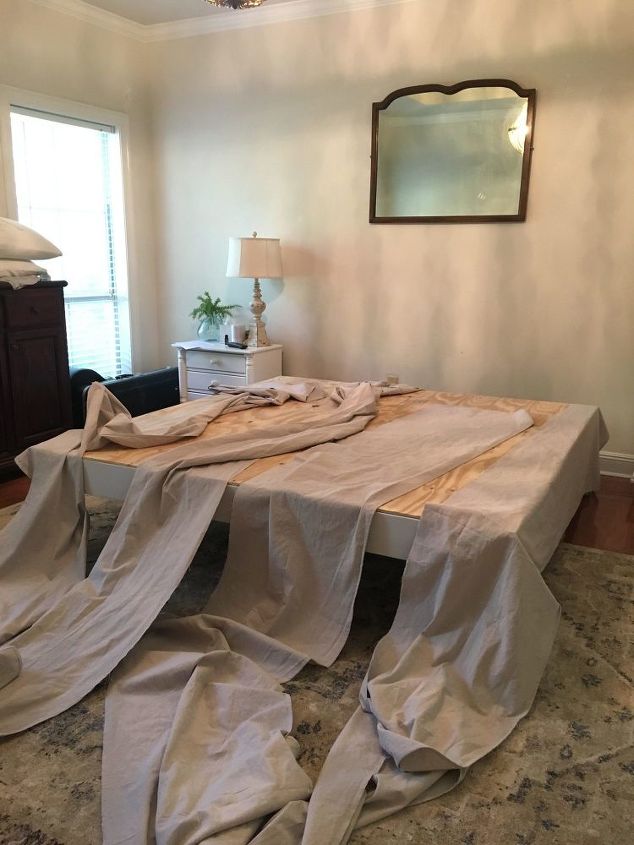
Starting on the back side of the bed (where the headboard would be), I attached about 3 inches of fabric so that the corner would be completely covered. Each strip is 24″ and the height of my bed is about 19″ off of the floor. I pulled about 2 inches of fabric on top of the plywood and then let 3 inches drape on the floor. If you don’t want any to drape on the floor, just pull the fabric up on the plywood until it barely touches the floor.
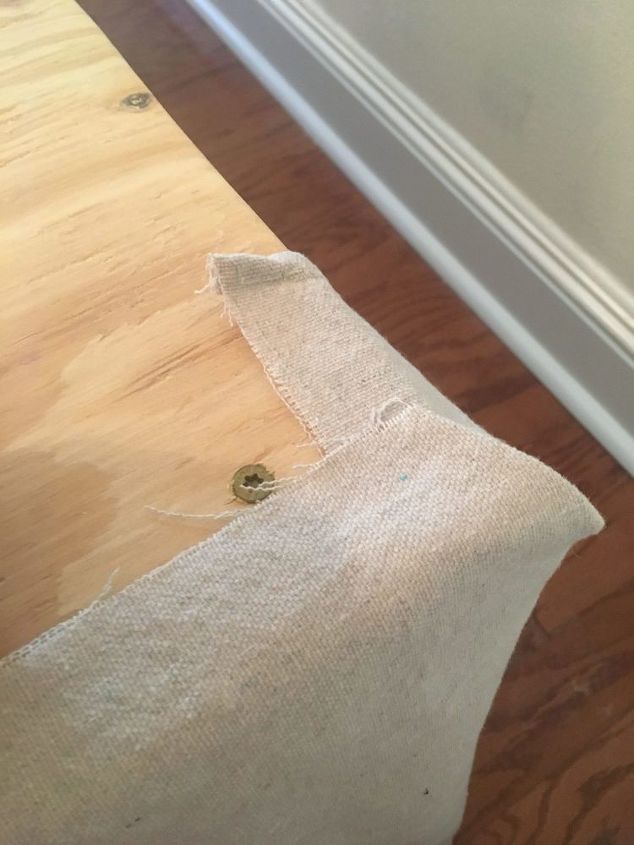
I used a pneumatic staple gun to attached attach the drop cloth to the plywood. If you don’t have a pneumatic staple gun, you can use a regular staple gun or a hammer and upholstery tacks.
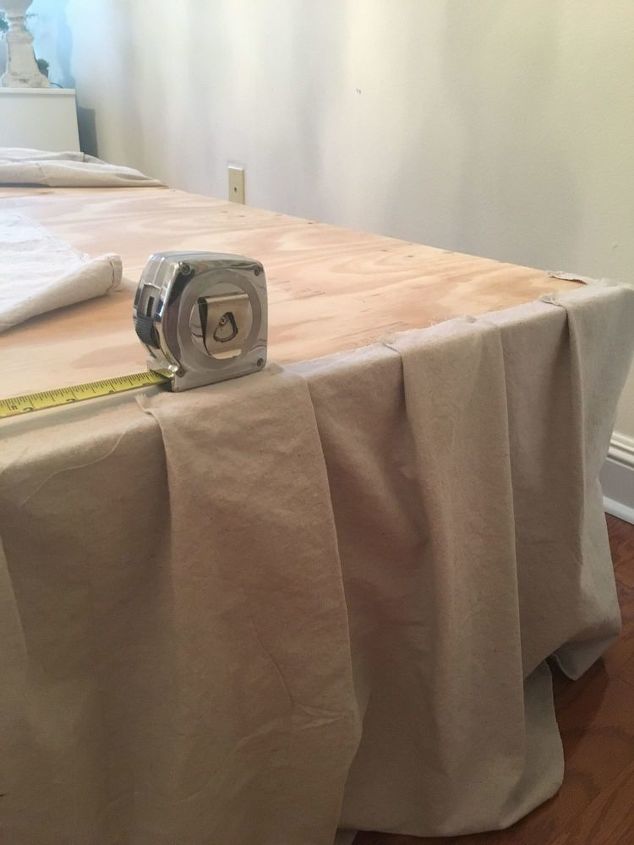
Using a tape measure, I pleated every 4 inches and placed a staple on the top of each folded pleat to keep it in place.
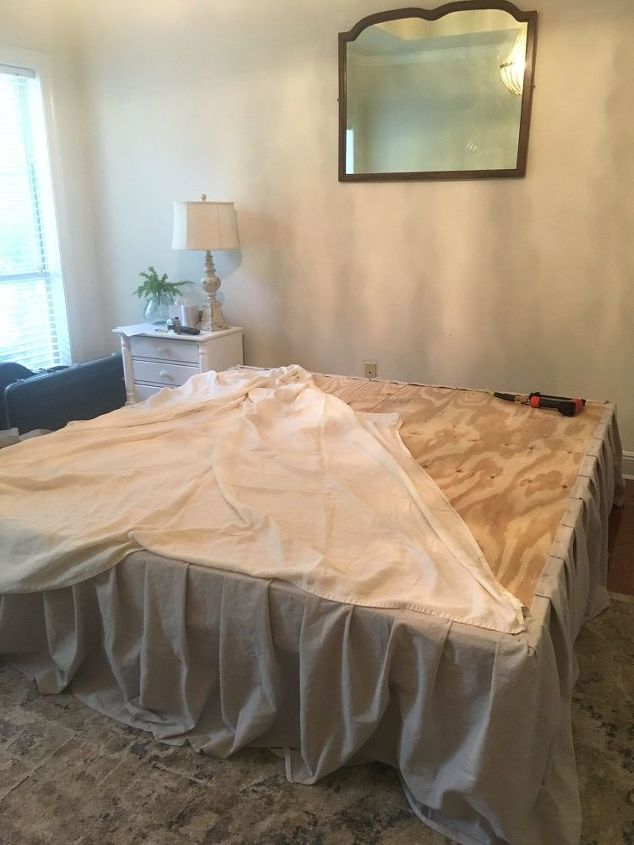
Once I attached the bed skirt completely around the bed, I placed a queen size top sheet on top of the plywood. I folded the edges under and stapled the sheet down to protect the mattress from sitting directly on the plywood.
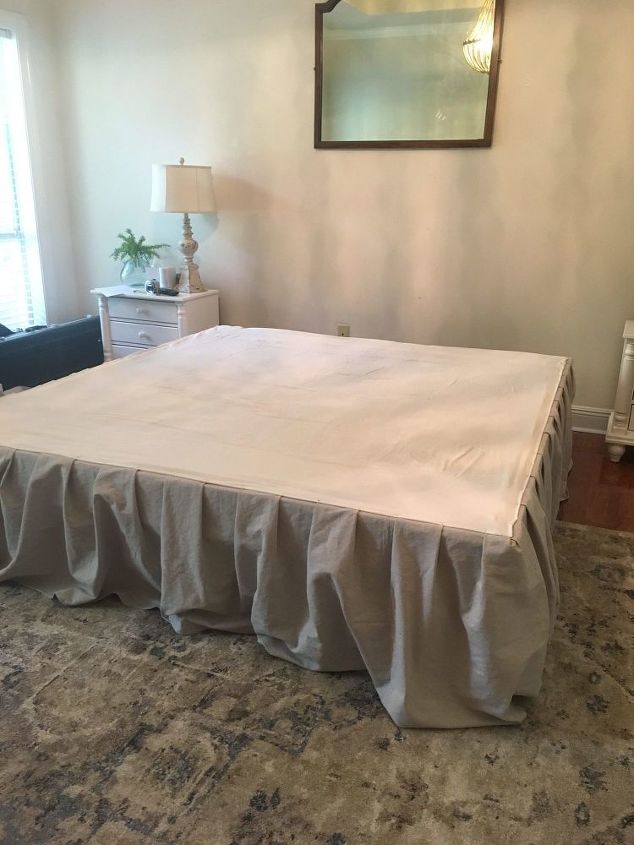
That’s it! This was super easy to make. Especially for those of us who do not sew.
If you are wanting to make anything smaller than a king, you could probably get away with using only 1 drop cloth. I only used a small section of the second one. But I’m sure I’ll come up with another project soon to use up the rest of it.
Resources for this project:
See all materials


Comments
Join the conversation
-
Very Nice 😊, but I really LOVE that headboard 😍 it’s STUNNING! I would absolutely love to know make that🥰
-
Pretty! Thanx for sharing!


Frequently asked questions
Have a question about this project?
I would love to know how u made the “headboard” it’s beautiful I absolutely love it. Looks very simple to make and amazing.
I like it, but bein that it's so long an is touching the floor an if you store stuff under the bed an just because at some point it goin to need washing..are you goin to redo process everytime
I love the idea, but, how do you wash it?