


DIY Cake Stand/Riser

I have been thinking about making all of my Christmas presents this year. All handmade, except for Gigi’s and even a few for her. I think I may even get my friends involved this year. So, I’m curious, do you like to receive handmade gifts?
I will be the first to admit that gift giving is not my love language. It causes massive anxiety for me when it comes to gifts. I don’t feel like I am good at it. I’m usually apologizing before the receiver even opens it and explaining how weird I am and how terrible I am at it… which makes it even more awkward. Ugh. It’s hard!
So, I am all in on handmade gifts this year and hopefully can start traditions that will last for many years. However, this particular DIY Cake Stand or riser I am making today is for myself! I need a riser to decorate on my new Concrete Tabletop. It had me thinking what a great gift it would be for someone else though!
DIY CAke Stand/riser
supplies
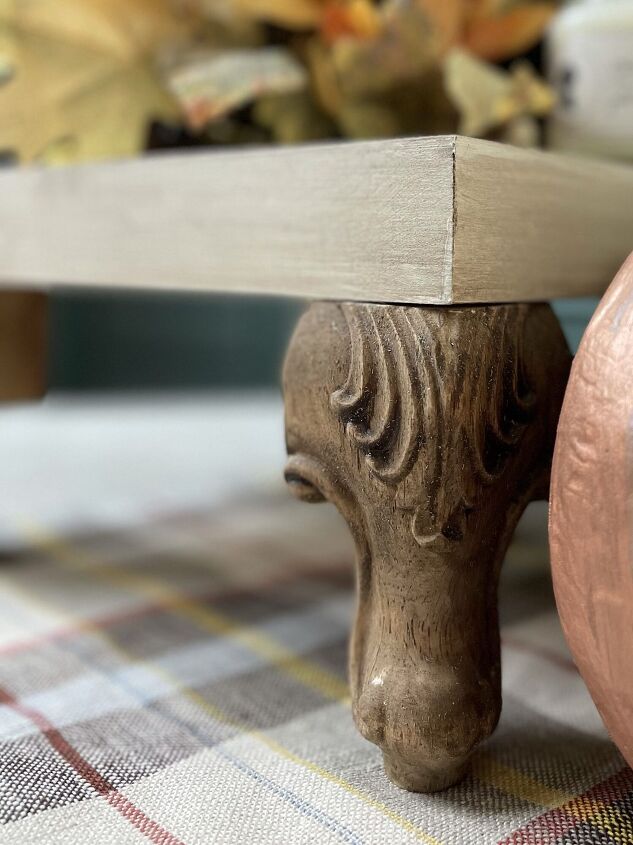
- Decorative furniture feet or ball feet (I found these decorative feet and I knew they would come in handy.)
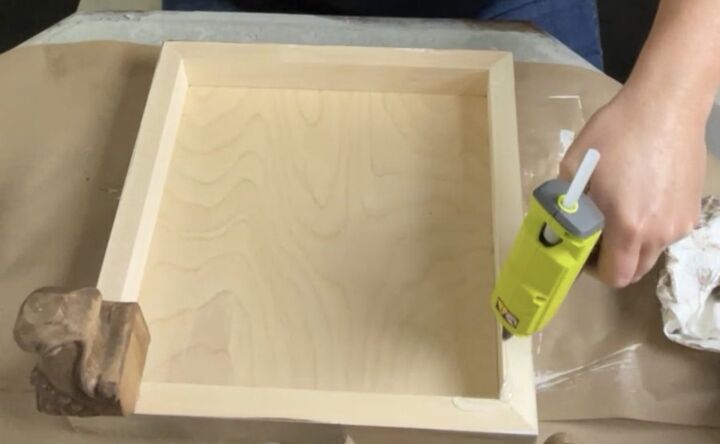
- 12×12 Cradled Wood Panel
- Hot Glue Gun and gorilla glue sticks
- Favorite paint
- Stain
- Sealer or wax
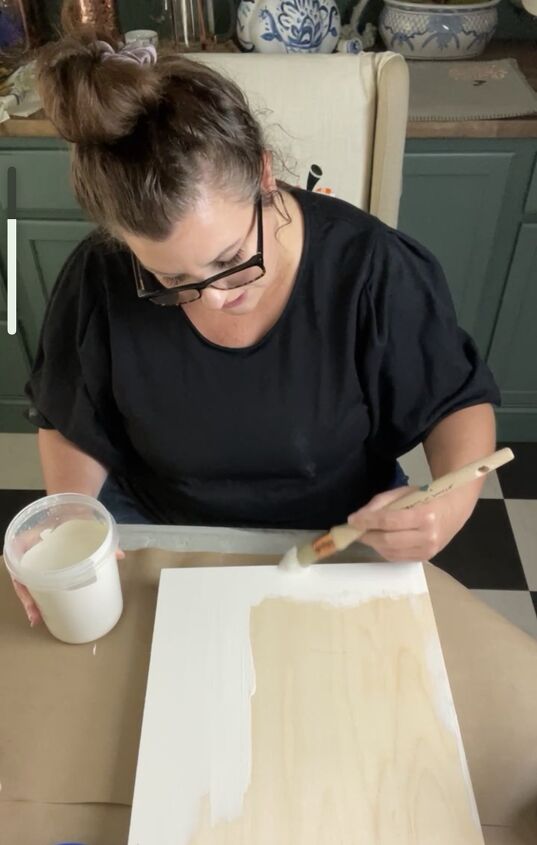
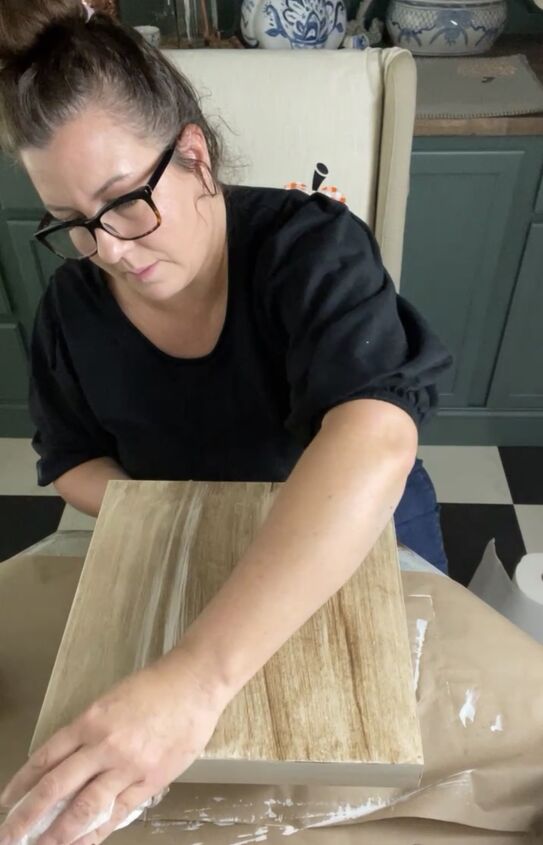
- Paint your Wood Panel
I used Soft Linen by Joanna Gaines mixed with my special mixing powder for making my own chalk paint.
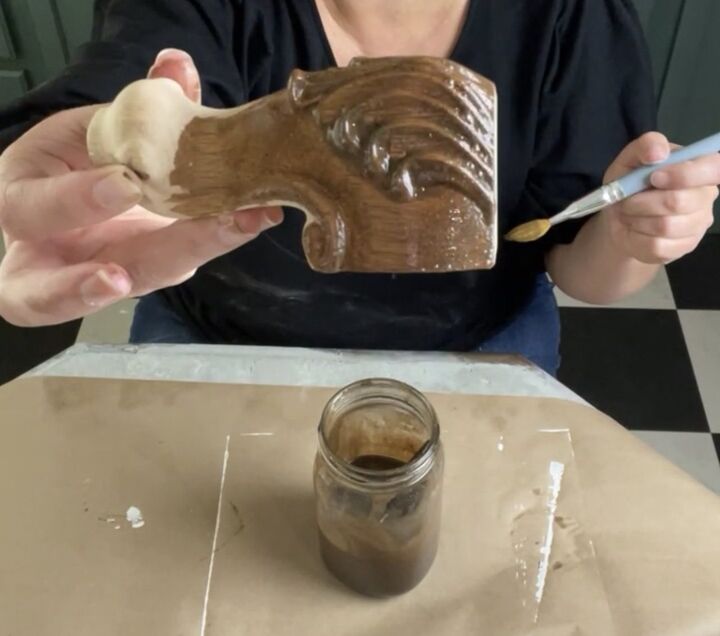
Stain the feet all the way around as they will show from every angle. I will link the recipe here in a few days.
Glaze over the painted wood panel with the same stain used for the feet and wipe back until you get the desired weathered/ aged look you are going for. This doesn’t have to be covered 100% as wiping it back will spread it evenly .
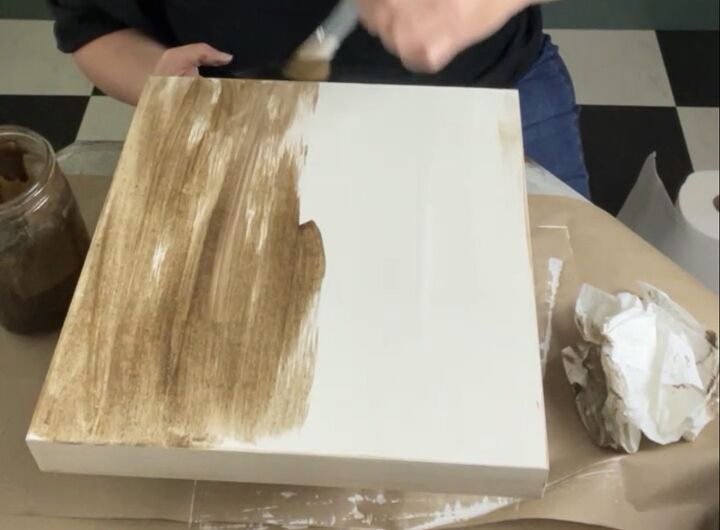
Wipe all the way off of the wood panel to not leave a stop line.
Hot glue the feet on the wood panel matching the corners and placing the glue towards the inside of the wood panel rather than closer to the front of the feet.
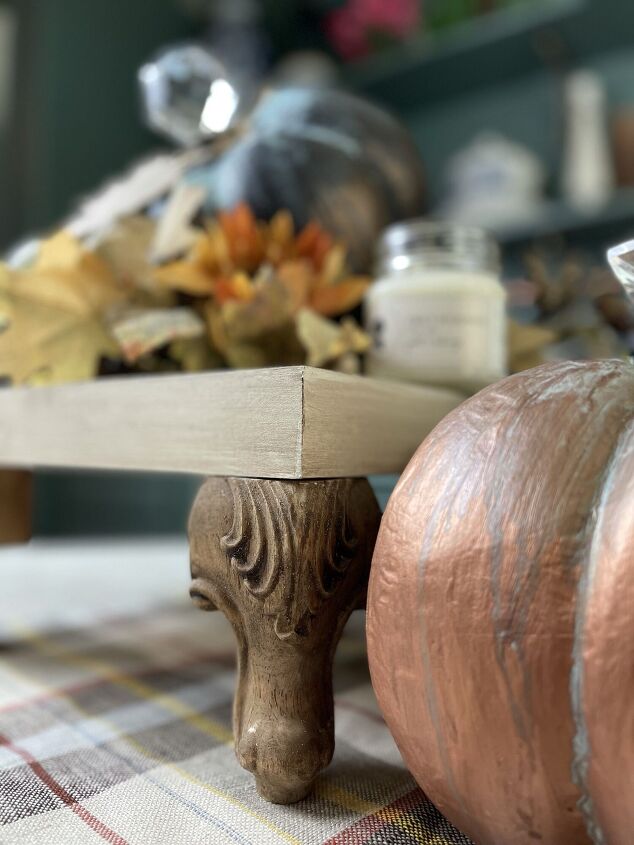
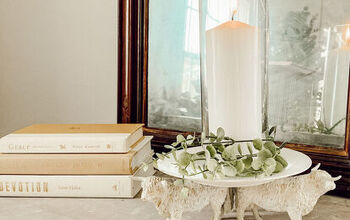
I love a good DIY and this one is so beautiful on my new Concrete Table Top with the Patina Pumpkins that I made! I believe I’ll be adding one of these to my I think my sister would love this so much!
The Candle is from my friend Amy at Old Field Society and it is my absolute favorite! Click here to check her out!
Let me know in the comments what you think of my DIY!
Comments
Join the conversation
-
I hope you don't plan to put actual cake on it since it's been painted. I can tell you exactly what that cake will taste like.
-
Looks really nice. Those feet really give it a unique vibe! ❤️


Frequently asked questions
Have a question about this project?
Please post a picture of this so we can see it as a whole piece. These up close shots do not give it justice and makes it hard to see how it actually looks.
As stated above.....the paint or clear coats are not food friendly. Maybe use a stone tile or something similar. Go to the big box store and look for open tile boxes. You can pick up tiles for really cheap and use them for many projects.
But this idea is adorable...what I could see of it... so just be sure to use a plate for the cake.
So maybe take the cake part out of the title and just use this as a riser?