


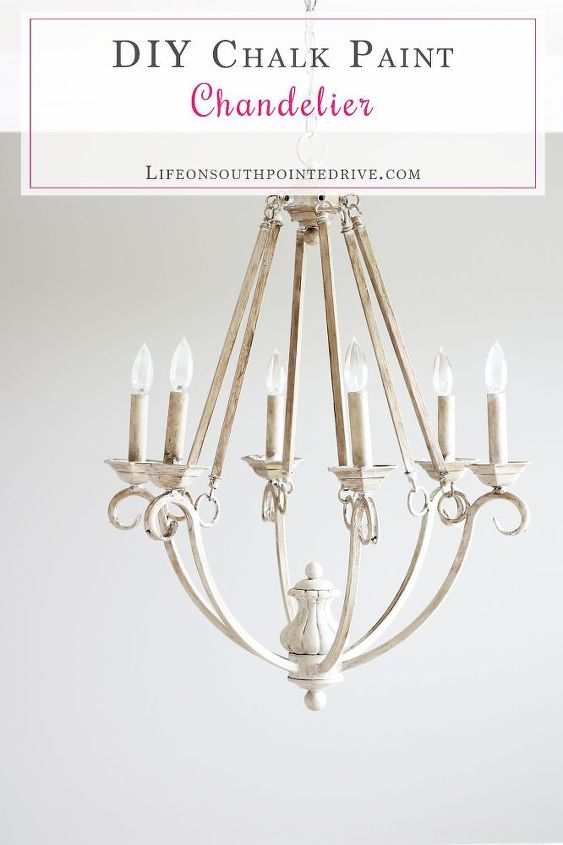
DIY Chalk Paint Chandelier

by
Holly Conway
$20
2 Hours
Easy
If you're looking for inexpensive ways to update your home lighting try a (aff link) little chalk paint ! See this DIY chalk paint chandelier!
When I was planning out my vision for the home office, I knew it included new lighting. The old lighting just didn't fit into my vision and I was excited to change it up a bit. As I was looking around for lighting options I found so many and in various price ranges. I was also trying to be very budget conscious with this project so I knew right away a few of them were out of my price range right away.
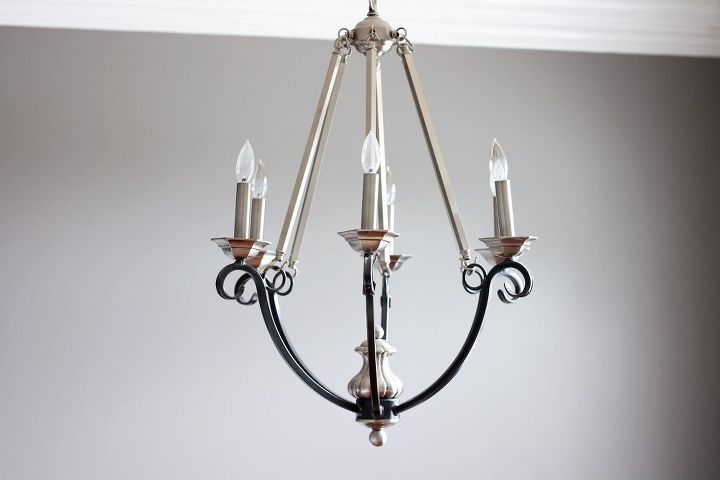
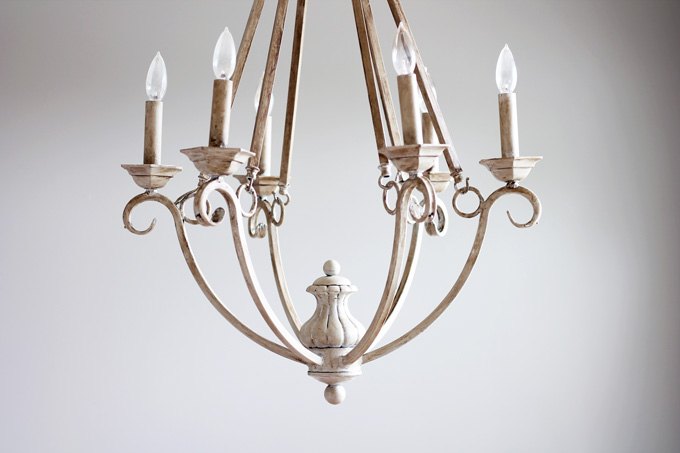
The before was a little dull for me since I was looking for a little something more in style with the theme of my home office. A rustic modern style. I was going for the Restoration Hardware look.
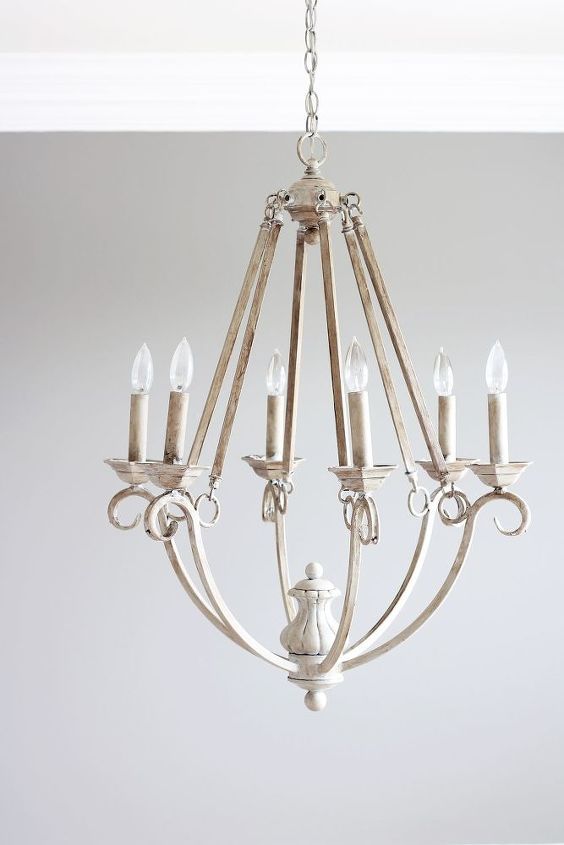
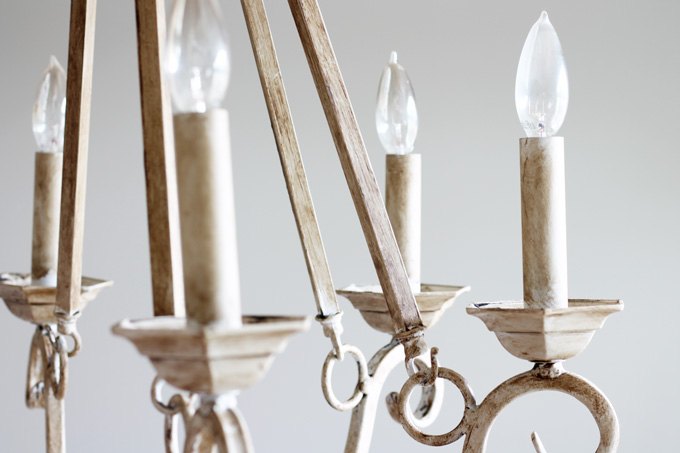
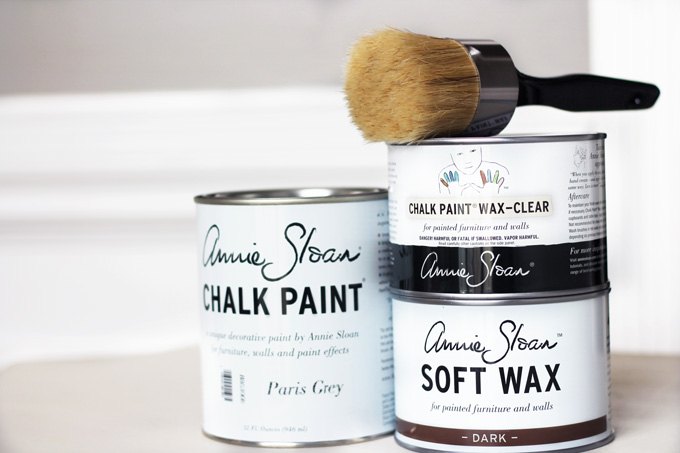
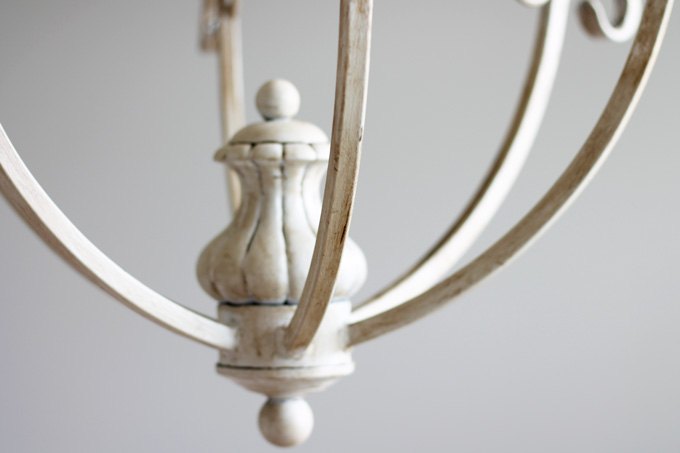
I am honestly amazed at what a little chalk paint and dark wax can do. I gave the chandelier 2 coats of Annie Sloan Chalk Paint in Paris Grey, making sure to cover the chandelier, chain, and ceiling plate. I then gave it a (aff link) coat of clear wax followed by dark wax until I achieved the look I was going for. I think it gives it that Restoration Hardware look I love!
This was a very time consuming project, but it was well worth it in the end. I saved since I didn't have to purchase a new chandelier for the office, and now I can put that money towards something else I've been eyeing for the office makeover!
Don't forget if you try to tackle this project yourself you can always take off dark wax with clear wax as long as you apply clear wax first.
Want more details about this and other DIY projects? Check out my blog post!


Frequently asked questions
Have a question about this project?