


DIY Chicken Wire Frame
5 Materials
$25
45 Minutes
Medium
I decided to take some wooden boards & chicken wire and build a rustic Chicken Wire Frame. Not only is this frame perfect in our family room as holiday decor, but it’s also a versatile piece that can be re-purposed in so many ways throughout the year
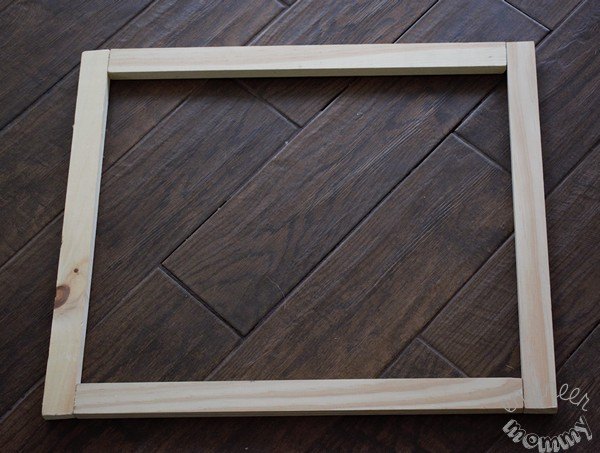
Want to make your own frame? Start off with four wooden 1″x2″s that are each 21″ long. If you don’t own a saw at home, simply have the home improvement center cut your wood to size.
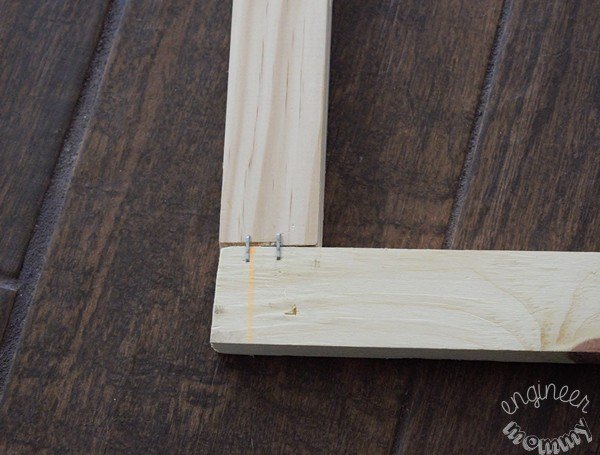
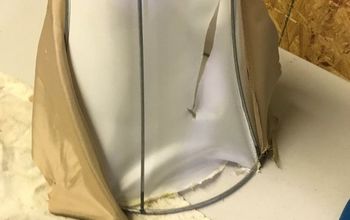
To assemble the frame, simply set up the pieces of wood as in the following picture. You couldmake miter cuts for the corners, but I actually prefer the rustic look of these simple joints. To adhere the wood together, I used a generous amount of wood glue and clamped it all together overnight.
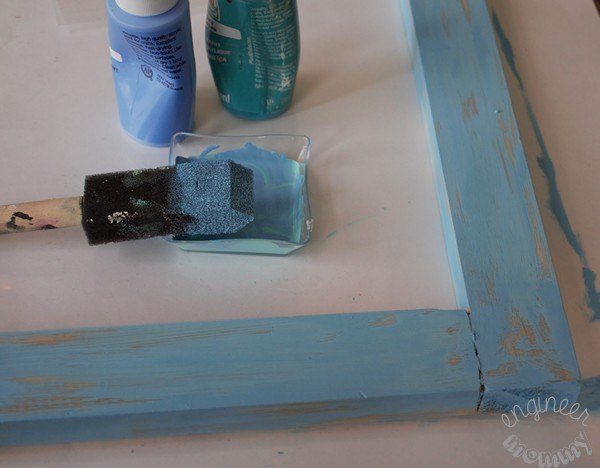
To add some color to the frame, I mixed two shades of blue acrylic paint I had lying around. I brushed it on very lightly, intentionally leaving some areas bare. I like the unfinished, worn look of this. It gives the piece a more aged look and fits my decor better.
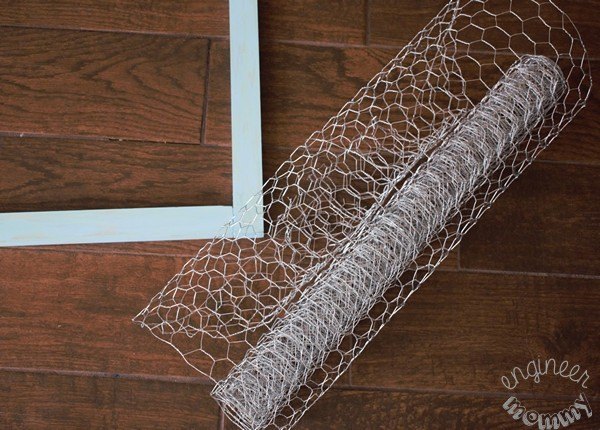
While the paint is drying, begin unrolling the chicken wire. Look for chicken wire at your local home improvement store. I simply cut it to the size of the picture frame and stapled it in place on the back of the frame.
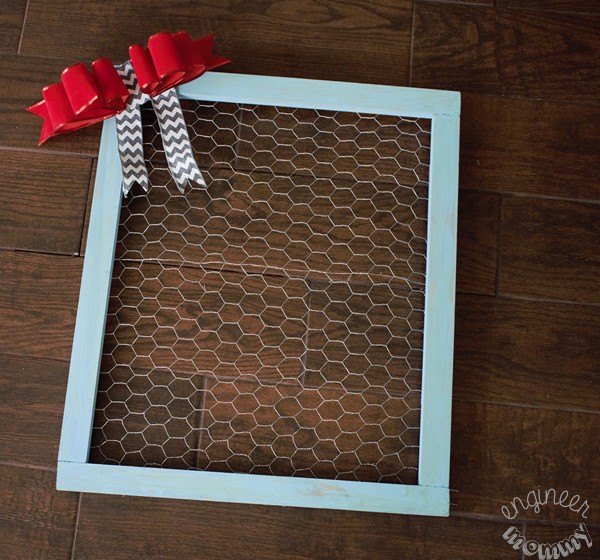
I used two different types of ribbon to make a big bow. I used red velvet one to create the folds for the bow and a gray-and-white chevron one to make the hanging pieces.
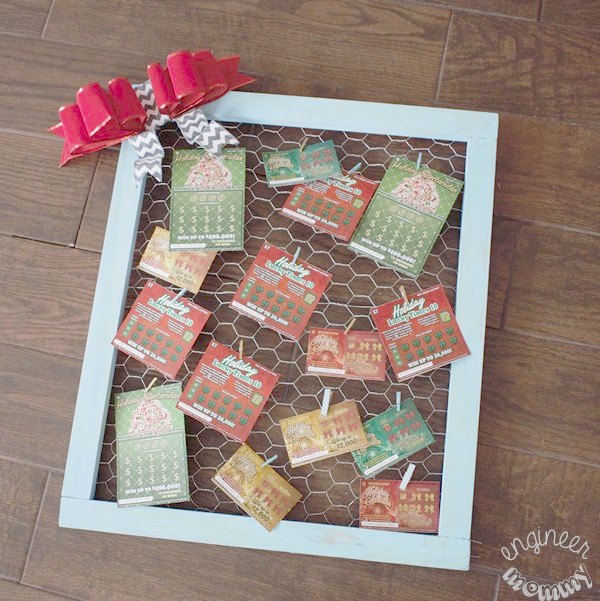
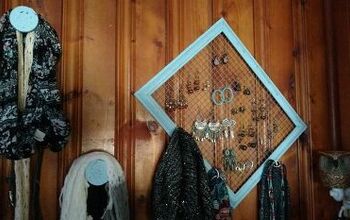
I love the way this frame came out. It can be used throughout the year in so many different ways. For more inspiration, visit the blog post below.
Resources for this project:
See all materials


Any price and availability information displayed on [relevant Amazon Site(s), as applicable] at the time of purchase will apply to the purchase of this product.
Hometalk may collect a small share of sales from the links on this page.More info

Want more details about this and other DIY projects? Check out my blog post!
Comments
Join the conversation
2 of 6 comments
-
Great Idea! Very creative and very functional! B.Jaimes
-
Hee hee...I made something similar last year for my jewelry and scarves! Great minds think alike!


Frequently asked questions
Have a question about this project?