


DIY Chunky Borax Crystals

This project is a great little trick for crafters and resin lovers alike.
In this post I'll show you how I made these gorgeous chunky crystals and also how to create resin molds from them so that you can recreate the crystals in any colours you like, time and time again.
This project is also up on my YouTube channel if you prefer to watch your tutorials. Details and link below 👍🏻
STEP 1 - WATCH MY YOUTUBE TUTORIAL
As I mentioned, I have a tutorial of this exact project up on my YouTube channel. Click the video link above to watch.
Consider subscribing to my channel for loads of crafty videos like this one and much more ☺️

WHAT YOU'LL NEED
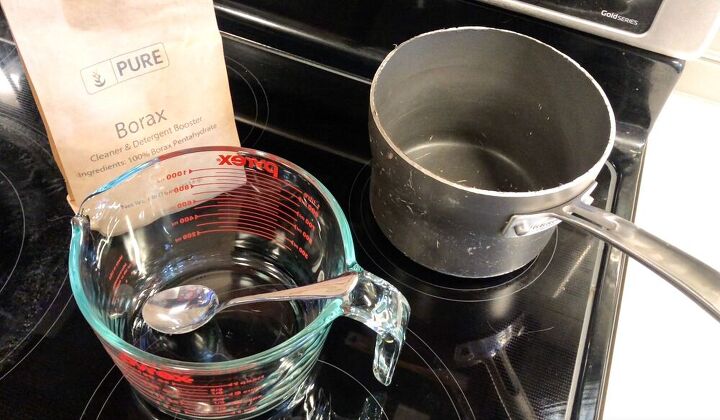
- Borax powder
- Old saucepan
- Clear coating spray
- Pouring silicone
- Mixing jugs/containers & stirrers
- Resin - Use my code HANNAH and this link for 10% off with free shipping from Rockstar Resins
Use protective wear and follow appropriate safety guidelines when handling resin.
STEP 2 - THE FIRST CRYSTALLISATION
First, boil some water. I boil roughly 3 cups of water.
Pour the boiling water into a jug.
Prepare an empty saucepan on a ring but with no heat currently turned on.
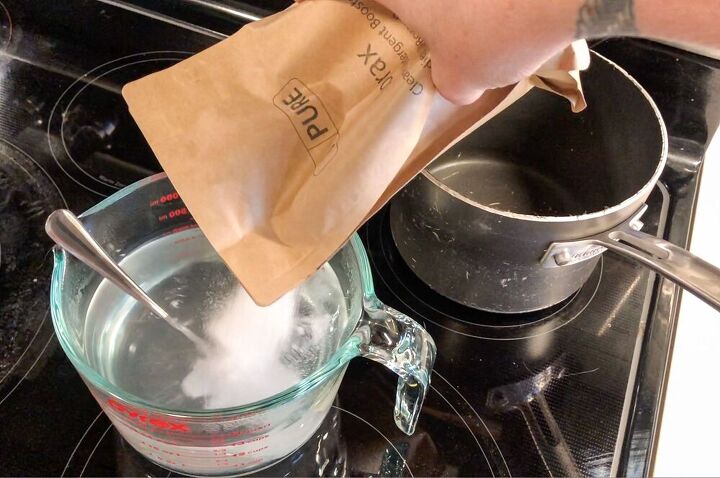
Add the borax powder into the boiled water.
Don't bother measuring out the borax powder, simply add a small portion at a time, stir, and if the powder dissolves, add some more.
Stop adding once the powder no longer dissolves.
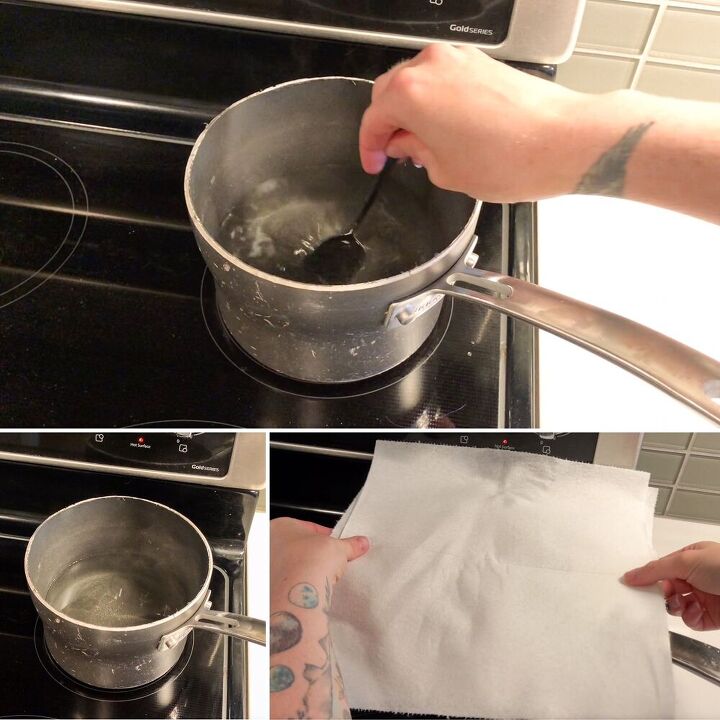
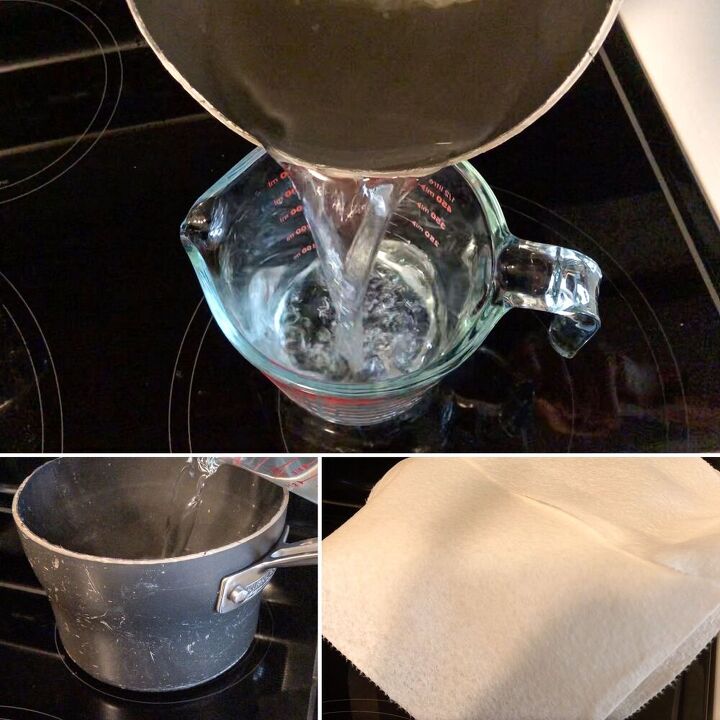
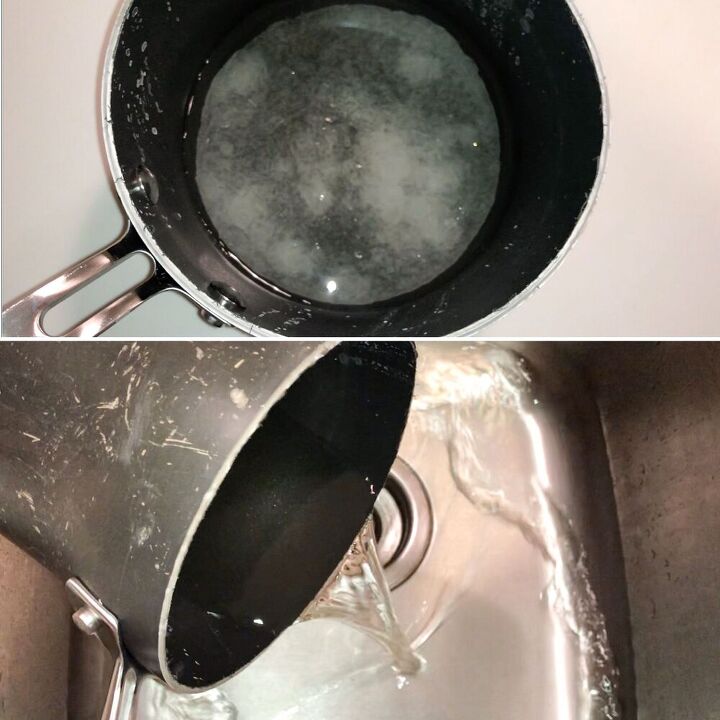
Strain the solution from the jug into the saucepan through a paper towel to catch any undissolved powder.
Now turn on the hob to medium heat and stir the solution occasionally.
Turn the heat off once small bubbles start to form on the bottom of the saucepan.
With the heat now off, keep the pan on the ring and cover with a paper towel.
Allow the solution to cool and sit for 24 hours.
STEP 3 - THE SECOND CRYSTALLISATION
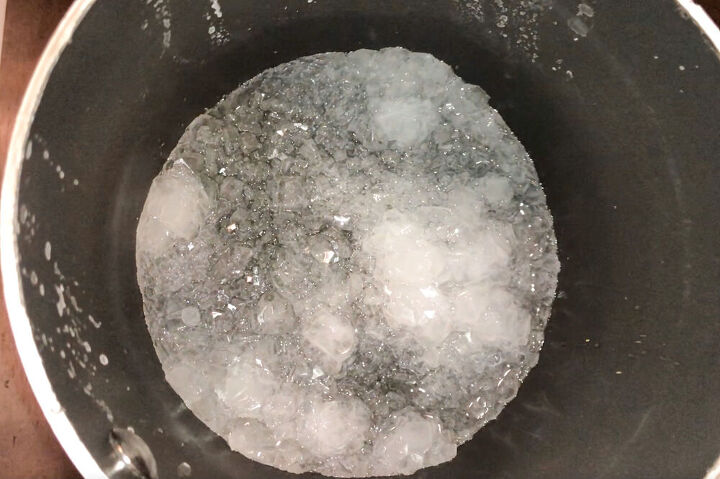
After 24 hours, you will already see crystals that have formed on the bottom of the pan. If you want, you can skip this next step and use the crystals you have now, or, for even bigger crystals, follow this next step:
Pour the cold solution into a microwavable jug and reheat this in the microwave until very hot, not boiling.
Meanwhile, heat up a ring on the hob to medium heat. Don't put the pan onto the ring yet.
Take the now hot solution out of the microwave, stir, and then gently pour this back into the pan with the newly formed crystals.
Turn off the heat from the hob so that there is no more active heat being created but straight away, whilst the element is still hot, place the pan with the microwaved solution on top of the ring.
Cover the pan with a paper towel and allow the solution to cool and sit for another 24 hours.
STEP 4 - MAKING A MOLD
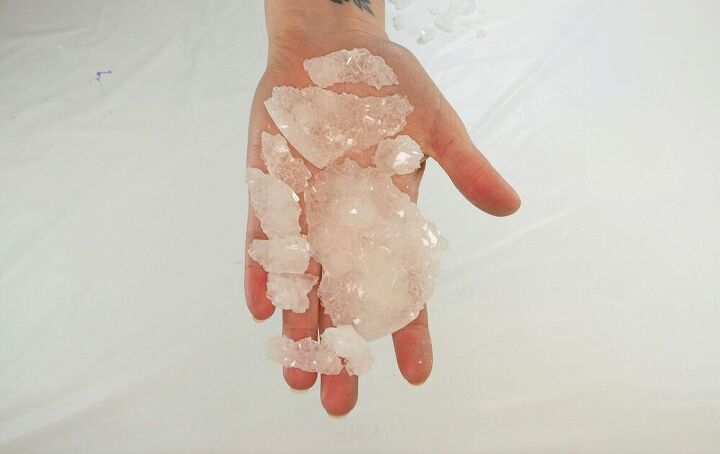
After the 2nd 24 hour period, empty out the cold solution from the pan and admire your chunky crystals.
If you want to make freeform crystal decorations, follow the exact same steps as above but this time dangle a pipe cleaner shape into the solution. The crystals will form around the pipe cleaner as well as around the pan. For this, I advise having a larger amount of the solution to start with so that your pipe cleaner is fully submerged throughout the process. Food colouring can also be added.
You can keep repeating the process of reheating the solution and allowing it to cool, but I found after the 2nd time that I got the most bang for my buck, so to speak, so I only did 2 goes.
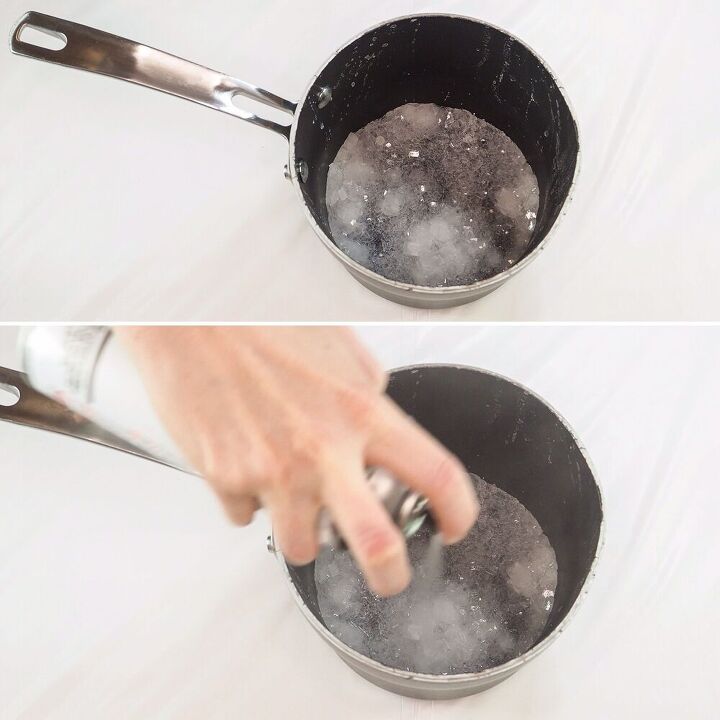
After allowing the crystals to dry out, spray them with a clear coating spray to strengthen and protect them.
Mix together enough 1:1 pourable liquid silicone to cover the base of the pan and all the crystal peaks.
Pour the mixture into the pan and leave it to cure for around 6 hours.
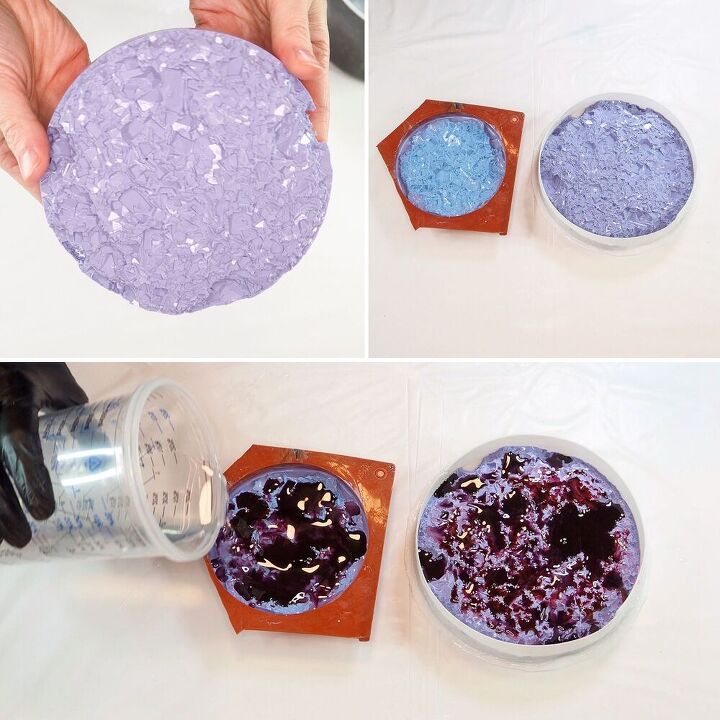
After the silicone has cured, peel it away from the crystals to reveal your reusable mold.
I also made a smaller version with a teeny pan.
Get more tips for how to make silicone molds yourself.
You can make more molds from the same pan of crystals or you can break them up and remove them from the pan and use them as they are.
I used these big chunky crystals in a geode piece that I made. Be sure to coat them in a very thin layer of resin as a finishing touch so that they can be well preserved. There may be other ways of preserving these crystals (so they don't turn white and chalky) but that's the one I am familiar with.
STEP 5 - USING THE MOLDS
As you can see in my pictures, I created 2 very crude diy molds 😅
I did this by placing my smaller silicone crystal mold into a coaster cavity which was just about the right size, give or take a couple of snips.
And for my larger silicone crystal mold, I made a silicone holder (like the red coaster cavity but larger) using cut up pieces of silicone sheeting.
I did this so that when I poured resin onto the silicone crystal molds, it wouldn't run off down the sides and be wasted.
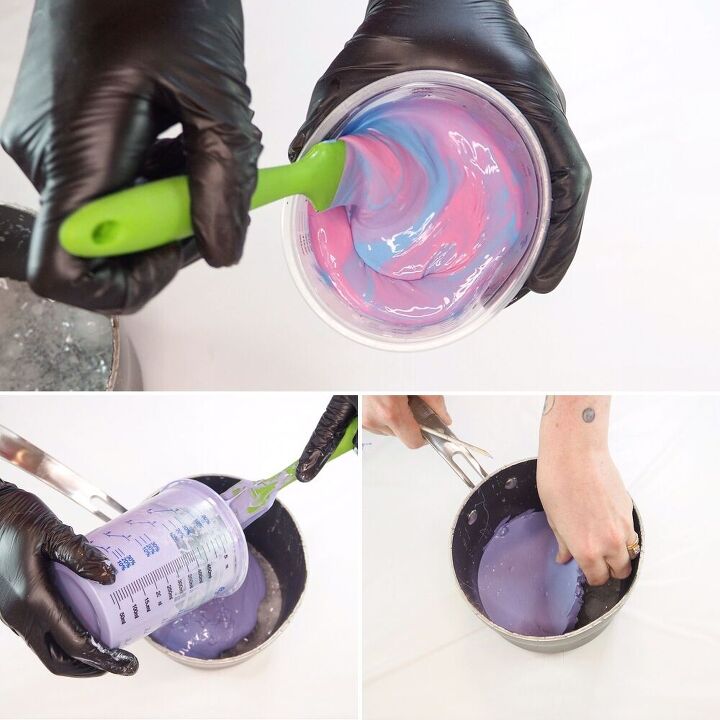
I mixed some resin together and coloured it with pink and purple pigments and drizzled this over the molds.
I then allowed the resin to cure.
STEP 6 - FINISHING TOUCHES
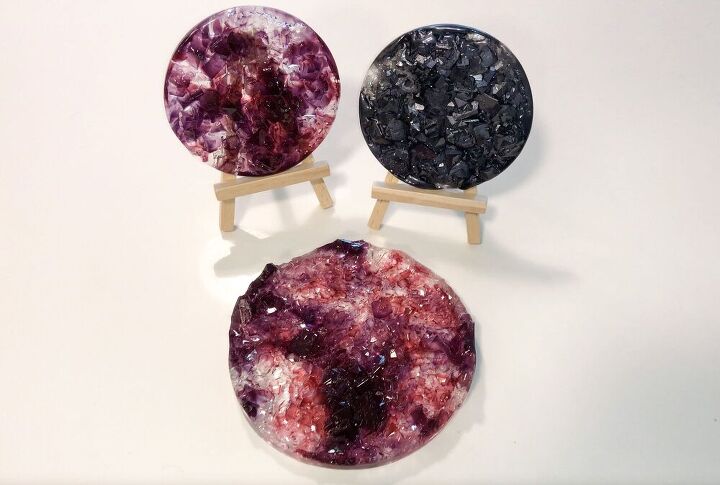
Once the resin has cured, demold the pieces and sand/trim off any rough edges.
I love how these turned out and there are so many ways you can go on to use these resin crystals in your crafts, but of course, you can simply display them on little easels for decoration if you like 😍
I hope you enjoyed this project. Please remember to check out my YouTube channel and this project in particular (linked above).
I also have an Etsy store where I sell lots of little handmade bits and pieces so please feel free to take a look using this link.
Thanks for stopping by and until next time,
Happy crafting! x

Resources for this project:
See all materials


Comments
Join the conversation
-
It is absolutely gorgeous!!!! Breathtaking!! Sending you hugs across the miles from South America from Ecuador!
-
Thanks for sharing such detailed instructions. Beautiful results, indeed. Words of caution though... borax is poisonous to living creatures, including humans, animals, insects. So for anyone creating these crystals, please clean up all your equipment and your workspace. Please do not skip the step that says to apply a protective coating to the finished crystals. If I create these crystals, I shall use a thick protective coating, to reduce risk to pets & people.


Frequently asked questions
Have a question about this project?