


DIY Coiled Rope Motif Basket
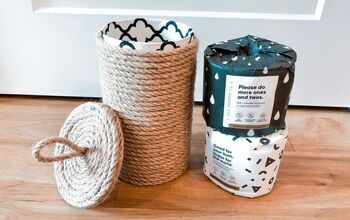
How often are you inspired to re-create something you saw online? I know I have lots of times! I often look around at my favorite stores to get ideas! Just take a look at this lovely Target basket! Isn't it fabulous with a pretty triangular design?
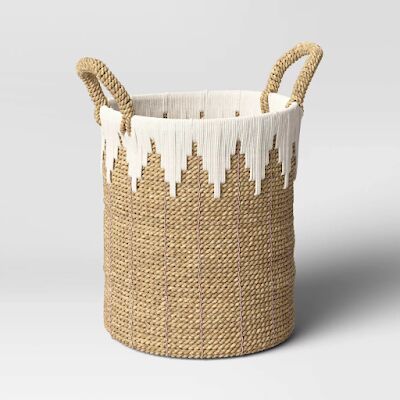
How cool would this be to make something similar? I love the design and wanted to make my very own version!
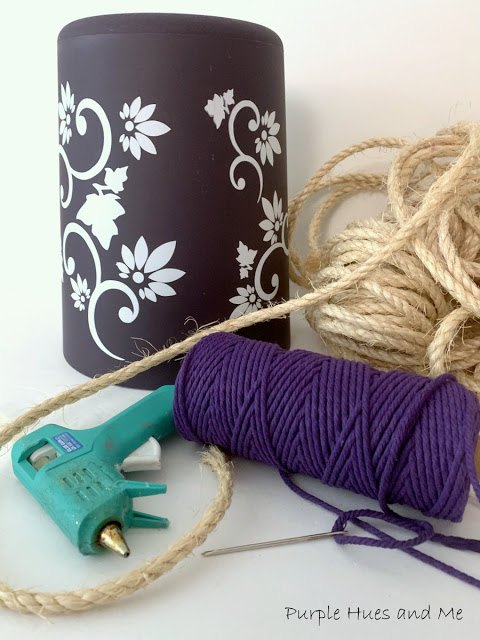
Materials:
- Small wastebasket trash can - 9"x8.5"(used as template)
- Sisal rope (50ft. 3/8")
- Chalk
- Yarn - 1 skein (Dollar Tree - 131yds in eggplant)
- Yardstick
- Large eyed needle
- Thimble
- Hot glue gun/glue sticks
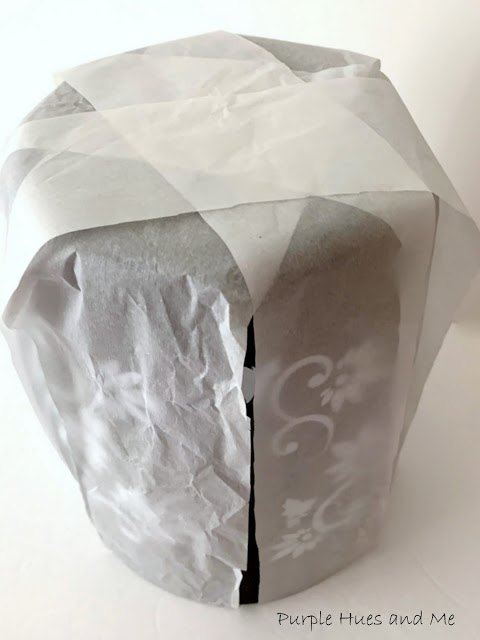
Another change is using parchment paper. At first I thought covering the can with strips of parchment paper would save the wastebasket finish from the hot glue sticking to it.
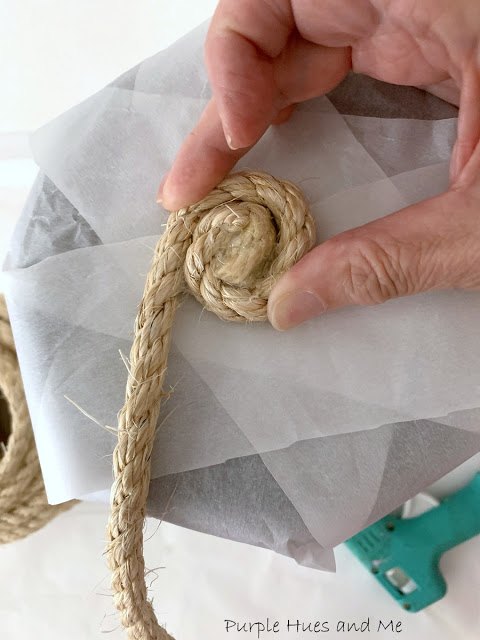
But once I starting coiling the end of the rope in a tight circle and adding hot glue as I coiled . . .
it proved to be a nuisance with the coiled rope moving around on top of the parchment paper and the parchment paper getting in the way.
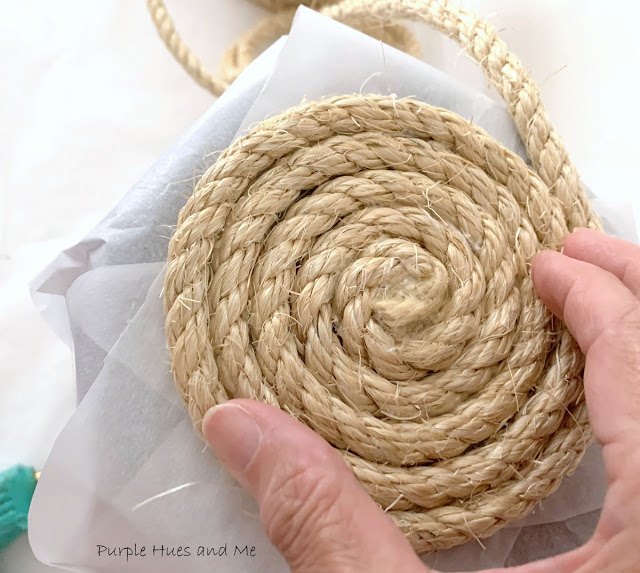
So, as soon as I finished coiling the rope around the base of the can and securing it in a circle with hot glue . . .
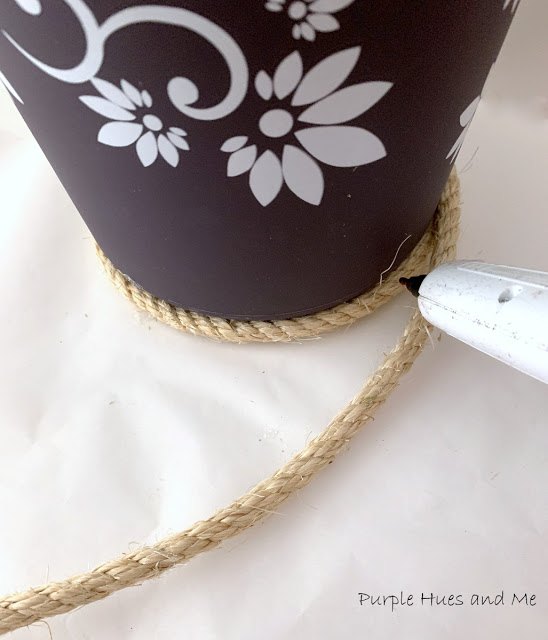
I removed the parchment paper. Then turning the can right side up, continued adding lines of hot glue along the rope while coiling it around the can, making sure to keep the rope rows even.
The glue didn't harm the plastic waste basket can. Any glue residue just popped right off.
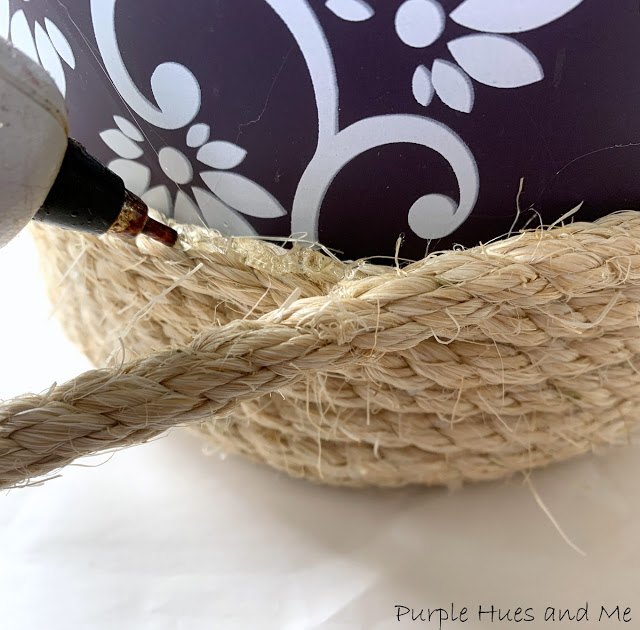
Continue coiling and gluing the rope around the can, holding the rope firmly in place as you are waiting for the glue to dry until reaching the end of the rope.
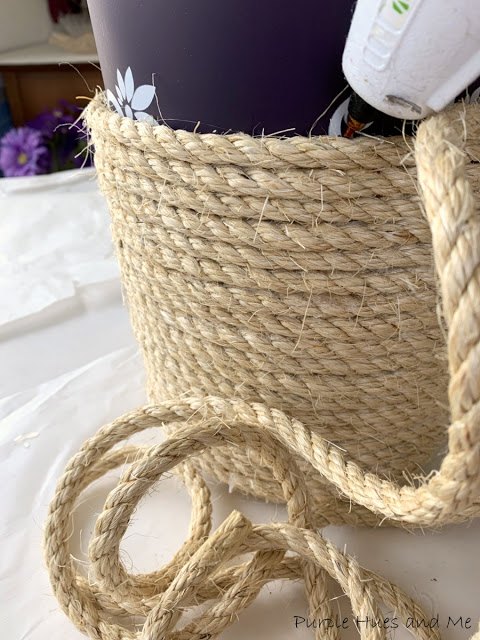
Once you are near the end - I used all 50ft of the rope -
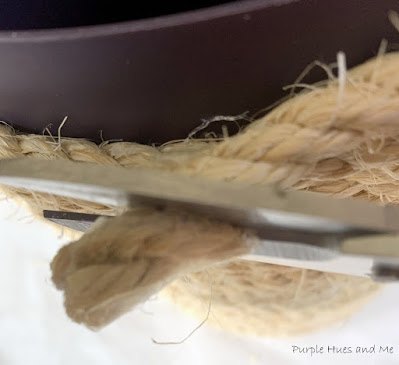
cut the rope at a slant angle, adding additional glue to the end while pressing it down to blend in with the previous rope row.
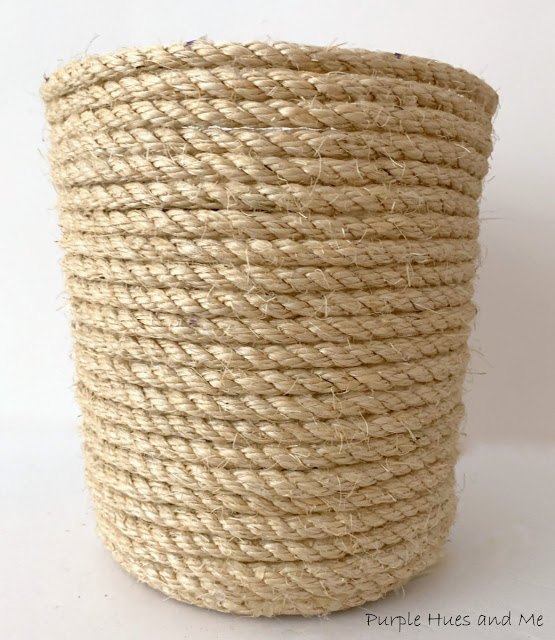
Next, remove the rope basket from the plastic wastebasket by gently twisting back and forth until the wastebasket releases to pull off and out.
The next part might be a bit hard or tricky to understand. Let me just say that I am not a precise crafter. I don't use formulas to decide how much yardage I might need for a project. I do what I call guesstimate what I will need.
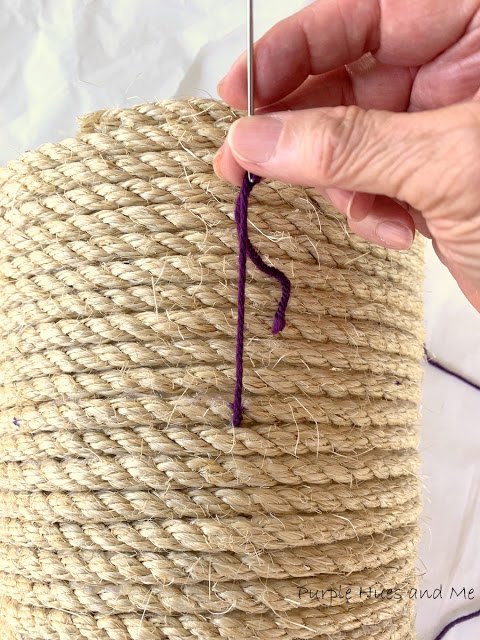
To begin adding the triangular motif-I divided the top (circle) rope into four segments - 12,3,6,9 - marking it in chalk. Then decided how far down I wanted the design to end. I wanted the segments to have the same number of rope rows so I counted in groups of three rows with four segments - counting down twelve rolls (3x4) to start.
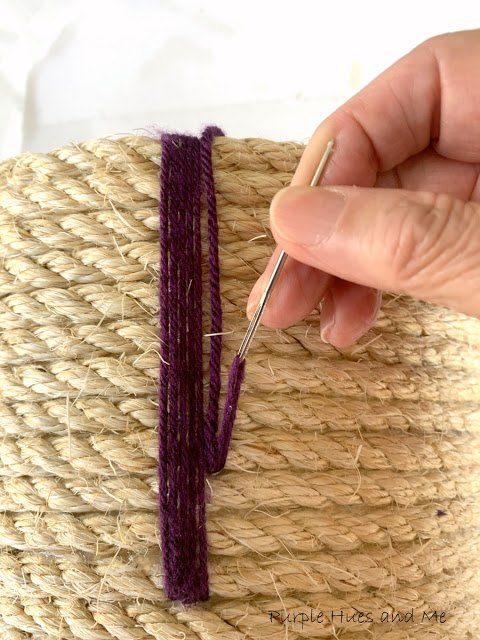
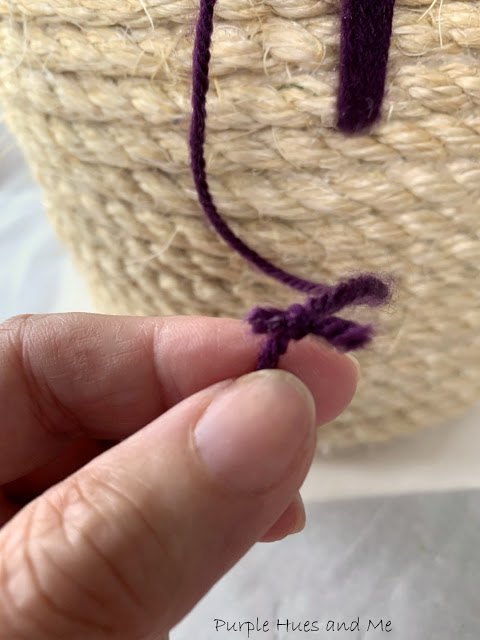
To guess how much yarn to cut for the first motif, I measured out each segment and doubled the amount - 23ft. and divided that by 3 to get the yardage - 7.6 and rounded that off to 8yards. I took a yardstick and measured out 8 yards to thread on the needle each time I needed more yarn. Then I started at one of the chalk marks, down 12 rows and stuck the needle in through the inside, leaving a couple of inches of yarn while wrapping by pulling the yarn up and over and down again.
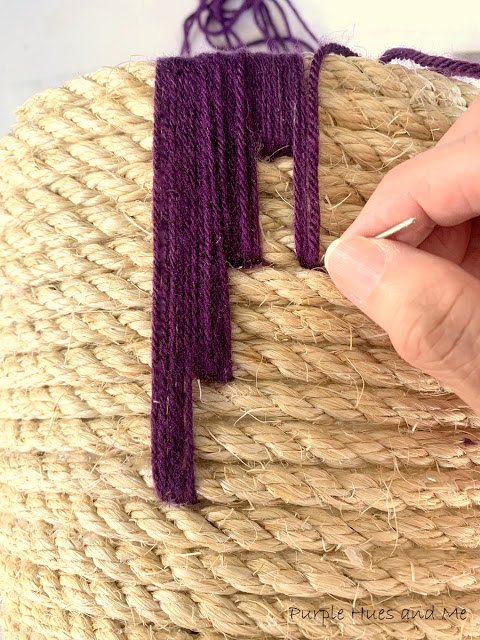
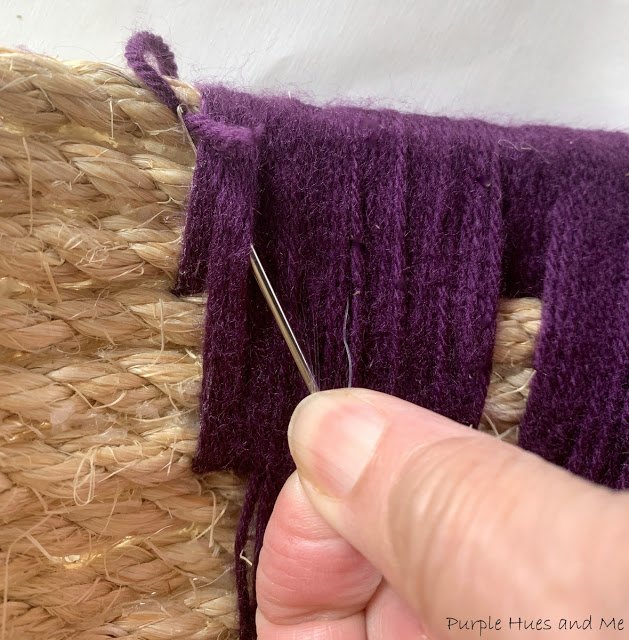
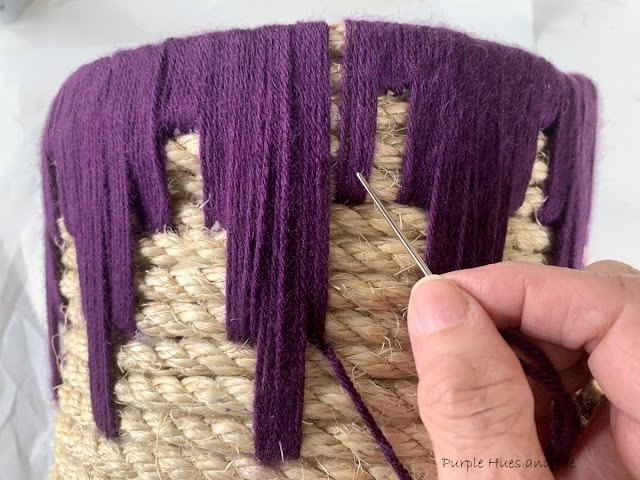
I wrapped the yarn around five times up and over and through the rope rows and beginning on the sixth time, counted up three rows to start the next segment from the inside.

Continue wrapping yarn approximately five times, keeping the yarn straight, trying to maintain the same size for each segment - while moving up towards the top of the basket . . .
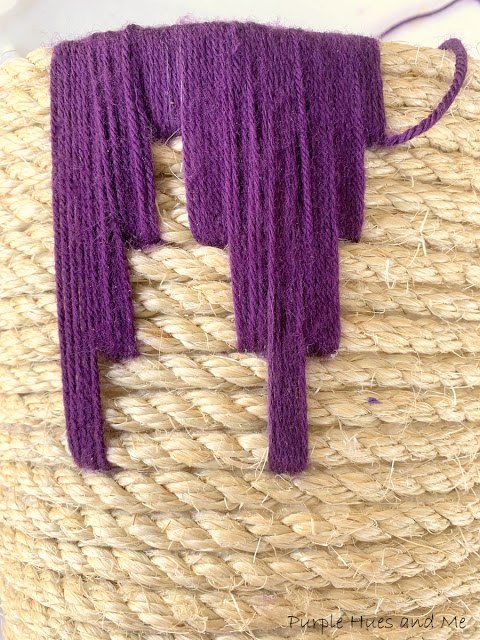
creating decorative segments . . .
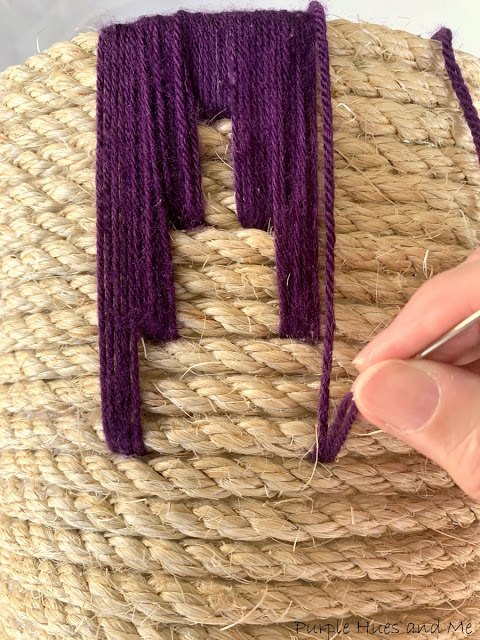
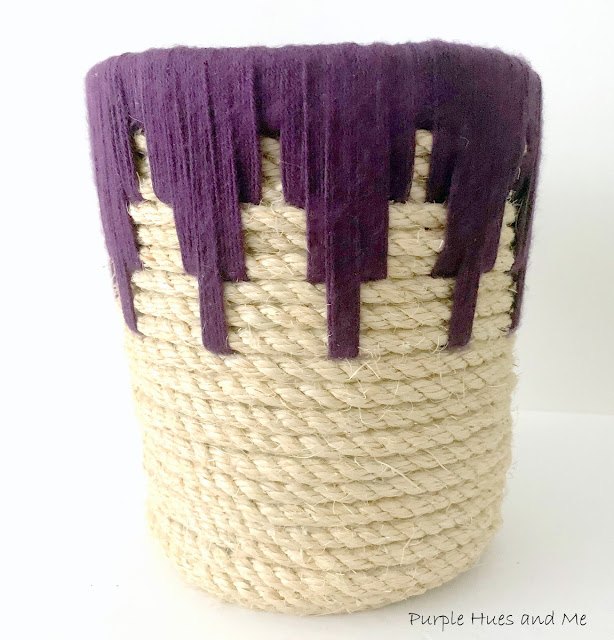
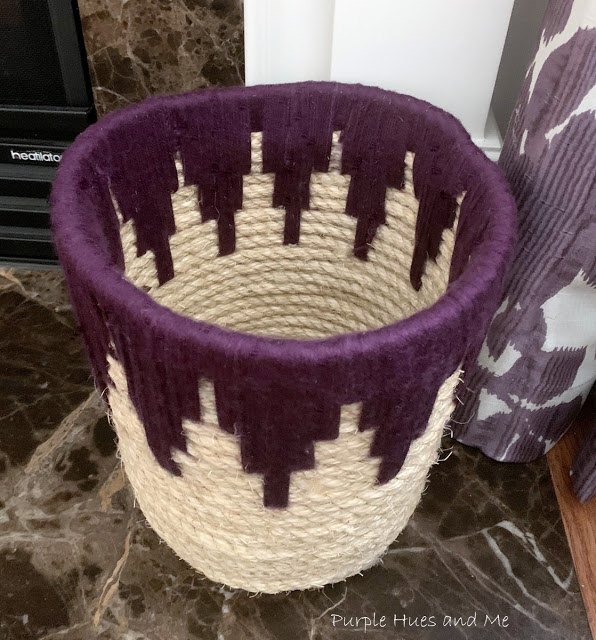
in a triangular motif design.
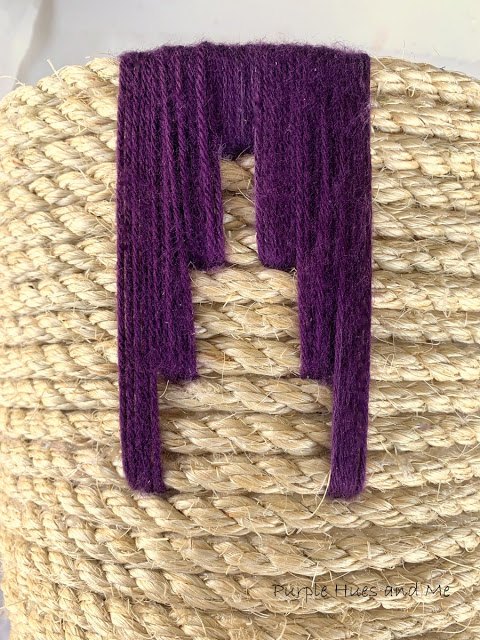
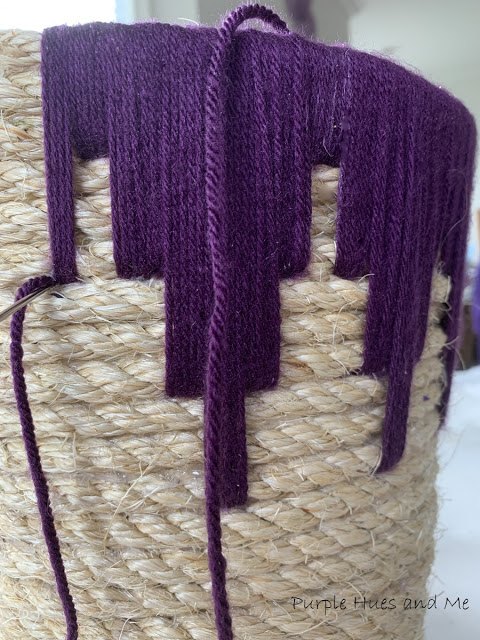
The first triangular motif is complete in this picture.
To add additional yarn, remove needle from yarn and connect the end of the wrapped yarn with another eight yards by tying together in a double knot (inside basket). Measure enough of the yarn that's left so that the knot is inside (cutting off excess). Then thread needle onto new end of yarn piece.
Hide knot and ends by pushing needle through inside wrapped yarn.
Continue wrapping yarn in equal segments - following the previous design while moving around basket.
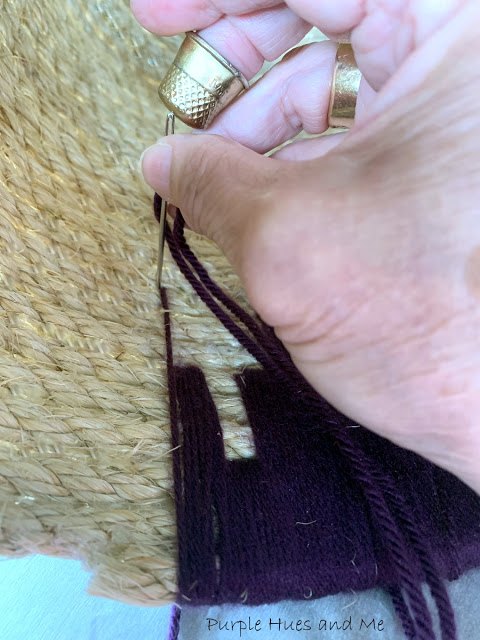
Use a thimble to help push needle through glued rope.
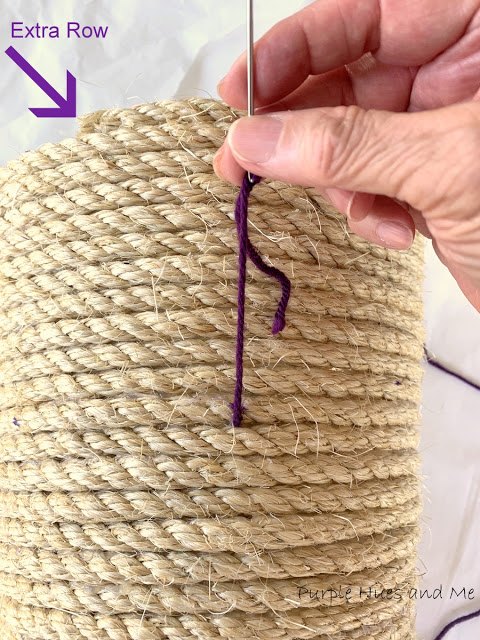
As I continued moving to the right of where I began adding the motif. I realized that the segments would not be even when they meet because of how the top rope row ended. There's an extra row or half a row at the top.
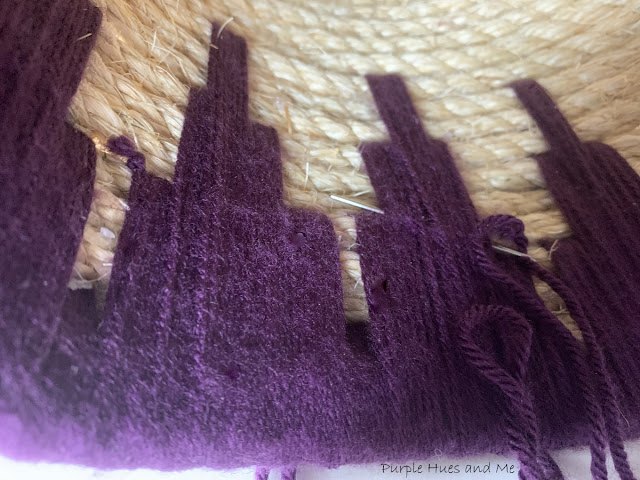
So I began adding segments over the end of the rope on the left side wondering how it would look when the segments meet.
Nearing the end! What do you think? Not too noticeable, huh? Let me just say that it took me all day long - from morning to night - to complete adding the yarn design to the basket. It was very time consuming. But I loved every moment! That's what crafting is all about!
Inside finish.

Resources for this project:
See all materials


Comments
Join the conversation
-
Without your own personality added, it would just be a rope wrapped basket. Nice design, executed well
-
Great idea, you did a nice job!


Frequently asked questions
Have a question about this project?
You did an awesome job, thanks for sharing
This turned out great (and my favorite color is purple so it was that much better)... My question is this - how hard was it to get the needle through the rope after having put the hot glue in between that holds it together?
How creative! In the southwest, these fetch a high price. My ? How did you manage to twist loose from the plastic one? Somewhere along the line, when hot gluing? Didn't glue get stuck to the plastic?