


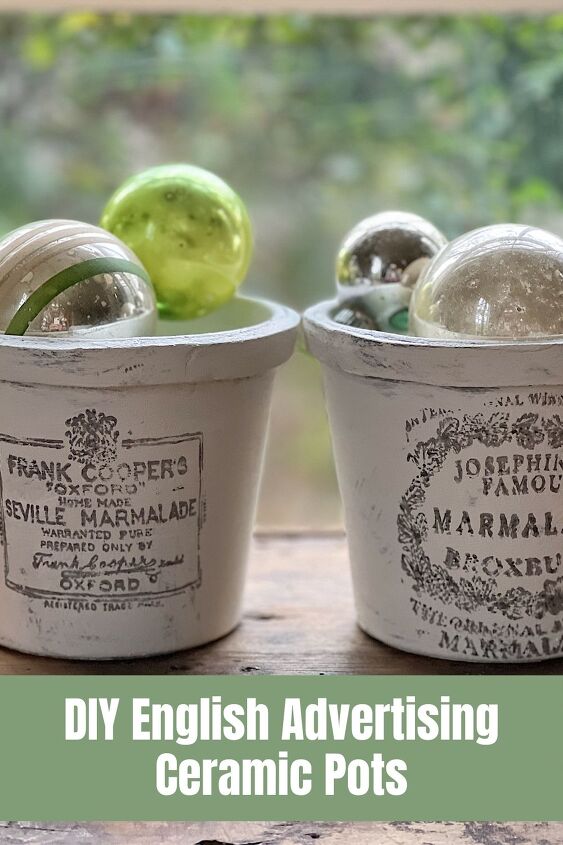
DIY English Advertising Ceramic Pots
I have been collecting vintage English Advertising ceramic pots for years. But I have always wanted larger ones so I made my own.
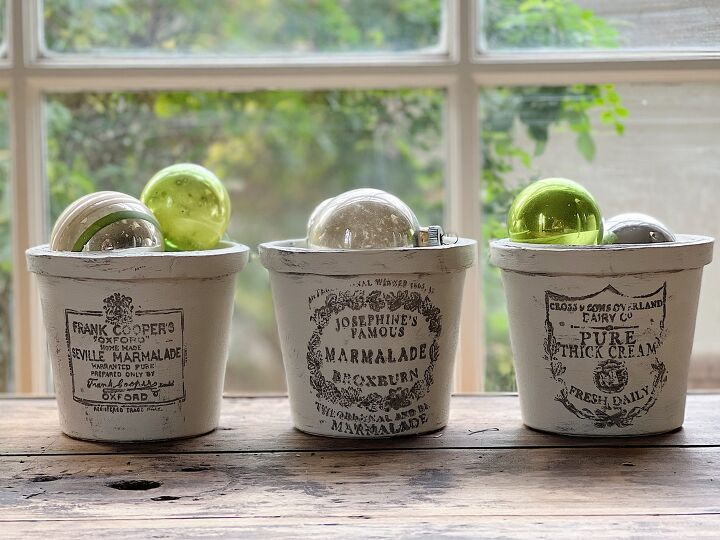
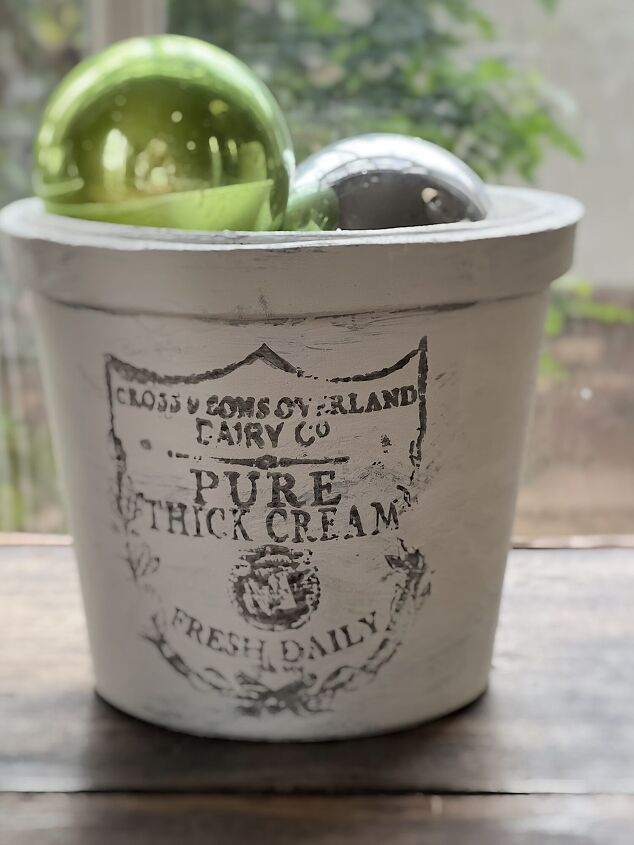
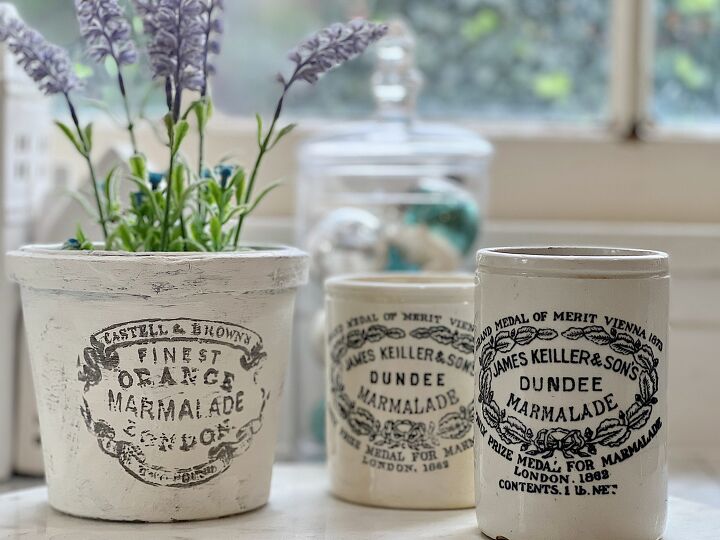
These ceramic pots came out great! Plus they were easy to make and I love that they even look vintage.

How to Make Your Own Advertising Ceramic Pots
English Advertising Pots are one of my favorite things to collect. It is hard to believe that the beautiful jars were used only once and then pitched into the rubbish bin. It’s true!
Many years later the pots were found in the ground, usually when large excavation occurred for development projects. Fortunately, the love affair with English Advertising Jars was born.
I love the Advertising Pots so much and am so grateful for the companies who were so thoughtful to use such beautiful packaging for their products!
Ceramic Pots DIY
So why make my own?
First off, they are hard to find. And they are not inexpensive. Often I find the smaller ones priced well, but the larger ones are usually priced quite high.
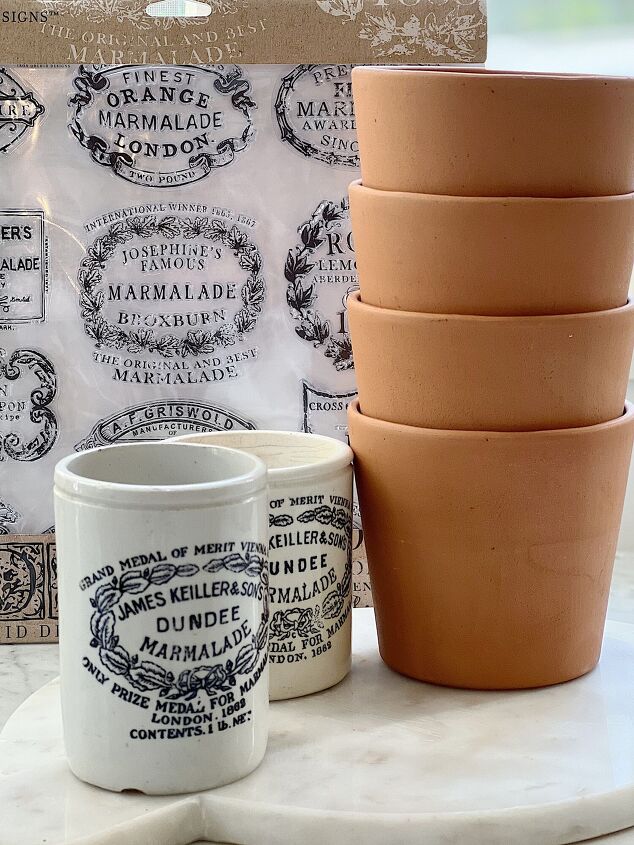
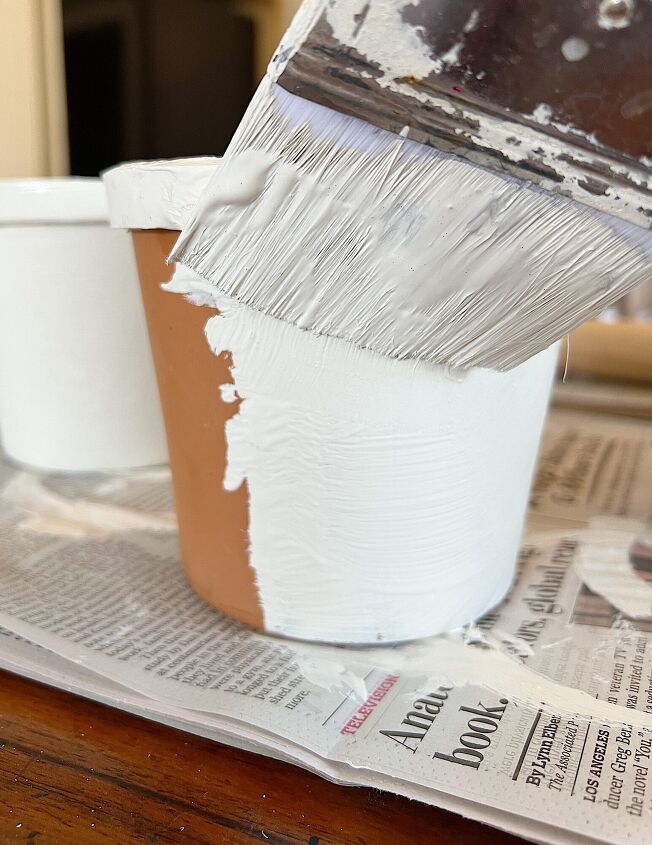
So I bought some terracotta pots for a few dollars, added some clay along the top edge, painted them, and used the amazing iron Orchid Designs Crockery stamp.
Iron Orchid Designs
I love Iron Orchid Designs. You all know how much I love to craft and I am always looking for new ideas that look amazing and are not hard to do. Iron Orchid Designs has the most incredible products for crafts and DIYs. Their designs are so creative, they are a company of wonderful people, and their products will easily help you to discover amazing new DIYs and crafts.
If you go to the IOD website you will find “DIY tools and tutorials to inspire your creative soul”. They have decor moulds, decor stamps, and decor transfers to make fabulous items for your home. Today I get to share how I made used their decor stamps to decorate my homemade classic Christmas cookies.
Where can you buy Iron Orchid Designs products? Just click here to find a retailer near you! (You can also order online from some of the retailers.)
I used the IOD Decor Crockery Stamp.
If you are enjoying my blog, you can sign up to receive my blog updates here. .
What You Need to Make The Advertising Ceramic Pots
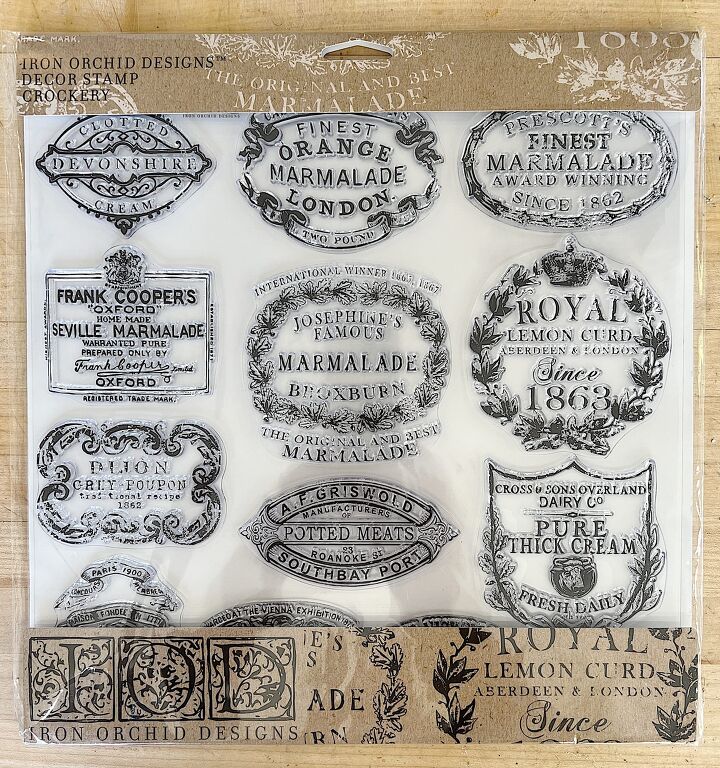
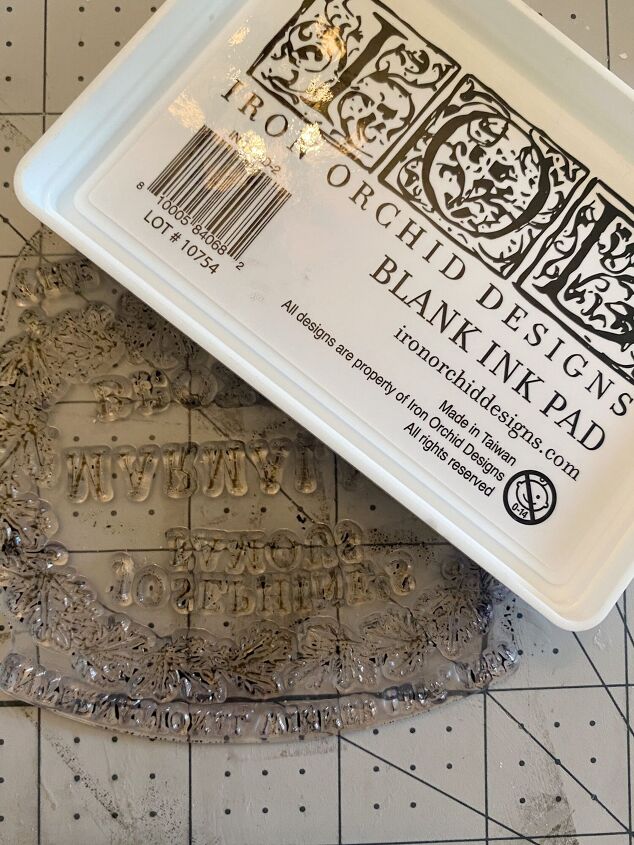
IOD Decor Crockery Stamp
Ink and Ink Pad (I used one from Iron Orchid)
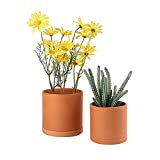
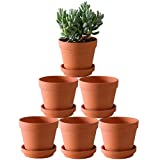
Terracotta Pots
Air Dry Clay
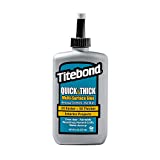
Titebond Quick and Thick Glue
Delta Ceramcoat Acrylic Paint – Light Ivory
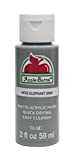
Medium Gray Acrylic Paint
Paint Brush
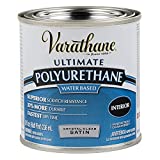
Poylcrylic Sealer
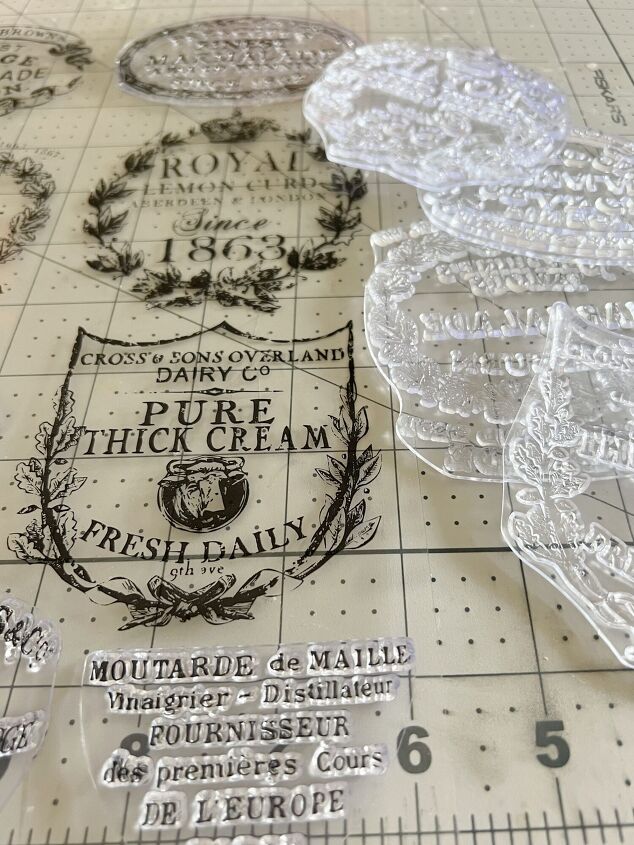
The Crockery Stamp has twelve stamps! I selected four that I thought would fit on the pots and peeled them carefully off of the plastic sheet.
I wanted to mention that you can buy terracotta pots that have a rim. If you do that, then you don’t need to add the clay rim! I lie the straighter pots and I couldn’t find them with a rim.
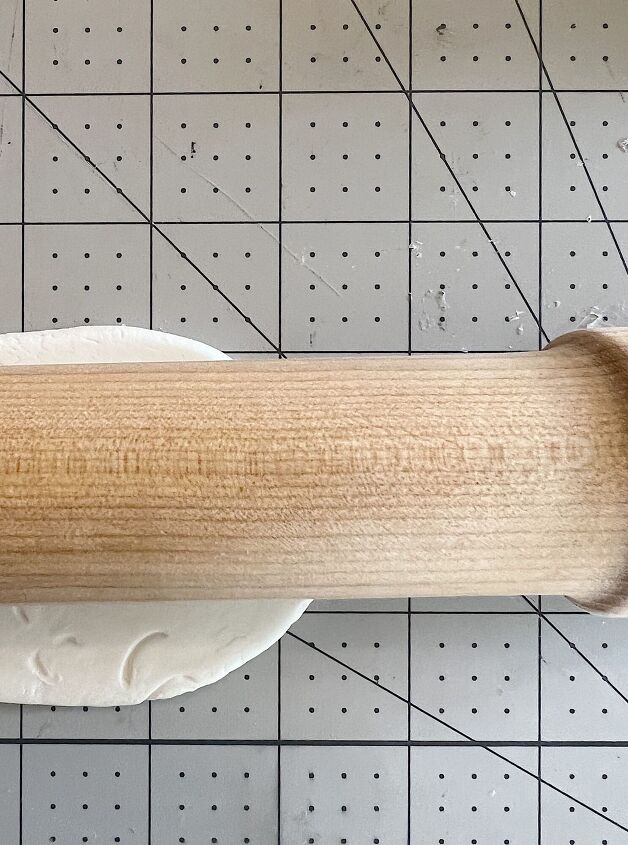
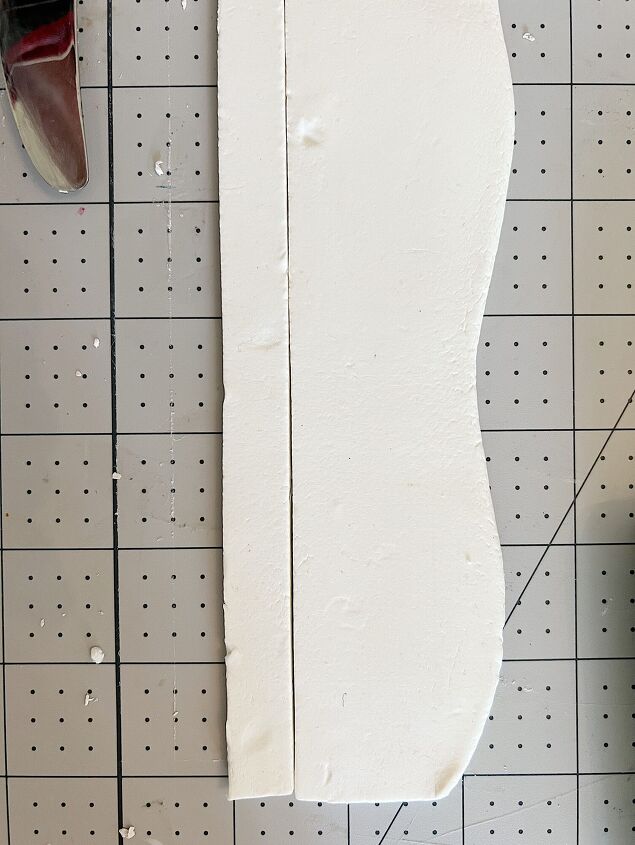
- one – Roll the clay into a long tube (long enough to fit around the outside of the top of the pot) and roll it out with a rolling pin that has a raised 1/4″ edge. (The edge ensures that the thickness of the piece of clay will be the same throughout.) Roll until the entire piece of clay is flat.
- two – Cut a 1/2″ strip of clay.
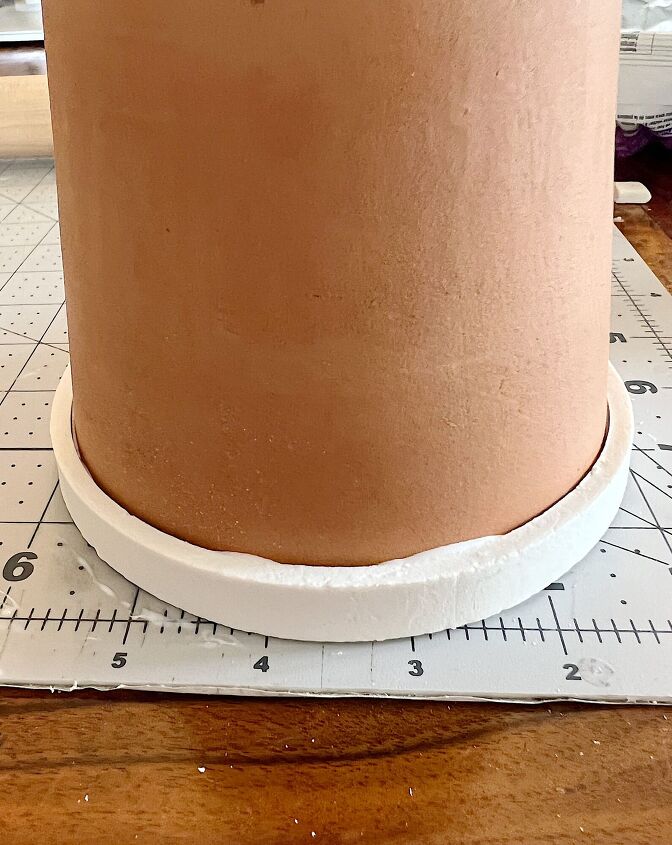
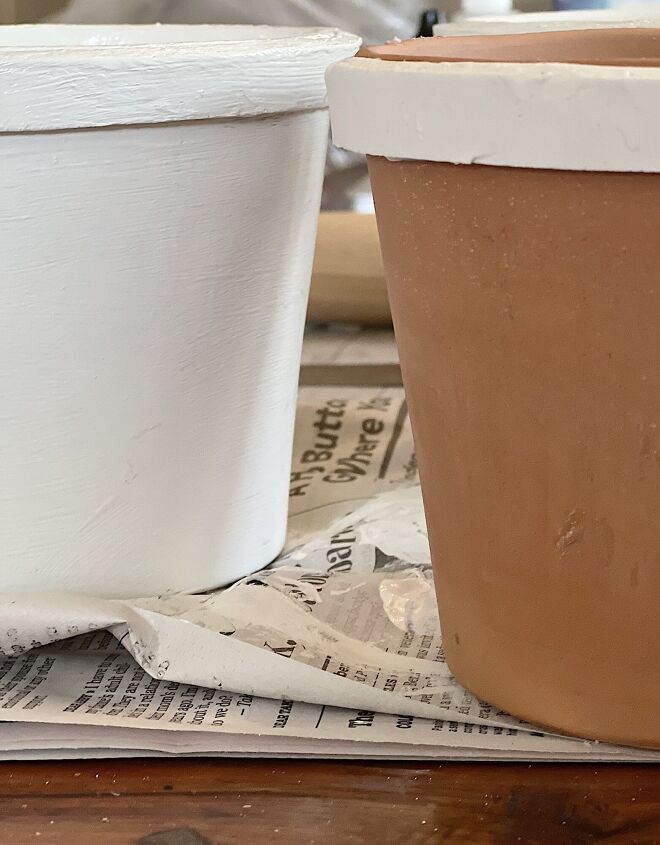
- three – Add a strip of glue all the way around the top edge. Lay the pot upside down and a add the clay all of the way around the edge. Press gently and one set, invert the pot. Make sure the clay does not slide.
- four – Cut the clay so that the ends match snugly.
- five – Finish all of the pots.
- six – Paint the pots with the Ivory acrylic paint. (You don’t have to wait for the clay to dry before painting.)

- seven – Continue to paint all of the pots.
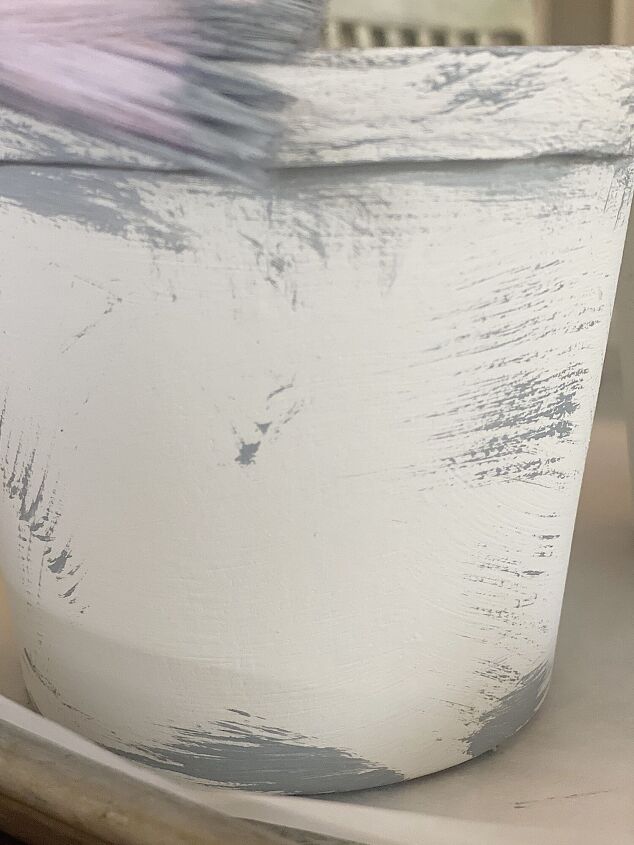
- eight – Once dry, add some of the gray paint to create a vintage look.
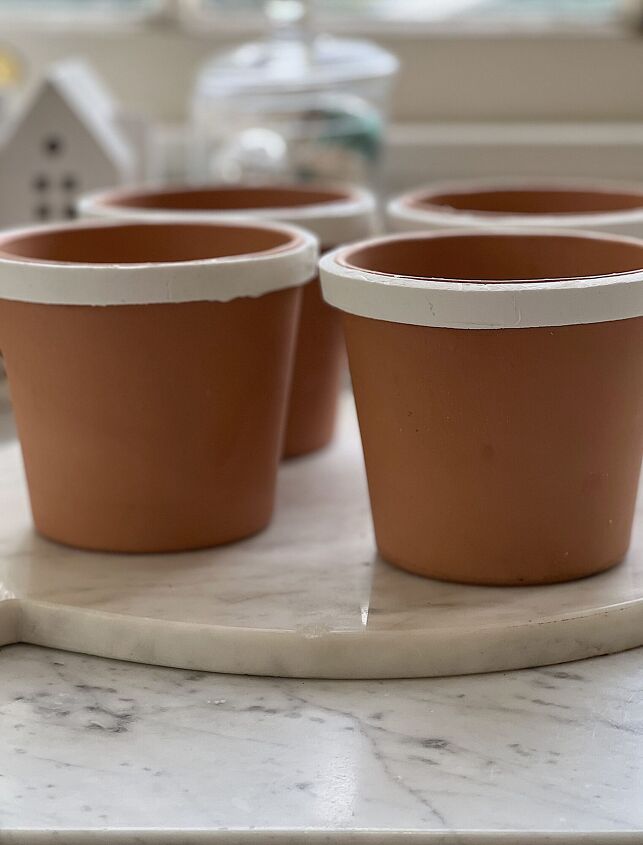
- nine – Let the paint dry, then go back with a dry brush and paint more white on top of the gray so it looks more authentic.
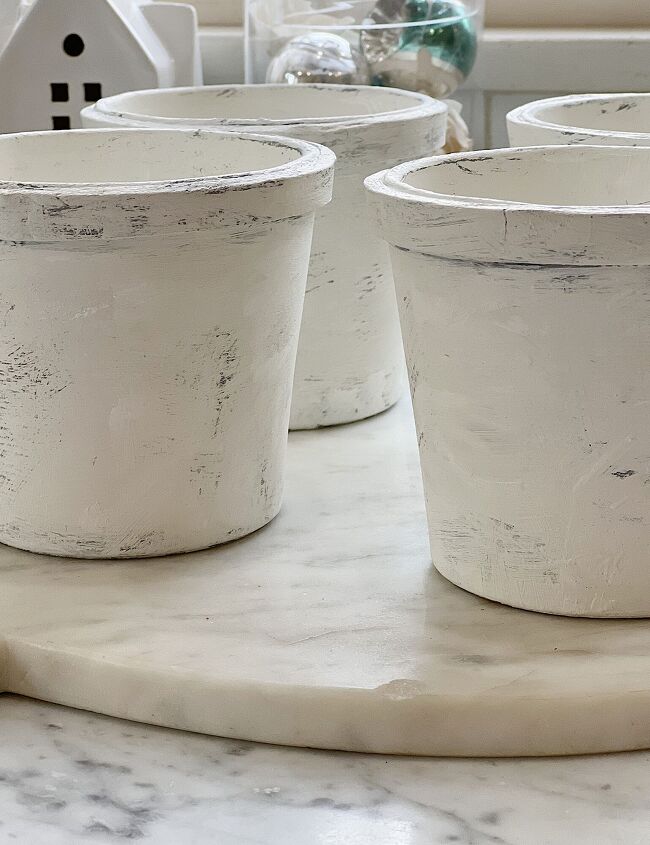
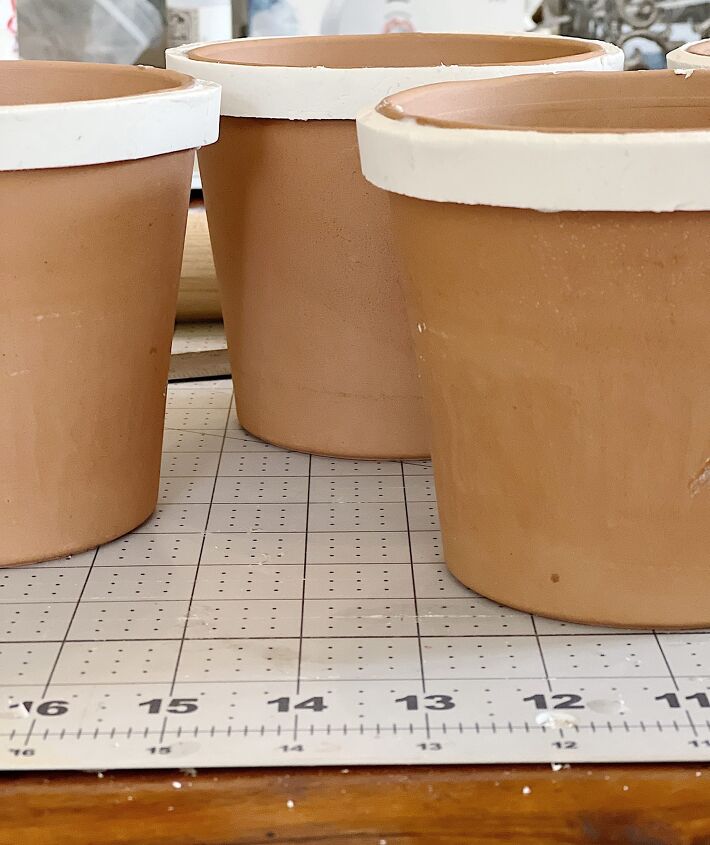
This is what the pots should look like after painting ivory cream and “again” with the gray paint.
Let them dry for at least a few hours.
Lay the stamp flat and push the ink pad on the stamp. Make sure all of the surfaces are covered with ink.
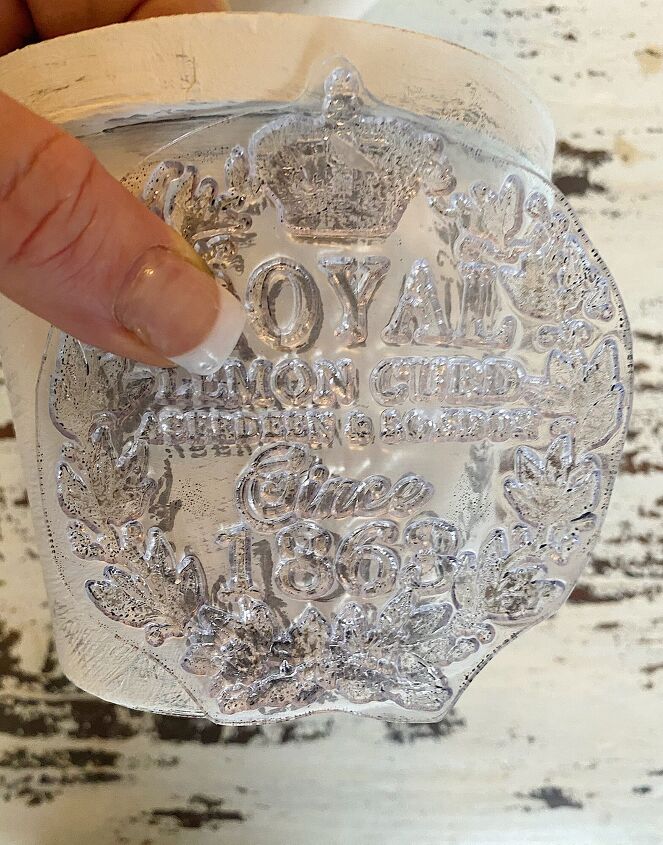
Center the stamp on the pot and gently push on all areas of the stamp. Be careful not to move the stamp.
Let the stamps dry overnight and then apply a sealer to both the inside and outside of the pot. (I didn’t have enough time to add the sealant before I took photos, but I will add it later today.)
This photo offers a fun comparison of the DIY “cheap version” and the vintage English Advertising pots.
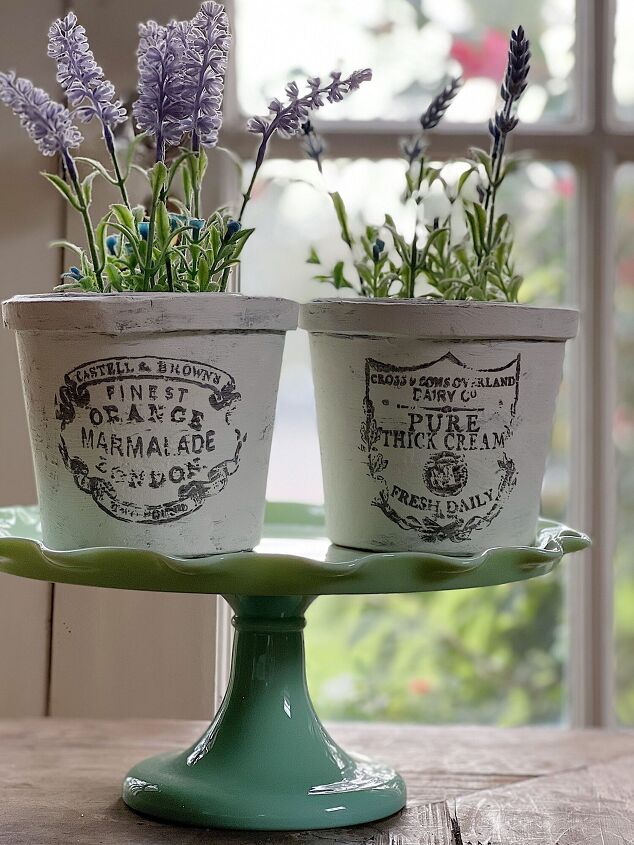
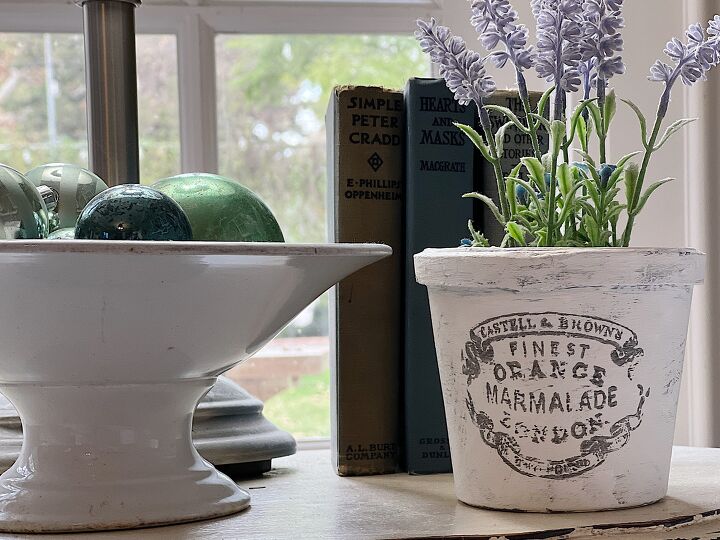
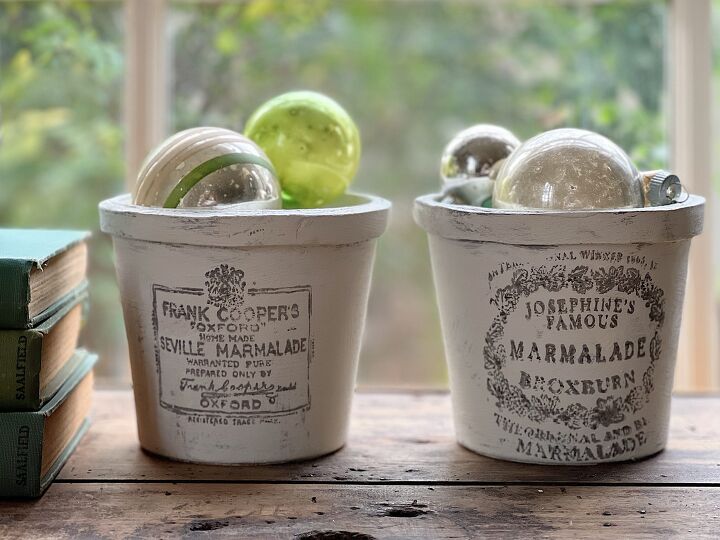
There are so many uses for these pots! I can’t wait to make some more.
Live on Amazon
I have a new Amazon Live titled DIY Craft Essentials. I shared a sneak peek of a new craft that I haven’t shared before and the really important craft essentials you might need if you enjoy making crafts.
Here are more of my Amazon Lives about Cozy Winter home Essentials, Resetting For a Healthy New Year, and Think You Hate Faux Flowers? I Can Change Your Mind! You don’t want to miss these.
Want to see the items I use to make my crafts? You don’t need them all but some are essentials. Join me here.
Do you want to make your home cozier for the winter? Here are some wonderful items to do just that! Click here.

Are you looking to get in shape for the New Year? Here are some great items to help you get started. Click here.
On this broadcast, I shared some of my favorite faux flowers and showed how to arrange them as well! Click here.
You Might Also Need…


Pin the image below to your boards on Pinterest (just click the Pin button in the top left corner). You can also follow along with me on Pinterest!
For more real-time updates, follow me on Instagram @My100YearOldHome

ABOUT LESLIE
Welcome to My 100 Year Old Home. I started my blog so I could share my passion for entertaining, décor, cooking, and crafts. You will find all this and more right here. Read more…
Resources for this project:
See all materials


Comments
Join the conversation
-
Beautiful job on the pots!! LOVE 'EM!! I have those IOD stamps, SO, I will make a few! Thanks for sharing!


Frequently asked questions
Have a question about this project?
Where did you find the pots???