


DIY Engraved Cutting Board

by
Abbey D
If you're searching for an easy DIY gift idea this holiday season, this one may be right up your alley. It requires very little time and it's very easy to do! This DIY Cutting Board idea can be opened up to all sorts of ideas involving wood all with one versatile tool.
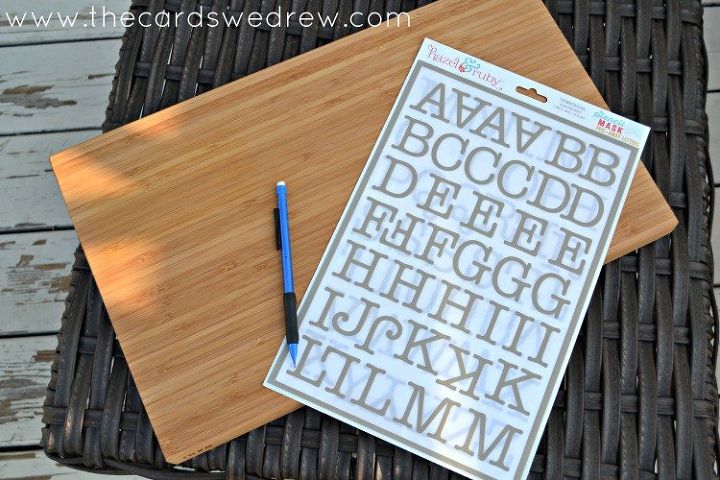
For this project you'll need a wood cutting board (I got mine for very cheap at IKEA), stencils for letters, a pencil, and a Dremel Micro Tool.
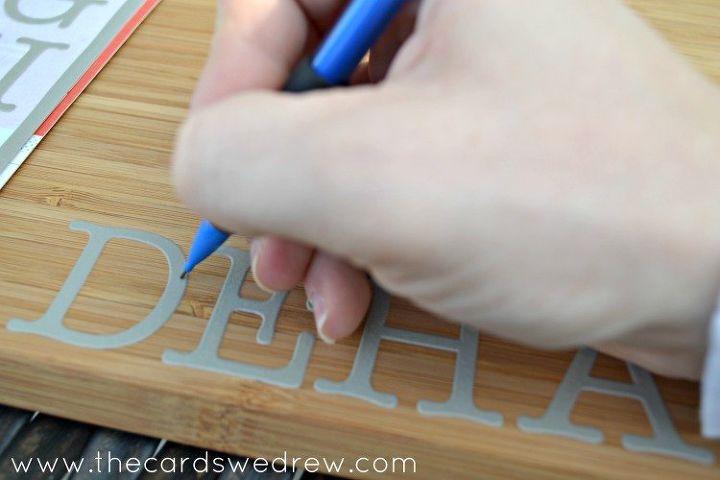
You'll start by positioning your adhesive stencils on the cutting board in the order you'd like and then trace them with pencil onto your cutting board.
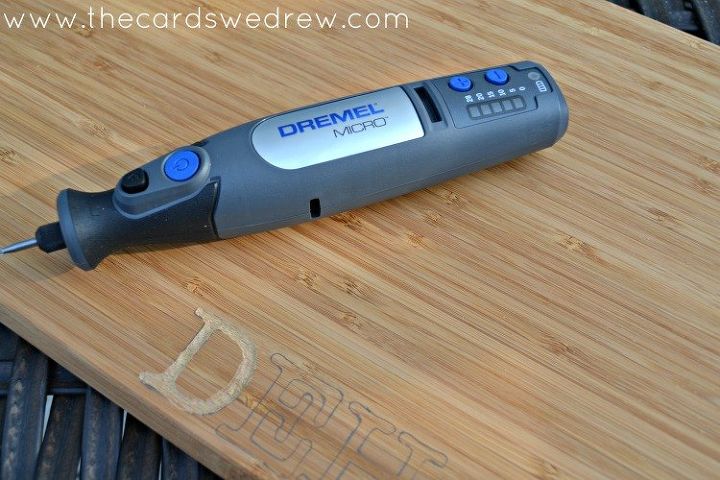
Next, you'll lift your letters to reveal the tracings, being certain that you can clearly see the lines. Next, you use your Dremel tool to "engrave" the wood, following your stencil lines.
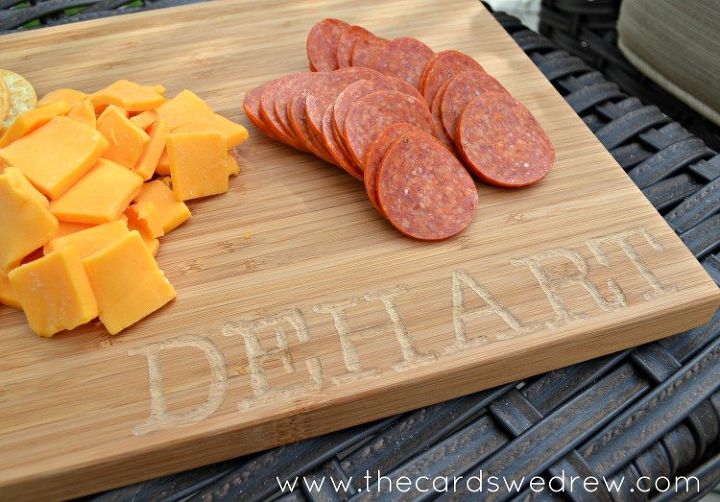
Take your time and engrave the wood carefully, then gently erase all of the pencil marks that remain. Wash the board carefully then serve with meats and cheese!
Want more details about this and other DIY projects? Check out my blog post!


Frequently asked questions
Have a question about this project?