


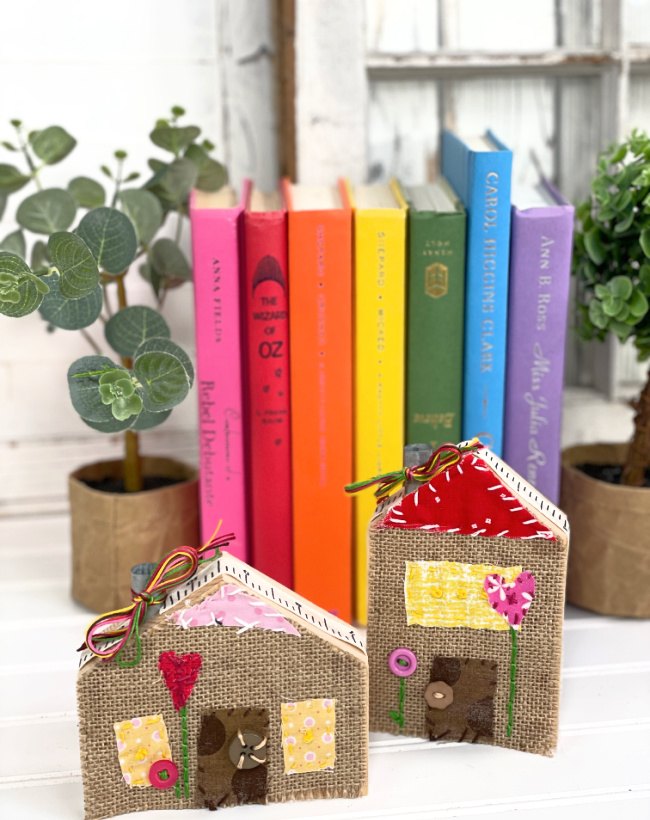
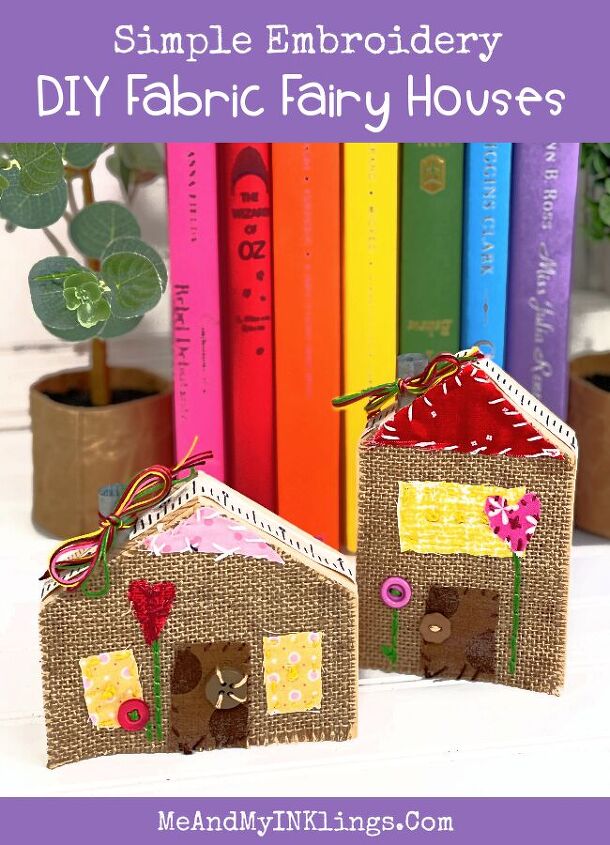
DIY Fabric Fairy House From Fabric Scraps
It is time to use your imagination and get creative because anything wild and fun goes in fairy land. This DIY fabric fairy house tutorial can be done with felt, fabric and even burlap. It would be super fun to do with a pair of old jeans. For the tutorial, I am upcycling the side piece of a coffee sack. One of the things I love most about this project is the way it allows you as the maker to try new stitches and techniques with the amazing embroidery floss that now comes on a SPOOL. Don’t fret. I am going to tell you all about that too!
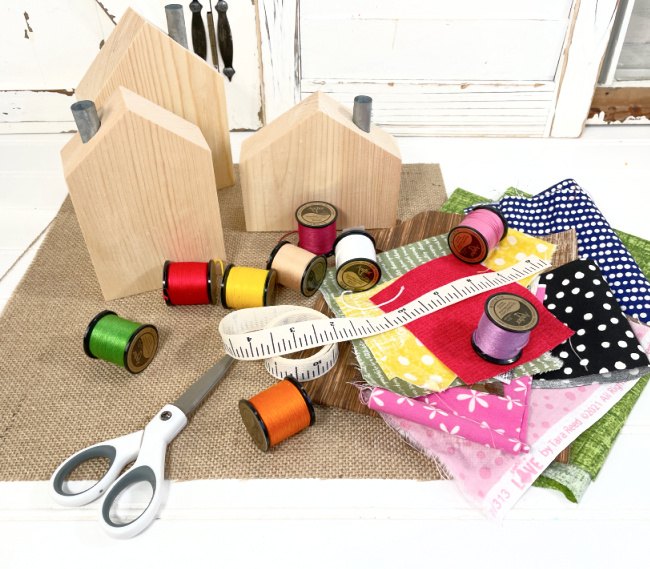
Materials and Supplies Needed for DIY Fabric Fairy House
- Anchor® Embroidery Floss Spools
- Scissors
- Needles
- Fabric Piece Large Enough for the House (2 If Sewing into a Pillow)
- Scraps of Fabric in a Variety of Colors (Upcycled Clothing and Felt are GREAT)
- Buttons and Trims If Desired
- Wooden House (I found the ones I used in the Dollar Spot at Target.)
- E6000 FabriFuse Adhesive
Directions to Make DIY Fabric Fairy House
These directions for making a fairy house using fabric scraps are relatively simple. However, more difficult stitches could be used by an embroidery pro. This project could be made in different sizes too, even large enough to be a pillow. Let’s make one.
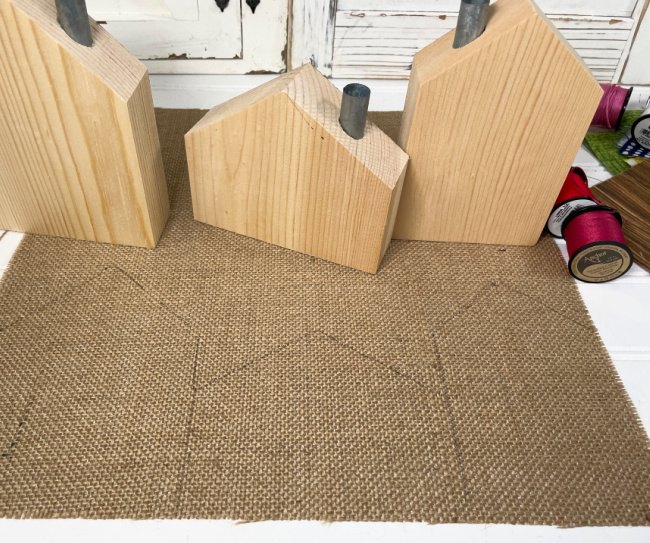
Step One
Cut the base of your house from a large piece of fabric. I used burlap. If you plan to make a pillow, cut two exactly the same. I only cut one for each house because I am gluing it to a wood piece.
Step Two
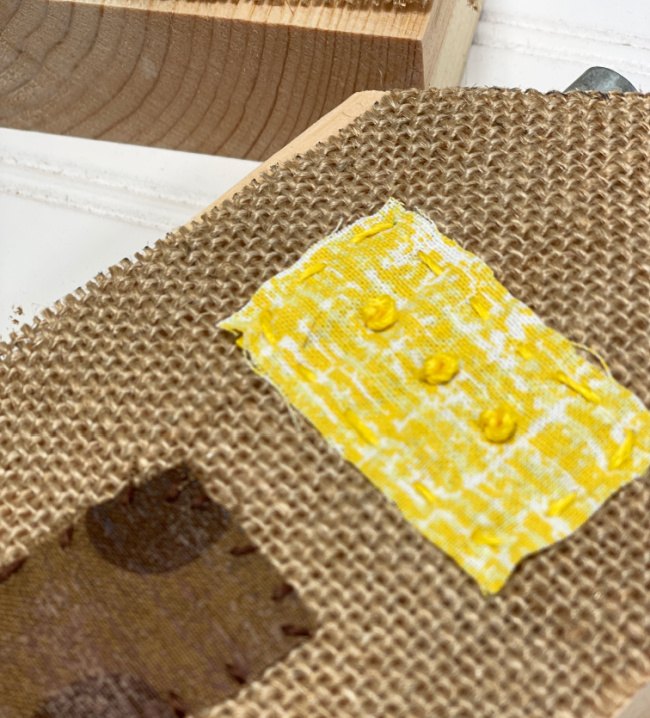
Cut out a door and a window from fabric scraps in the colors that you love most. These could be exaggerated in size or make really tiny. This is the opportunity to use your creative ideas and bring them to life.
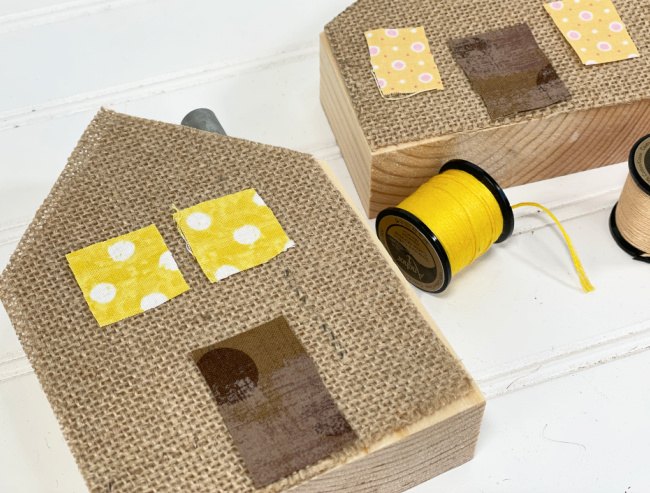
Step Three
Thread a needle with Anchor® Embroidery Floss. This could be in a matching or contrasting color. This is another time to make the decision on whether to use a single stand or double it up. I used a single strand for the stitching around the windows and doors.
Stitch the windows and doors to the house base. I added French knots in the centers of the windows.
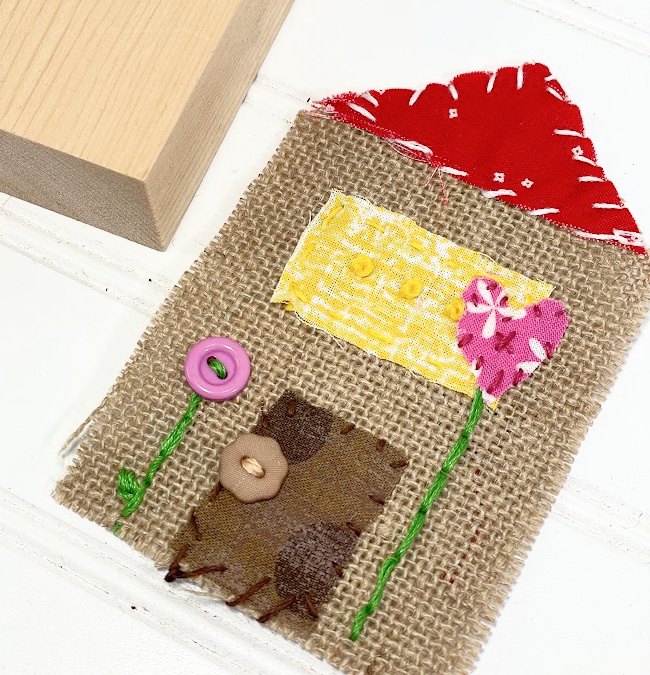
Step Four
Add details by stitching on a button for a flower and a door knob. It is fun to add a roof. Additionally, there are so many things that could be added here including trims, lace and layers of fabric. I kept this one simple but you could get totally wild.
Step Five
We are moving right along. Next, use Fabri-Fuse to adhere ribbon around the edge of the wooden house.
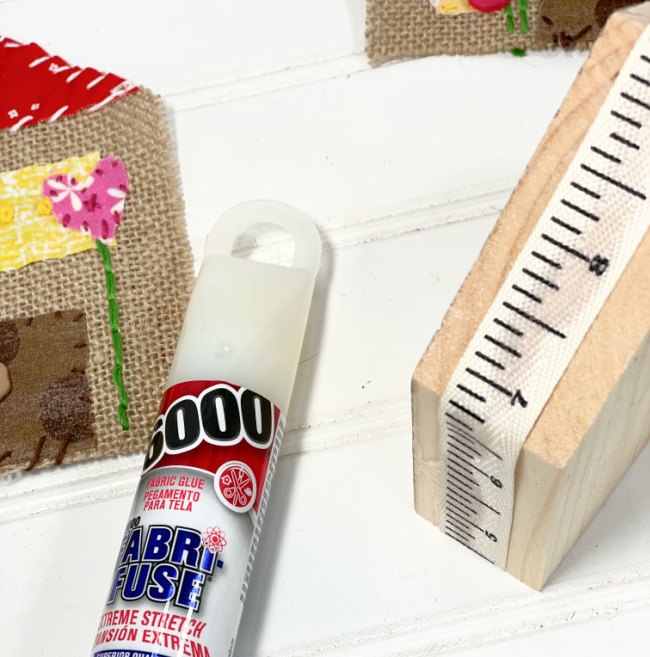
And then, use the Fabri-Fuse to adhere the burlap house with all of your decorations and stitches to the front of the wood house.
Step Six
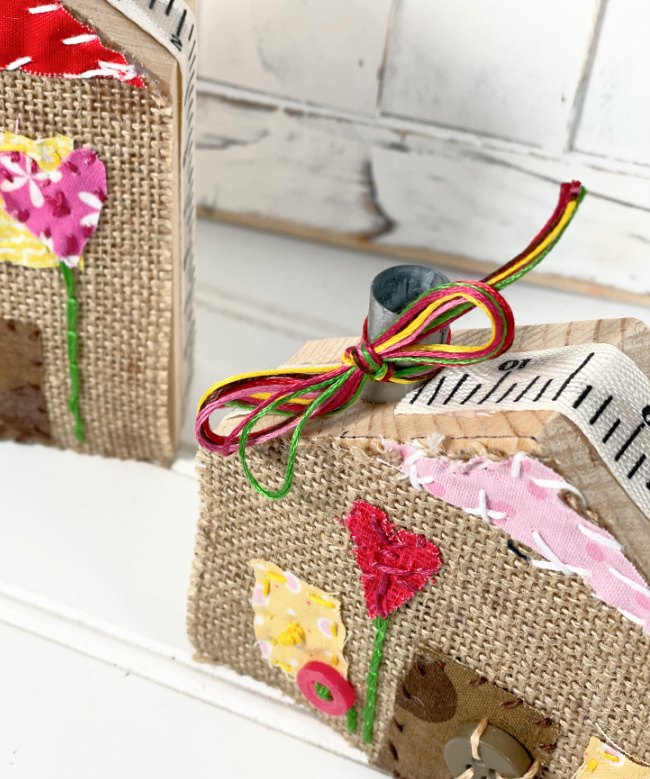
Gather strands of all of the colors that used from the spools of embroidery floss. Use them to tie a bow around the chimney. If you don’t have a chimney and want to add a bow,stitch it on the roof!
Look at the two different ways you can sew a button to the door. There are actually lots of fun ways to sew buttons onto projects. Maybe I need to write a post all about that for y’all!

Anchor Embroidery Floss Spools
There are no more tangled skeins- floss stays neat and tidy with the new Anchor® Embroidery Floss Spools. The floss rolls smoothly off the spool and doesn’t tangle or knot when pulling out a length to work with. Storage is neat and tidy with spools, no more piles of tangled floss.
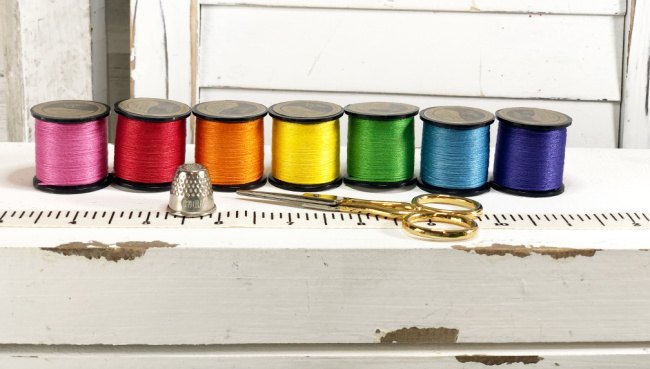
Cheers to Stitching With UNTANGLED Floss!
Laura


Frequently asked questions
Have a question about this project?