


DIY Faux Olive Tree
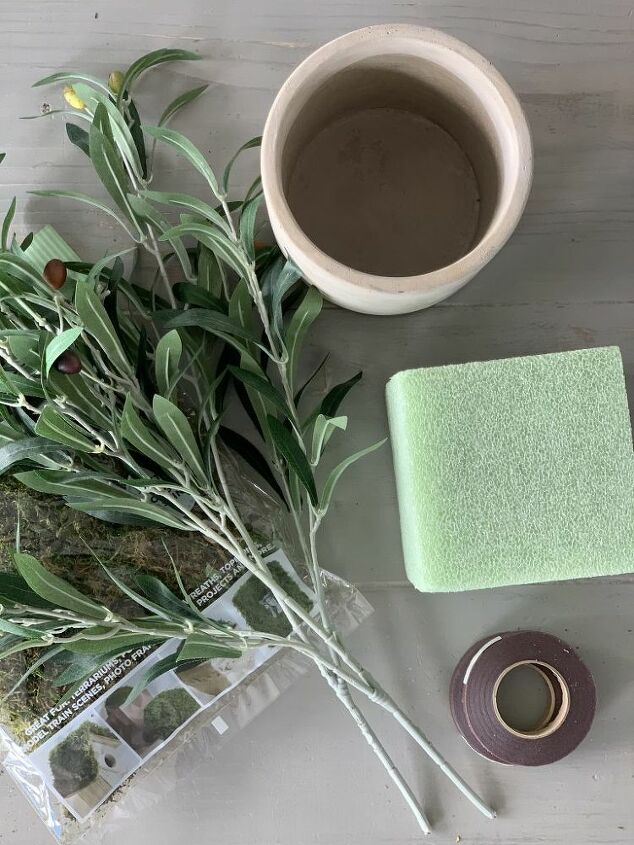
Olive trees are like the new Fiddle Leaf Figs in plant trends, it seems. This project was actually pretty darn easy with just a few supplies. So here is my DIY faux olive tree!

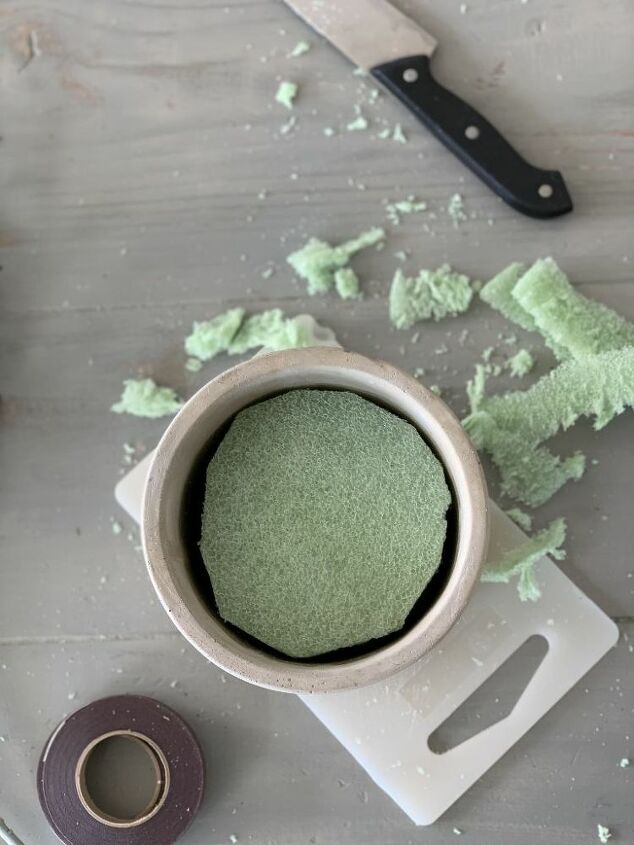
First I used a knife to cut the foam in a circular shape to fit the container, but it was still snug.
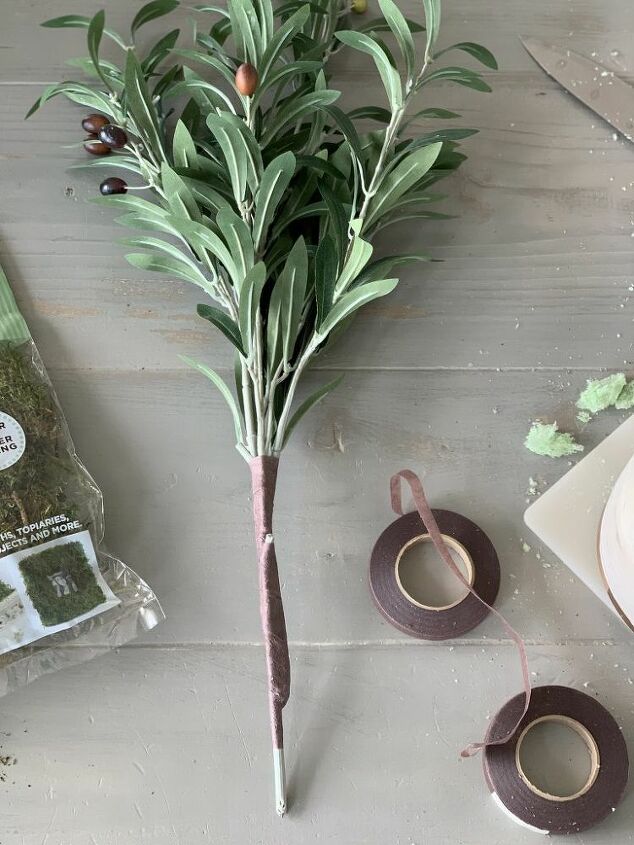
Then I took the two branches and staggered them to create a longer stem that wasn’t so symmetrical. I used the brown floral tape to wrap them together, over and over to create the tree. I bent the wire branches down to feather out the tree.
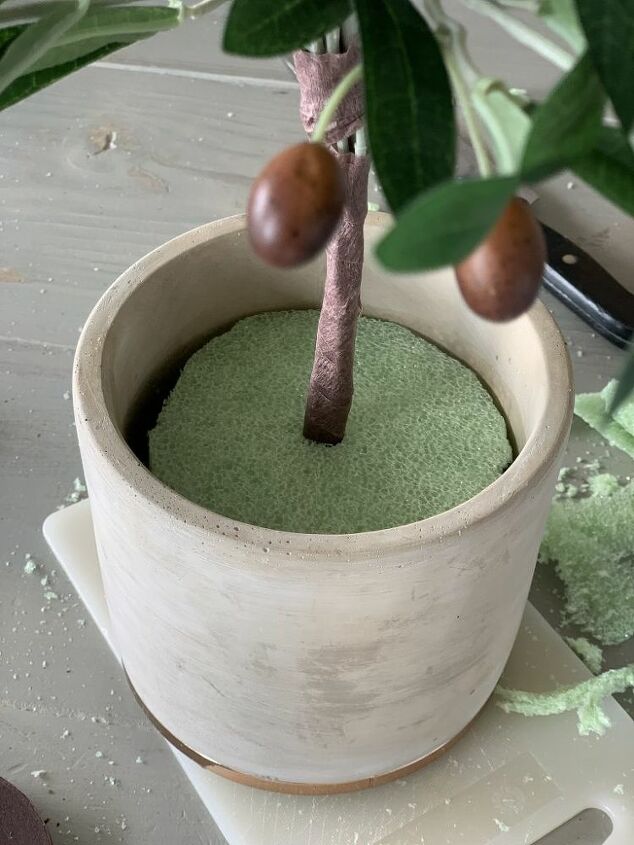
I stabbed the foam with the tree right in the center and drove it down to the bottom. This type of foam is good at staying intact so you don’t even need hot glue.
Finally I finished off my DIY faux olive tree with some moss at the base. I stuffed it in pretty tightly to cover all the foam. That’s it! You’re done.

Look how cute it is! I actually adore the cement container it’s in, it gives it an even more earthy feel to it. This project could be done with other kinds of branches to make any kind of little faux tree. I might have to make two matching ones for my mantel!
For more DIY tutorials, visit https://www.honeybearlane.com.
Resources for this project:
See all materials


Frequently asked questions
Have a question about this project?