


DIY Faux Orchid Arrangement
You will not believe how easy this DIY faux orchid arrangement is to create.
Retail orchid arrangements are unbelievably expensive.
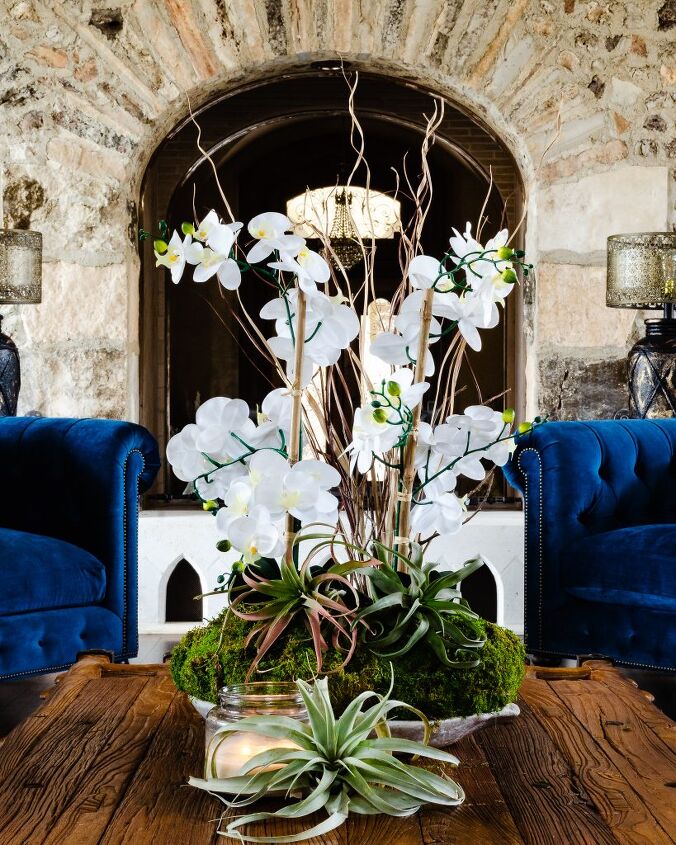
I created this DIY orchid centerpiece using materials I already had on hand.

And, it is stunning in my opinion.
It also rivals any arrangement around that I have seen priced at $500 and up.
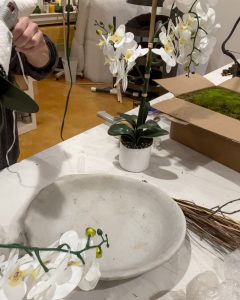
For the base of my arrangement, I used a round concrete bowl.
You can use any type of vessel you want – a footed glass bowl, a wooden dough bowl….
All you need is something deep enough to hold the bubble wrap that surrounds the orchids and dried grass bundle.
I used to faux orchids, but this will depend on the size of your vessel.
For the base of the arrangement, I chose to use real air plants. I wanted to give the effect that the arrangement is not faux, but in fact, live orchids growing out of the moss.
However, faux air plants would work just as well.
Directions to Re-Create This DIY Faux Orchid Arrangement
- I removed my faux orchids from their decorative pots. That is up to you.
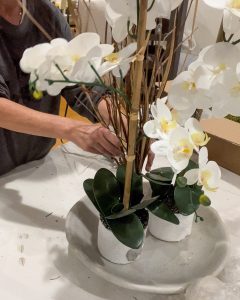
- Then, I hot glued them to the center of my bowl. I arranged the orchids so that the blooms were going out towards the edges of the bowl.
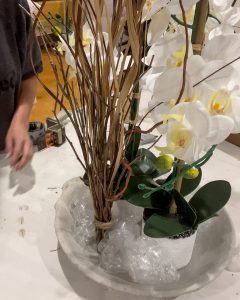
- Then I grouped the grasses and twigs into one bundle and secured it with twine.
- I placed a giant blob of hot glue in the concrete bowl and placed the base of the twig bundle on the glue. If your stems are even at the bottom, the bundle should remain standing relatively easy once the glue has dried.
- Next, I cut various squares of bubble wrap and wrapped it on itself. I secured the balls with packing tape.
- Then I folded another piece of tape on itself so that the sticky side faced outward and placed it on the bubble wrap balls.
- I placed the tape side to the orchids and to other bubble wrap balls so that they would remain in place.
- I filled the base of my bowl with bubble wrap until I could no longer see the styrofoam base of the orchids.
- Next, I hot glued large pieces of moss over the bubble wrap.
- I started around the orchids and worked my way around the bowl.
- After I had covered the center of the arrangement in moss, I worked around the sides and lip of the bowl making sure that all bubble wrap was covered.
- I removed the glue strings and set my orchid where it would be displayed.
- Finally, I placed three live air plants around the orchid to fill in the blank space at the base of th arrangement.
Now, I have the perfect statement piece to enjoy through spring.
I hope you will be on the lookout for faux orchids so that you can re-create this amazingly easy DIY faux orchid arrangement.
Begin by hot gluing one orchid to the center of the bowl.
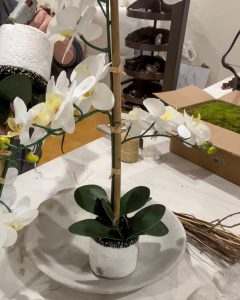
Do the same thing with the second orchid.
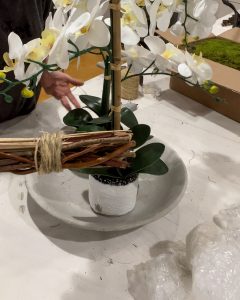
Wrap the twigs and dried leaves with twine at the base.
Place a large amount of hot glue on the bowl and glue the twig bundle in place.
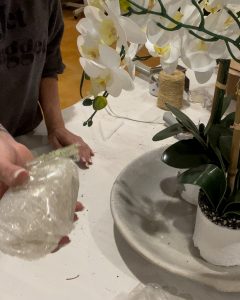
Wrap bubble wrap on itself and secure with packing tape.
Before placing the balls in the bowl, add another piece of packing tape to the outside so that the balls will stick to each other and remain in place.
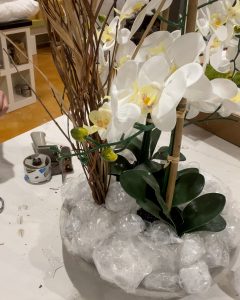
The bubble wrap balls will stack on top of one another and cover the base of the orchids.
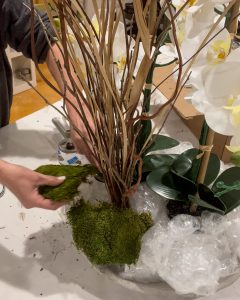
Place large sheets of moss over the bubble wrap, hot gluing in place.
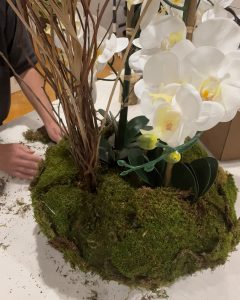
I worked on the top first and then finished with the sides.

Comments
Join the conversation
-
This is amazing. Love how beautiful and natural this looks. You did a great job. I will be trying it this weekend. 😊
-
Loved this! Great work. I love Orchids but cannot get them to do well for me, this will work.


Frequently asked questions
Have a question about this project?