


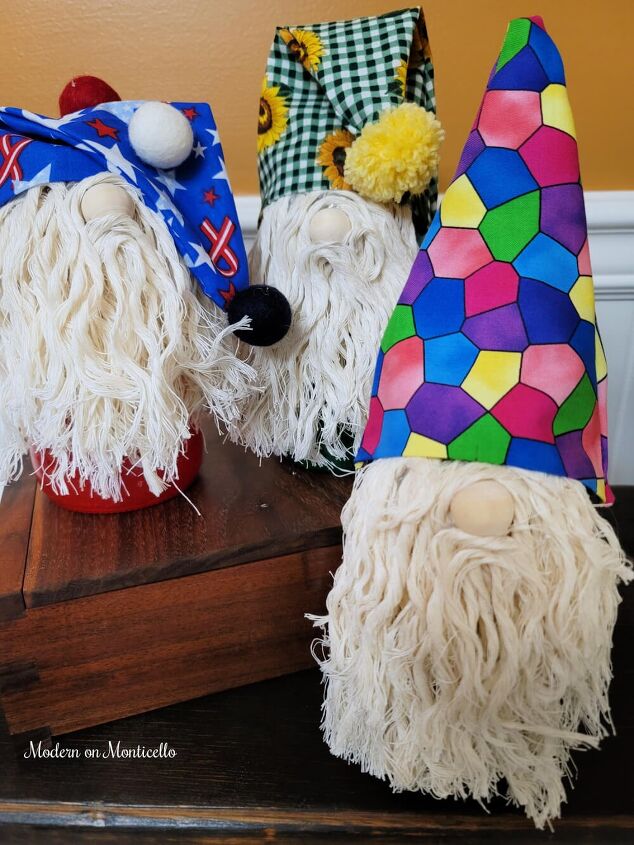
DIY Glass Jar Gnomes

I have so many glass jars and no place to recycle them! The solution – make as many crafty and storage items as possible out of them like these adorable DIY glass jar gnomes.
The project starts with leftover spaghetti jars.
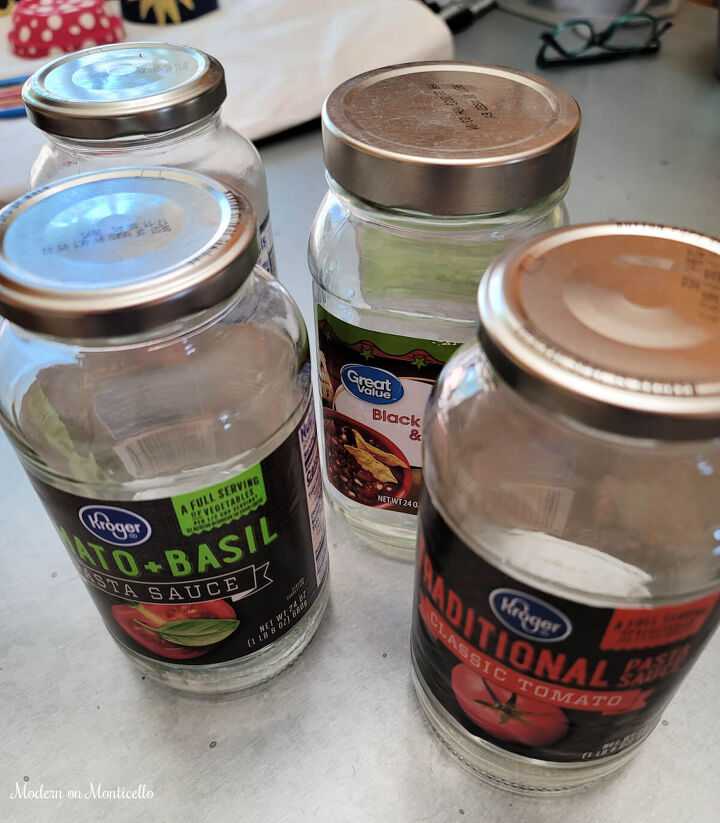
In my area, they have stopped accepting glass jars for recycling because it is too cost prohibitive – or so I have been told. I try to avoid purchasing items in glass jars as much as possible but still have ended up with a stash of jars.
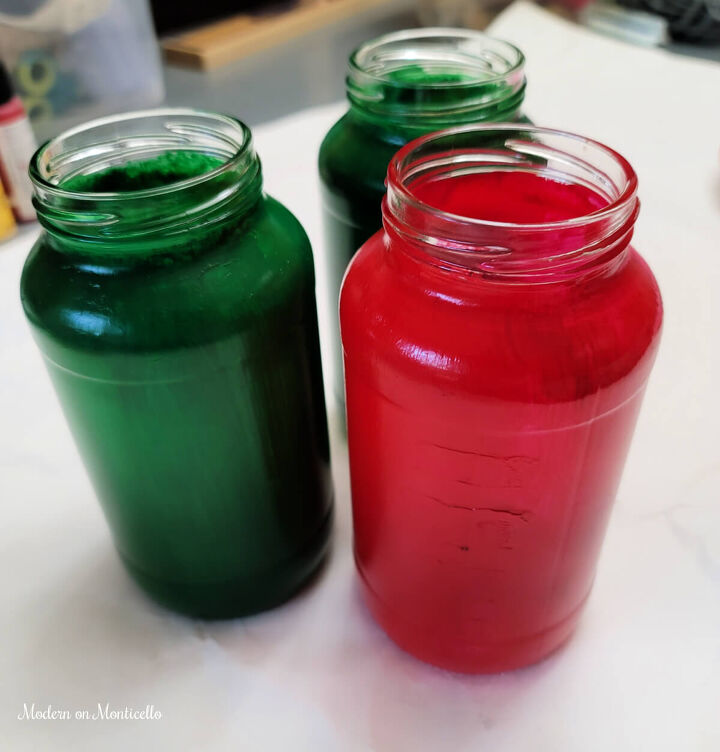
After soaking the jars in soapy dish detergent water to remove the labels, I applied two coats of simple acrylic craft paint to the outside of the jars in red and green. I picked these colors based on the fabric scraps I had available that was going to be used to make the hats.
It is amazing sometimes to me how much random craft supplies I have tucked away in my craft room stash from old projects or projects that were planned but never done.
And then I attempt a project like this one and get so excited when I can pull it all together without driving to the store for more supplies. It is a double win that I can use up a few glass jars and get things out of the craft room at the same time.
For this project I used:
- Leftover spaghetti jars
- Fabric scraps in three different patterns.
- Wood beads
- White cotton rope
- Acrylic paints in your choice of colors
- Felt Pom Pom Balls (leftover from this Red, White and Blue Pom Pom Garland project)
- Hot glue gun and glue
- Scissors
- Ruler
- Sharpe marker
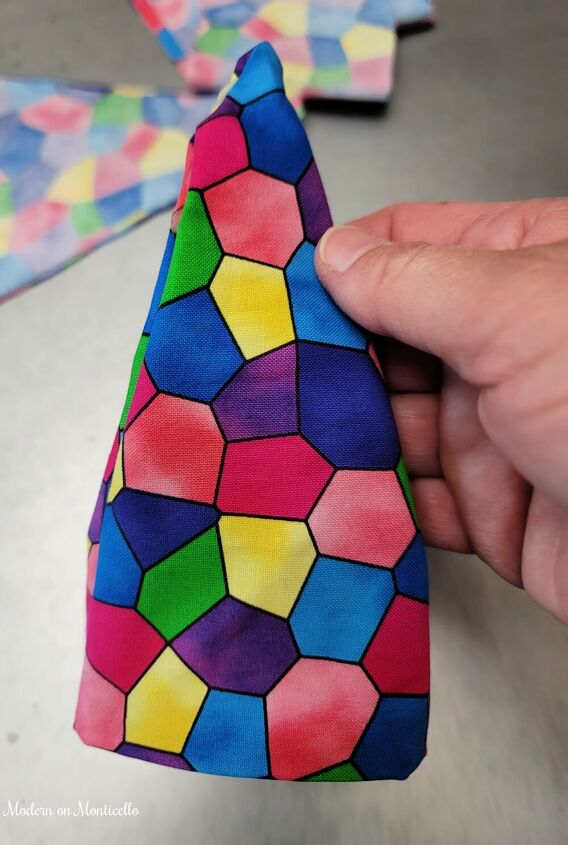
Making the little gnome hats were probably the biggest challenge in this project.
Below is the steps for how I finally created the adorable – and removeable – gnome hats for the glass jars.
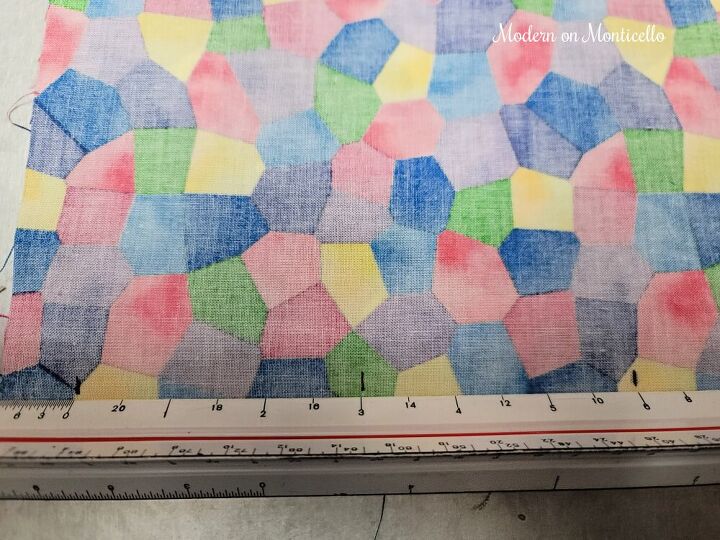
The spaghetti jars I used had a diameter of 3″ inches. The hat needed to slide over the opening of the jar and the top of the beard so I doubled the width needed for the fabric hat to 6″.
Fold the fabric so that the decorative side is inside. Measure out 6″ inches on the fabric and make a notation mark at 1″ and 6″ – and another one in the middle at 3″.
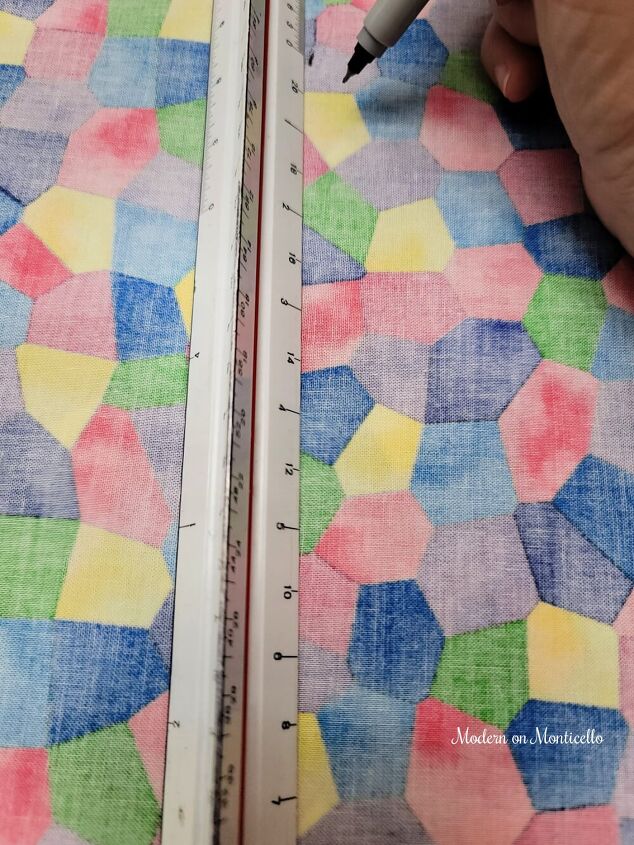
Place the ruler then at the 3″ marker line and measure up 8″ for the height of the gnome hat. Why a measurement of only 8″? Only because that seemed like a good height to me for the size of the jar I was using. You can adjust these measurements as needed for your own version of a glass jar gnome.
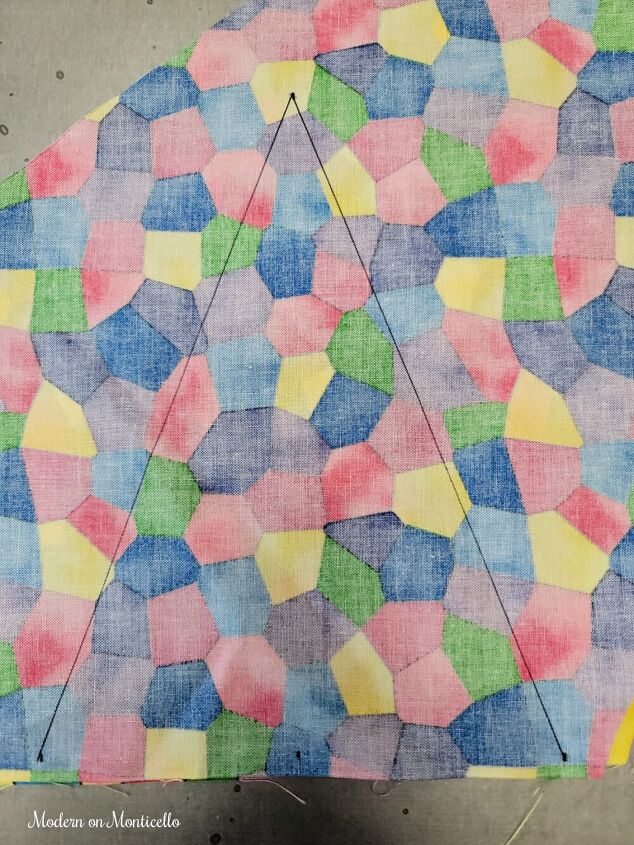
Gnome hats basically look like a pointed party hat so just draw a line from the 1″ and 6″ marks at an angle up to the 8″ height to create a triangle.
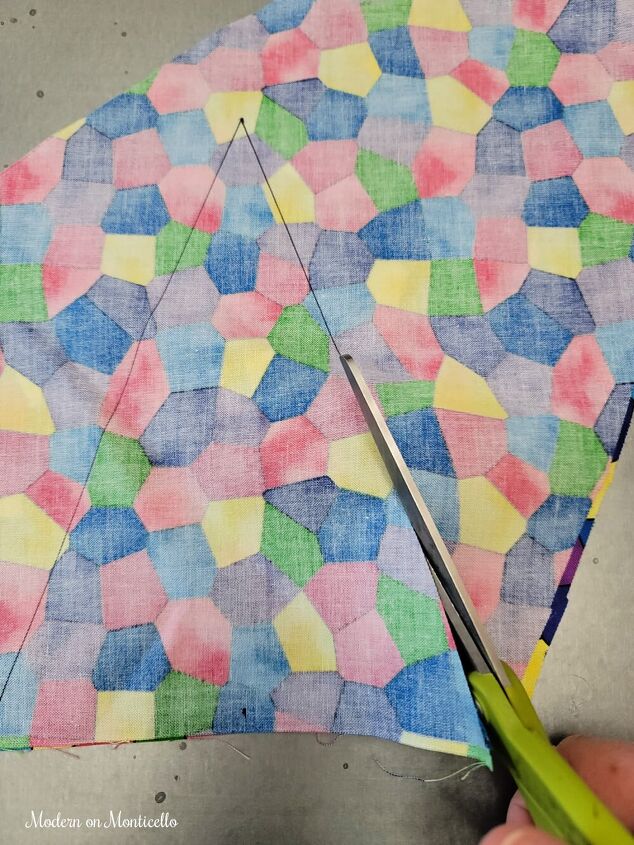
Then you cut it out and heat up your glue gun.
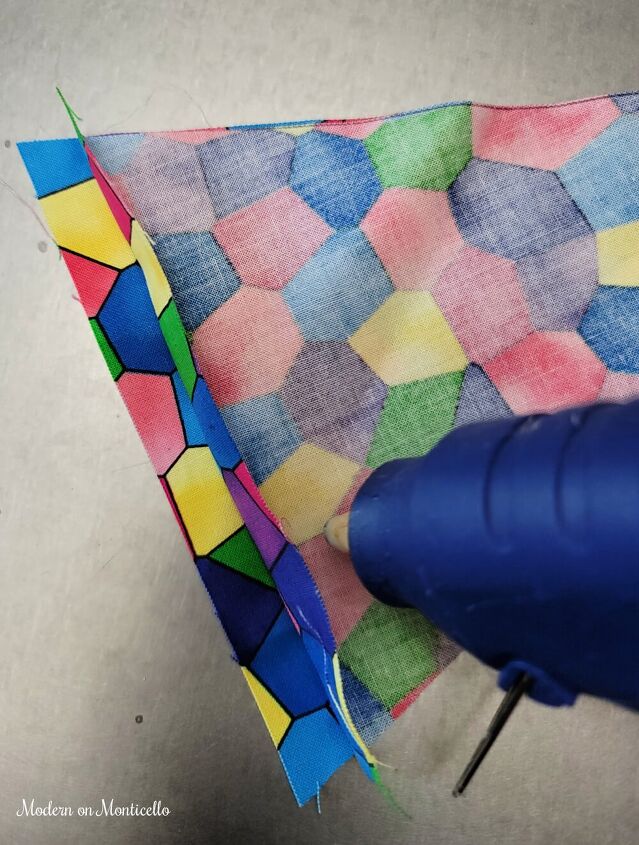
Fold over the bottom edge of the cutout gnome hat to about 1/4″ to create an inside fold and use the hot glue to glue it down on both sides of the hat.
With both of the decorative sides of the fabric still facing each other, apply hot glue to the edge to attach the pieces together.
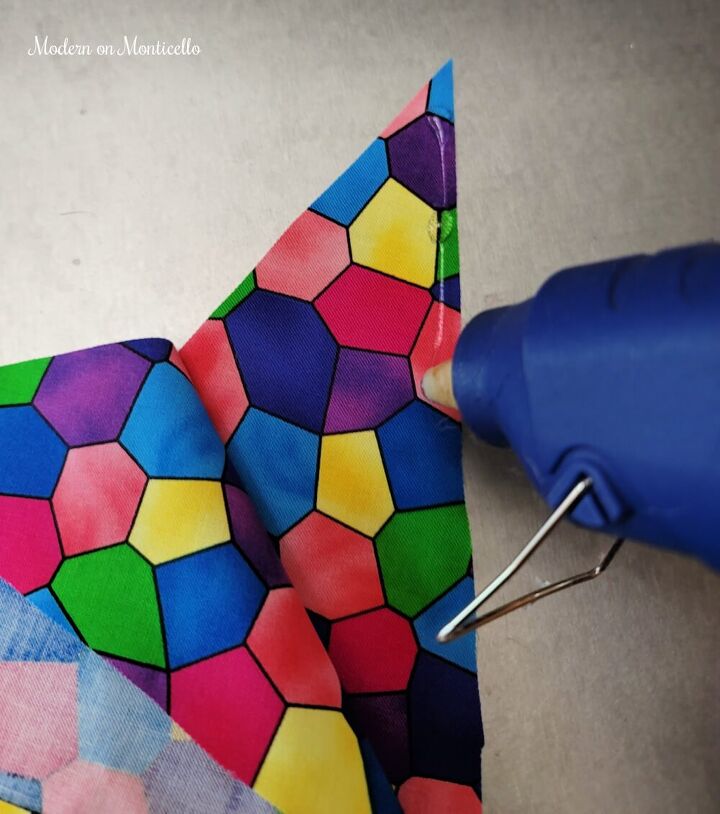
Once the hot glue has cooled down, flip the glued together fabric pieces inside out to finish off the hat shape.
Gnomes have shaggy beards and a large nose peeking out from their oversized hats.
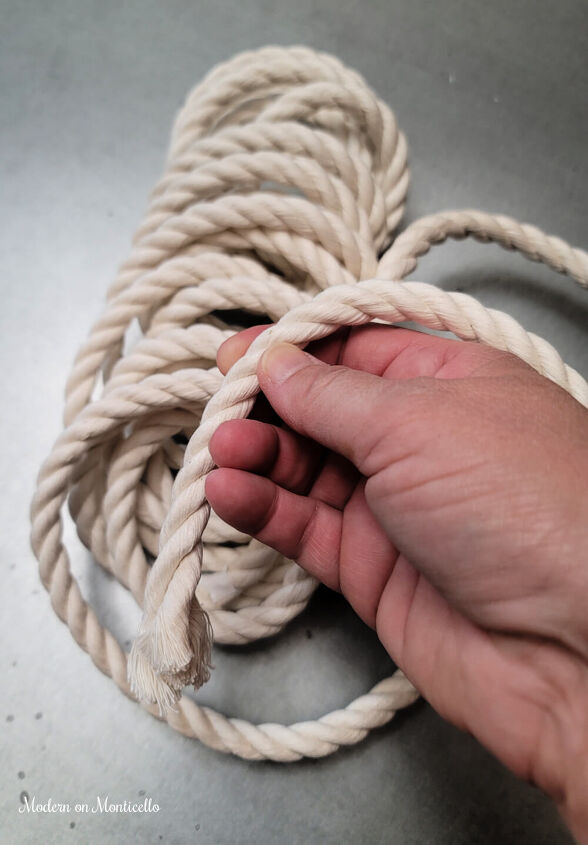
To create the beard, I used some leftover white cotton robe. I had lots of yarn I could try but I didn’t have any other use for the leftover robe so figured that cutting it down and unwinding each piece in to small shaggy strips would suffice for a gnome beard.
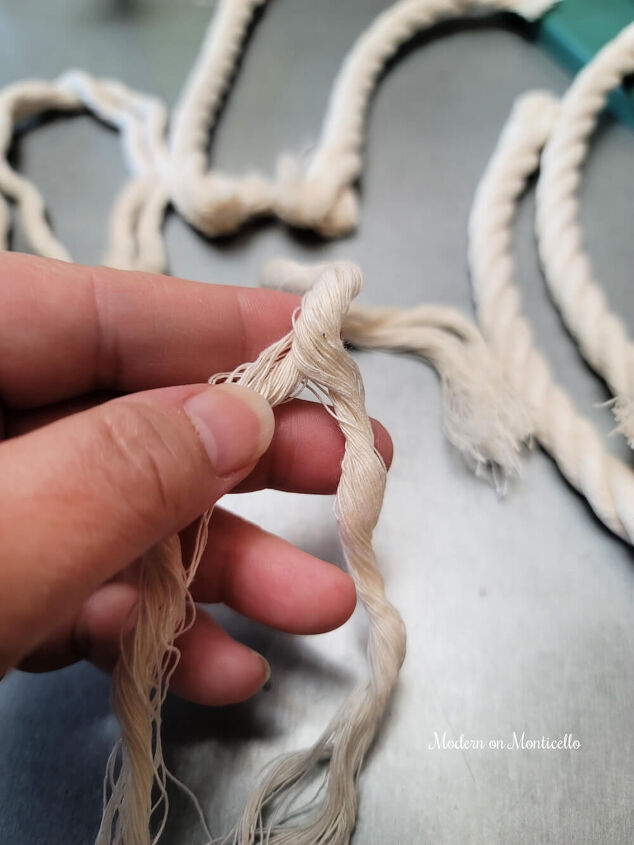
The smaller unwound pieces of the rope were looped over and glued below the rim of each jar. The wood bead was then glued on and more strands of the cotton rope added for fullness and to hide the holes in the beads.

Yes, I used beads that had holes in them because it is what I had in my stash. Remember how I mentioned that I didn’t want to go to the store for just small items. So I used what I had and made it work.
I just kept adding more little pieces of the rope underneath the nose bead until I couldn’t see the hole anymore.
Once the jars are done, the hats simply slide off as needed to remove the original spaghetti jar lid for storage.
Just be store to keep the rope strands below the rim if you intend to use the glass jar gnome for storage as well.
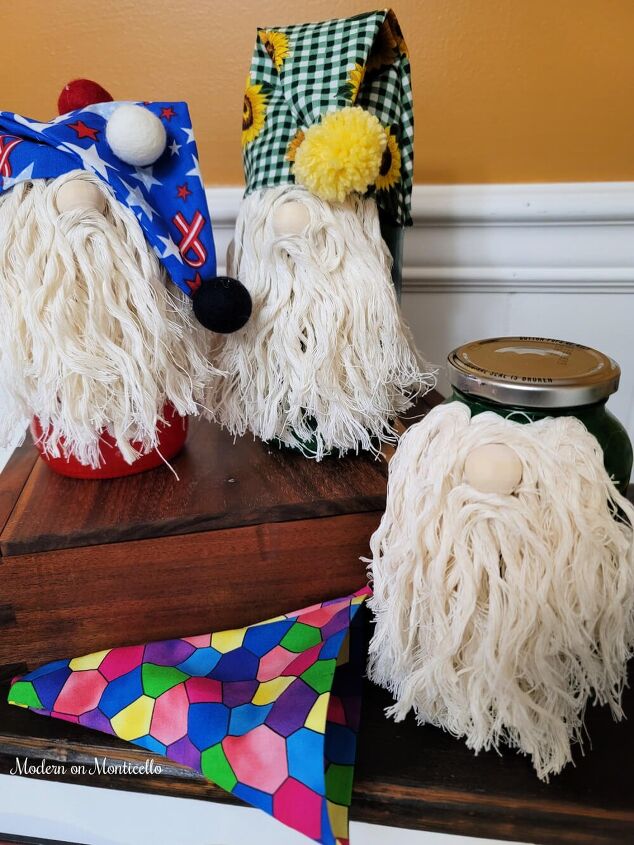
With just a little bit of creativity, a few leftover spaghetti jars that can’t be recycled in my area have been sparred from landing in the trash bins. Now they are cute and useful for storage as DIY Glass Jar Gnomes.
Resources for this project:
See all materials


Comments
Join the conversation
-
I am in love with gnomes, made a few myself. Love yours and easy to make just have to get a mop, thanks 😊
-
I used a stretchy fleece to make my hat, it was easier to get on and I used a piece of a mop head I had leftover from another gnome instead of the rope! Love your projects, so glad you shared!!!!


Frequently asked questions
Have a question about this project?
How to make the beird with rope?