


DIY Labels From Vintage Hankies Tinted With Artist Chalk
We've got lots more tips on how to make these unique labels on the longer video here. Add sweetness to your pantry and gifts with vintage textiles. We used embroidered hankies tinted with artist chalk, made durable and fray-proof with furniture wax.
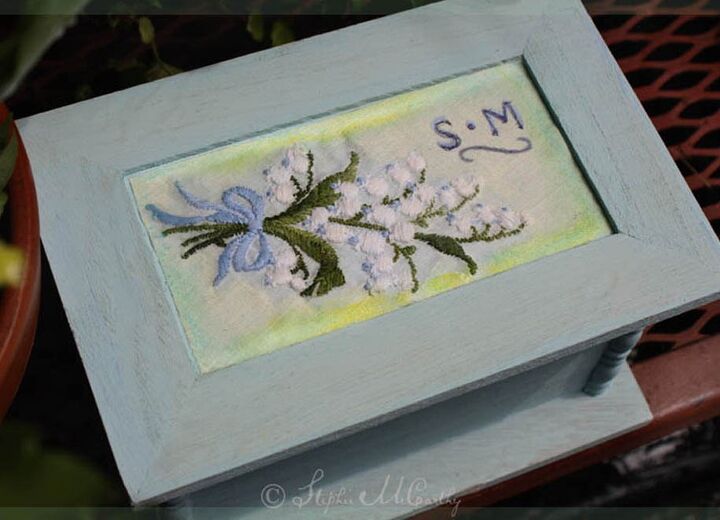
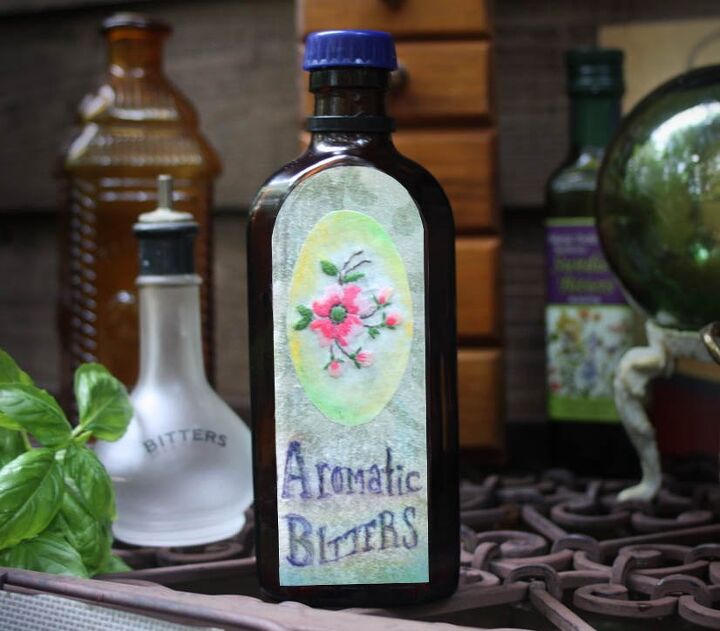
Embroidery on vintage textiles can give a delicate embossed look to your labels
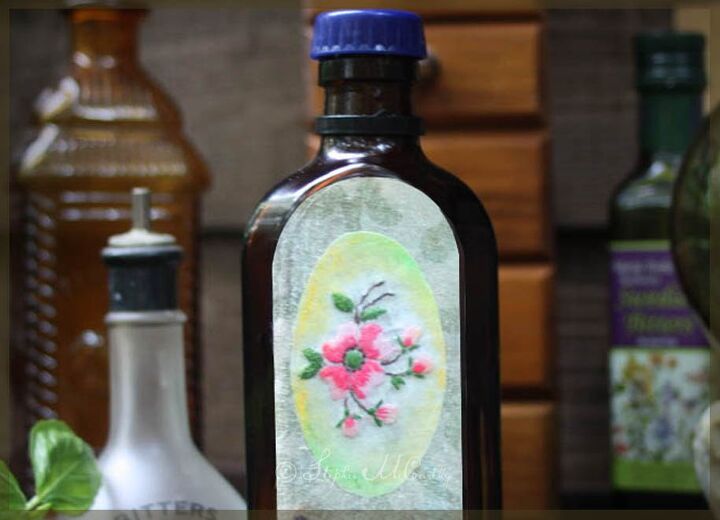
Artist chalks add hints of color for a vintage patina.
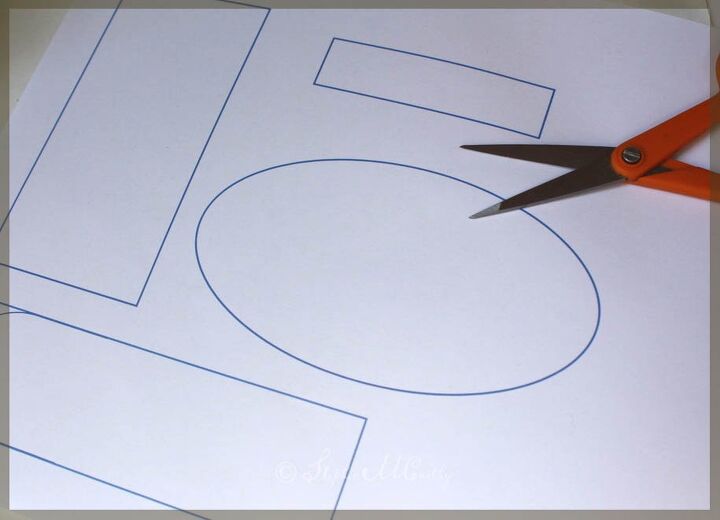
Make patterns for your containers first. We used a computer, but many methods of pattern making will work.
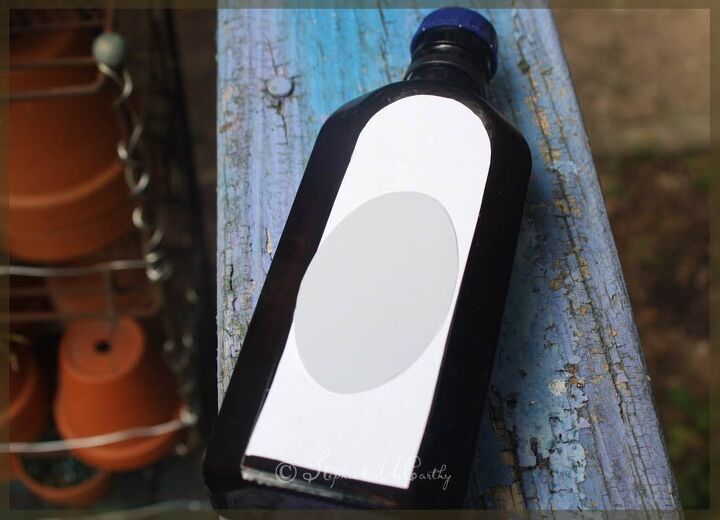
Which ever way you make your patterns, be sure to check that they will fit your containers well.
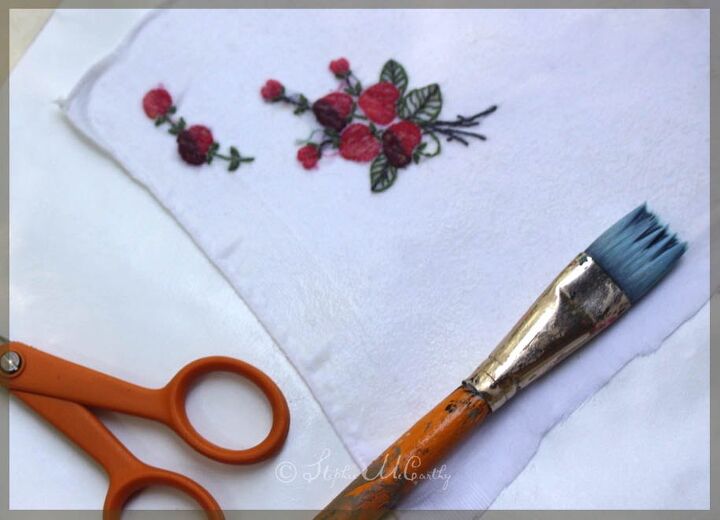
Make a work area that is waterproof. We used freezer paper with the waxy side up. We cut our textile into manageable pieces that are larger than then finished label.
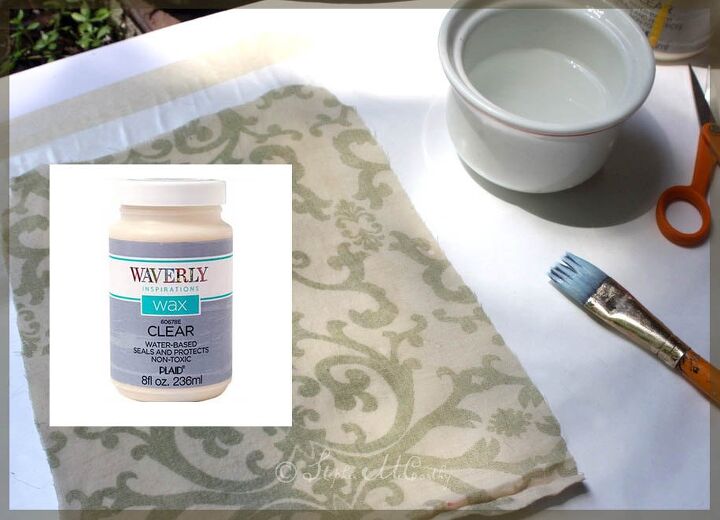
We give each piece one coat of Waverly Inspirations Clear Wax. We have a link to this product online on our website here, if you can't find it in your local Walmart craft department. This is a water-based, non-toxic liquid wax.
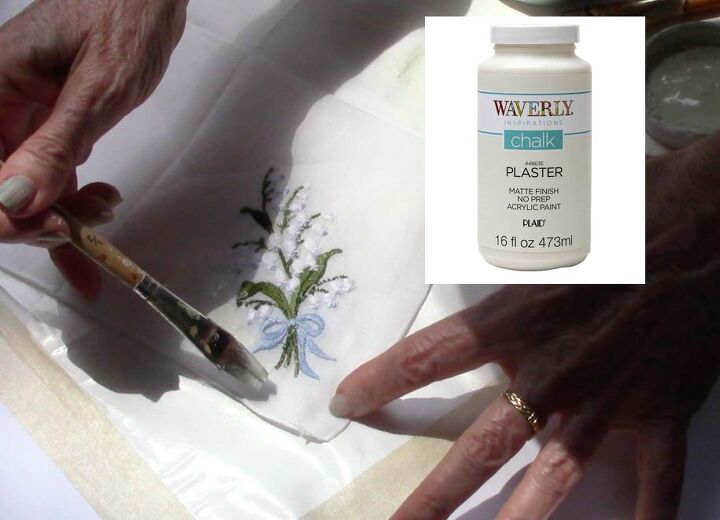
For variety, we painted this hankie with chalk paint to make it more like paper when dry. Avoid the embroidery and paint only the fabric around it.

We use our paper patterns to outline the shapes of our labels with a pencil. You can hold your pattern and fabric up to a light to make sure it's aligned properly first.
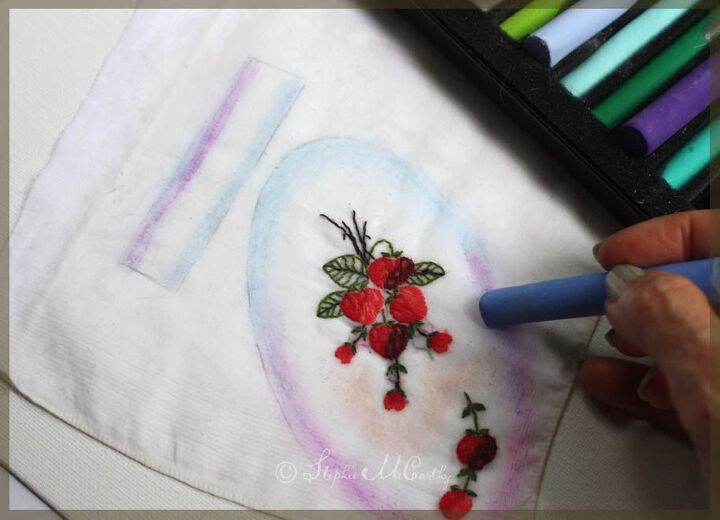
Now we add touches of color with artist chalks. Wax-based chalks blend easier into waxed fabric, but any type of chalk will work — even sidewalk chalk! Apply the chalk then blend with a baby wipe or damp cloth. Practice on scrap fabric first!
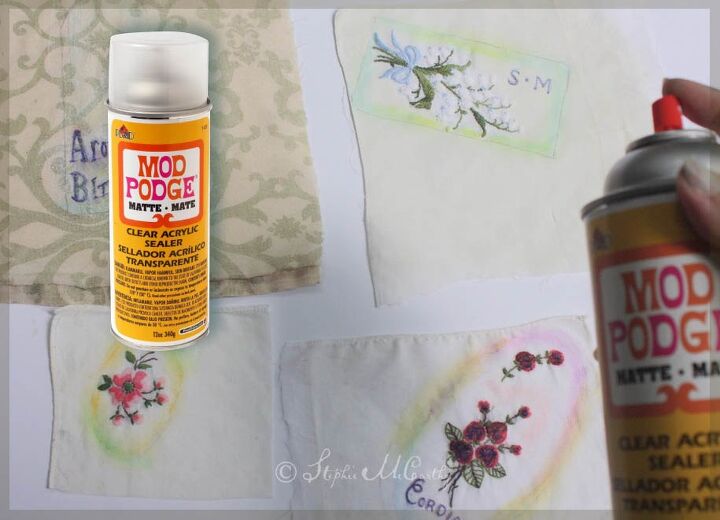
Let your tinted labels dry then spray with ModPodge Clear Matte Sealer. This usually will dry in an hour or less.
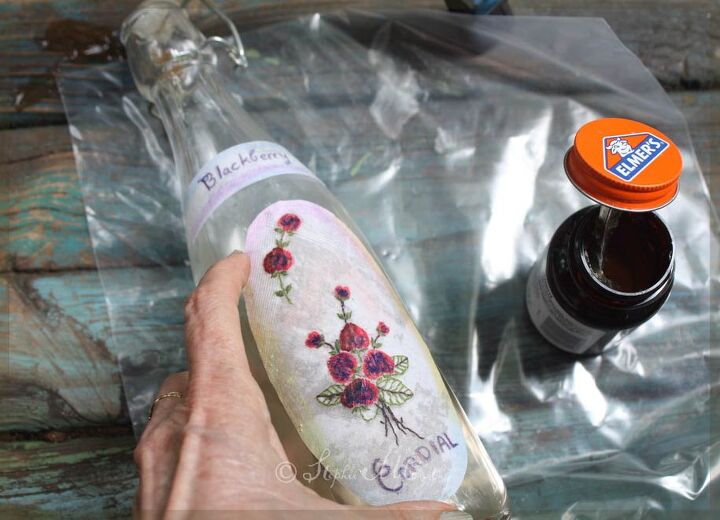
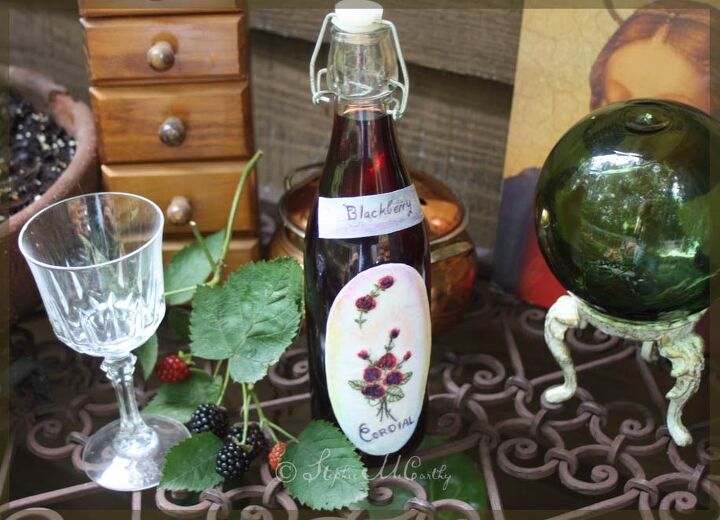
Cut out your label and affix it to your container with rubber cement. Rubber cement will allow you to reposition the label or remove it easily later, but in the meantime, it will hold fast. The cement will dry over night, but if you feel it shows too much through the textile, cement the textile to paper first — then affix the paper to the container.
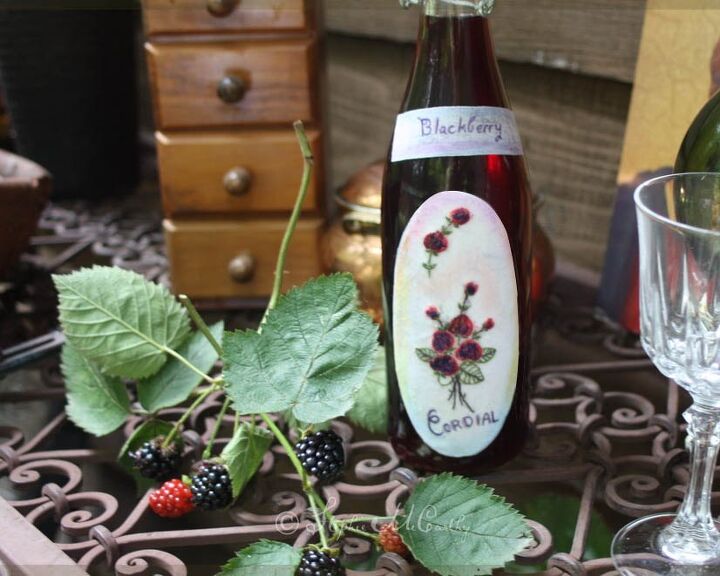
Complete! Make your next project more unique with a label made with a vintage embroidered hankie! Our blog post is in the link below for additional photos and tips.

Resources for this project:
See all materials


Comments
Join the conversation
-
Hello Friend,
This is so lovely! I’ve never seen this before but I really want to try. I absolutely adore vintage textiles!! Just love them. I have collected some pretty ones over the years mainly at Thrift Stores. What a beautiful way to display them! And I like the fact you can use rubber cement so you can remove them to change it up! How wonderful! Thank you so much for sharing this project!!
❤️💜💚
-
I definitely am going to give this one a try some of the most beautiful old patterns I’ve ever seen I’ve been on order and he style hanky or cloth tablecloth hopefully I’ll get something started here before Christmas thank you for the tips in the ideas


Frequently asked questions
Have a question about this project?