


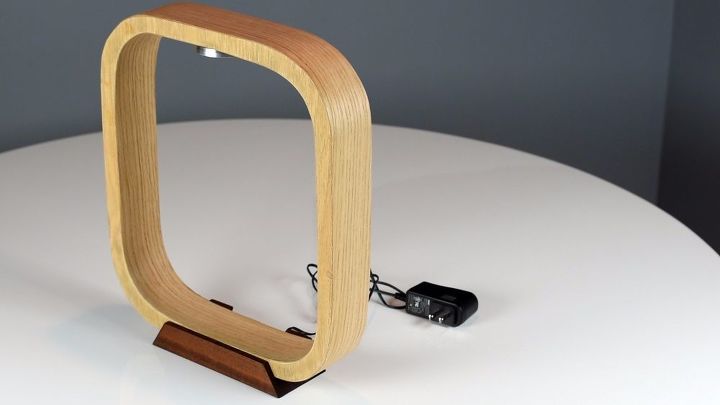
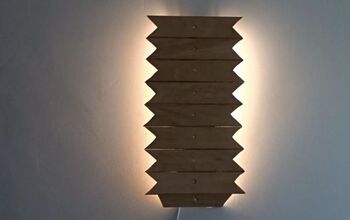
DIY LED Contour Lamp

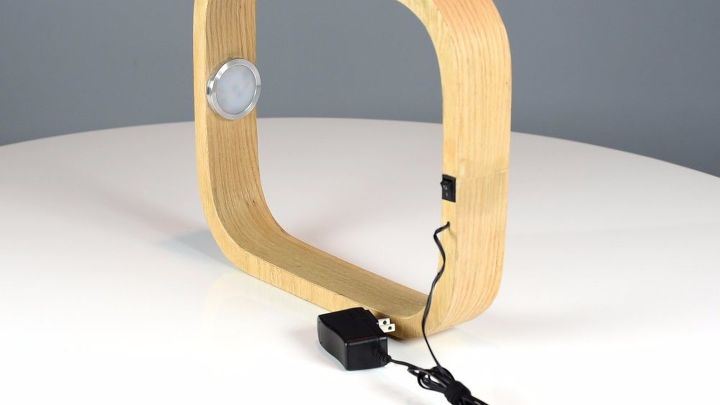
Want to add some style to your space? I got you covered with this diy contour lamp. This lamp is made from plywood wrapped with iron-on veneer. I used led puck light, but any light can be used. It's also equipped with a toggle switch and a cool mahogany lamp base. The parts and tools used are listed below.
Parts used:
-Puck Lights http://amzn.to/2oAsGSl-Veneer
I used red oak http://amzn.to/2xN8uTj See more options http://amzn.to/2xMKQpUScrap Mahogany
Shrink Tube- http://amzn.to/2x3zE9V
Light switch - http://amzn.to/2x4wRbi
Power Supply - http://amzn.to/2fGjgEF
If you want to check out more of my projects stop by my youtube channel and subscribe. https://www.youtube.com/c/DIYCreators
Video: Complete step by step
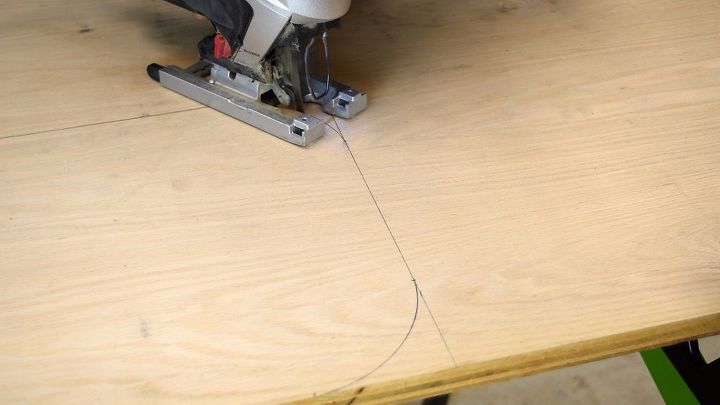
First: I used a small sheet of 3/4in oak plywood. Marked out a rectangle (12.5in by 14in ) Second: I made a marked 3in from each corner. Then use a paint can or a round object to create an arch in the corner. Third: Cut out the shape with a jigsaw or a bandsaw. stay close to the line this way you can sand the wood to the line.
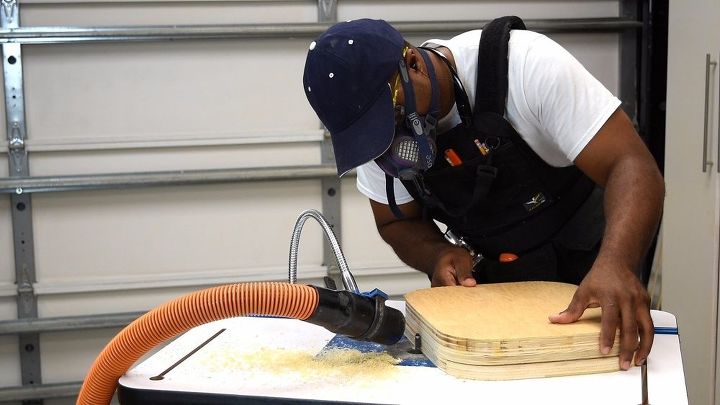
If you don't have a router just duplicate the same shape 3 times the same way.If you have a router, then you can use a flush bit. Just use two sided tape to hold the nice recent cut piece of plywood. Then have shaped the second piece of plywood and follow the same steps for the third. Mark a line along the inside. I made a quick jig to make my mark. If you have a marking tool you can use if for this. Refer to the video to see how I this was done. After cutting out the inside I can then sand it down to the line I marked. Then transfer the shape over to the other plywood using the same method used to duplicate the interior. I ended up shaping the 4th piece of 1/4in ply to make the lamp frame thicker. Once all the pieces are ready, glue them together using wood glue. Clamp and allow enough time for the glue to dry.
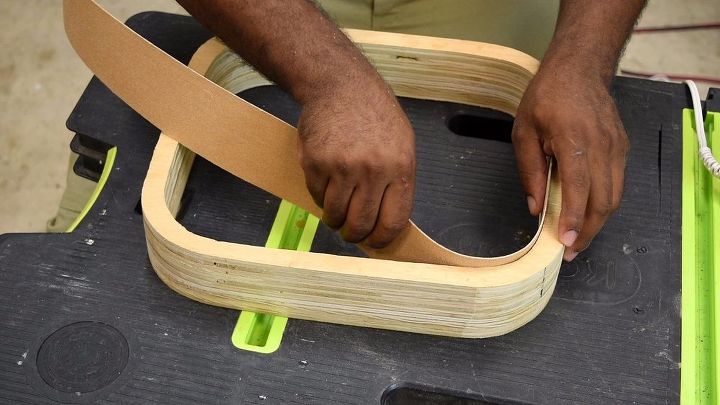
Cut the veneer so you have a bit of an overhang. This way you can trim the veneer to the lamp frame. I applied the veneer to the interior first. At the location where I plan to install the light. This is where I started and end the veneer. With the idea, the light will hide joint. After ironing on the veneer you can use an edge trimmer or a utility knife to trim the edge.

At the veneer joint center the light up and drill a hole for the wire to pass through. Next, router a groove from the outside of the lamp frame from the top to the bottom. If you don't have a router you can chisel this out. Then, install the light. Route the wire in the grove that was cut into the frame.
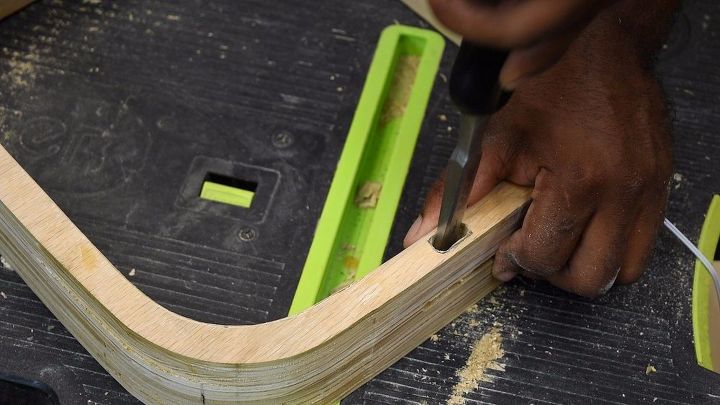
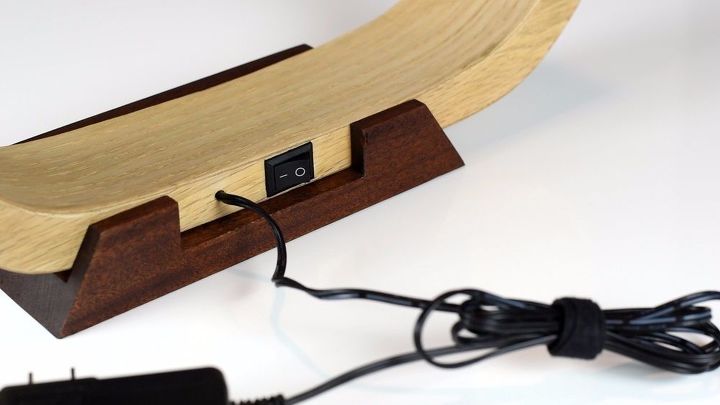
The chisel out a hole for the on and off rocker switch (as shown in the picture). Next, drill a hole near the switch for the power supply wire.
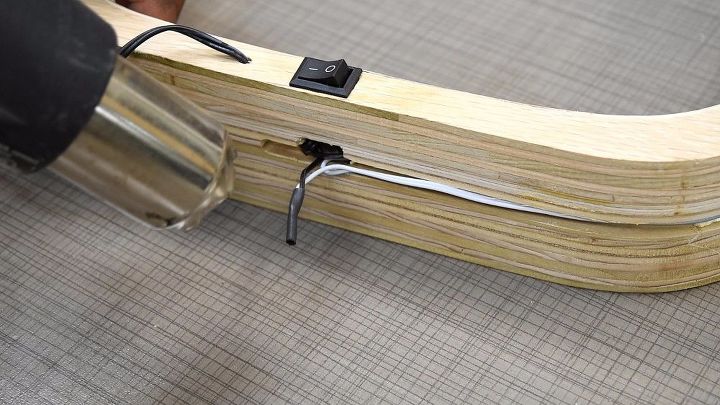
Wiring the Switch: Next, separate the wire from both the light and the power supply. Attach the positive leg on the light switch. The power supply on one edge and the light on the other. Then splice the two-negative leg together. I also used Heat shrink to prevent the wires from touching.
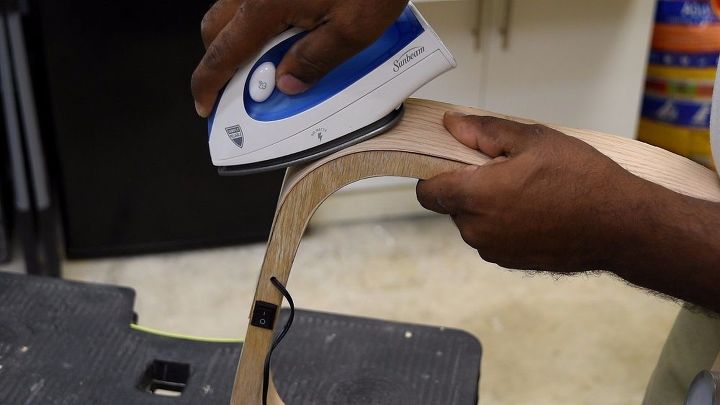
Wrap the veneer along the outside of the lamp frame. Make sure the veneer meets at the bottom, this way you seam can be hidden.
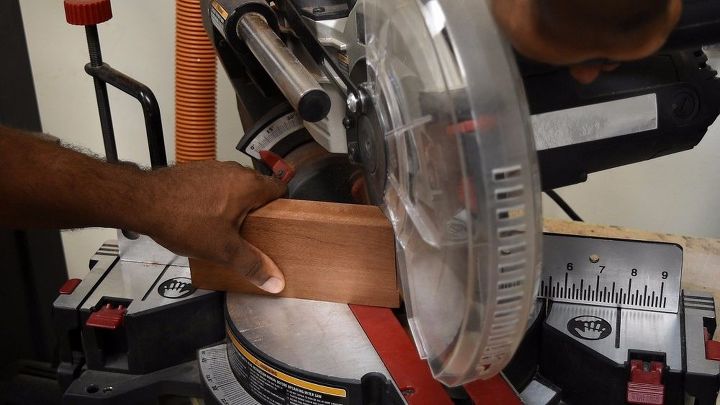
I had some scrap mahogany on hand and I used It to make a simple lamp base.The base can be as long as you like I made this one 6.5in. The ends were cut at 30 degrees. Then I route out the center for the lamp to sit. Also, notch out the back for the switch and the lamp cord.

Resources for this project:
See all materials


Comments
Join the conversation
-
Great looking light! very modern with a contemporary feel. Great share.
-
So modern and cool! Amazing work!


Frequently asked questions
Have a question about this project?