


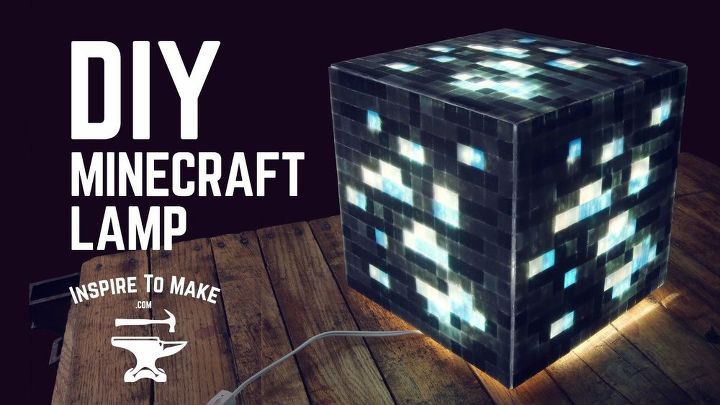
DIY Minecraft Lamp

by
Igor
4 Materials
$100
2 Hours
Medium
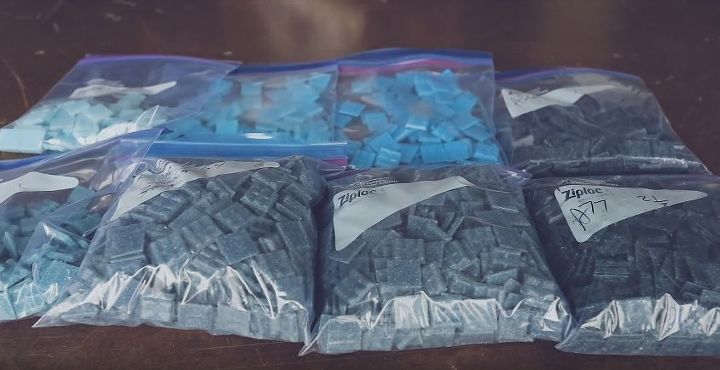
I made a very unique Minecraft Lamp that I'm hoping you will really enjoy. I took out a bunch of ziploc bags where I was storing black and blue colored tiles. They are small mosaic tiles and the color combination will give the lamp the one of kind look!
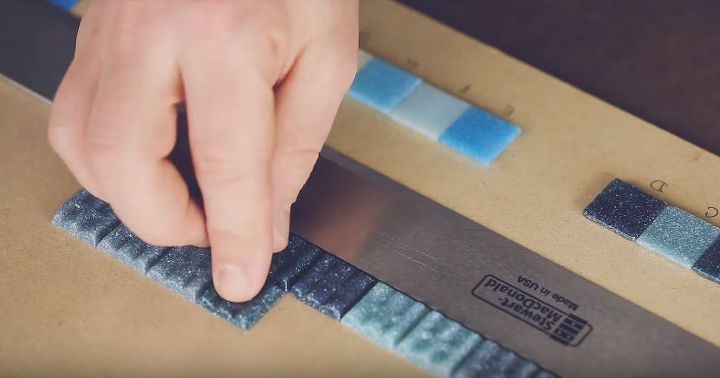
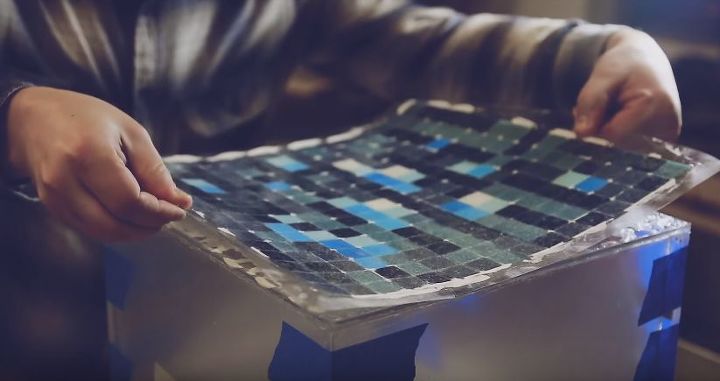
Using a straight edge, I began to lay down the tiles in the order that I intended. Make sure to use a straight edge to keep the tiles straight and in place. I finally finished placing down the tiles.
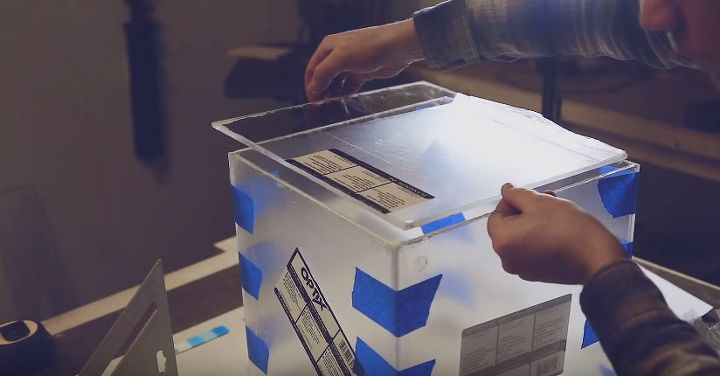
Using clamps I held the different boards together when the glue was drying. Some blue painters tape also helped keep it all in place. Remember to secure the lid to the top.
I spread the glue using a small piece of scrap wood and began placing down the tiled mats on the glass!
All on!
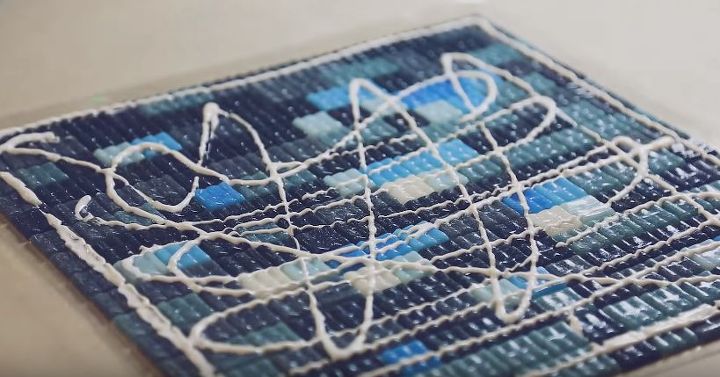
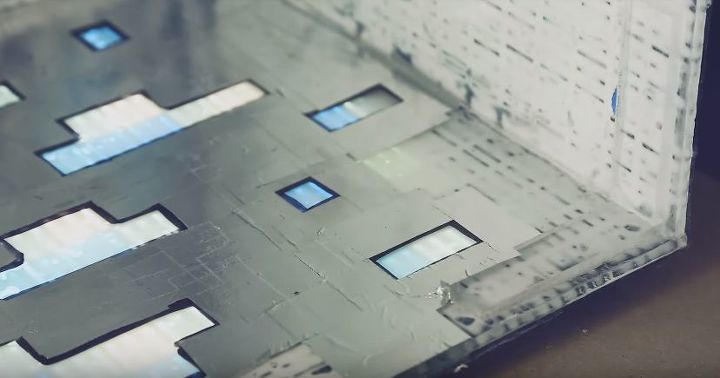
Then it was time to place the side on a light and draw the black boxes on the inside surface using a strong thick permanent marker.

The next step was to cover the areas around the black boxes with duct tape. After inserting a light and plugging it in, it lit up with a minecraft theme!
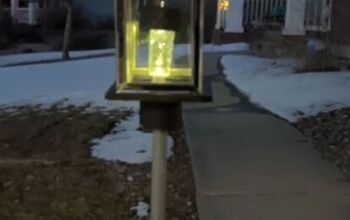
And the final Lamp...
Please watch the video below to see the whole process.
{
"id": "4229991",
"alt": "",
"title": "",
"video_link": "https://www.youtube.com/embed/21O-PtJv46A",
"youtube_video_id": "21O-PtJv46A"
}
{
"width": 634,
"height": 357,
"showRelated": true
}
Want more details about this and other DIY projects? Check out my blog post!
Comments
Join the conversation
2 of 15 comments
-
This is really cool! I may have to try this for my nephew!
-
Awesome, great job.


Frequently asked questions
Have a question about this project?
My son loves Minecraft, this would be a great gift for his bday. Where did you buy the clear plastic board? The link shows white and other colors.
Thanks for sharing!