


DIY Night Light

I've had this glass block in my craft stash for quite a while. I originally planned to do something Christmas related with it, but ultimately it just sat in the cabinet season after season. I recently saw a cool night light with an ombre effect and wanted to try to recreate it myself. I knew this glass craft block would be perfect for this project!
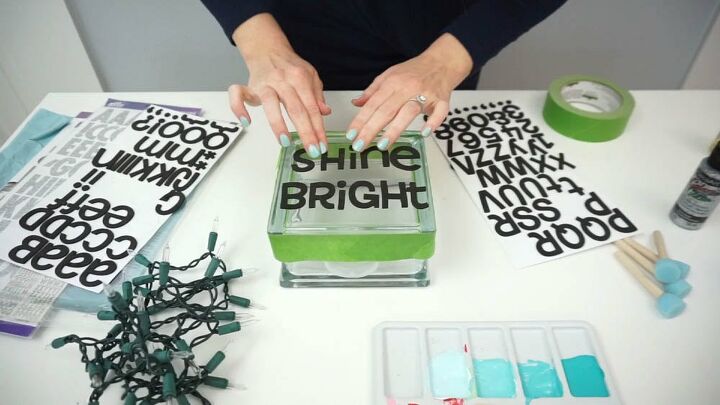
Start by choosing a word for the front of your night light. If you're using stickers, make sure you use vinyl or thick rubber stickers. Anything thin or paper and the paint will soak through and not give you the crisp lines you want.
I used thicky, puffy stickers to spell out 'SHINE BRIGHT' for my nightlight. I also contemplated using my Cricut machine to cut my monogram, but will try that next time!
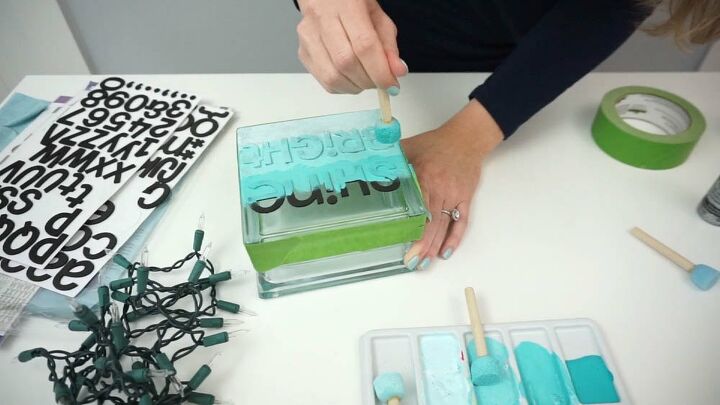
Once your word/words are in place, mix up your paint. Instead of using four different paints, I started with one color and added white paint to get 3 additional shades for the ombre look.
After your paint is mixed, use a dabber to put on each row of paint then let dry.
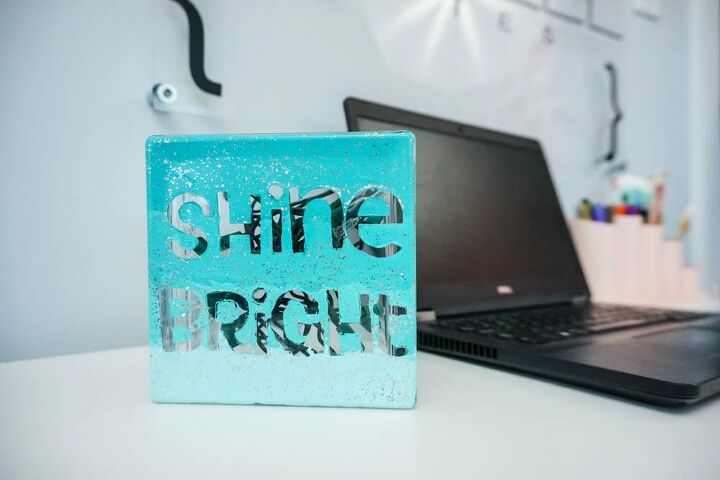
After the paint drys, carefully peel up the letters to reveal your design!
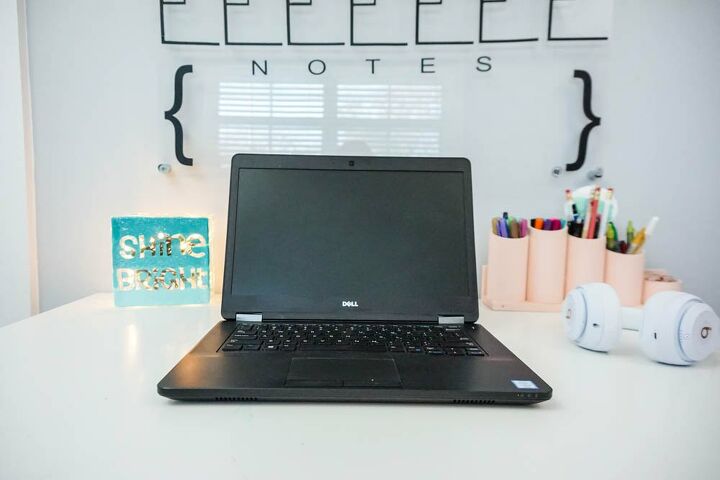
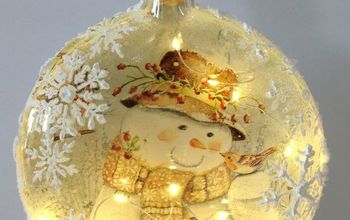
I put in a strand of Christmas lights to make a fun decorative night light!
If you enjoyed this project, please visit my other craft projects!
Resources for this project:
See all materials


Comments
Join the conversation
-
Another way is to use thin scrap material and wrap it up using hot glue. I have one in my grandsons room wrapped with Care Bear print. Make a bow and hot glue on top. I have a fall one also.


Frequently asked questions
Have a question about this project?
Love the idea! But I am interested in your pin holders! Are those cans? Cute idea!!