


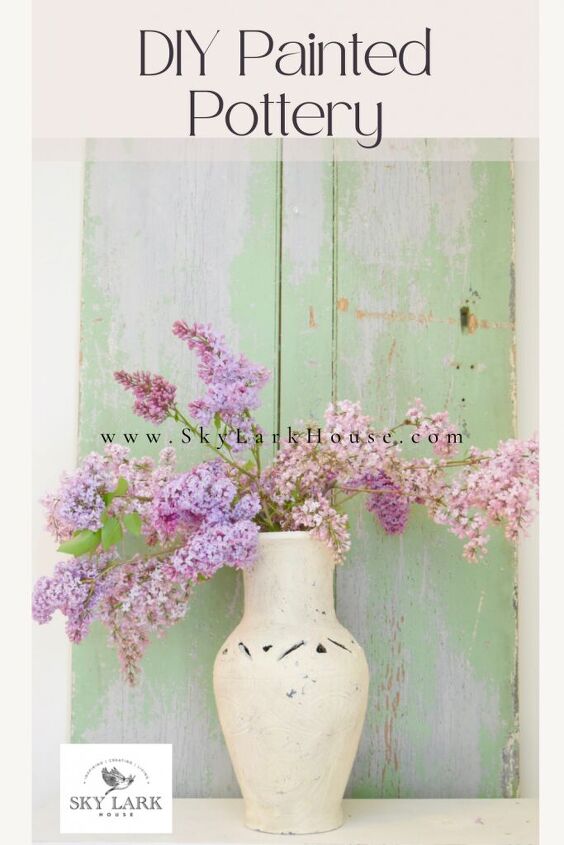
DIY Painted Pottery

Have you wanted to make DIY painted pottery? I will show you how to create DIY painted pottery that resembles old world European vases.
A quick note that this post includes affiliate links and I will receive a commission from items you purchase but at no additional cost to you. I am presenting you with my own opinion and honest review of the information provided. If you want to read the entire disclosure statement, please click HERE.
Have you seen the recent painted pottery transformations on social media? This past weekend, I decided that I would try my hand at DIY painted pottery using two different techniques.
A number of years ago, I had the great luck of traveling to and around Europe. While I was there I visited museums and historic sites, including Pompeii. I fell in love with the giant clay pottery jars that were used for storing olive oil. I loved the texture, color and character of these pottery pieces.
Having said this, you CAN buy these authentic pottery pieces online but the cost is considerably more. So with the recent pottery transformations I have seen online and because I was inspired by old European pottery – I decided to make my own.
In this post I will walk you through the different techniques so you can re-create this look in your home.
As with any project, the first thing we need to do is gather our supplies.
- A thrifted pottery vase or two. I think the ones I used were from Pier 1 and were made about 15 years ago.
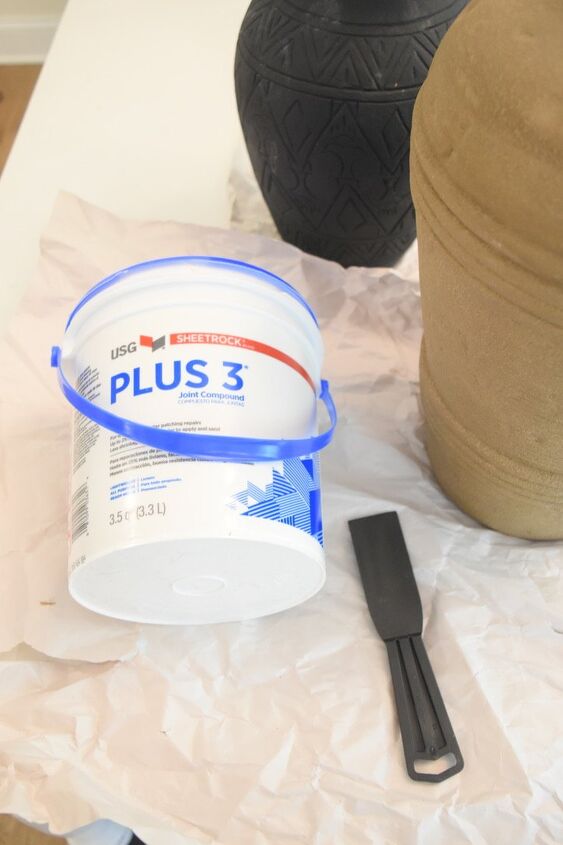
- Container of joint compound
- MMS Milk Paint in any color you choose
- MMS antiquing milk wax or a MMS Milk Paint in the color curio
- Nitrile gloves or disposable gloves
It’s important to note that this project is completed over the course of 2 or more days. So make sure you allow enough time to go through the various steps.
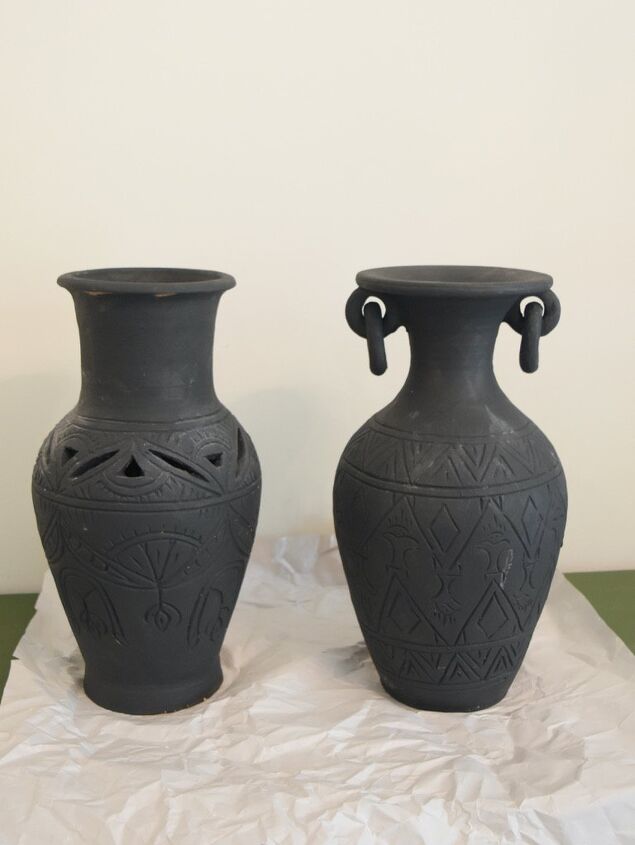
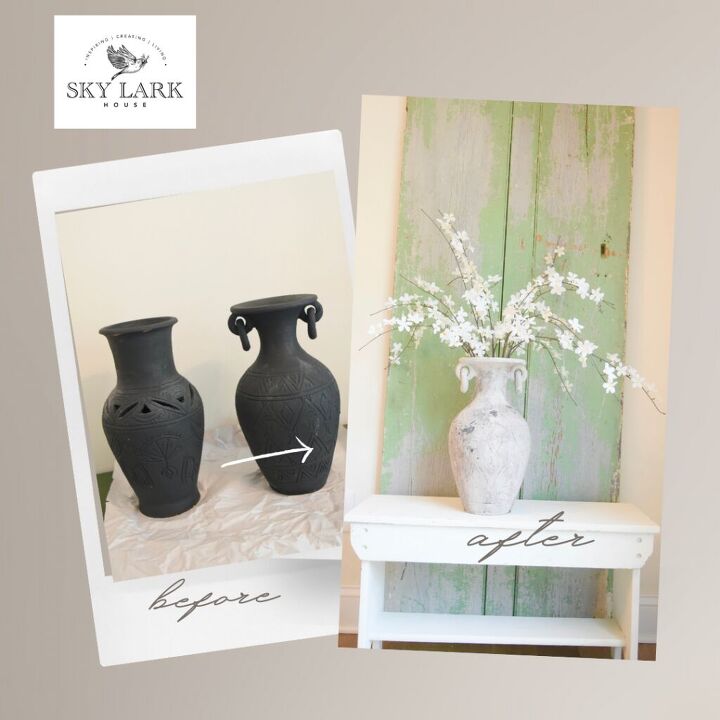
As you can see the terracotta pottery vases were originally black. I wanted to give them more character so that they looked like they had been around for 200 years or more.
First, I cleaned the vases thoroughly with a degreaser such as Mr. Clean and l left them in the sun to dry.
Then I applied joint compound to the vases. I found it was easier to apply the joint compound with my hands while wearing gloves because it was easier to reach the awkward angles such as under the lip of the vase opening. Once the vases were covered in joint compound, I let them dry for at least 24 hours.
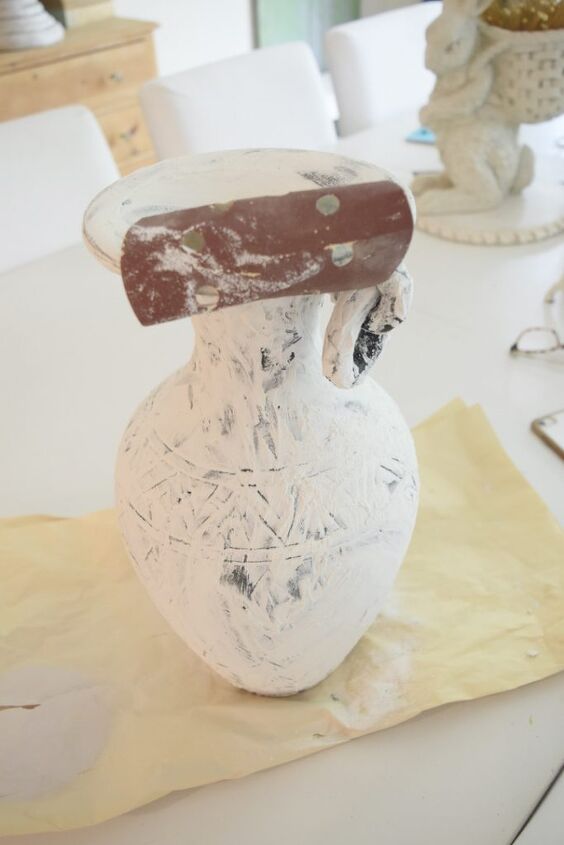
Once the joint compound has dried completely, use 120 grit sand paper to smooth out the ridges and rough edges of the joint compound. It’s absolutely ok if your joint compound is not uniformly applied to the vase. Some areas may have more joint compound and other areas may be thinly coated. Here is a TIP – its best to sand the joint compound outside because it can be dusty and messy.
Once you have finished sanding your vases, it is time to paint them!
I used MMS Milk Paint in the color linen for both of these vases. However, I tried slightly different techniques.
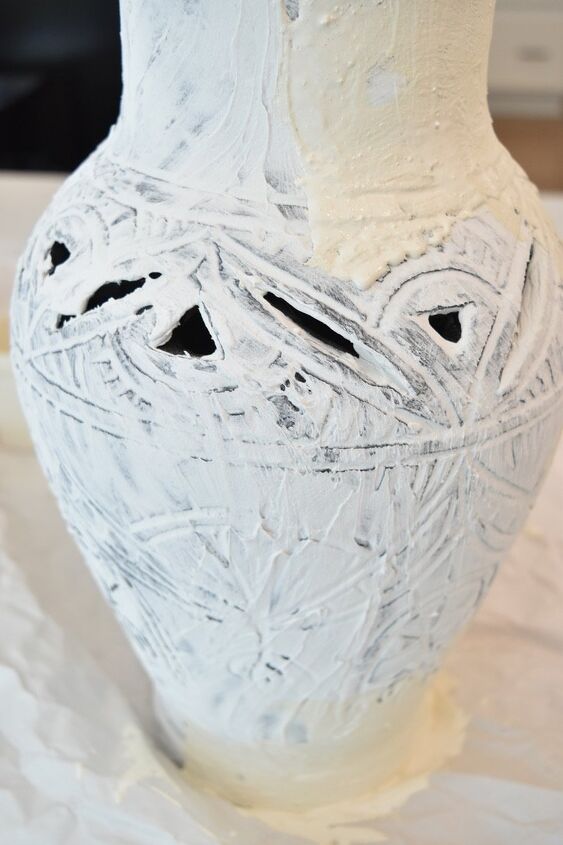
The image above captures how the vase looked after its first coat of paint. I waited for the paint to dry and then applied a second coat.
The joint compound and milk paint create a patina, however, I also wanted the vase to look antique. So, I decided to apply some MMS Antiquing Milk Wax.
I worked in small areas, applied the wax and then used a terry cloth rag to wipe it off. The wax enhanced the existing cracks and character that the joint compound created.
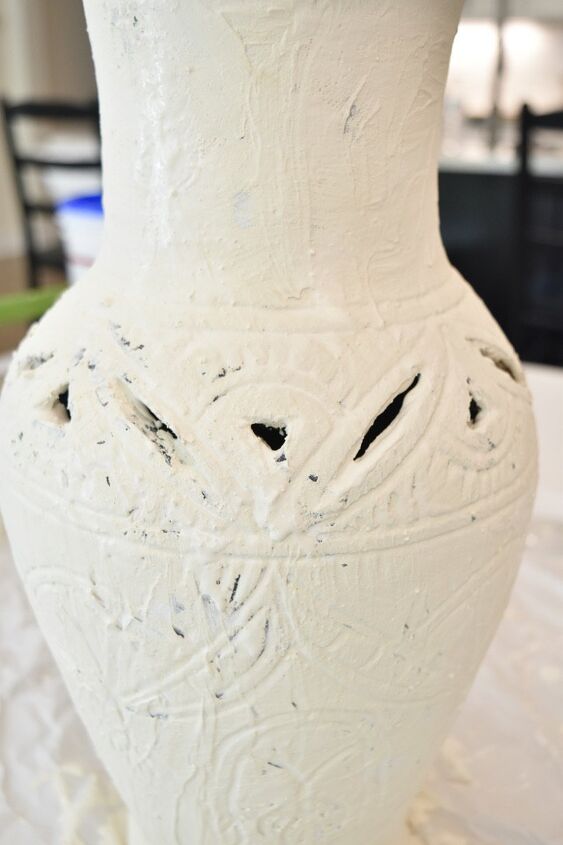
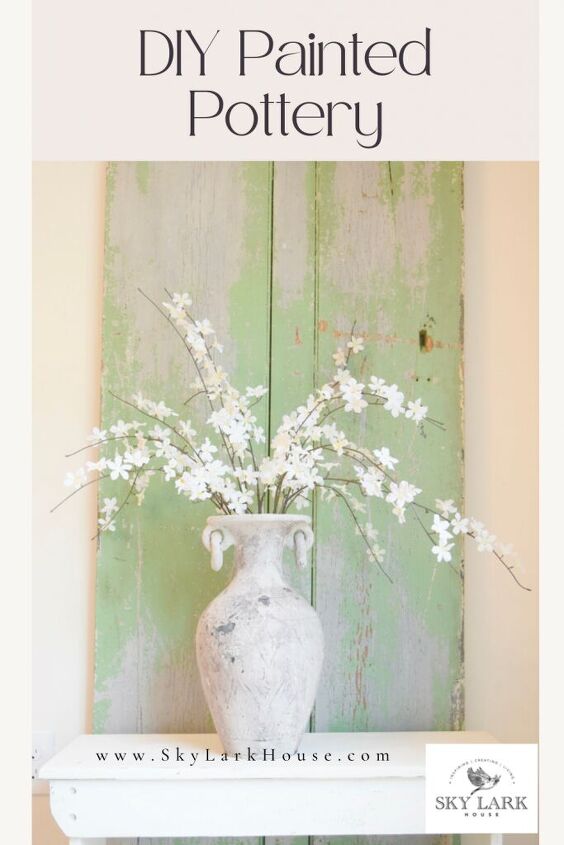
The photo above shows you how the vase turned out.

Here is a close view of the vase. I like how the milk paint and joint compound are lightly flaking off in some areas so that you can see a small amount of the underlying black color. Also, total aside, can you tell it’s lilac season in New York?
On the second vase, I decided to use a different technique. Using MMS milk paint in the color Curio, I created a wash by diluting that paint with a half cup water to 1 tablespoon of paint powder. Curio is a brownish color.
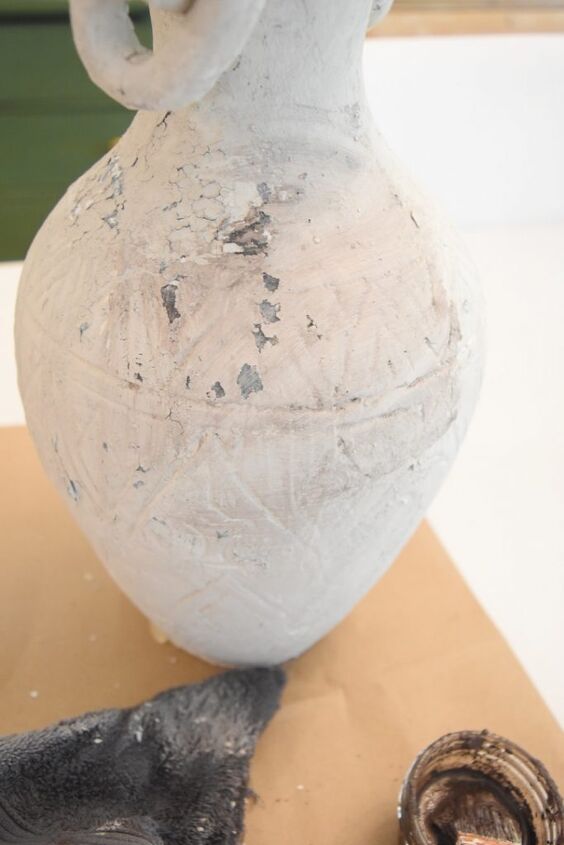
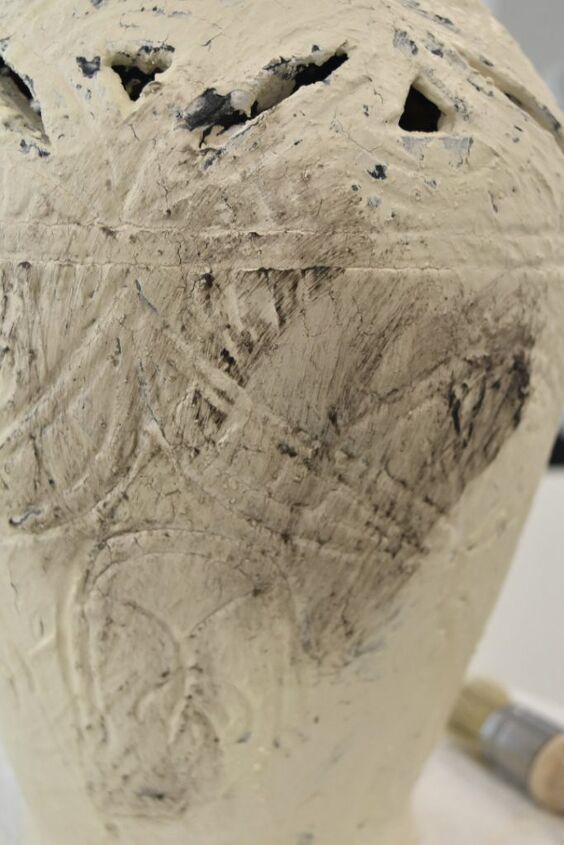
Working in small sections, I brushed on the paint wash and then wiped it off using a terry cloth rag. Eventually the entire vase had been coated with the Curio paint wash. You can see the color curio in the paint container on the lower right side of the image above.
You can see that the overall color of this vase is different since it has more of a grey undertone. Just like the previous vase, I liked that the milk paint and joint compound chipped in places to reveal the vase’s original finish.

In the image above, you can see the areas where the paint and joint compound chipped away. I found that washing the vase with curio paint diluted, created almost a grey tone to the vase. In contrast, the previous vase with the antiquing wax had almost a warm yellow tone.

As most of you know, I have recently collaborated with the MMS Milk Paint company. If you purchase any milk paint from the link provided, I will receive a small commission. Thank you for supporting this little business of mine. Be sure to use the code 10OFFSH to save 10% on your purchase.
Here is one final look at the “before” and “after” versions of these vases.
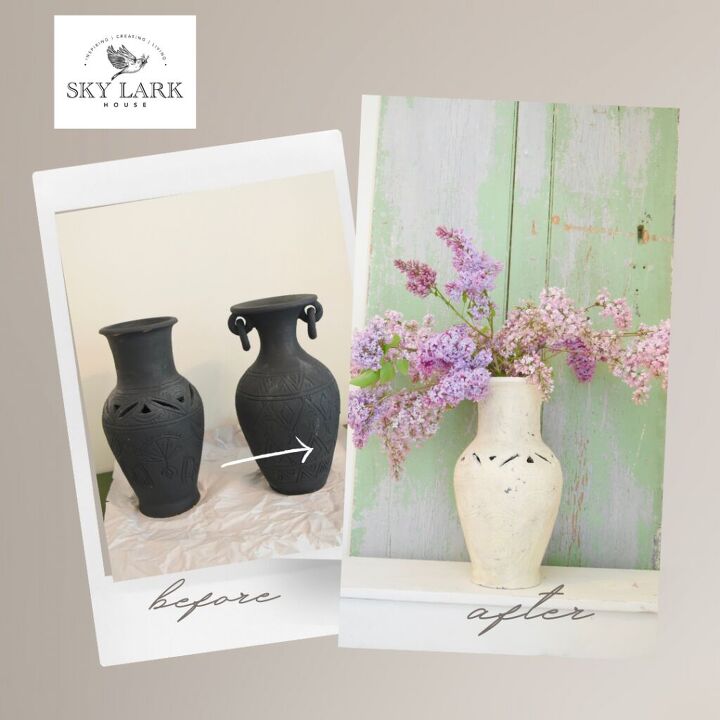
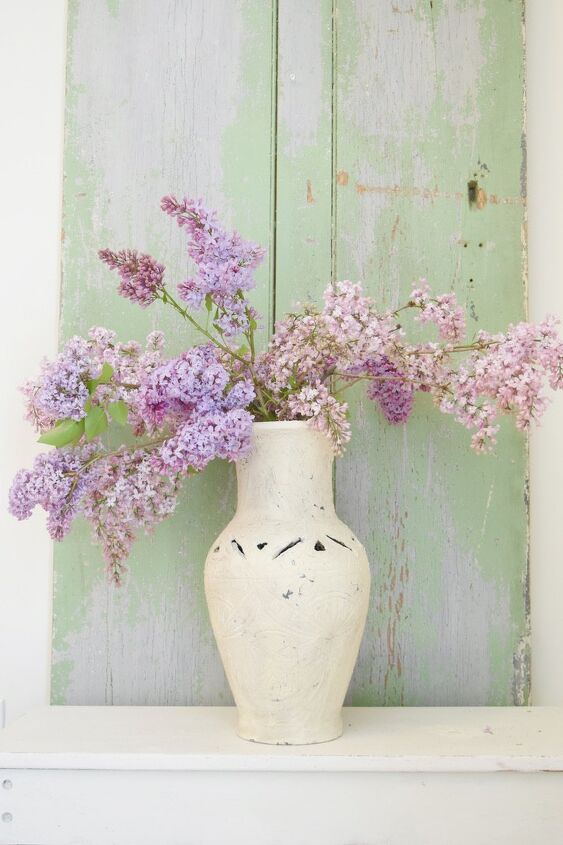
Did I mention that it’s lilac season here in New York? The image above shows the transformation of the first vase using the antiquing milk wax.
The photo above shows the second vase which was given a “wash” with curio.
I think both vases turned out well and am happy with the end result. I think they will look great on the entry table by our front door – filled with lilacs, of course.
On a separate note, if you liked this post, here are some other projects you might be interested in.
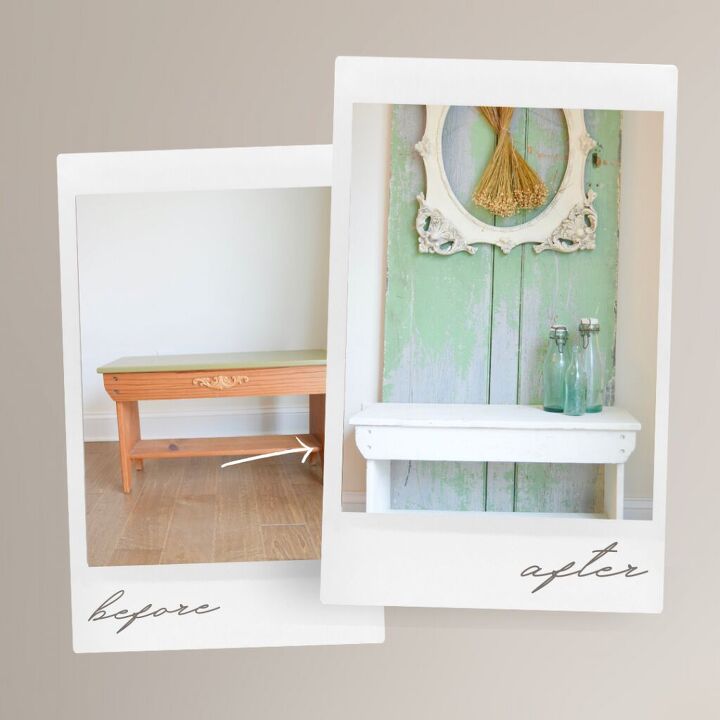
The transformation of this bench.
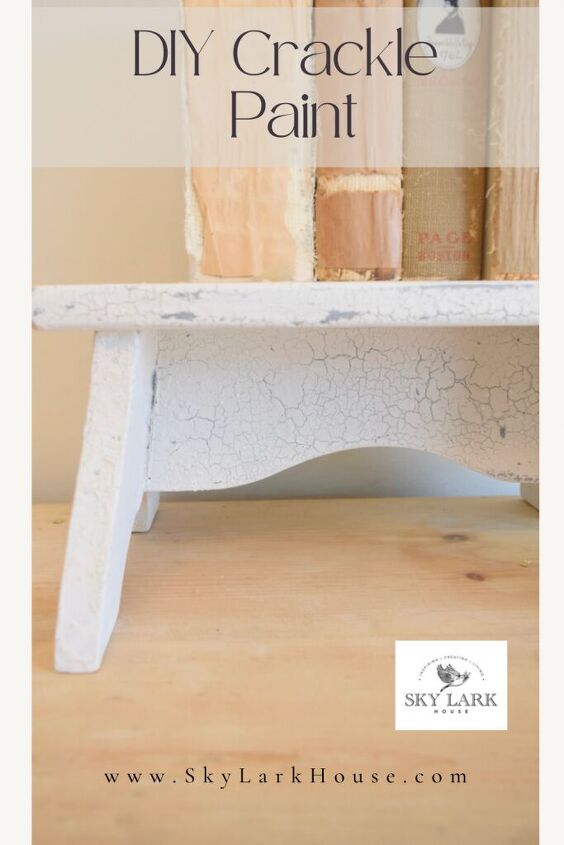
The transformation of this stool.
Thank you for stopping by the blog today. I hope you found some inspiration!
Join our mailing list to receive the latest news and updates from our team.
- How to Repurpose an Antique Headboard
- Summary of Recent Crafts & Projects
- Summer Collectibles Series – Collecting Vintage Enamelware
- Fresh Finds For June
- 7 Mistakes to Avoid for your Vintage Booth
Comments
Join the conversation
-
I have seen many of these done. You did a great job! Looks beautiful.


Frequently asked questions
Have a question about this project?