


DIY Personalized & Frosted Glass Block | Cricut Project
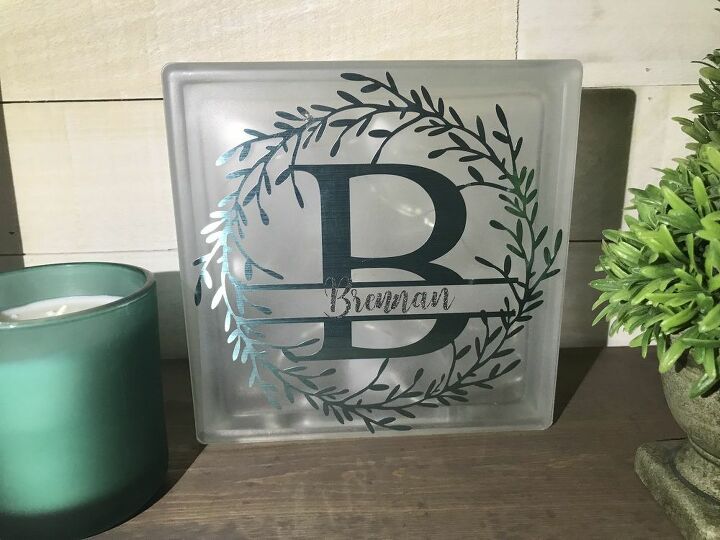
For Christmas last year, I decided to make several personalized frosted glass blocks as gifts for family and friends. Of course, I also had to make one for myself! These glass blocks make beautiful home decor, especially after adding an LED fairy light string to the inside of the block.

The is the second home decor item I have made using my Cricut. The first was this DIY Winter wall sign.
Here are the abbreviated instructions for this project, for full instructions and more pictures, please visit my post using the link at the bottom of this page.
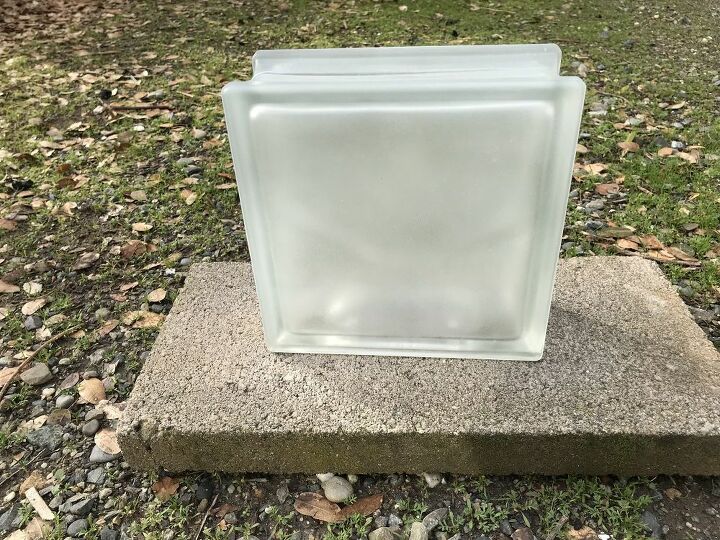
First I purchased a craft 8x8 glass block and cleaned it to remove any dust or fingerprints.

Next, I sprayed two coats of frosted glass spray paint onto the block.
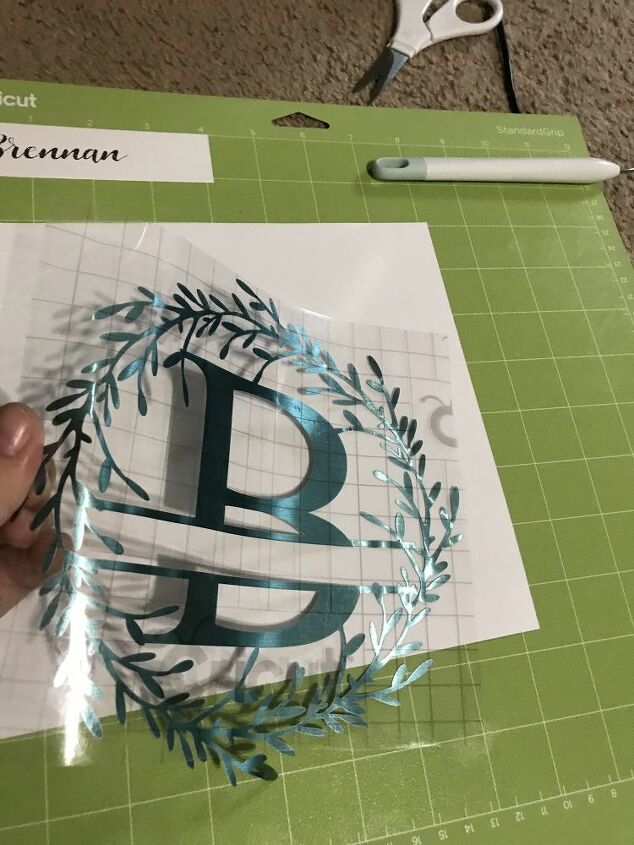
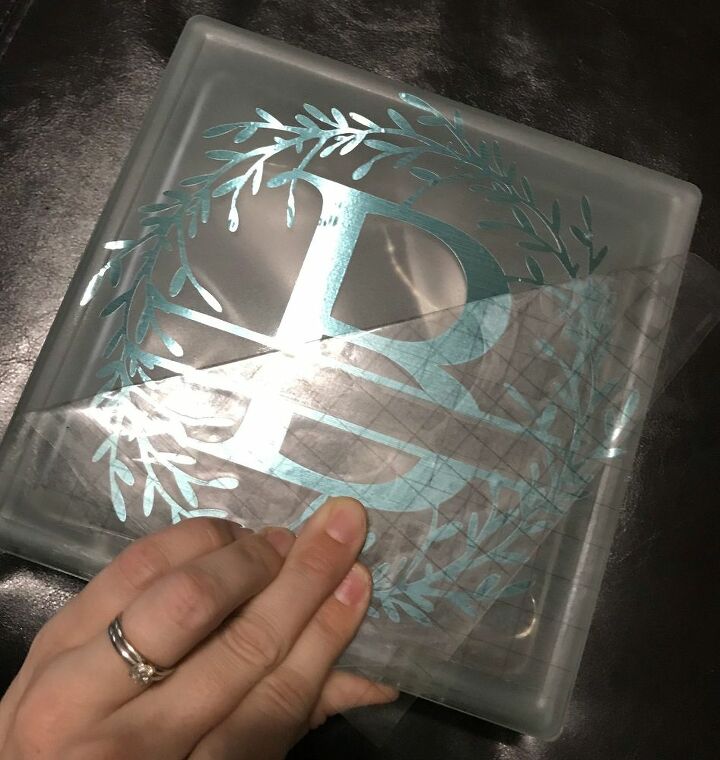
While the paint was drying, I uploaded my design to Design Space and printed it on teal metallic vinyl and black glitter vinyl. After weeding the design, I transferred the wreath design onto the glass block.
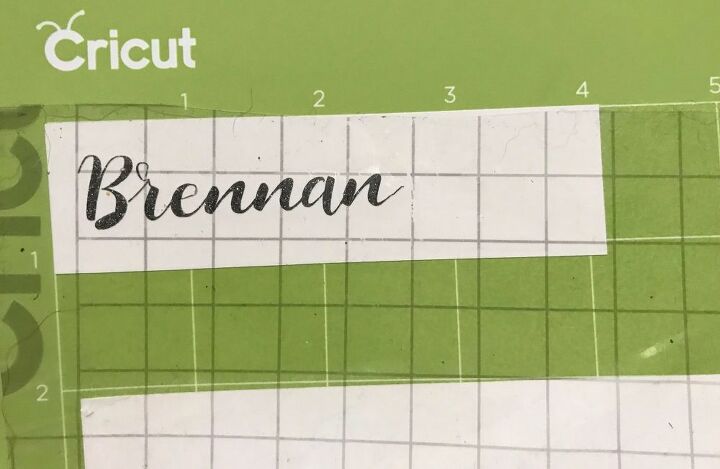
And then I transferred the last name to the glass block.
I then installed the led fairly light string into the block.
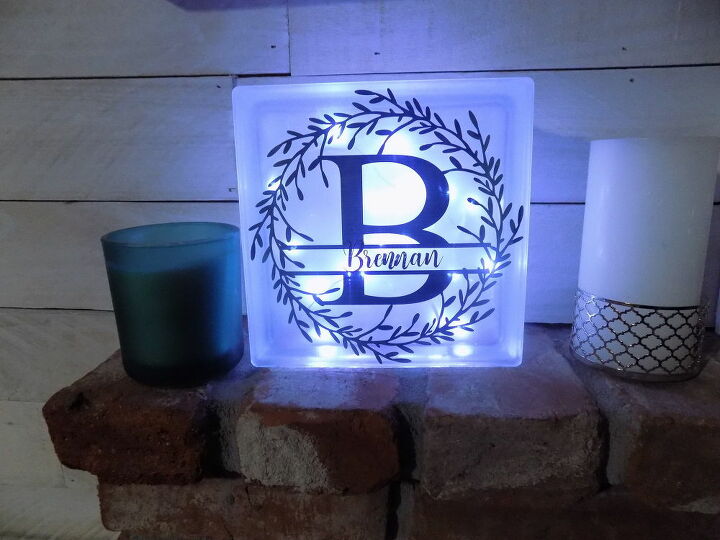
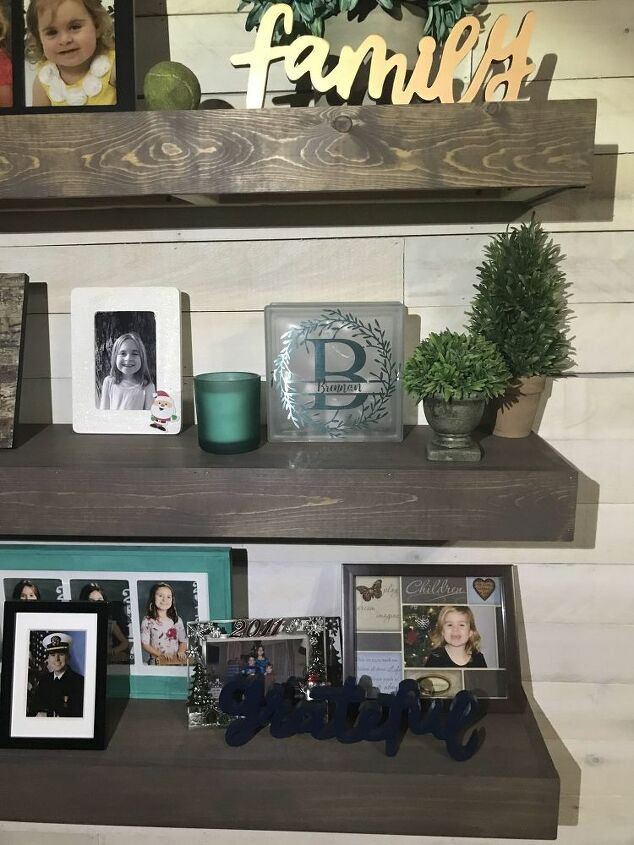
Here are a few more pics of the finished project:


Frequently asked questions
Have a question about this project?