


DIY Photo Coasters and Wood Storage and Display Box
Instructions for creating DIY photo coasters and a wood storage and display box.
DIY Photo Coasters and Display Box
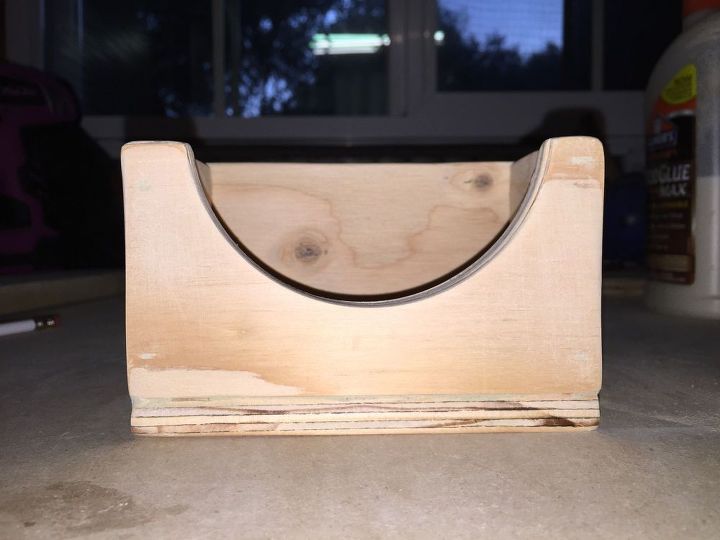
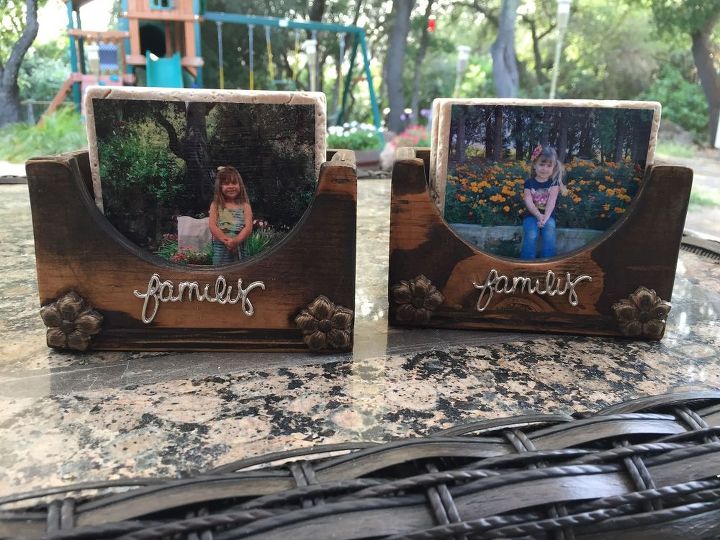
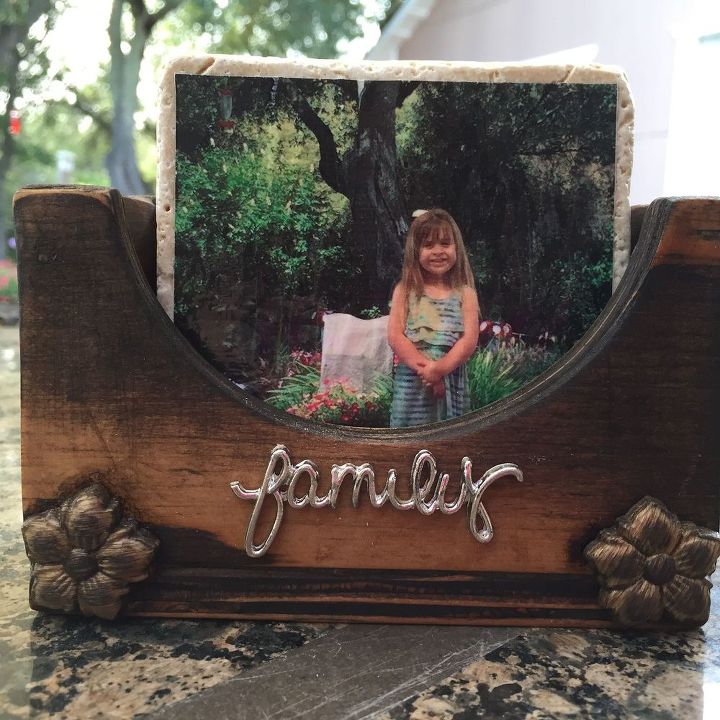
(For detailed step-by-step instructions, please see my blog via the link at the bottom.) I wanted to make gifts for my mother and mother-in-law for Mother’s Day so I searched Pinterest (of course!) to find ideas that were creative yet not too expensive. I found many posts for DIY tile photo coasters and decided that would be perfect! Personal and useful, the best types of DIY gifts. Since I decided to make photo coasters, I also wanted to have a stylish, cute way to display the coasters so the photo on the first coaster would be visible, so I decided to make wooden holders for the coaster sets. For each mom I made four photo coasters and a wood holder to display and store the coasters.
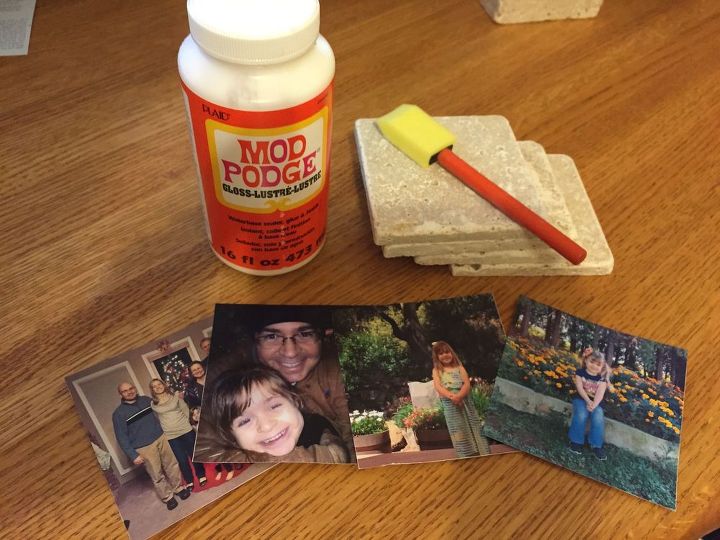
Materials to create photo coasters
To make my coasters, I purchased a pack of nine 4″x4″ travertine tiles from Home Depot for just under $4. I also purchased photo paper that can be used in a laser printer (photos printed on an inject will likely have the ink smear when the Mod Podge is applied). I purchased a pack of 20 sheets for $6.99 at our local Fry’s, but you can likely purchase laser compatible photo paper at any office supply store.

Photo applied to tile with Mod Podge.
Once the Mod Podge has completely dried, spray five coats of Acrylic spray onto the tile, allowing the acrylic to completely dry between each coating. Make sure to spray the acrylic in a very well ventilated area.
Assembled coaster display box.
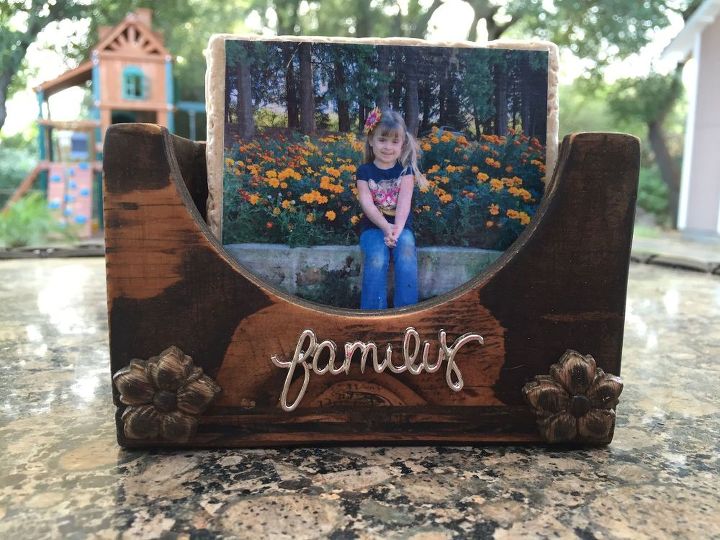
I added wooden decorative accent pieces that I purchased from Hobby Lobby and stained the box with Minwax Dark Walnut. I then added some metal lettering stating "family" that purchased at Hobby Lobby. Here is the completed display box:
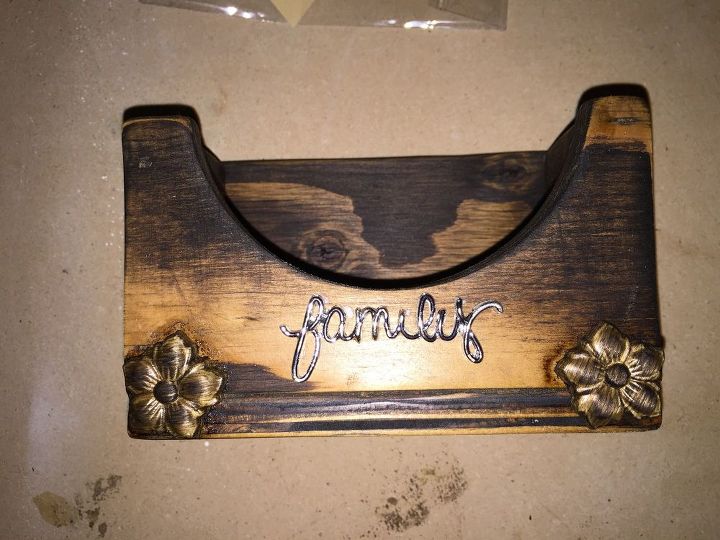
Completed coaster display box.
And here are some more pics of the coasters in the display box.
Completed DIY Photo Coasters and Display Box
Completed DIY Photo Coasters and Display Box
Stop by the blog for more pics and detailed instructions.

Want more details about this and other DIY projects? Check out my blog post!


Frequently asked questions
Have a question about this project?