


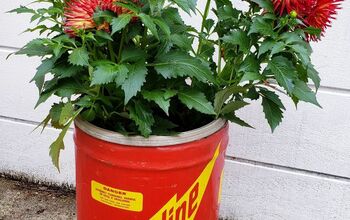
DIY Remembrance Planter Pot
Loss is hard. Finding ways to honor your lost loved ones is something that is important to a lot of people.
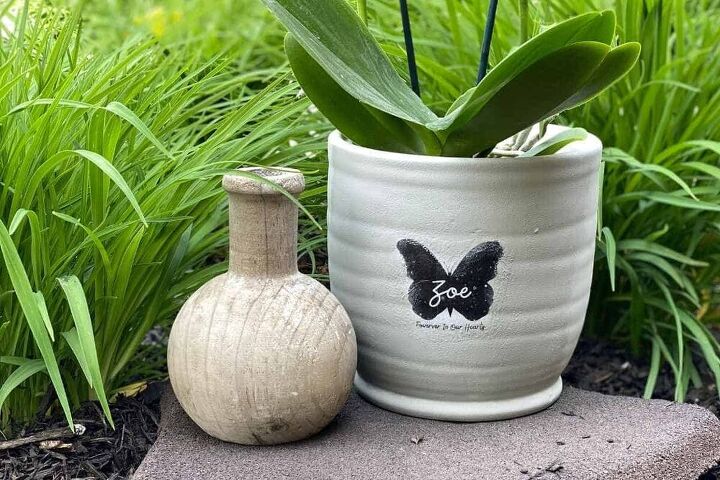
For myself, it was the loss of a child. As I am approaching her 8th heavenly birthday, I wanted to make something special to plant some flowers for her. This project was simple yet meaningful for me.
I also think this would make a good gift idea for someone.
Here I will show you how I transformed an old planter pot into a remembrance planter using the tissue transfer technique.
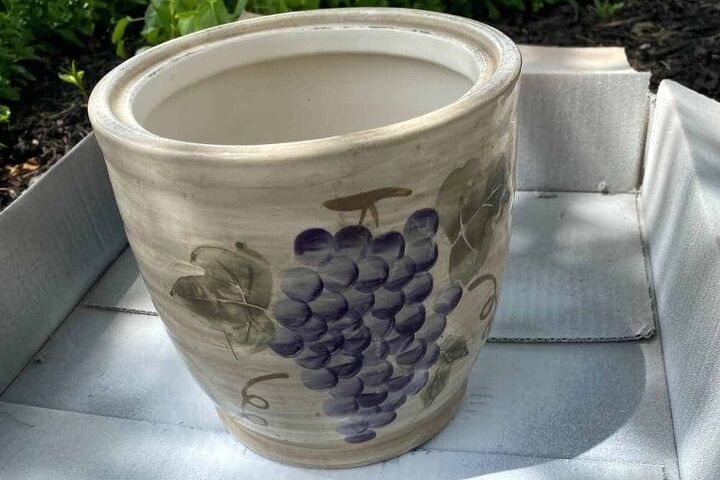
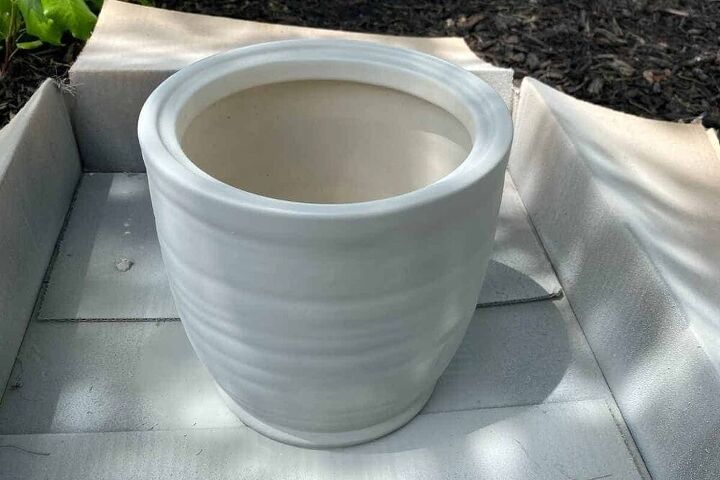
Step 1 – Paint Planter Pot
For myself, I choose to use an outdated pot that I already had. If you don’t already have one you can get a terra cotta planter or something similar.
Chose the color you want to paint it, and give it a nice base coat of paint. This will make it easier to blend in around the transferred image.
Step 2 – Find Or Design Image
I simply used Canva to create my design. You can also use Word or similar programs to create anything you want on it. Once you have your design, simply save it as a PDF.
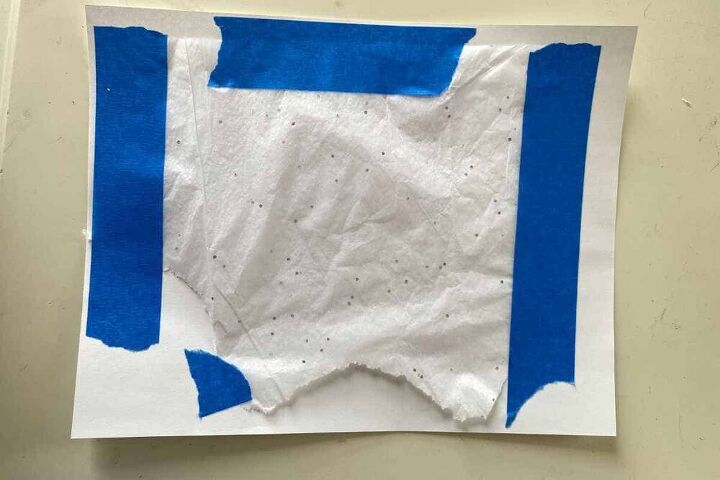
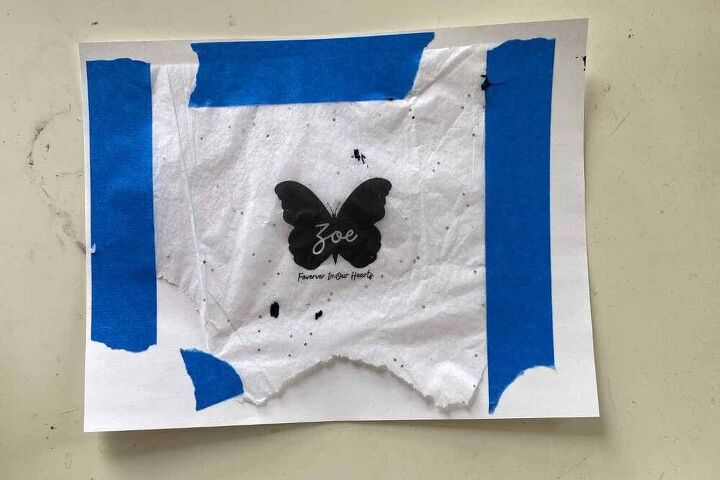
Step 3 – Print On Tissue Paper
This was my first time using the tissue transfer technique but it was a fairly simple process. You simply tape the piece of tissue paper to a sheet of copy paper, and print like you normally would.
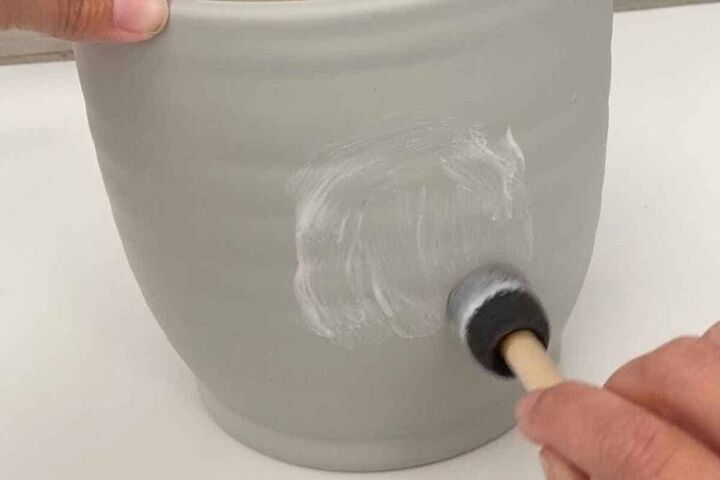
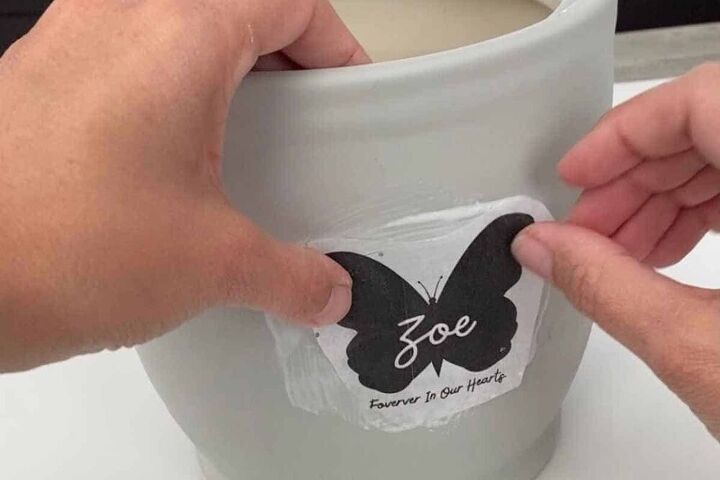
Step 4 – Transfer Tissue To Planter
First, cut out around the image. A tip would be to cut fairly close to the outline, I wish I would have cut it a tad smaller. Then it’s time to transfer the tissue image. For this step, I used Mod Podge to apply the image to the planter. Apply it directly on the planter and then carefully add the image to it.
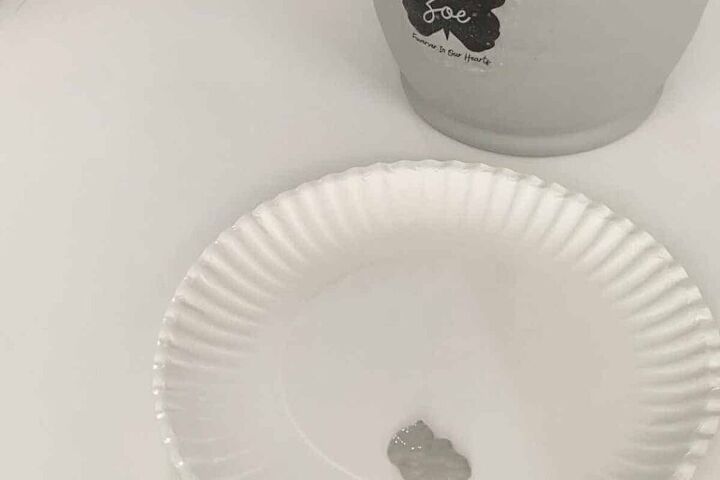
Tissue paper is very thin so you want to go slowly as to not damage the paper. Once it had dried, I added some more Mod Podge over the image to seal it.
Step 5 – Blend With Paint
After the tissue transfer had dried, I went around it with some paint and blended in the edges.
You can get creative here and use multiple colors as well.

Let dry and plant some flowers and you are done :)
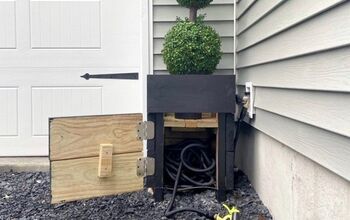
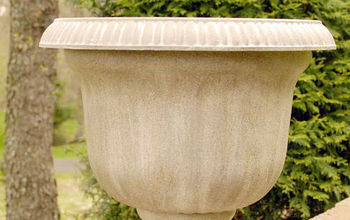
I hope you liked this project, here are a few more to check out.
Follow On Pinterest For More Inspiration :)
Resources for this project:
See all materials


Comments
Join the conversation
-
I am very sorry for your loss. Your baby was very beautiful. This is such a wonderful way to honor her. God bless you both always.
-
Very sweet idea.


Frequently asked questions
Have a question about this project?
Did you apply any other sealer besides Mod Podge? I would think the Mod Podge would wear away eventually, especially if it is outside.
So sorry for your loss, my heart goes out to you. I am concerned about sending tissue paper and tape through my inkjet printer. Won’t it come apart or the adhesive melt? What printer did you use?