


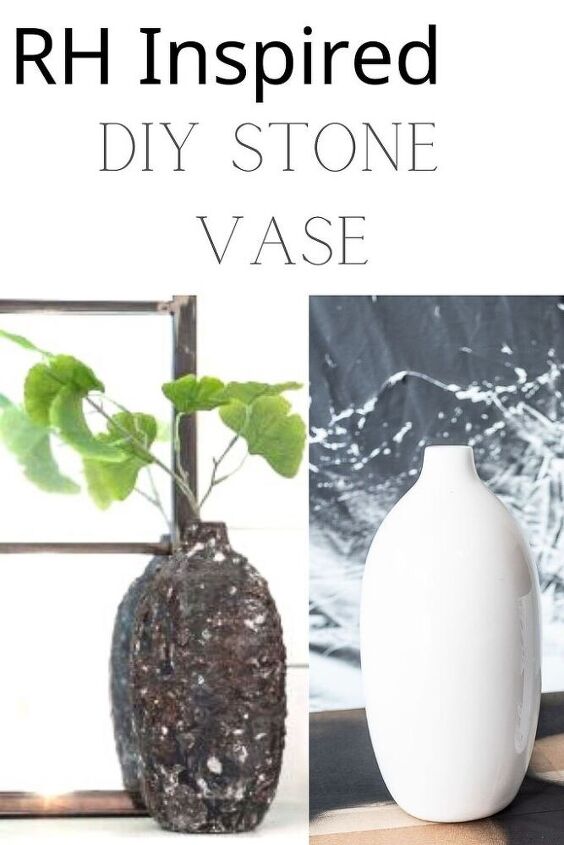
DIY Restoration Hardware Stone Vase
Find out how to make this Restoration Hardware look alike vase with a few household items and a trusty can of spray paint.
This post may contain affiliate links. Please see my full disclosure policy for more details.
Before I show you how I made this dup vase on a budget, let me just tell you to be prepared for imperfection. It’s kind of ironic that we go out and spend a fortune on these home décor items that look like they’ve been dug out of the ground right?
It’s even more ridiculous that I spent so much time yesterday trying to perfect this imperfect look.
This project is part of the Thrifty Thursday series where I team up with some very talented bloggers to bring you some great inexpensive and unique ideas to help you love your home. So be sure to check out the other Thrifty Thursday projects at the bottom of this post.

And if you’re just joining from one of the other blogger’s sites, then welcome to The Lived-in Look!
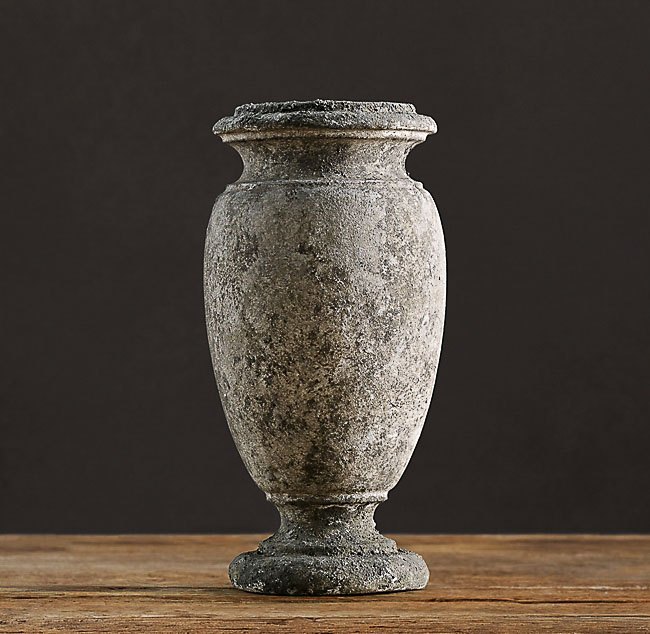
I wanted to copy this Restoration Hardware piece so bad that I kept going at this in several ways over and over again. To top it off, I was being taunted by several carpenter bees while working outside the entire time.
My husband came home and told me I looked like a crazy lady swinging around a tennis racket while talking smack to a bunch of bees.
Hey, I was just defending my turf, and my project, which they seemed overly interested in. At least somebody liked it.
Hubby said he didn’t understand why I was creating something filthy just to put it on our mantel. Silly husband, they just don’t understand our love for overpriced home décor that looks really old. Can’t say I blame him.
I’m a bit of a vase hoarder. They’re always available at thrift stores and probably one of the easiest and most inexpensive items to give a quick makeover.
Loving all of the “found” pottery look vases lately, I’ve been dying to try some DIY techniques to achieve that same old weathered and worn look.
- Any old vase
- Flat black spray paint
- Plaster of Paris (or homemade alternative)
- Dirt or soil
- Sealer (optional)
I’d like to tell you there’s an exact step-by step process for this, but I was literally throwing spaghetti at the wall yesterday to see what stuck to make this project work.
So instead I’m going to tell you what I did to achieve this look, and what I’ll likely be trying next time, because I heart old stuff and there will be another vase makeover in my future I’m sure.
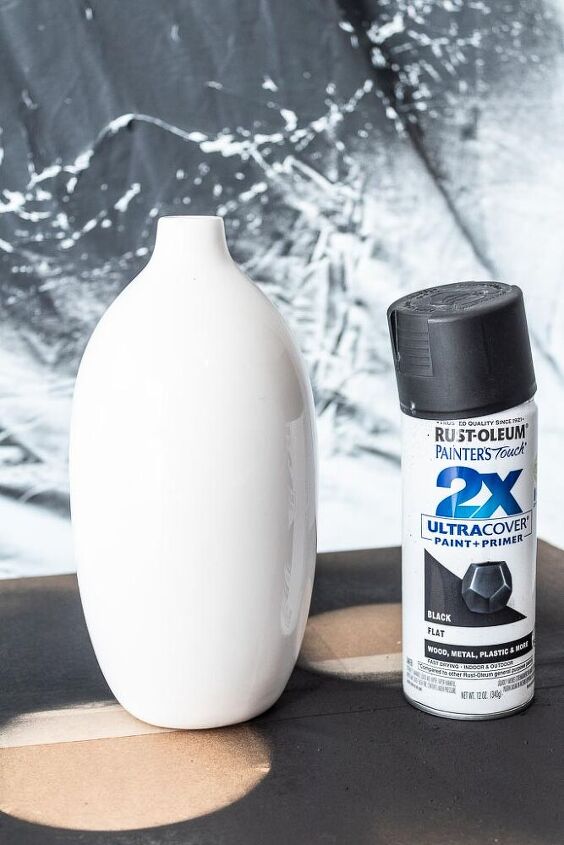
You’ll want to prep your vase with a matte black spray paint and allow it to dry for several hours. I gave my old vase a thorough cleaning and then worked in short blasts of spray paint to cover the vase in very thin layers. Avoid holding the spray paint trigger too long or you’ll end up with runny paint drips on your vase that can cause your fake plaster not to stick.
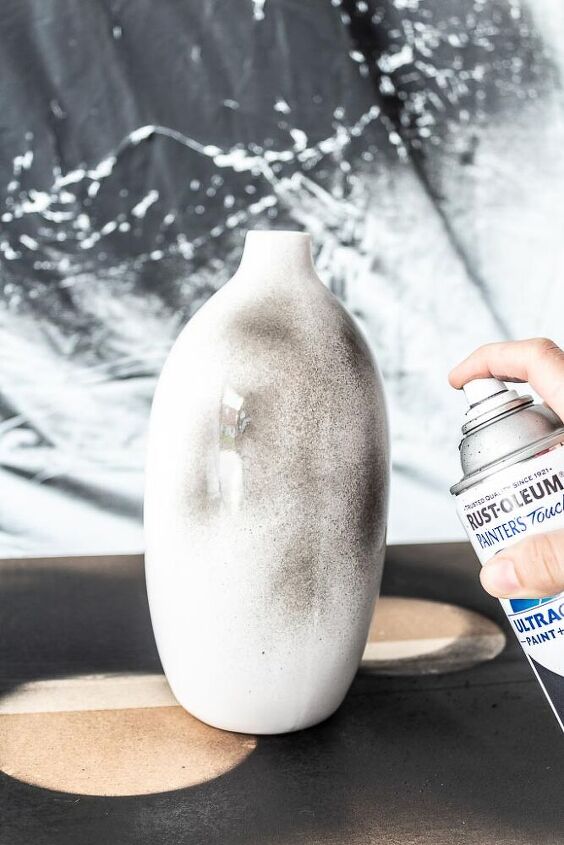
I applied the paint in 3 thin coats allowing it to dry for an hour in between each time.

Honestly, I think matte black vases are very modern and I love the look itself. I contemplated just stopping there, but might try this look on a vase with a different shape.

I didn’t feel like running to the store just for plaster of paris so I googled homemade recipes. To my surprise this stuff is pretty easy to make, but of course I didn’t even have the main ingredient on hand (flour). So I substituted:
- 1 part warm water
- 2 parts flour (I used arrowroot flour – seemed to do the trick just fine)
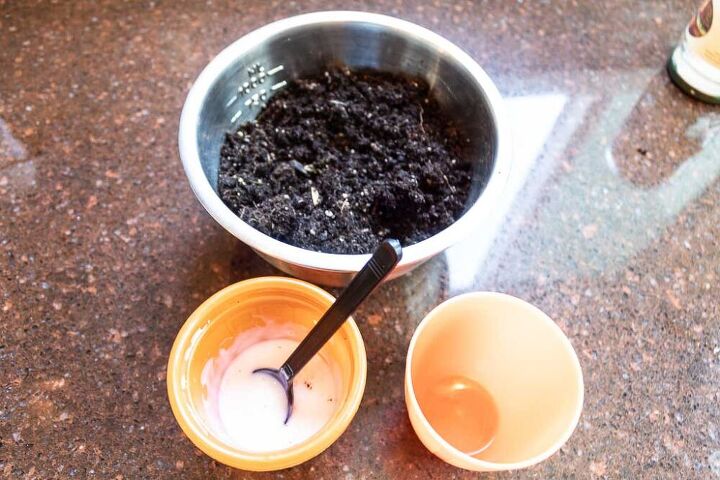
I know, it seems a little strange, but just stick with me. I didn’t bother to measure out how much dirt I added, I just sort of continued to mix it into my homemade plaster of paris to achieve a thick gray, gritty paste.
I had no clue what I was doing here, so my kitchen looked like a hot mess while I tried to work quickly to apply the paste to my vase. I would probably recommend taking this part outdoors where you don’t mind getting dirty.
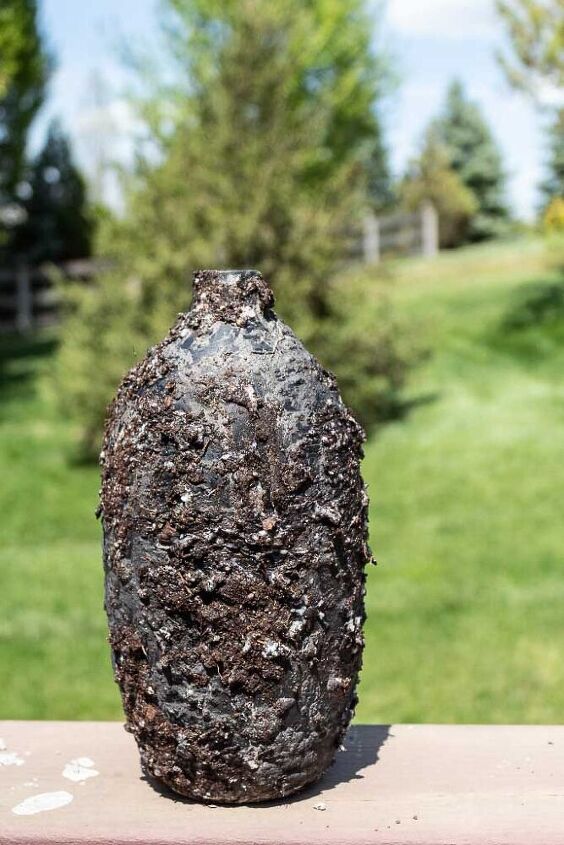
Using my hands, I just slathered the soil mixture sideways all over the vase. The thicker the better, because you can always rub off any excess once it dries.
Yes, it looks like a gross mess, and yes, you will second guess whether or not you just ruined your vase.
It does, and you didn’t.
Carry on.
I must’ve gotten extremely lucky, because I couldn’t have asked for better weather while working on this project outside.
I put my vase in the sunniest possible spot to dry and it was good and hardened within an hour.

This is the point where my husband chimed in and said that it looks like it’s covered in bird poop. Many eye rolls were shot his way.
This was also the point where I considered he might be right. So I dug out the spray paint can and covered it all back up – DON’T do this. Just leave it alone. It’s fine, I promise.
Using your hands, generously roughen up the surface of your vase to remove plaster from some of the thicker areas of your vase.
There’s really no right or wrong to this step. Just go with whatever look you prefer. More or less worn for a chippy look.
This was just me being a perfectionist. But I wanted some more variation of color and texture on the vase. This time around I added the plaster mixture onto the vase again but, immediately dabbed some soil onto the wet paste and allowed it to dry. It almost gives it a hint of brown.
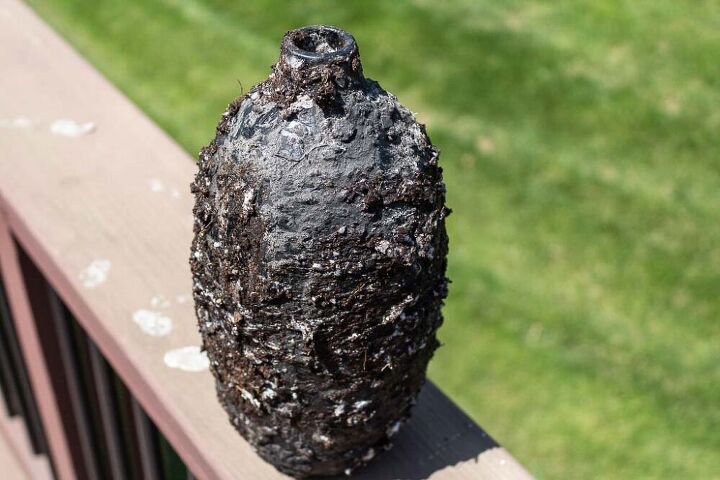
Then, I repeated roughening up the surface again to remove some of the excess dried plaster mixture.
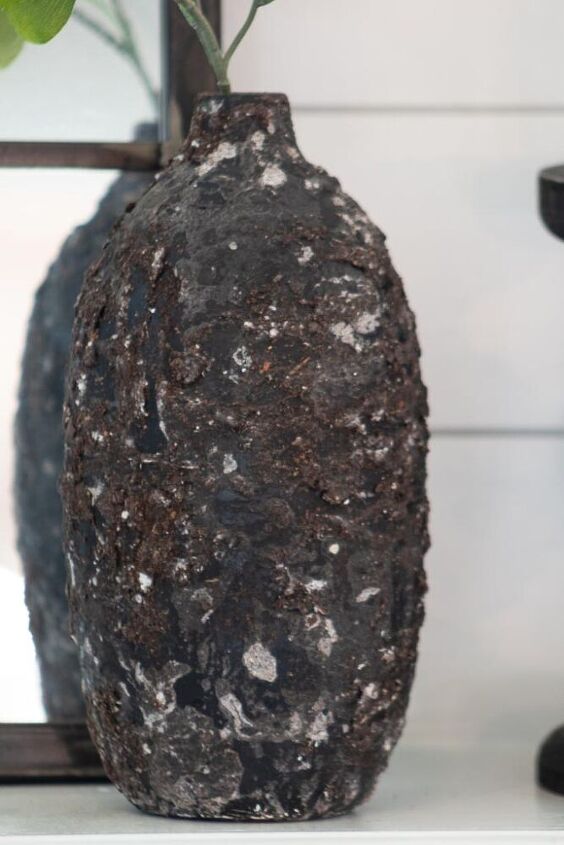
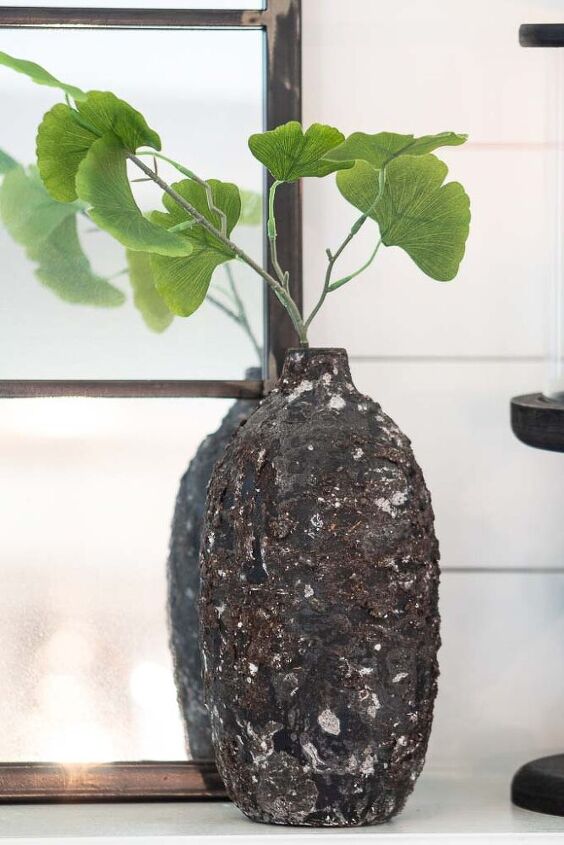
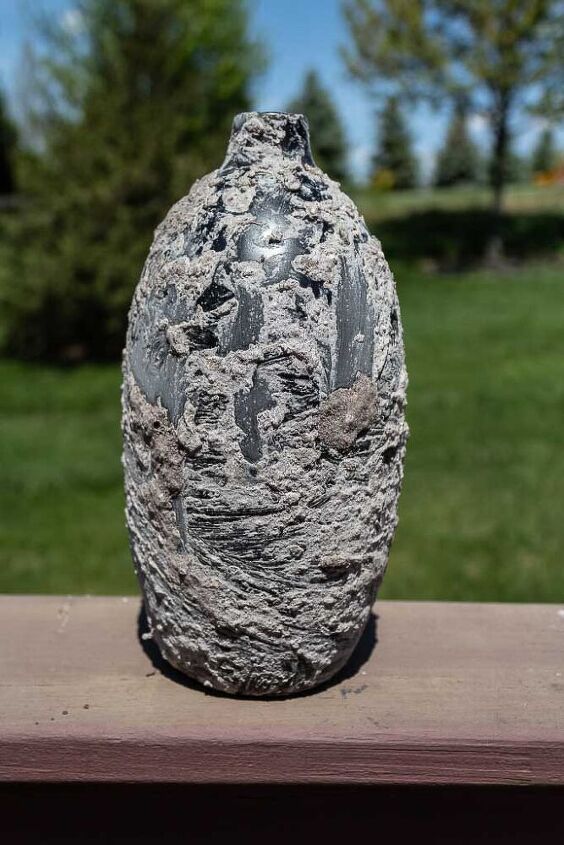
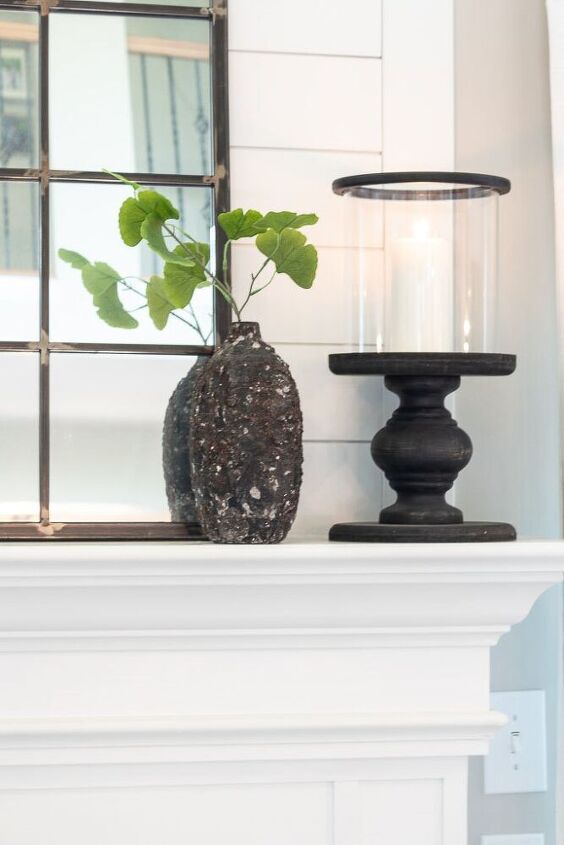
I’m really happy with how my little DIY restoration hardware vase turned out. I already have ideas to try this project again while incorporating some brown paint colors or even sand into the process for a light brown texture.
I hope you enjoyed this post, and don’t forget to hop over to the other Thrifty Thursday projects and show them some love!
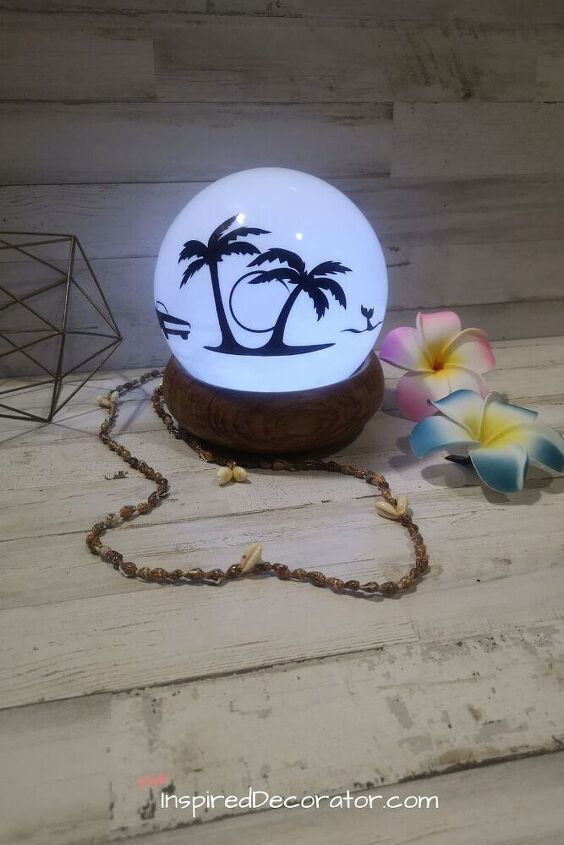


- The Inspired Decorator Night Light Upcycle
- One-Thousand Oaks Thrift Store Candlesticks
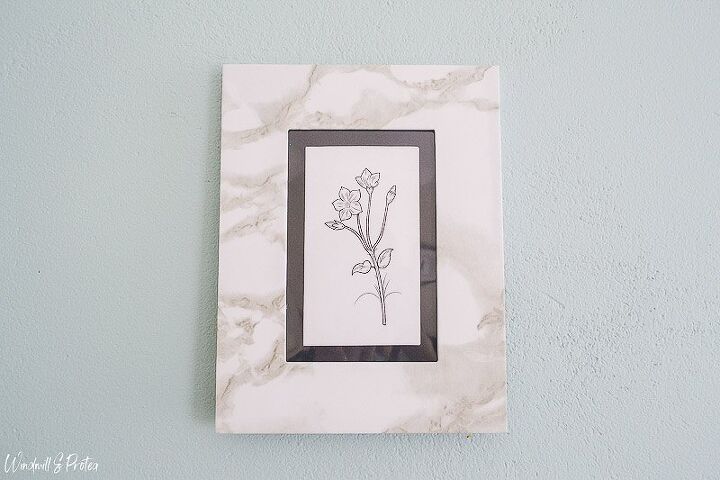
- Windmill & Protea Marble Frames
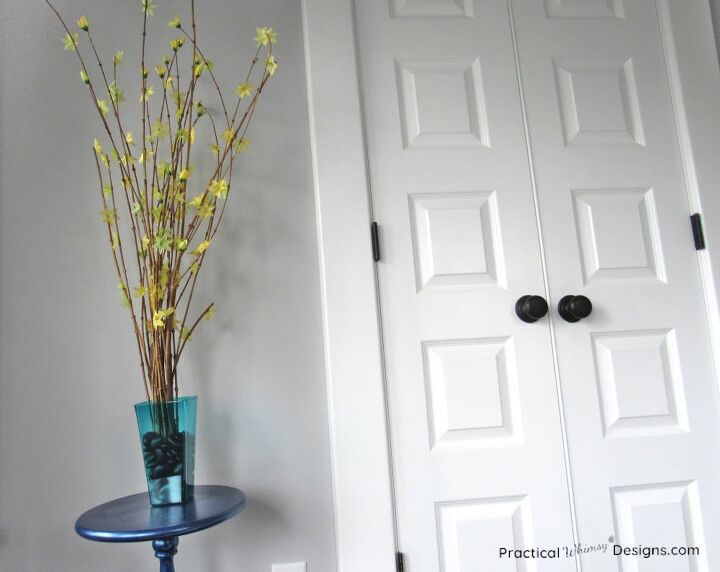
- Practical Whimsy Design Branch Decor
- A Well Purposed Woman Spring Wreath
Are you on my mailing list? If not, you should be! I have some exciting projects coming up this summer that you won’t want to miss. So make sure to subscribe below!


Frequently asked questions
Have a question about this project?