


DIY Room Decor: Tissue Paper Roses

4 Materials
$5
1 Hour
Easy
Looking for an easy, effortlessly beautiful way to decorate your office? Or girl's room? Or your living room? This DIY tissue roses project can make any space in your home feel brighter, prettier, and loved. Very budget friendly - but only if you hoard tissue paper like me  - this DIY is a wonderful simple way to unwind and break away from the daily routine.
- this DIY is a wonderful simple way to unwind and break away from the daily routine.
{
"id": "4078672",
"alt": "",
"title": "",
"video_link": "https://www.youtube.com/embed/go7TRvk_lIw",
"youtube_video_id": "go7TRvk_lIw"
}
{
"width": 634,
"height": 357,
"showRelated": true
}
Roses...known around the world as a symbol of love, friendship, and romance. Their beauty flares from their timeless poise and elegance, wrapped in shades of bright colors, enhanced by a soothing warm fragrance.
To me, roses are not only a symbol of love, but also a symbol of home. I was born and raised in Bulgaria, where fields of roses grow in abundance. These roses are used to make organic, unrefined essential oils, extracts, and water, for the creation of high quality skincare and beauty products and fragrances. We even make chocolate and other foods with roses. So, every time I see a rose, I am reminded of home.
Roses also remind me of my sister. Her favorite flower is the rose. She's a fashion blogger, as beautiful as a rose. She is just as creative as me, but expresses her creativity through fashion and blogging. We work together as I am the photographer behind every shot, and she is the mastermind behind everything else on her blog.
In my previous post, I shared with you my love for hanging decor, especially hanging flowers, and so, this DIY project came super naturally to me.
Watch the whole tutorial by clicking on the video above!

INSTRUCTIONS:
Take one piece of tissue paper, which will be enough to make us one rose. Fold the tissue into a rectangle that's approximately 2.5 inches by 3 inches big.
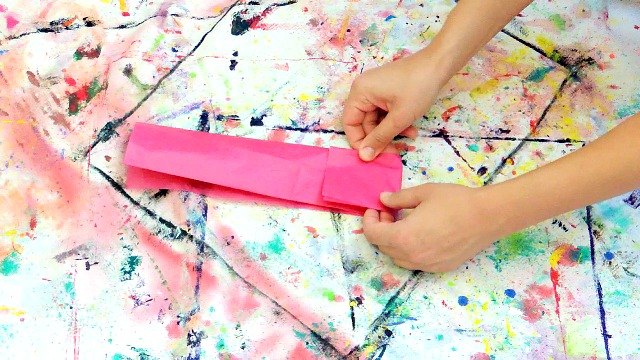
Fold the rectangle into smaller rectangles. You'll be left with excess tissue. Cut the excess tissue and shape it in the form of daisy petals. These "daisy" petals will help us make the center of the rose.
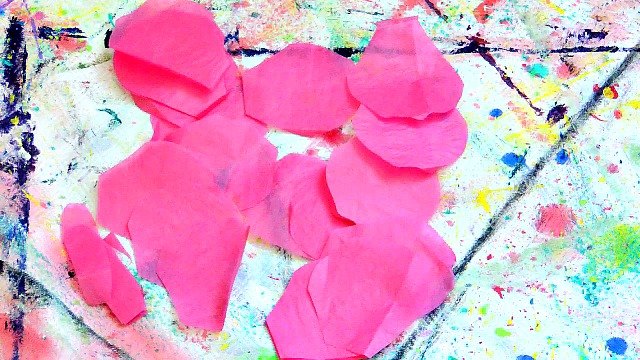
Then, shape the small rectangle of tissue into something that looks like a rose petal to you.
Seriously, you don't have to be perfect with this step. In the end, it will look like a rose, no matter what.
When you unfold the tissue, cut at the center to produce multiple petals.

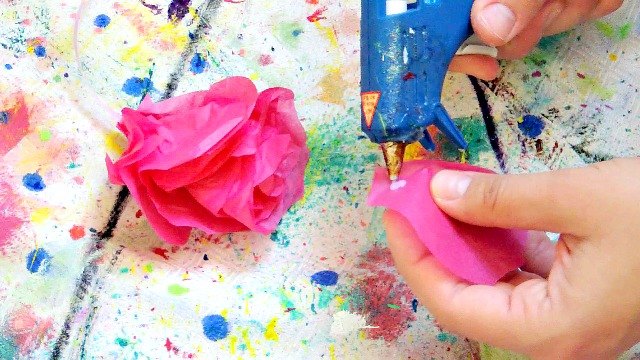
Now, twist a few of the "daisy" petals around the end of a curling ribbon to form the center of the rose. Continue adding petals around the center with the help of glue.
Repeat with all the petals until you don't have anymore left.

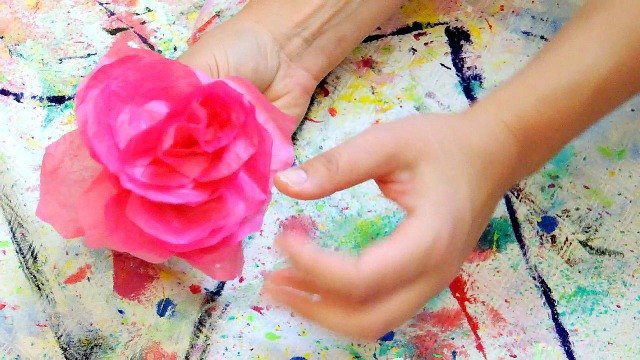
After you've used all the petals, your rose is pretty much finished. Play around with the petals, pulling them out slightly, to create a fuller, blossomed rose.
The final step before hanging the rose is to pull out an arm's length of ribbon and cut. The reason why you want the ribbon to be so long is that when you hang the rose from your ceiling, the excess ribbon will allow flexibility in how low you want to rose to hang, and then the extra ribbon will sway in a beautiful curl next to the rose, adding to that pretty, effortless look.
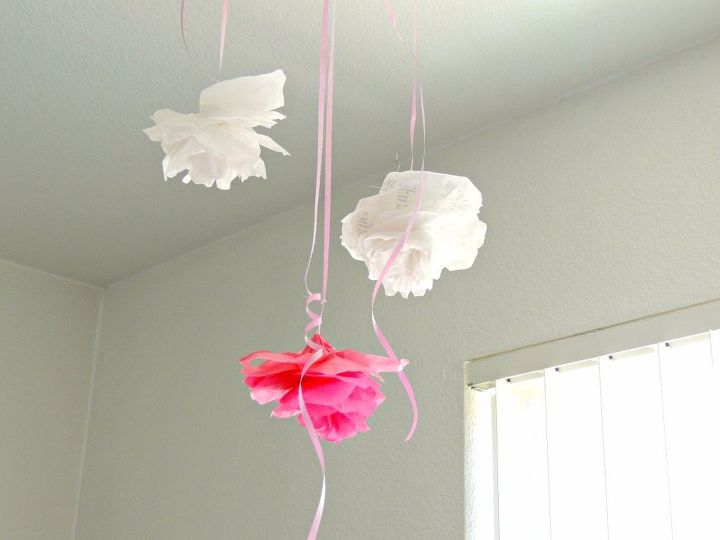
First rose, complete! I recommend you make at least two more, like I did. It's just so much prettier to have more than one rose hanging from your ceiling with gorgeous ribbon curls and ability to create a high-low display, which will be visually pleasing.
Don't forget that you can make your roses two different colors, or keep them all the same color. You can even choose how many rose you want to hanging - is it 3 or 4 or 6? It's all up to you and the space you want to decorate. What's important is that you have fun!
Hang your roses in a way that is visually pleasing to you with the help of transparent pushpins. That's how I like to hang my decorations from the ceiling, but if you have other ways that work just as well, I'd love to know about them. Maybe you could leave your suggestions in the comments.
And your pretty roses display is finished!  My favorite thing about this project is that the roses and ribbon are so light that whenever there's slight movement of air in the room, they sway back and forth, adding a little bit more magic to the ambiance.
My favorite thing about this project is that the roses and ribbon are so light that whenever there's slight movement of air in the room, they sway back and forth, adding a little bit more magic to the ambiance. 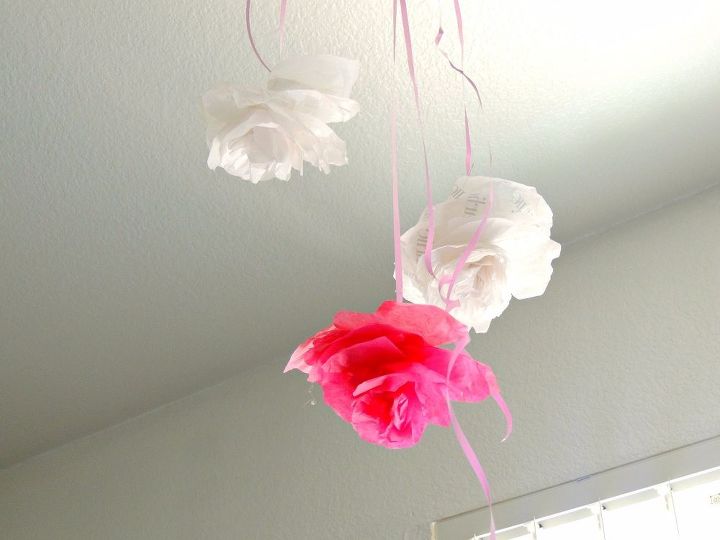
I hope you enjoyed this tissue paper DIY! Share this moment of creativity with the younger members of your family; I'm sure they'll enjoy creating with you. It's amazing how activities like this can create some pretty funny memories that will last forever.
Thank you for choosing to take time out of your day and read this post!
Have a happy day!
I'm going to link my sister's blog below, if you would like to see her work. It's a great blog! And some of my favorite photo shoots we've done are from this year! AND she did help inspire my tissue roses display, so check it out if you have the time! www.fashionradi.com
Comments
Join the conversation
3 comments
-
This is so easy and so beautiful :)
-
I am already gearing up to do my bedroom!


Frequently asked questions
Have a question about this project?
What is the reasoning for the folding?